
Have you ever thought of design and print a lamp to illuminate your desk but found nowhere to begin? FacFox’s suggestion: follow this tutorial and get the hand of the whole procedure. Then it’s time to draw a conception of your own original lighting and make it come true.
In this guide, we are making a table lamp in the shape of a spiral polygon. You’d better prepare all the below materials before you start the voyage.
- Install Fusion 360
- A Desktop FDM 3D Printer
- PLA Filament
- LED Strip Light
- On/Off Switch DC 12V Push-in
- DC Power Jack Socket
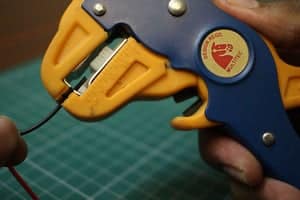
- 2-in-1 Automatic Wire Stripper
- Heat Shrink Tube
- Electric Heat Gun
- A Toilet Paper Core
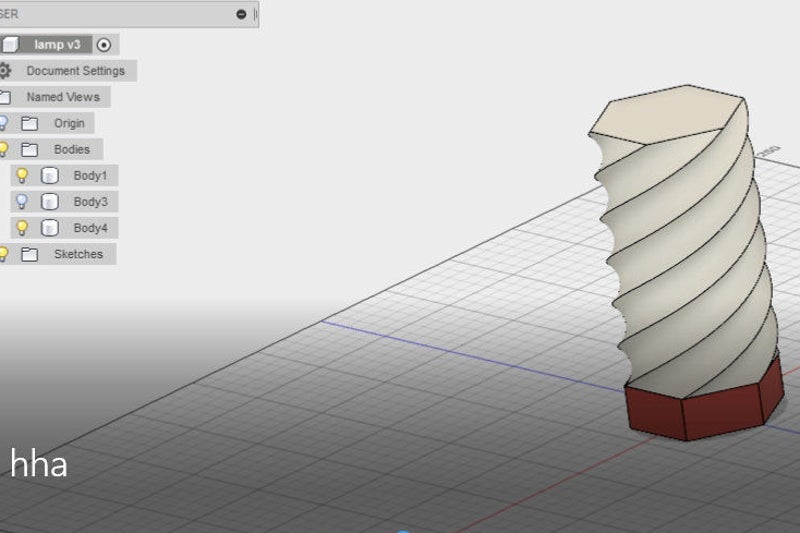
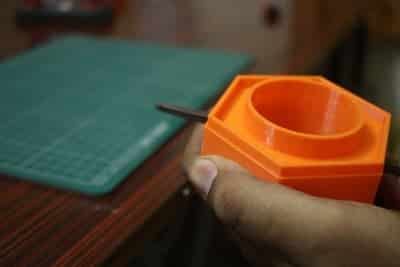
Step 1: Design the lamp
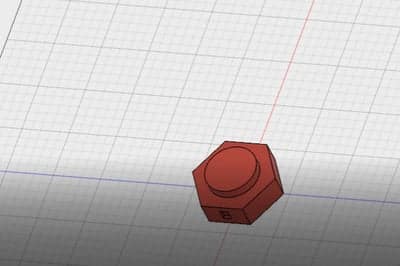
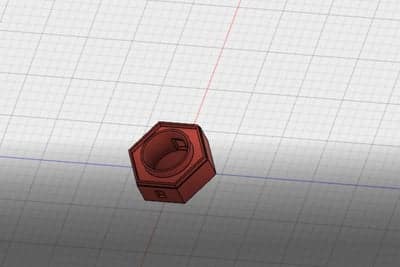
First, we need to make a polygon as the base. Then add a slot for the DC Jack and the switch.
Then we can simply design the lampshade or the diffuser by simply using the polygon and spiralize it.
For your reference, the STL file is free to download on Thingiverse.
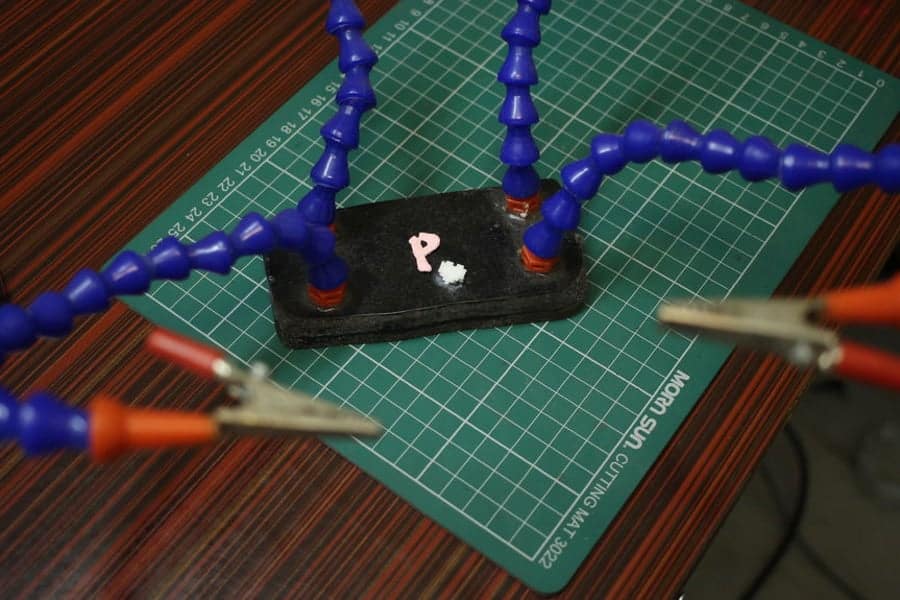
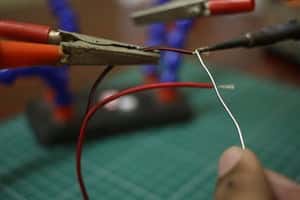
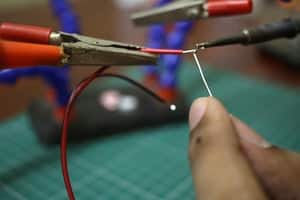
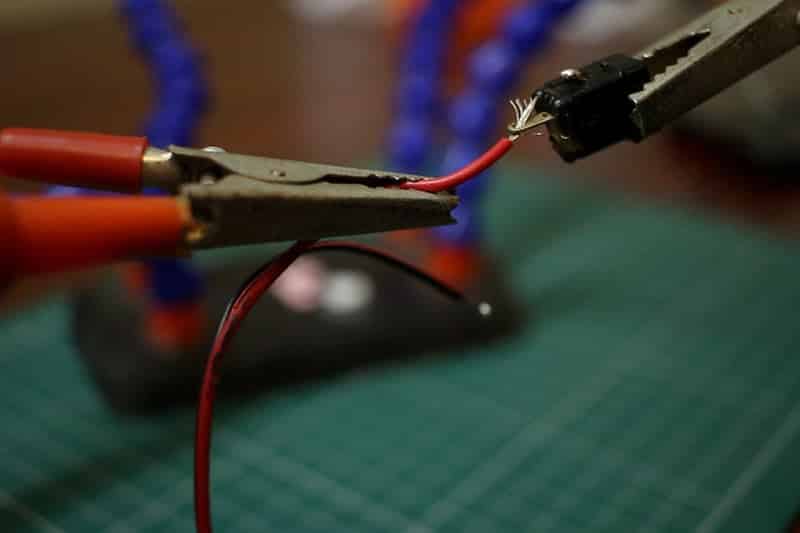
Step 2: Tin the wire
No matter what you are soldering, you should tin both contacts before you try to solder them.
This coats or fills the wires or connector contacting with solder so you can easily melt them together.
To tin a wire, apply the tip of your iron to the wire for one or two seconds, then apply the solder to the wire.
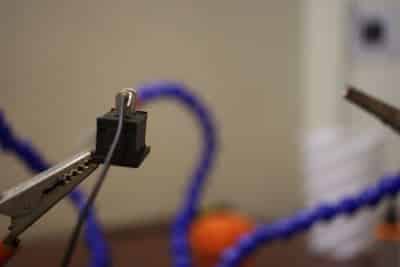
Step 3: Solder the components
After tinning the wire, we can now solder the components.
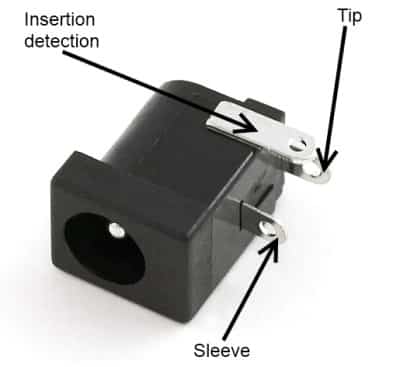
First, take out the DC Jack. Solder the Positive wire to the Tip and the ground to the Sleeve.
After soldering, apply a heat shrink tube and shrink with the help of a heat gun.
Then, solder the Switch to positive wire to the Switch and the other wire is left for the LED Strip.

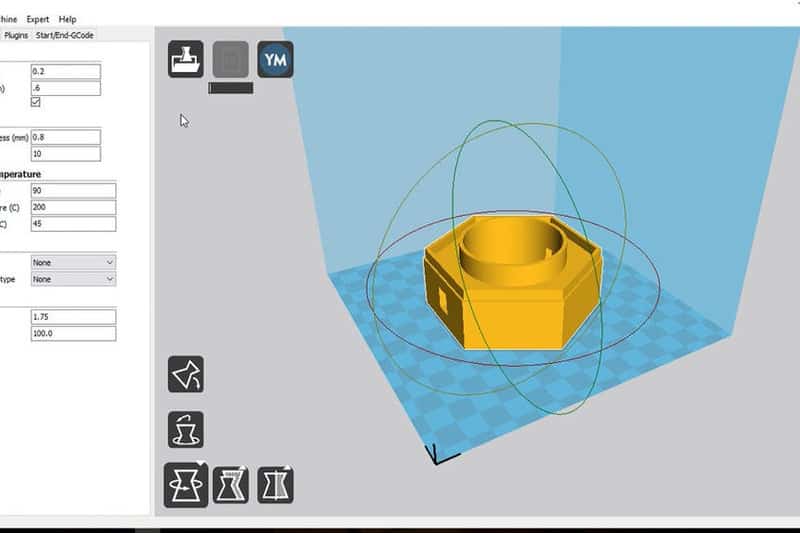
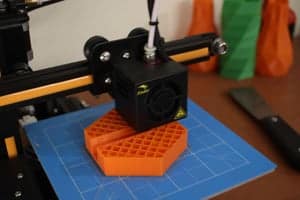
Step 4: Slice the files
Now it’s time to slice the model.
When slicing the base, the fill was 10% and layer height was 0.15mm.
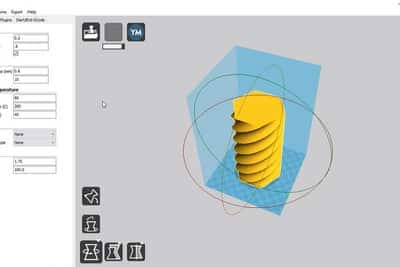
When slicing the shade, we use a feature called Specialize. The outer contour is also known as VAse mode. In this mode, the printer will just print the outer wall slowing incrementing the height.

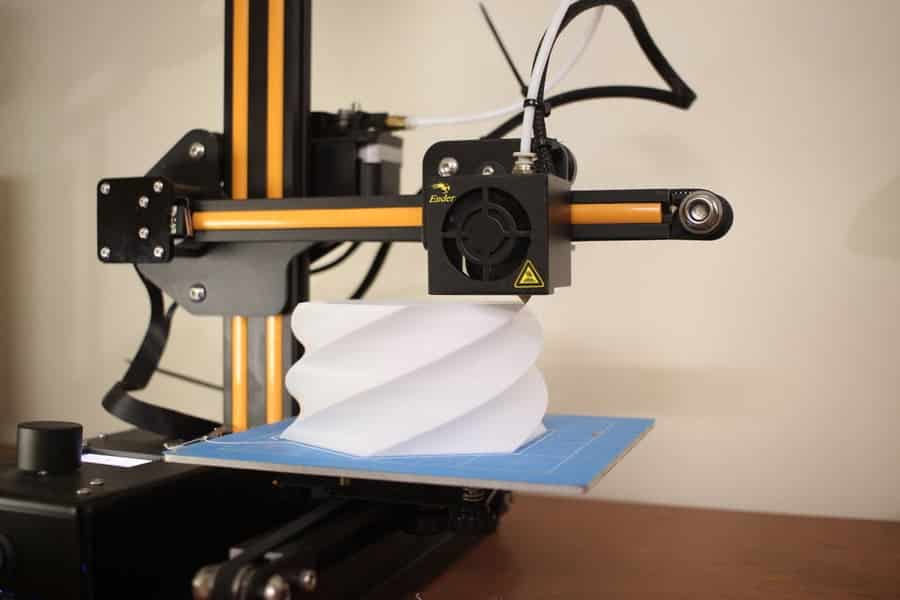
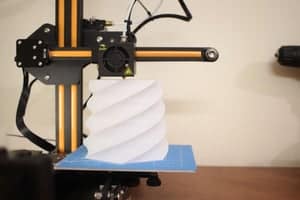
Step 5: Print the lamp
In this tutorial, we use the Ender 2 printer and it takes around 6 hours to complete.
Ther Ender is a good desktop printer to have. Priced at 200$, it is easy to assemble and gives good printing quality without tinkering a lot.
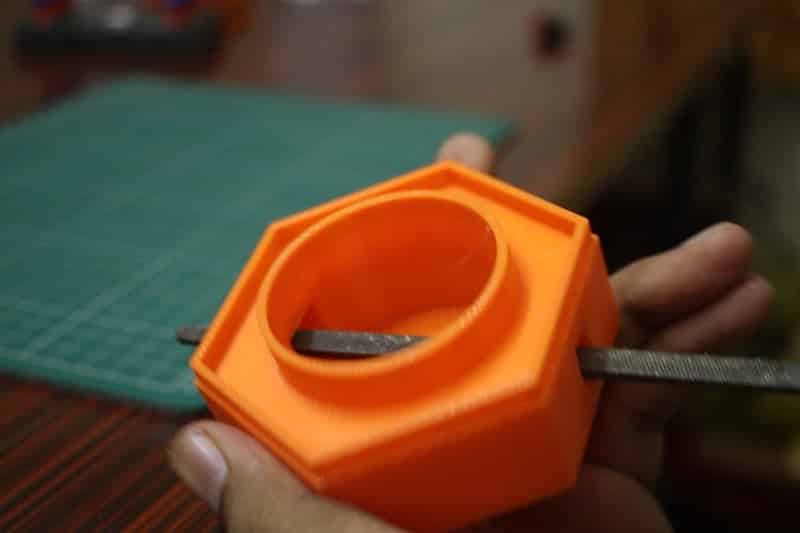
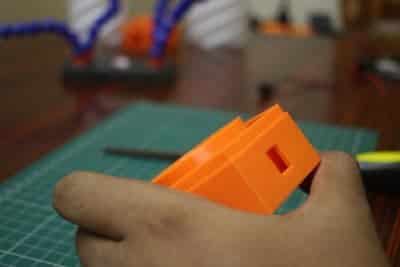
Step 6: Filing the slots
Above is the case with the DC jack slots, which might be a bit tight and therefore requires filing.
The slots might be a bit tight, therefore it can need filling .This was my case with the DC jack slot.
Please gently filed it with a square file so that it can accommodate the DC Jack.
Notice : Remember not to file hardly. It might make the slot un uneven.
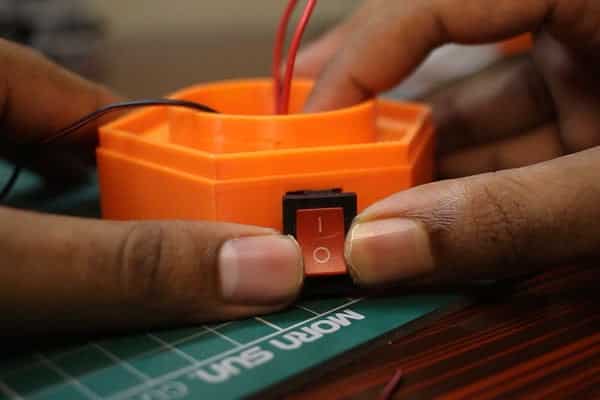
Step 7: Fit the components
Fix the Switch, apply gentle push and it will slide inside.
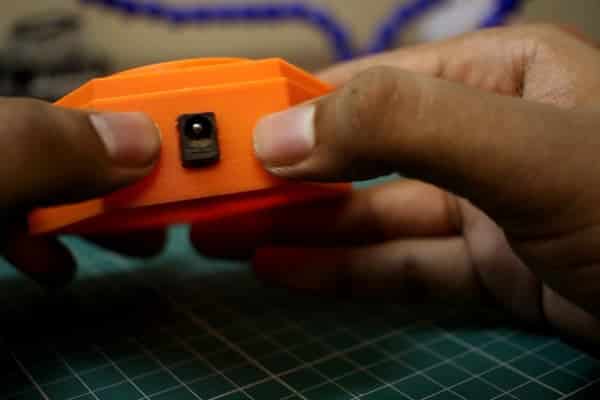
Then take out the DC jack and repeat the same process to fit it into the slot.
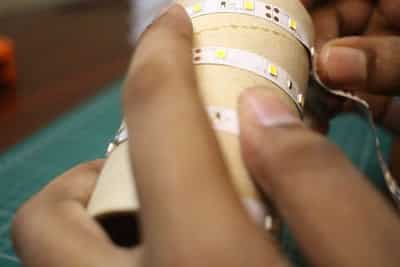
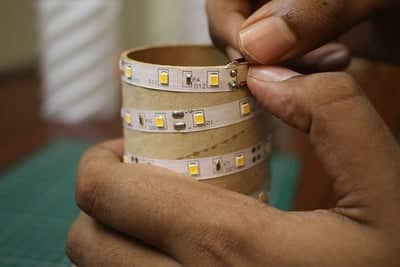
Step 8: Wrap the LED strip
Remove the 3m sticking tape paper, attach a part of it on 35 degrees.
Then slowly start revolving the LED strip around the paper roll. Take your time to make sure the gaping is as uniform as possible. If not possible, try again but try it to be aligned as spiral as possible.
Now solder the LED strip to the Positive wire coming out from the switch and the Ground from the jack.
Source: geekrex