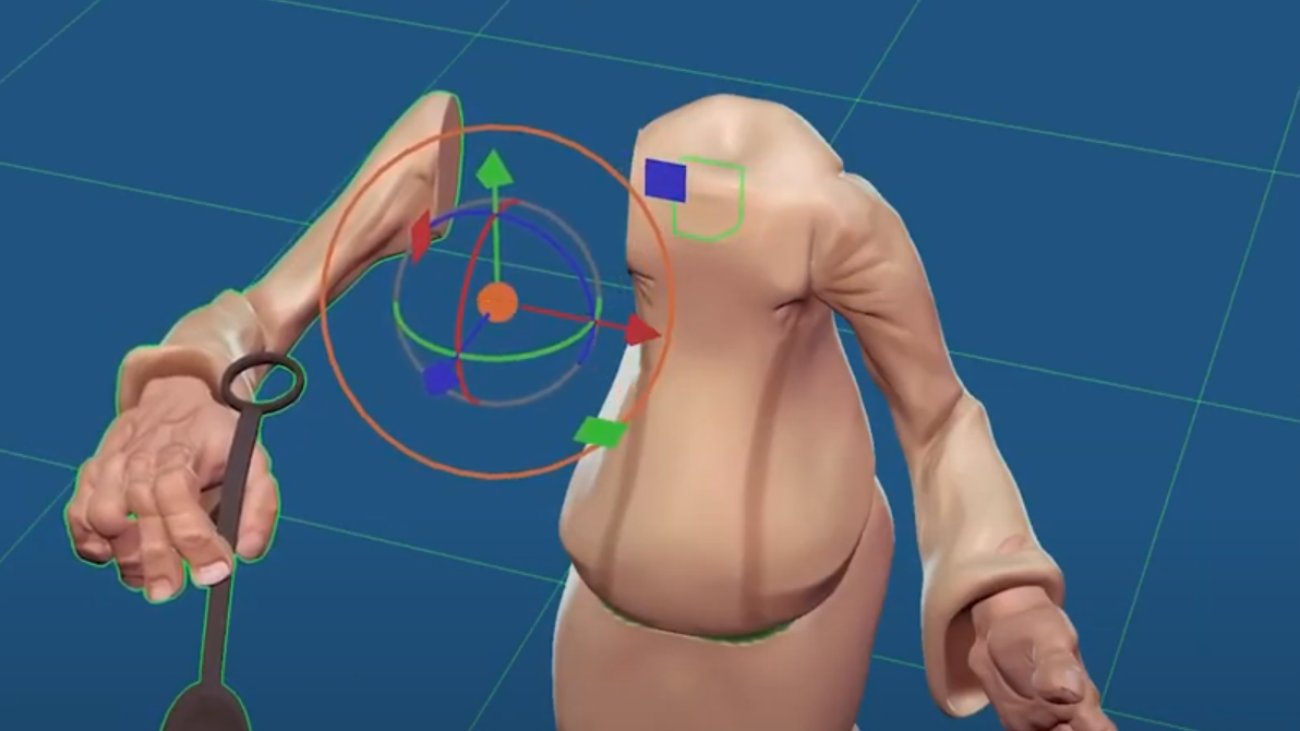
Zbrush has long been the king when it comes to sculpting, but as technology has advanced the option of not being tied to a desktop or laptop is becoming a reality. Released in 2020 by former Sketchfab developer Stéphane Ginier, Nomad Sculpt has soon become a strong and enticing competitor.
Zbrush is the more feature-rich program, however, the convenience and price of Nomad Sculpt actually make Nomad grab the market share when it comes to 3D sculpting. Its biggest draw is that it allows for the ability to sculpt on mobile devices without the need for a laptop or desktop computer.
As there are many mature lessons for Zbrush on Internet, people seem to be still confused about how to use Nomad. Here is a simple tutorial about how to export files for 3D printing from Nomad. The author, AE Foundry, talks about the most common questions the beginners would confront, such as:
- Low resolution: It would lead to many facets on the surface. If your work is not aimed to have a low poly style, you need to add enough meshes.
- Watertight/Airtight: A model should be watertight/airtight to be 3D printed. No intersection or manifold.
Indeed the principles are the same for different modeling software. You can find the whole checklist in How to ensure your 3D model is manufacturable? Remember to examine the model before you export the files:)
If you are confident with making such simple one-piece models, SouthernGFX made a tutorial about adding keys and splitting down a model for 3D printing. It’s very useful when you want to make figurines.


Leave A Comment