This is how I designed 3d printed frames around lenses that can be made by any optometrist!

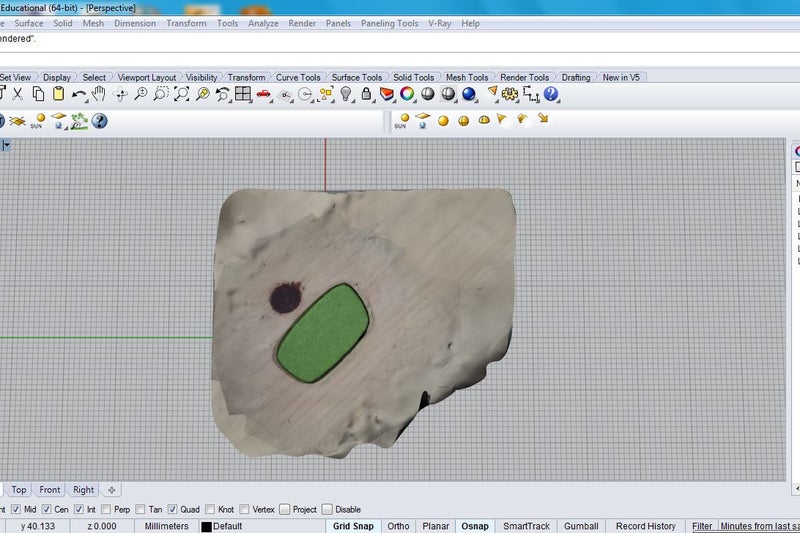
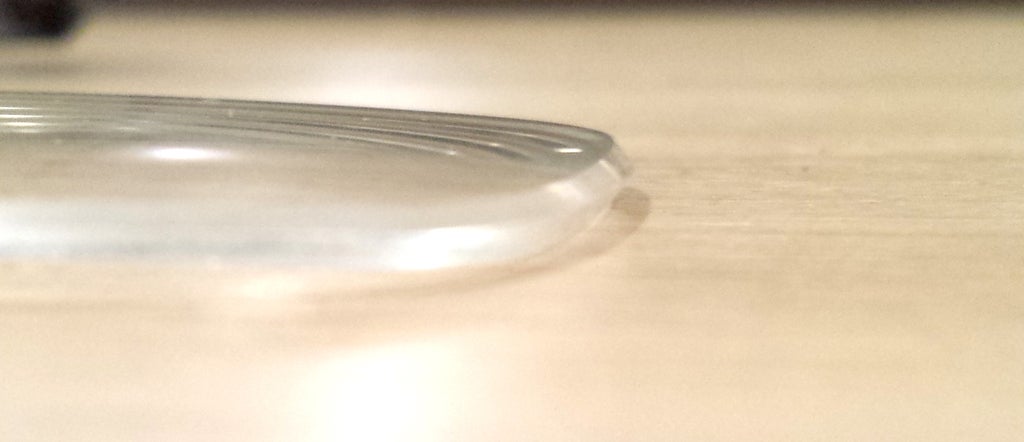
I replaced broken my broken glasses by 3d scanning my lens using my phone’s camera and Autodesk’s 123D Catch. You can order lenses from a variety of sources and download 3D models to design around. Check out https://www.eyewearkit.com/ for a place to start.
I used the 3D scan of my lenses as a reference to design my new frames in Rhino. This will require some moderate 3D modeling skills, but the process can be applied to almost any 3D software and can be very simple.
Step 1: Importing and Cleaning the 3D File
If you are working with a downloaded 3d file, much of this won’t apply to you, but may come in handy to know.
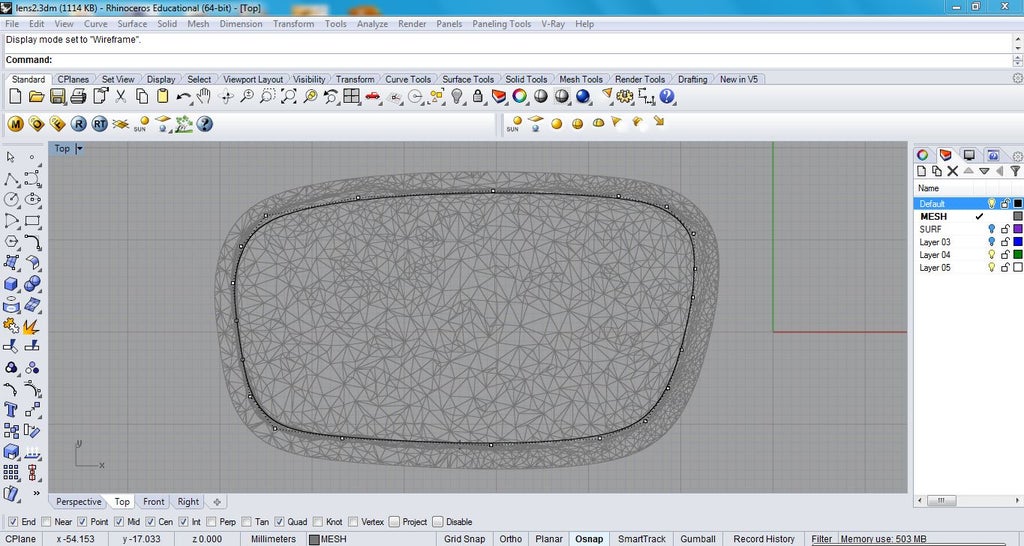
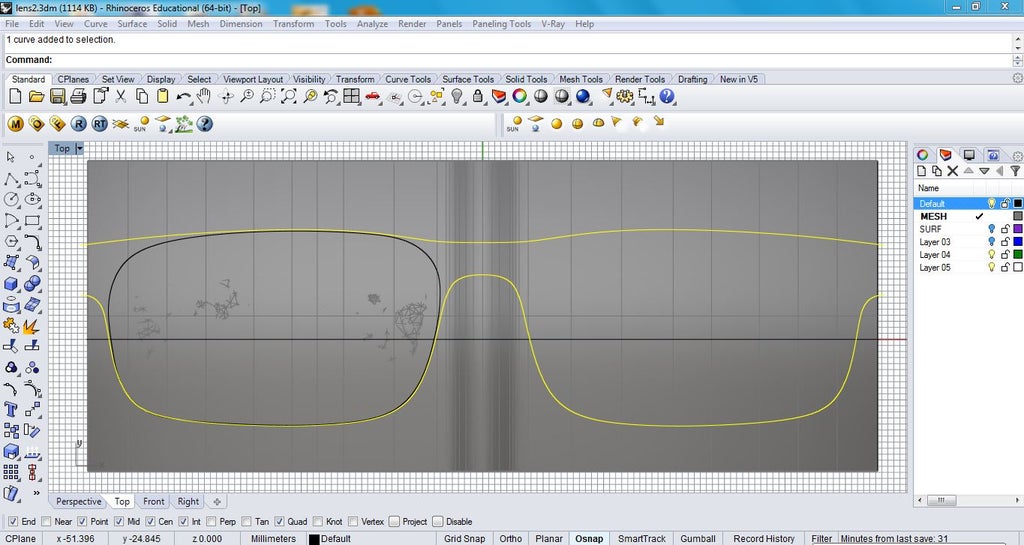
Since I am working from a 3d scan, I have to start by importing my 3D scan and rotating it so that is in the right orientation. You can trim off the excess mesh around your lens by drawing a closed curve around it and using a mesh split.
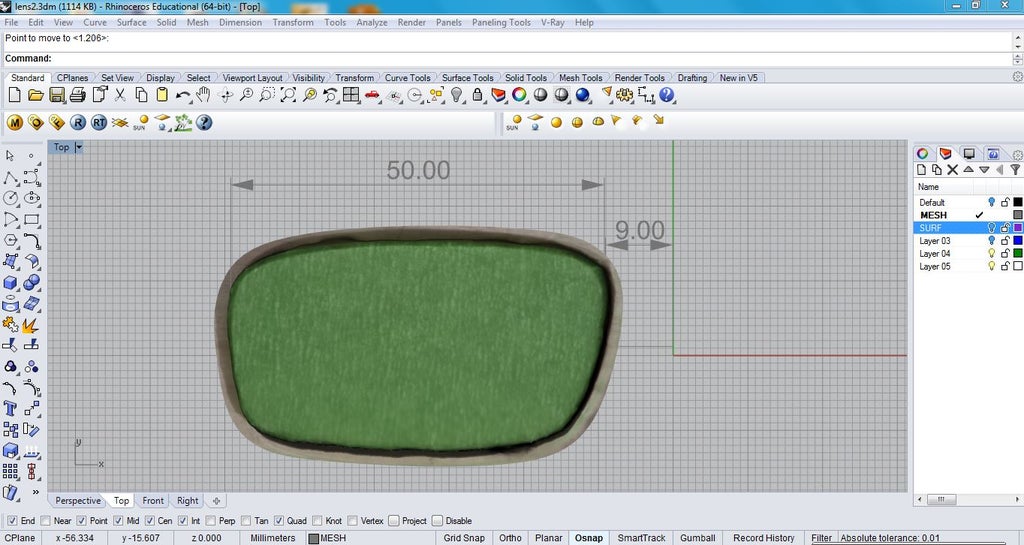
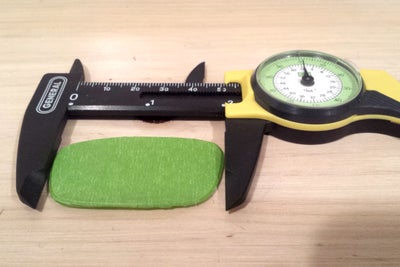
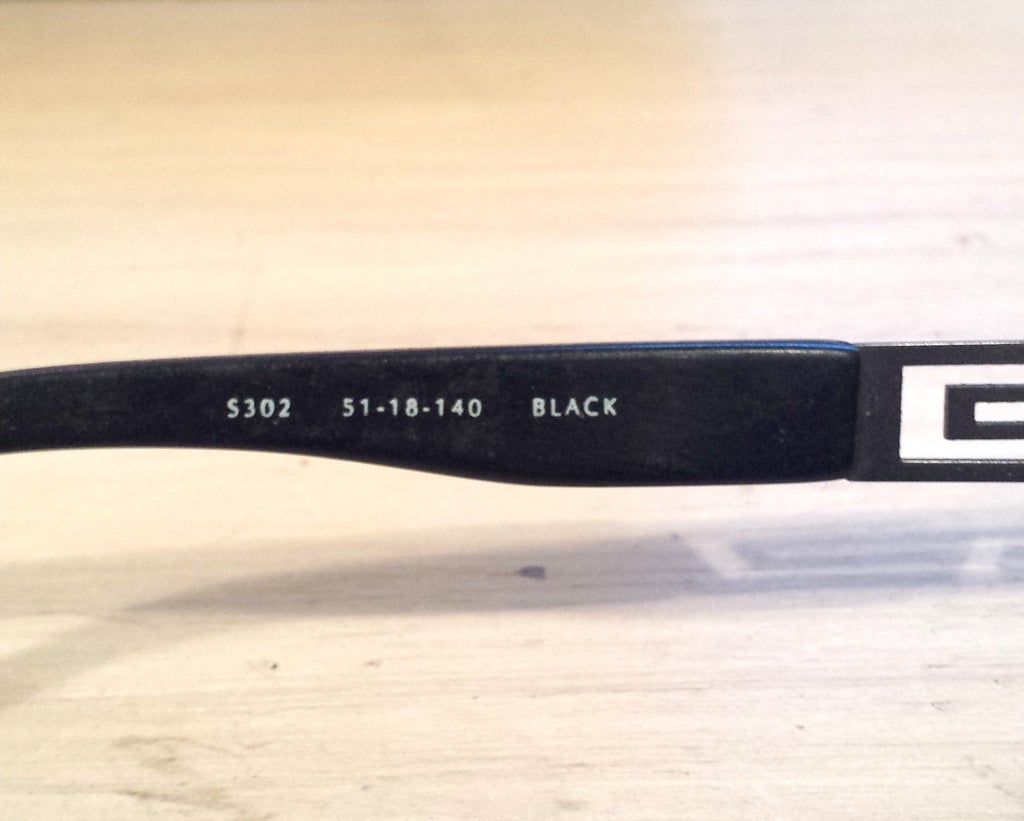
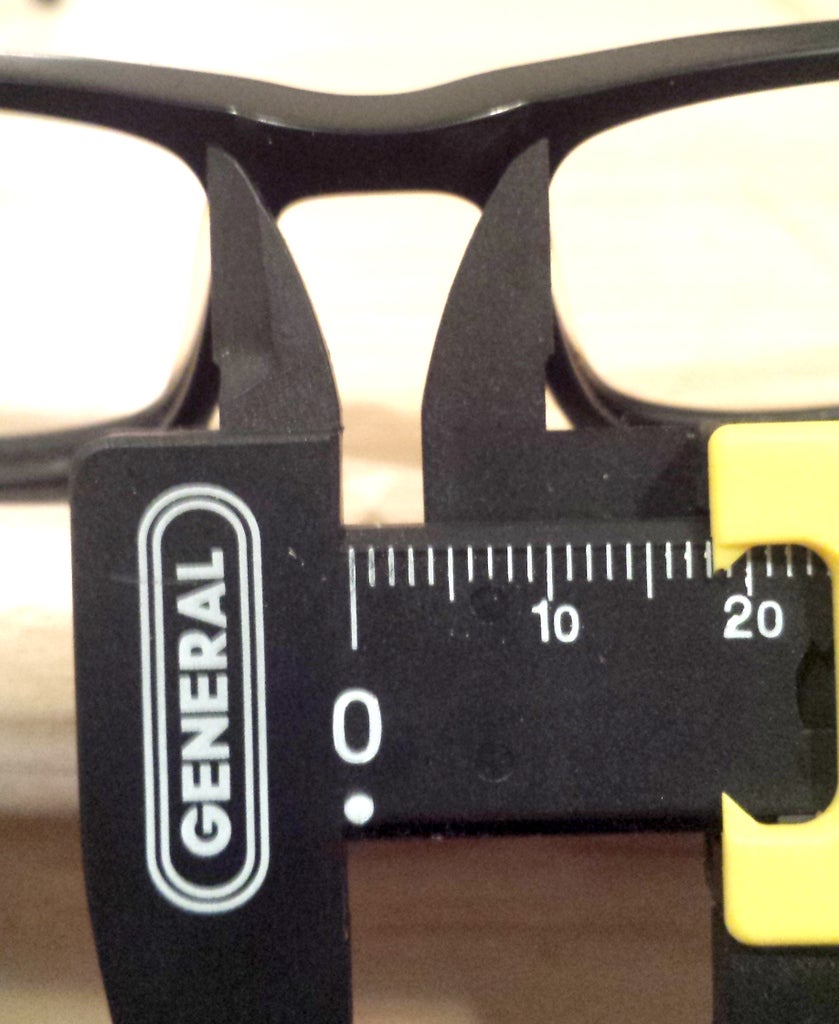
Next scale your lens to the right dimensions. You can either measure it with calipers, or look at the inside of your glasses to find the sizes. The first number is the width of your lens, the second is the distance between lenses, and the third is the length of the arms.
Move your scan so that it is offset from the origin the correct amount. Since glasses are symmetrical, you only need to model half of them.
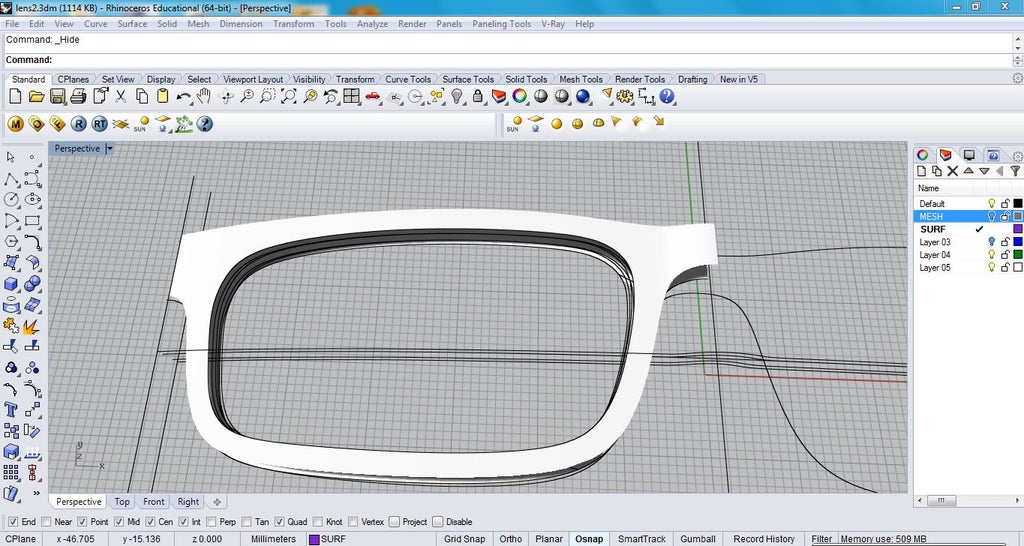
Step 2: Matching the Lens Curvature

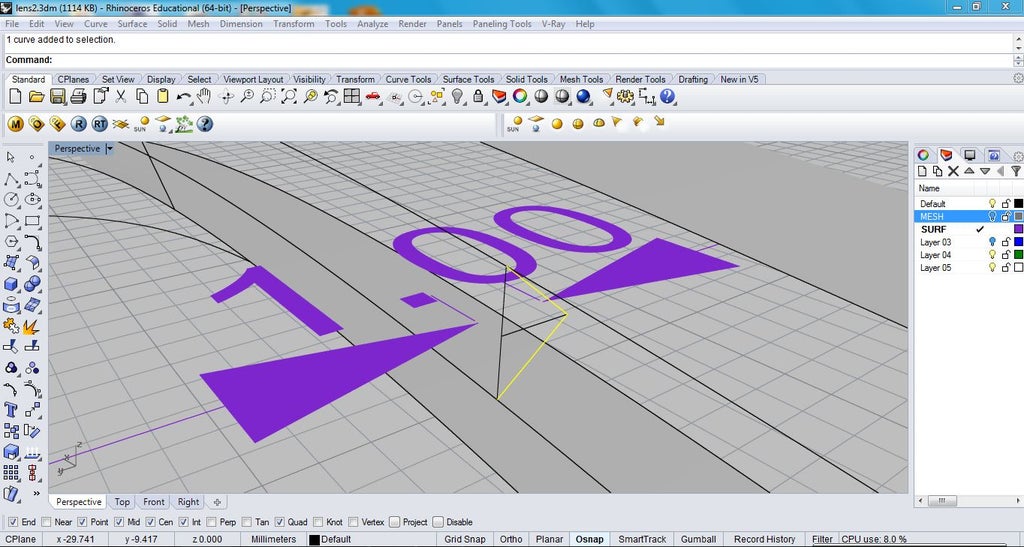
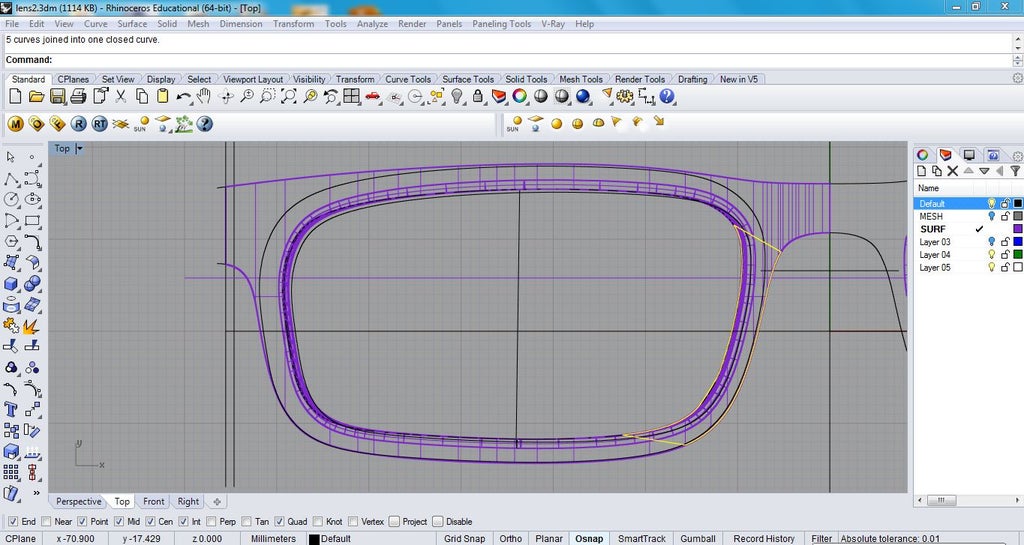
Start by orienting the lens so that the frame will have a consistent curvature around your face. Draw a curve, tracing the top surface, that extends passed the lens and is tangent at your centerline. Next, trace the outline of your lens. Try to match the hard edge of the scan as closely as possible. When drawing your curves, the less points you make, the cleaner a model you will have.
Step 3: Design Your Frame Shape

Here’s the fun part. Draw the outline of your frame using two curves. I offset my lens curve by 2mm to use as a guide for the shape, and to keep a consistent thickness.
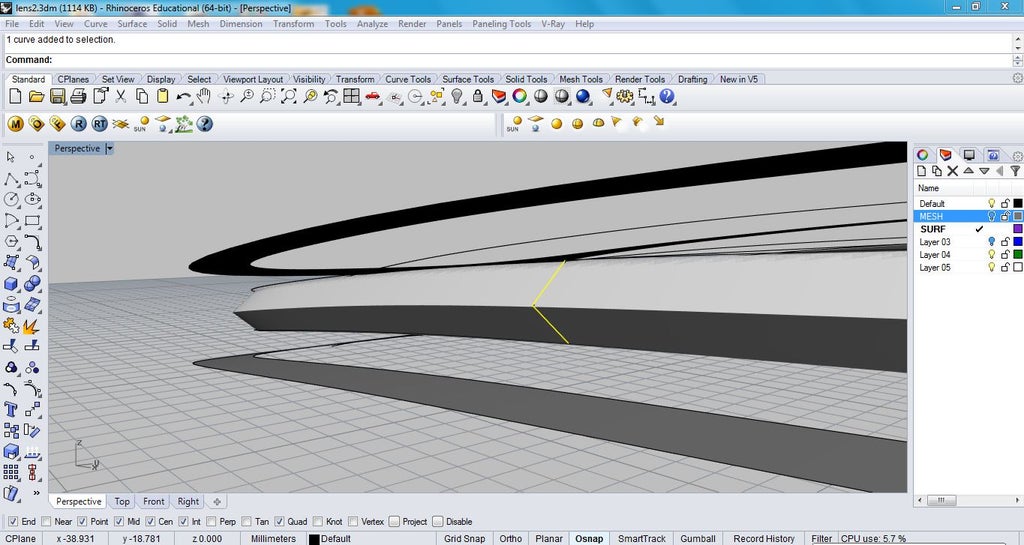
Offset the curve you drew over the lens surface by the thickness of your lens, then offset each of those curves by 1.5-2mm for the thickness of your frame.
Make a swept surface for each of those curves, then project your lens curve onto each of them. Project your frame curves onto only the top and bottom surface. Split the top and bottom surfaces with the projected curves and discard the two middle surfaces.
Step 4: Fitting Your Lens
My lenses have a V-shaped outer edge that extends 1mm (sorry it’s hard to photograph). I drew the same V shape on my projected lens curves and used a 2 rail sweep to create the groove in my frame.
Every lens may be different. If you are replacing frames like me, try to match any groove as close as possible. If you are modeling around downloaded lenses, there should be some documentation on how to design the groove.
Step 5: Surfacing Your Frames
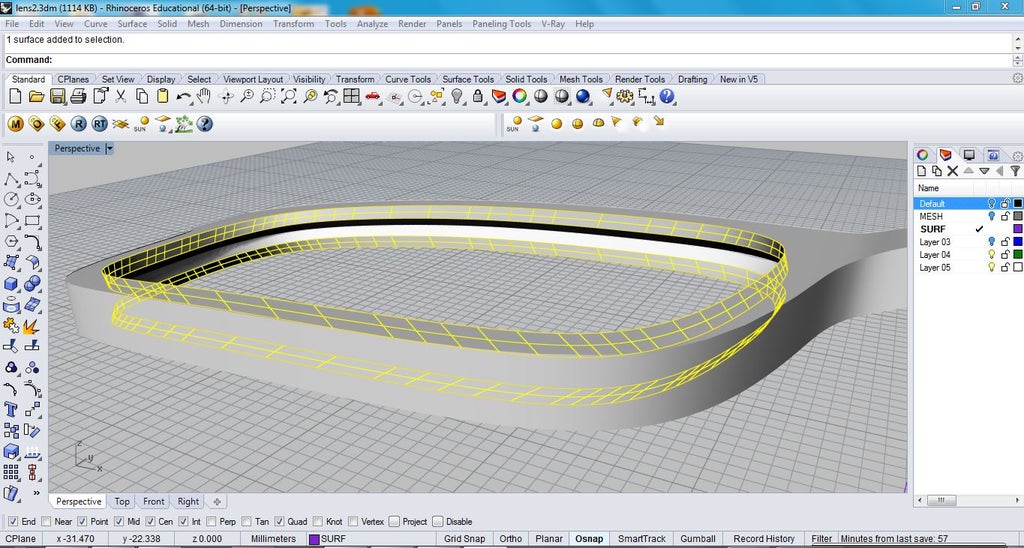
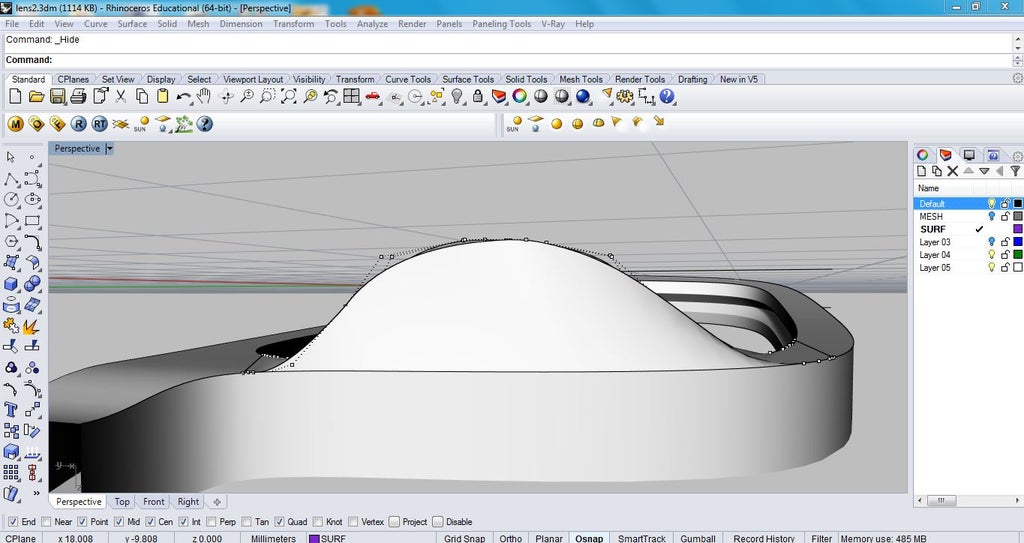
Draw curves between you split frame surfaces and use 2 rail sweeps to fill your outer surfaces. Do the same for the space between your lens groove and outer surfaces.
Draw two curves across the bottom center of your frames and use them to split the curves and surfaces on the inside face of your frames. Drag control points on the split curves to shape the bridge, then patch those surfaces.
Step 6: Shape the Arms


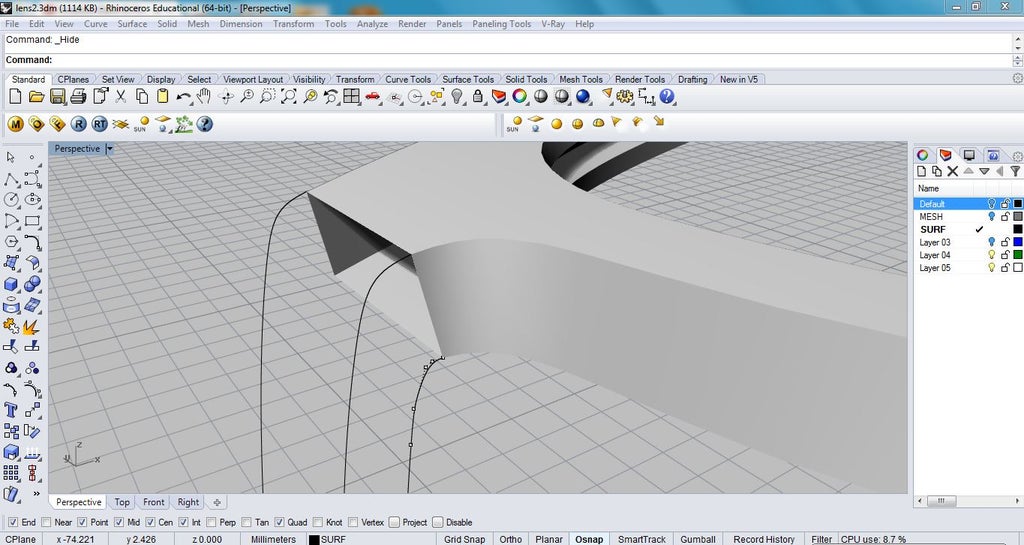
Next design the shape of your arms using two curves. Make sure the curves start tangent to the frame’s surface.
Offset those curves and attach the offsets to the opposite surface of the frame. Use the control points to make sure the offset curves are also tangent to the surface.
Use the frame egdes as profile curves for 2 rail sweeps to build the surfaces of the arms. Join the surfaces and fillet the edges to your desired shape.
Step 7: Model the Hinges
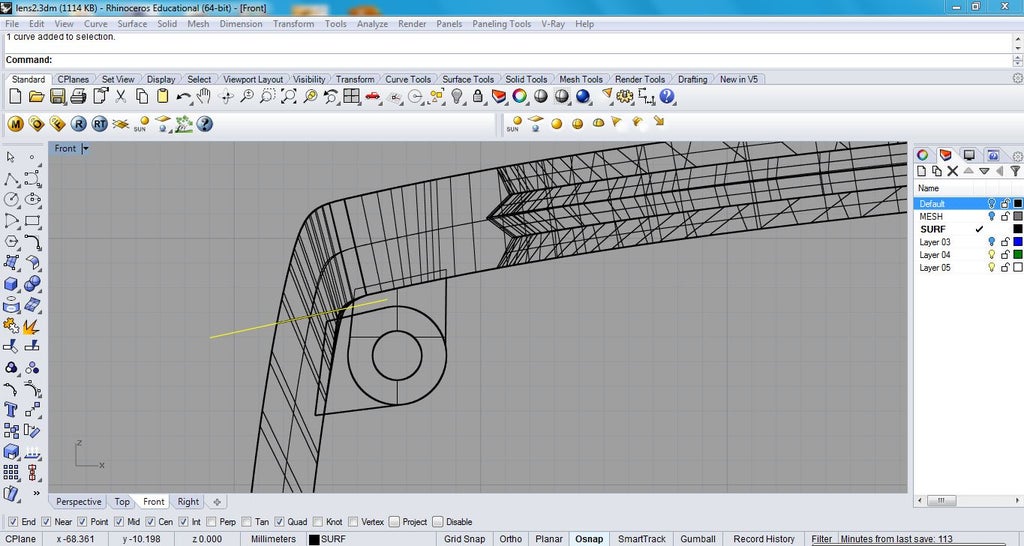

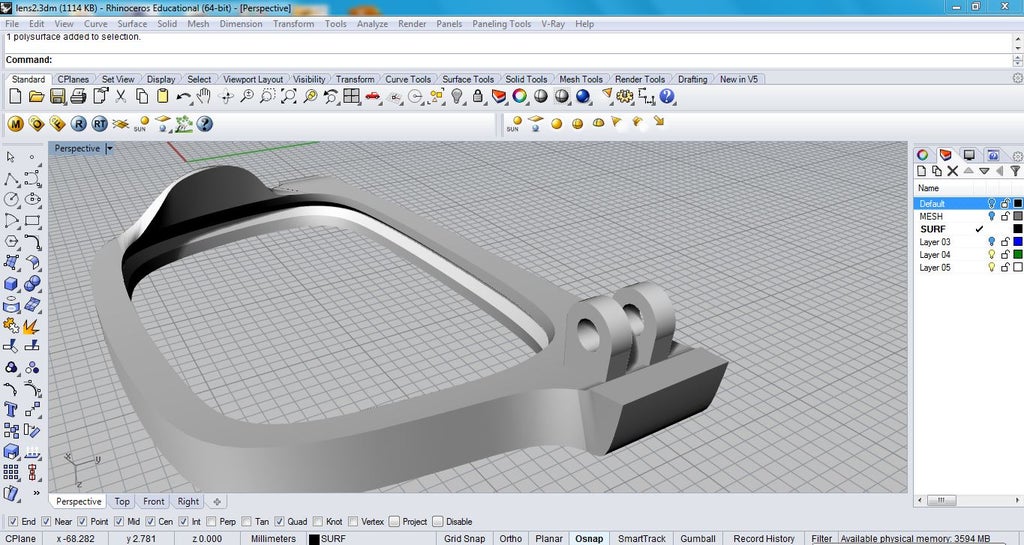
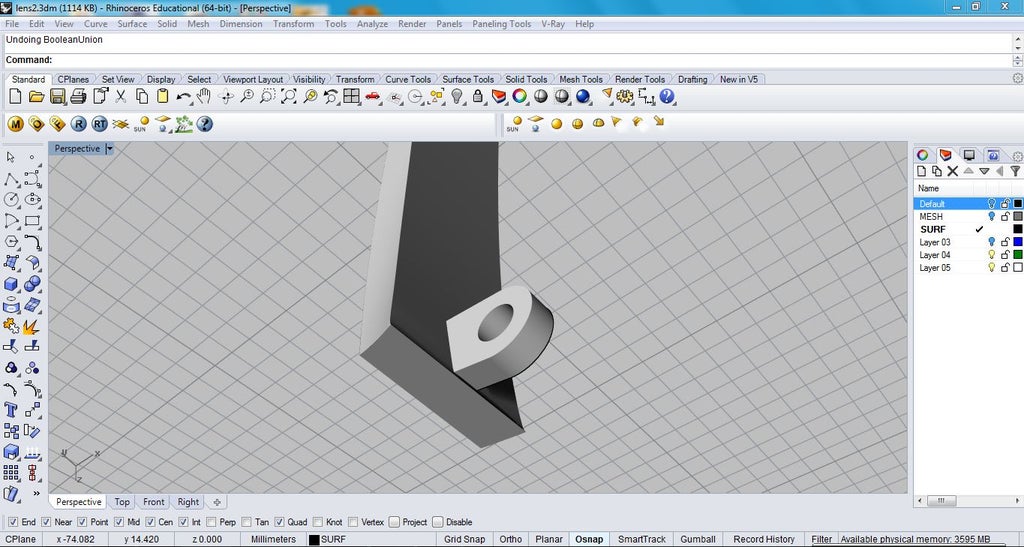
I modeled the hinges using a simple extrusion and boolean union. I used a 2mm screw, so I drew a 2mm circle, then offset it to my desired thickness. Depending on what kind of printer you will be using, you may want to make it thicker and stronger.
Before the boolean union, draw a curve across the arm in the space between the hinge. Use this curve to split your arm from the frame. Then boolean union the appropriate hinge pieces to the frame and arm.
Next, you can mirror your half-frame and arm to make a whole one and get ready for 3D printing!
Source: Aaron Porterfield
Leave A Comment
You must be logged in to post a comment