
The beginning of 2020 is sad. Under this circumstance, the Spring comes as usual. If you feel boring and try to find out something to do, why not think about planting a succulent planter? You can even print a plant pot for your succulent personally if you own a 3D printer. Follow our guide and you can design and make a lovely pot.
What do you need to prepare?
- 3D design software, I’m using Tinkercad (free)
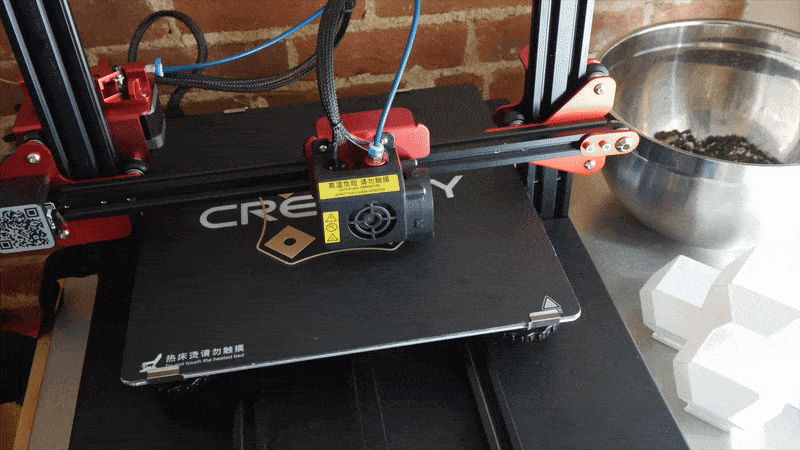
- 3D printer, I’m using the Creality CR10s Pro
- PLA filament, I’m using Hatchbox 1.75mm in Pure White and Wood
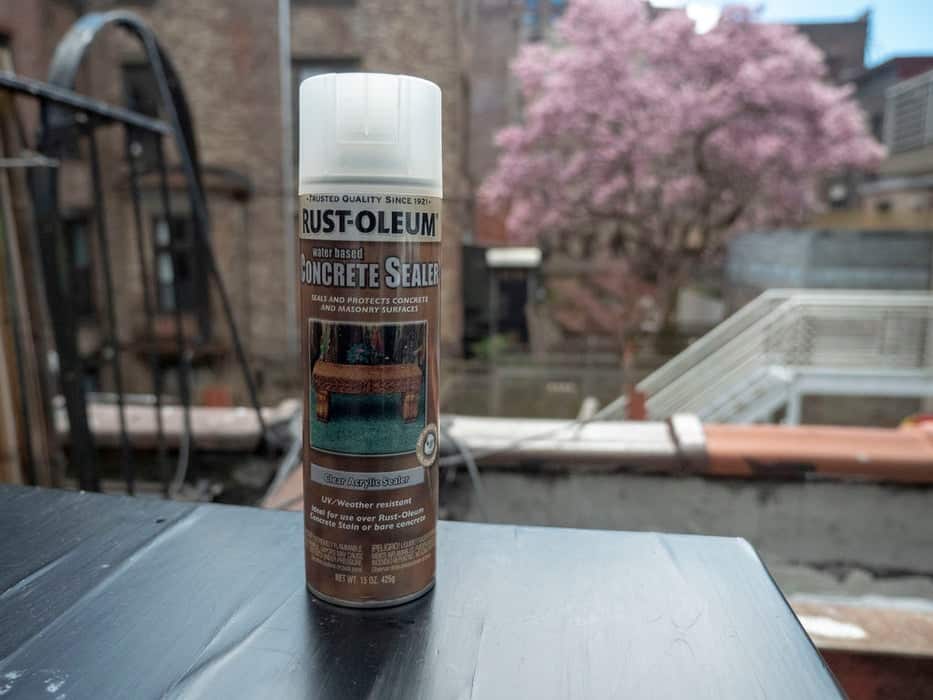
- Spray sealant such as Rust-oleum concrete sealer
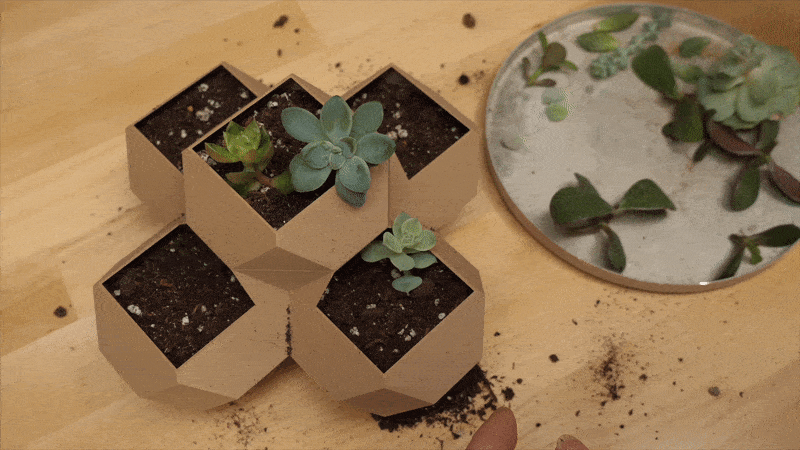
- Potting soil (formulated for succulents)
- Small to medium-sized succulents
- Succulent container gardening toolkit (optional but handy)
- Grow lamp (optional but useful in winter when it’s too cold by the window)
Step 1: Create Plant Pot Base
- Drag and drop a cylinder or your desired plant pot shape onto the work plane.
- Scale the shape to about 30mm x 30mm x 30mm.
- Drag and drop another cylinder on the work plane selected and click a hole in the top right corner.
- Scale hole to 27mm x 27mm x 35mm.
- Raise hole 2mm up off the work plane.
- Drag hole onto the cylinder.
- Using the “align” tool under adjustment, center your plant pot to ensure perfect alignment.
- With both shapes selected, click the group button in the upper right corner. Now you have your plant pot base.

Step 2: Create Water Hole
- Place a cylinder on the work plane.
- Scale the cylinder to 2mm X 2mm X 40mm.
- Select the cylinder and make it a hole.
- Drag the hole into the center of the cylinder.
- Select both shapes and select the “Align” tool from the Adjust menu to ensure perfect alignment.
- While having both cylinders selected, press the “Group” button in the top right corner. You should now have a water hole.
Step 3: Create Plant Pot Lip
- Place a “tube thin” onto the work plane.
- Scale the tube to be 33mm X 33mm X 4mm.
- Lift the tube up off work plane to a height of 30mm or the height of your plant pot.
- Drag the tube onto your plant pot.
- Using the “align” tool under adjust center your plant pot to ensure perfect alignment.
- Group all of the shapes.
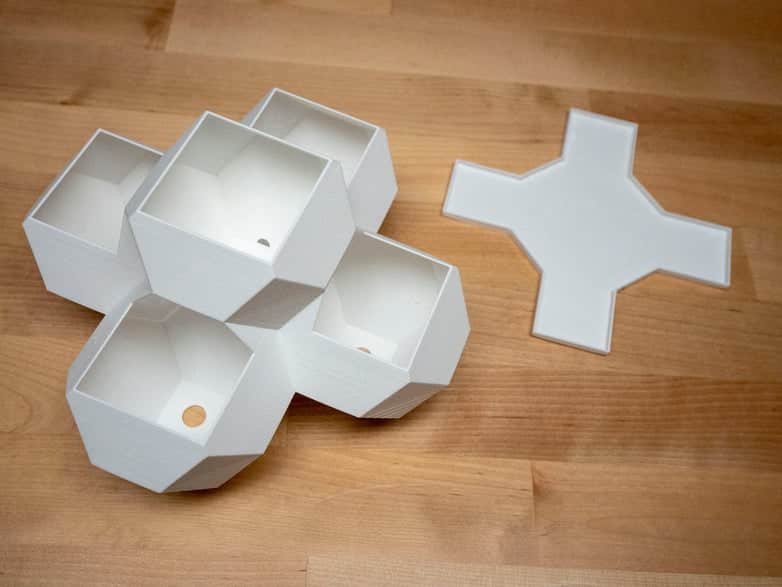
- You now have a plant pot. Keep tinkering to personalize your design.
Step 4: Personalize Plant Pot
- Exploring alternate the shape of your plant pot.
a. A plant pot can be any shape with a hole in it, create your own shapes on Tinkercad by grouping shapes together and creating holes. Alternatively, explore the various shape generators on Tinkercad that are located at the top of the toolbar.
b. The images on the far right are examples of shapes created using the various community and Tinkercad shape generators.
Step 5: 3D Printing
- Downloading File for 3D Printing.
a. Once the design is completed, select “Design” from the upper left corner.
b. Click on the menu option “Download for 3D Printing”.
c. Select the “.STL” button.
d. The file will now appear in the downloads folder and can be opened in any 3D printing software.
- Sending Model to Print
a. If you don’t have a 3D Printer, you can easily send a 3D model to print through Tinkercad.
b. Once the design is complete select “Design” from the upper left-hand toolbar.
c. Click on the menu option “Order a 3D Print”.
Source: Becky Stern