
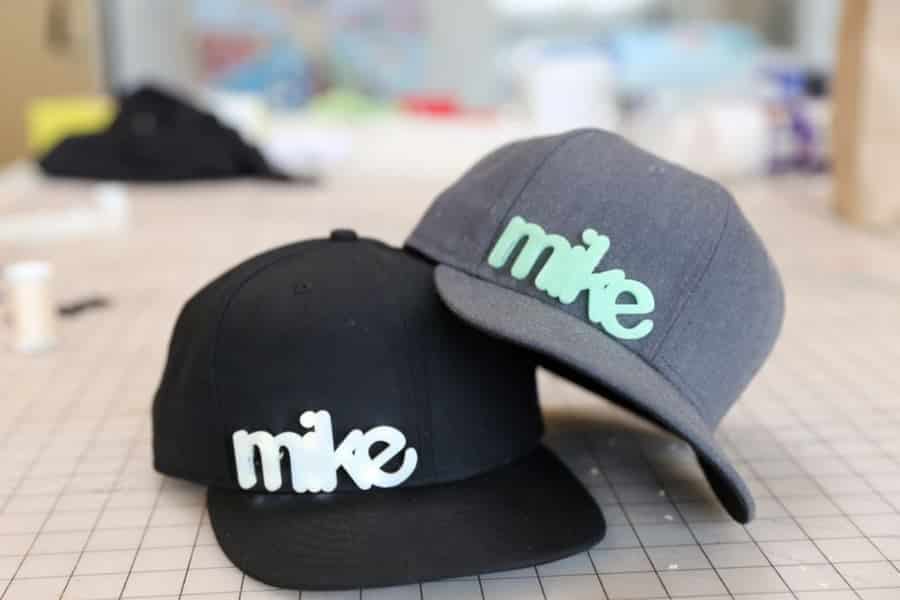
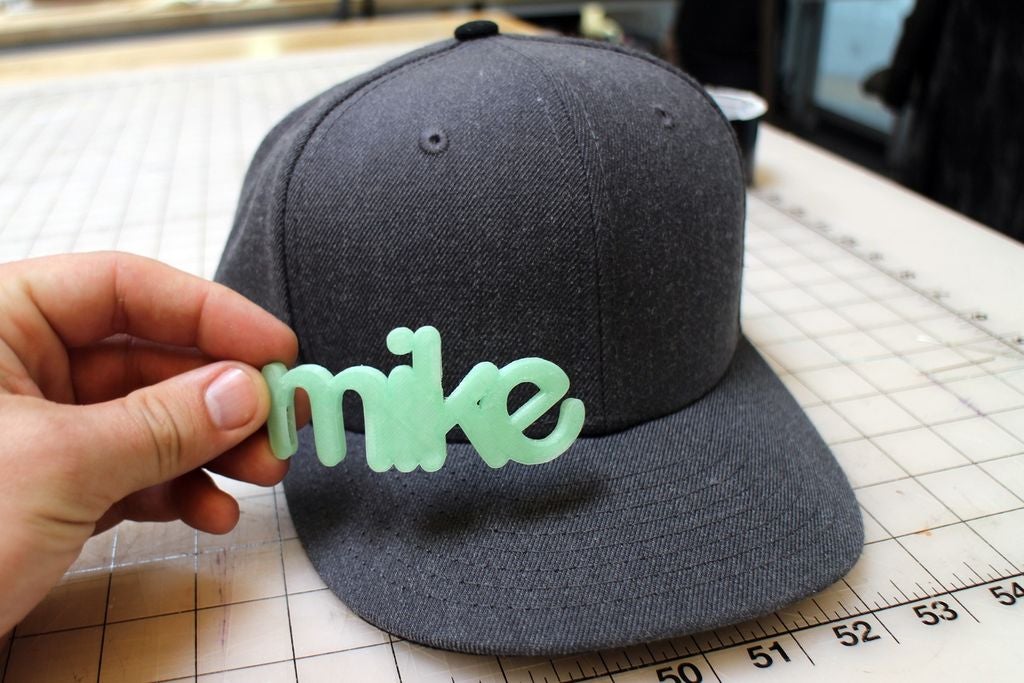
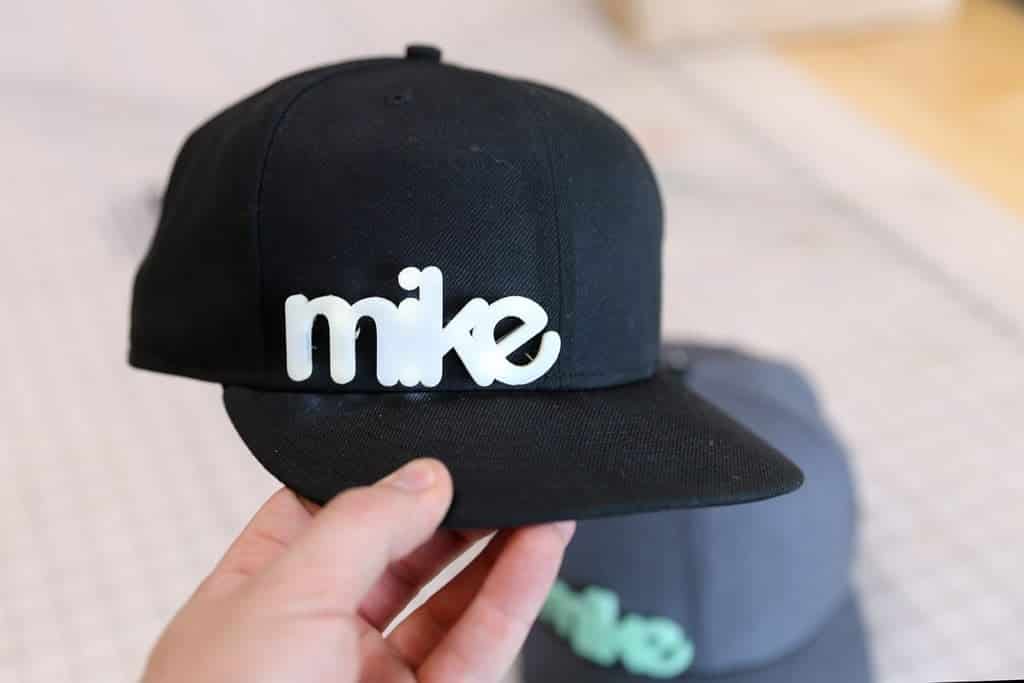
Wanna customize a decoration for your accessories like some graphics? Embroidery may be something too difficult for us. But 3D printing graphics is an easy small-scale project with large scale potential to advertise you, your company, or any other message you’d like to transmit. It can serve as personal identifications on your baseball cap, sun hat, back jeans pocket, tote bag, backpack, or just about anywhere else where you can sew the letters on.
Adafruit’s Becky Stern and the Ruiz Brothers have created custom 3D hat graphics with sewing tabs to attach to any piece of cloth and launched a video tutorial. We also provided you with easy step by step directions to follow. Here we go!
Firstly, You will need:
- A blank cap or other accessories to mod
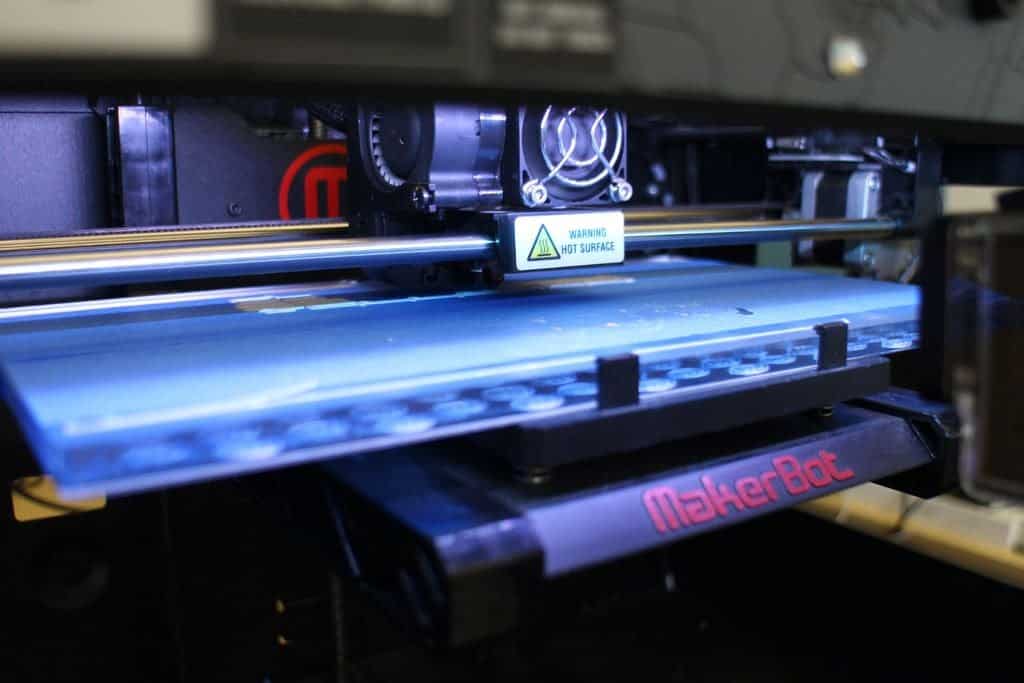
- Access to a 3D printer
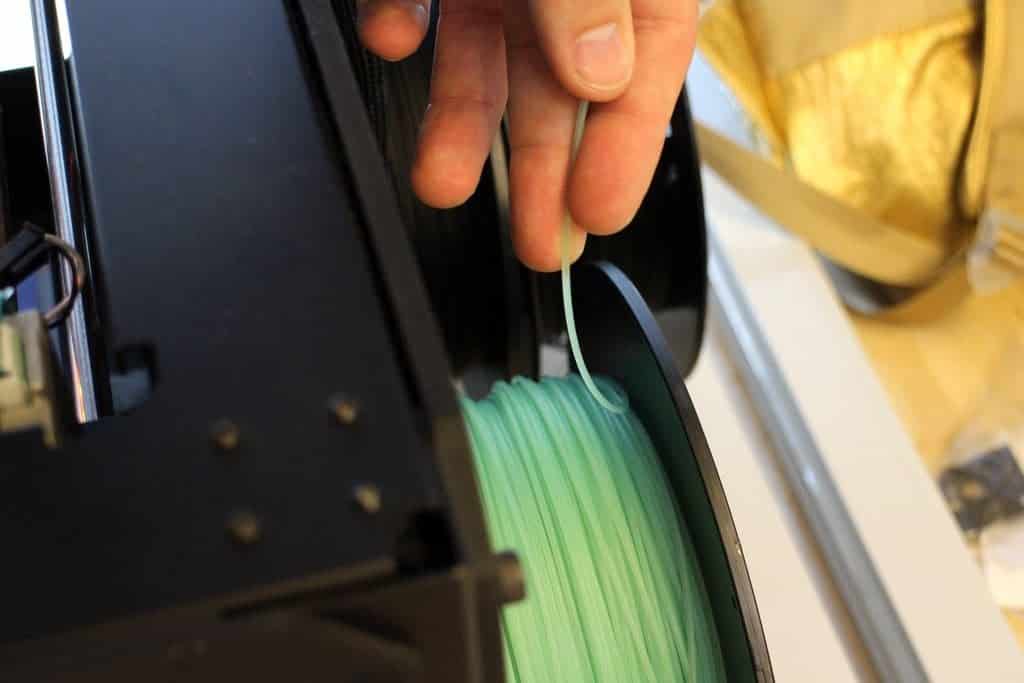
- Flexible filament like NinjaFlex (SemiFlex preferred) NinjaFlex “performs best in printers with direct-drive extruders using settings similar to standard rigid ABS filament.” Adafruit recommends SemiFlex because it is slightly more rigid and glossier than the original Ninjaflex material.
- Or PLA filament + hot water and a rotary tool If you only have PLA for this project, you can dip the printed letterforms in just-off-the-boil water for a few seconds and then lay the part on your hat – remembering that parts heat unevenly.
- Sewing needles + pins You may have to use a small bit and rotary tool to drill out sew holes so that the needle can pass through and attach the letter to your hat.
- Thread to match your filament
- Scissors
For slicing, it is recommended you use the following printer settings:
- A 230 c extruder temperature;
- A 30 mm/sec print speed;
- 4 top & bottom layers;
- 10% infill;
- 2 shells.
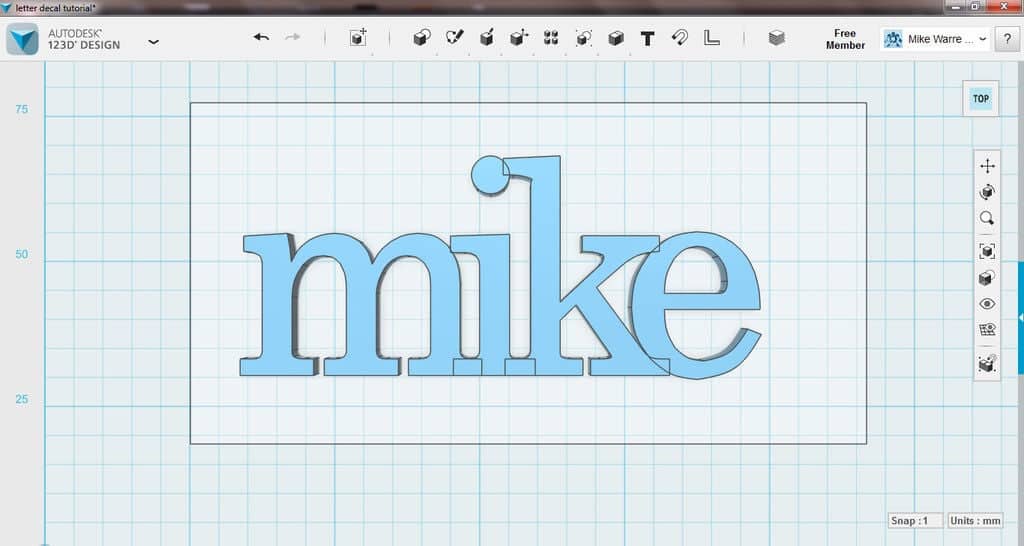
Step 1: Design the hat graphics in 123D
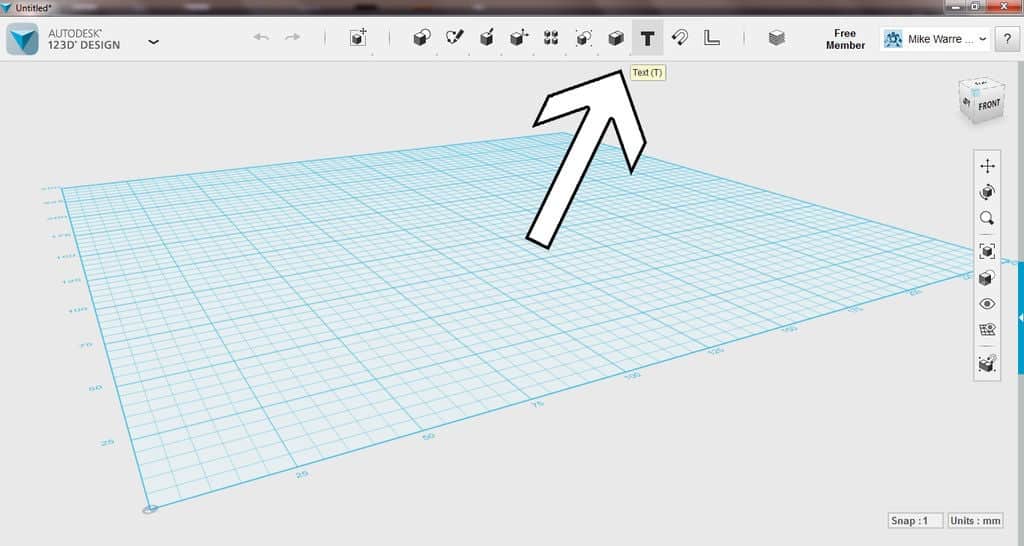
The best part of the software is that it has a text function, which will make our name graphic really simple to make and modify.
Once installed you can store your models online so you can access them from anywhere.
The interface is similar to other 3D modeling software, and employs the use of your secondary mouse button to navigate the project area.
On the top toolbar, there’s a text tool, represented by a capital “T”. Click this, then click on your project area to place the writing cursor.
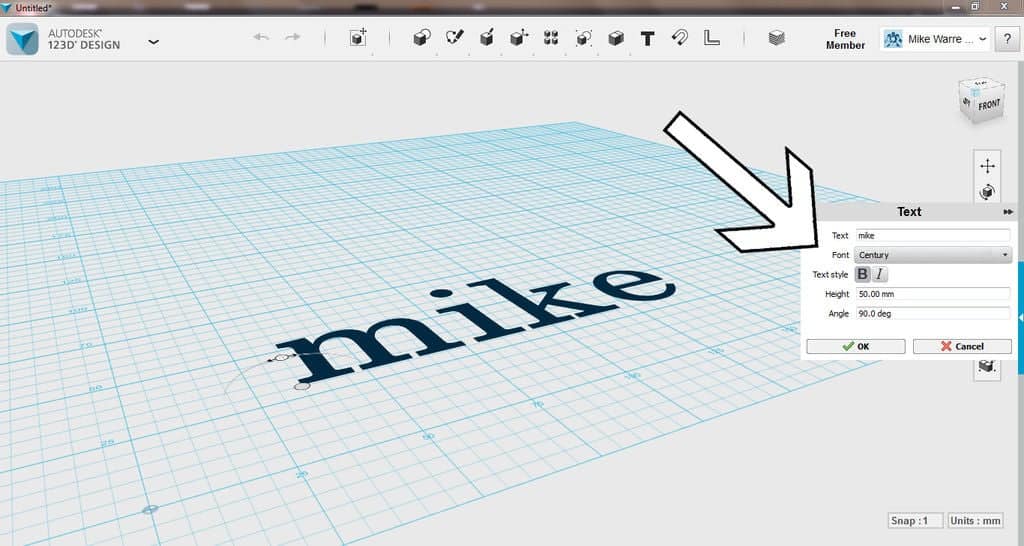
A new text window will open where you can edit the text to spell out your word. You need to change the text in the window before the word will show up on the project area. You can choose the font you want from a large list, it’s all the fonts loaded from your computer. Some may not appear in the 123D interface.
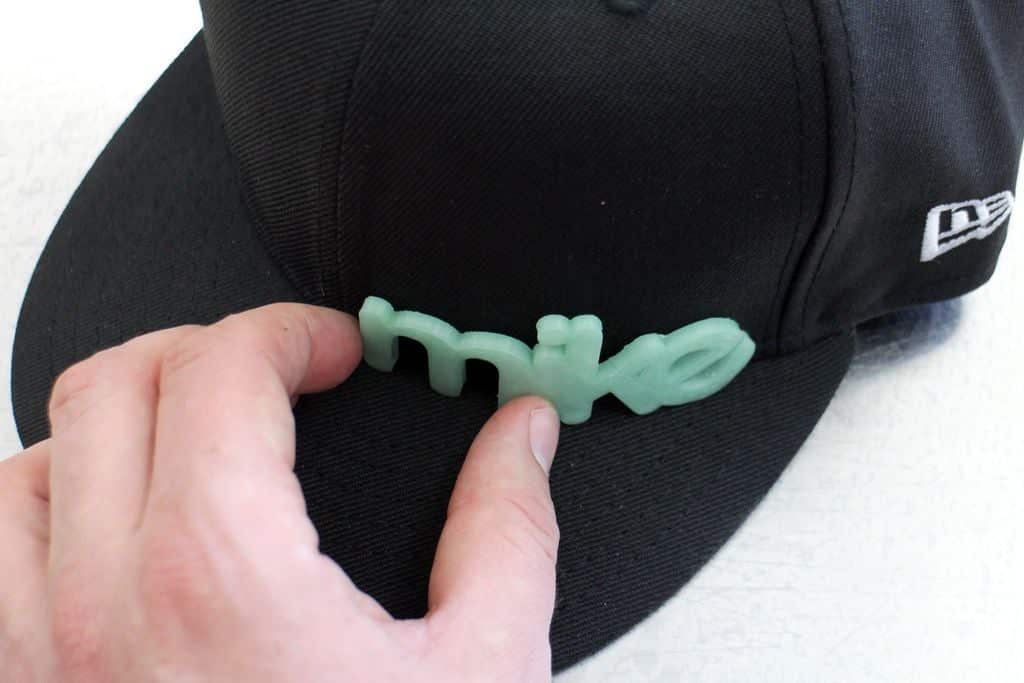
We chose a blocky font with a height of about 50mm.
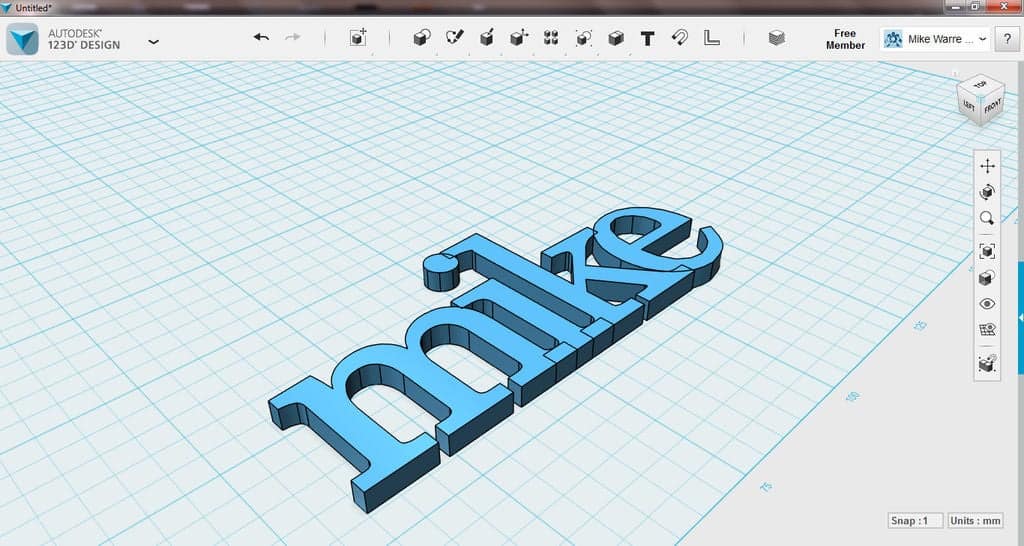
Step 2: Extrude the text in 123D to set the height
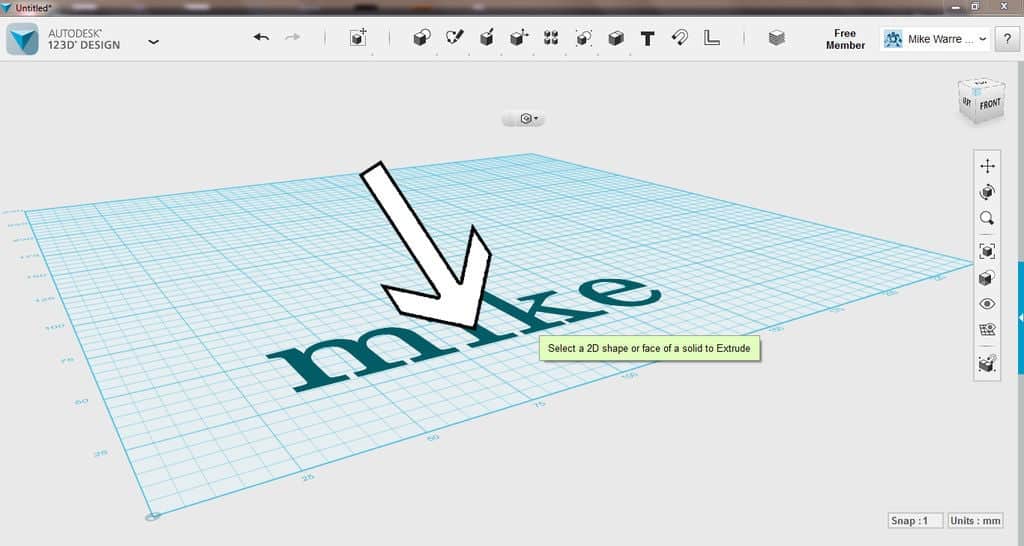
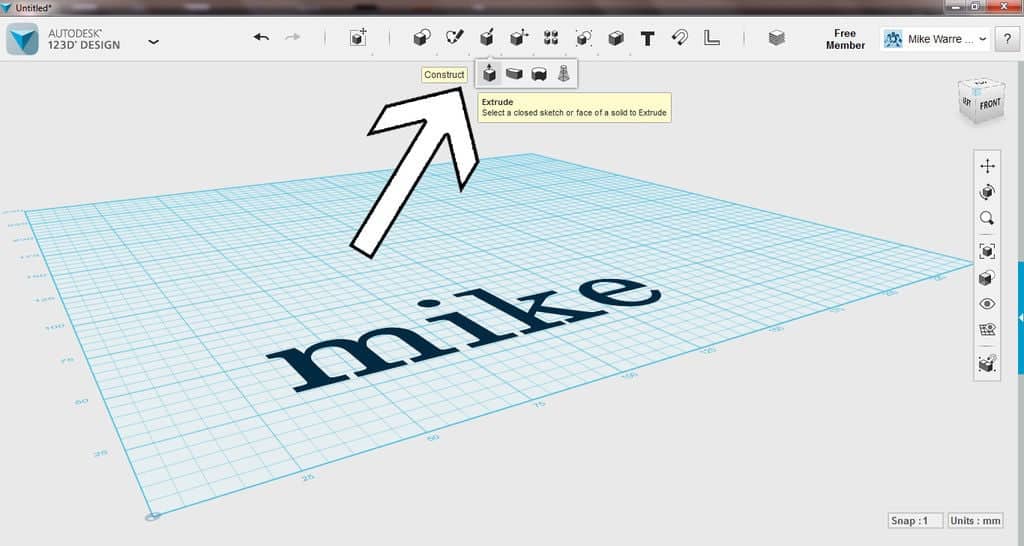
Once your text is written out we can extrude the letters to build up their height.
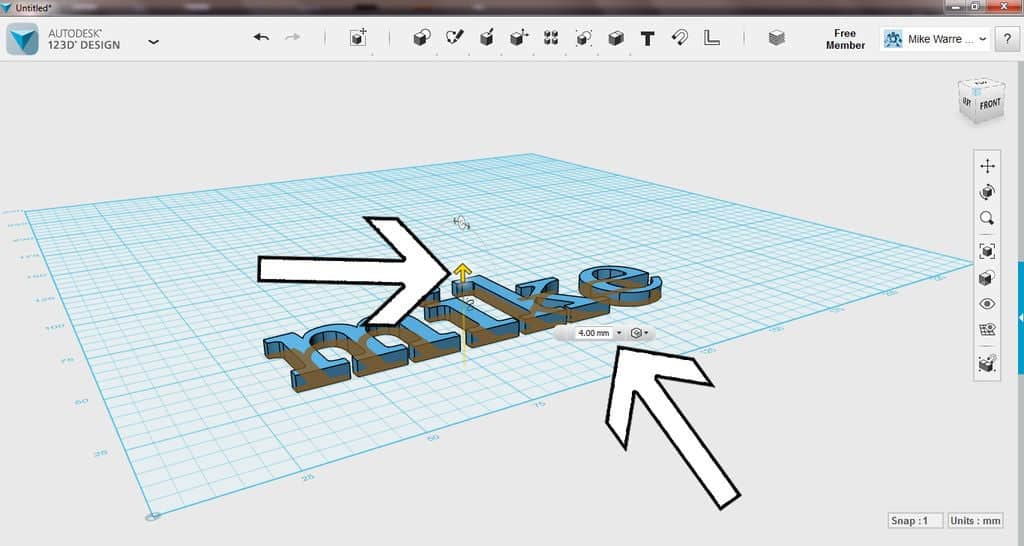
Highlight the text on the project area. From the top toolbar find the construct icon, then click on the extrude. An arrow will appear over your text which you can grab and pull. You can also enter a value for the extrusion height. In this tutorial we chose 4mm.
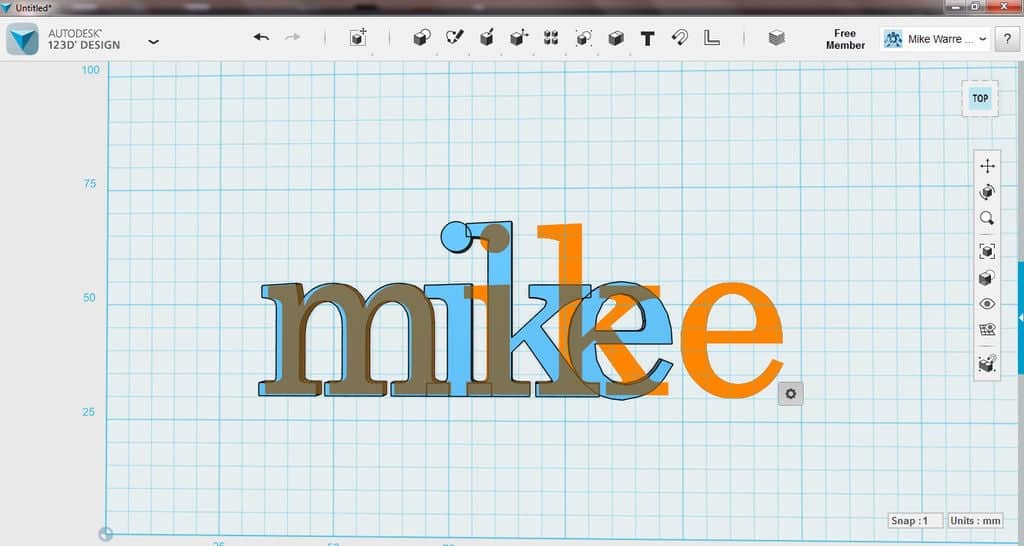
Step 3: Move the letters to make them slightly overlapping
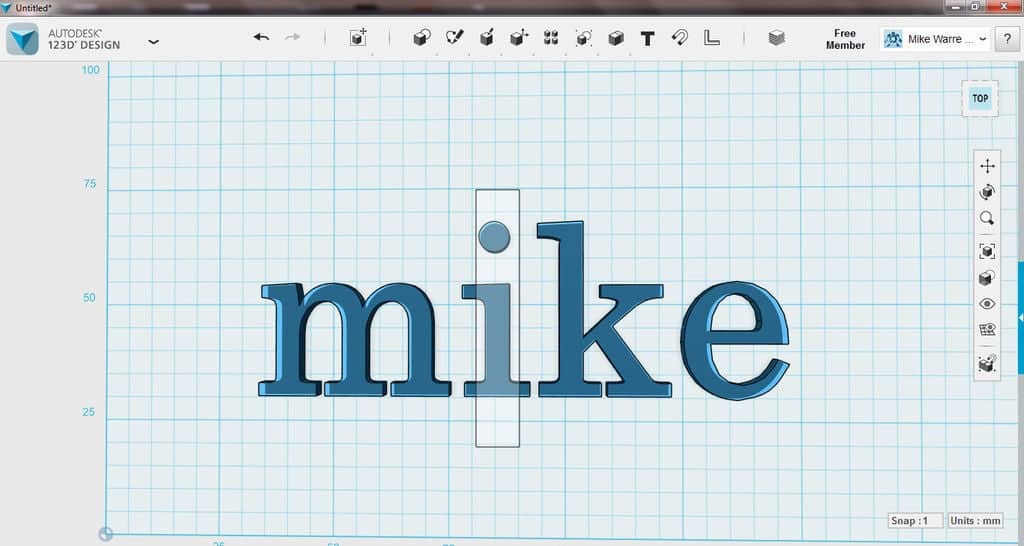

Navigate your view somewhere above the extruded letters, looking down at the text.
Drag a window around one of the letters, from the toolbar that appears on the bottom chose the move command.
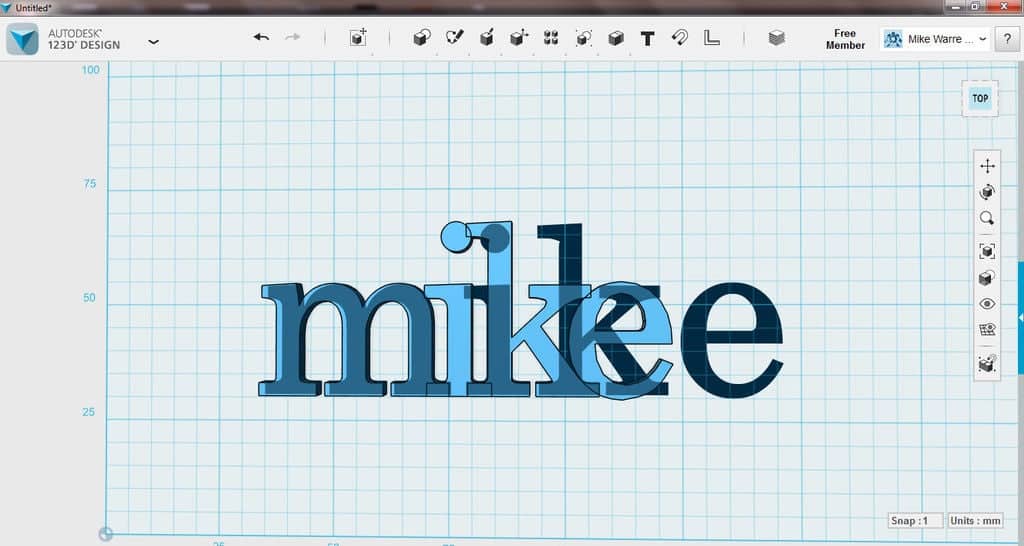
Use the arrows that appear over the highlighted selection to move the letters closer together, overlapping slightly to provide stability in the printout.
Step 4: Delete Reference Text
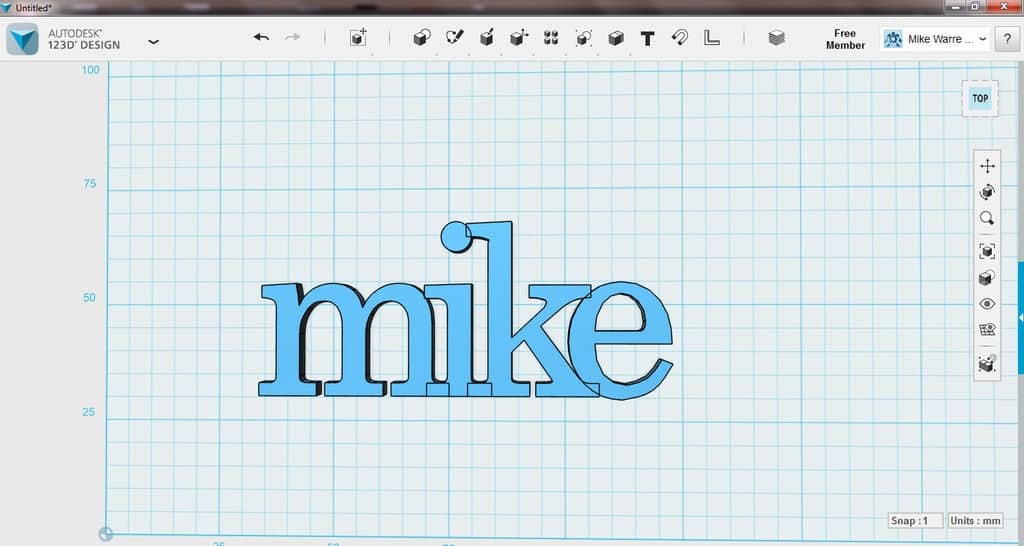
Once the letters are in the right position we can click the reference text we typed earlier to highlight it, then delete the reference text.
Take a moment now to navigate around your lettering to make sure things look the way you want.
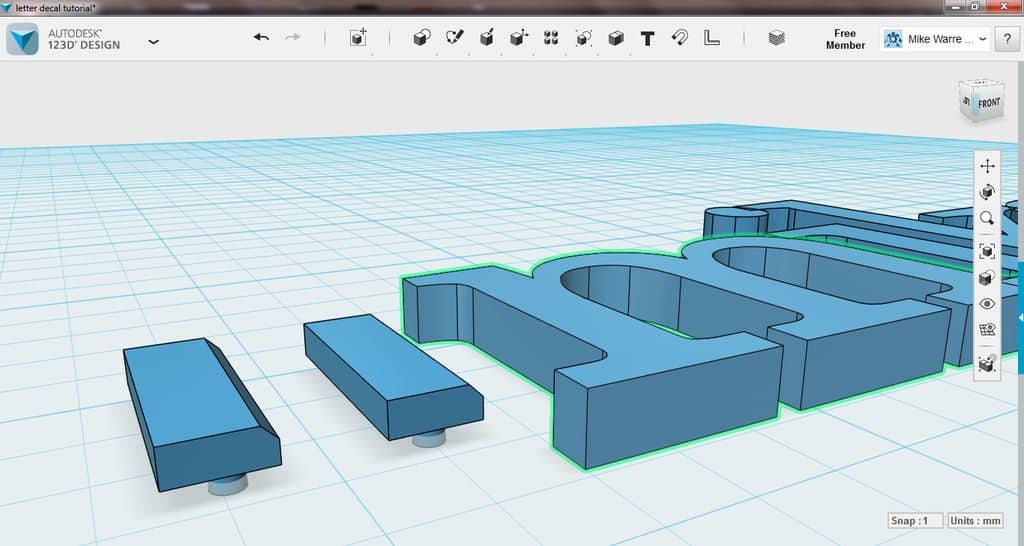
Step 5: Sewing Wedge
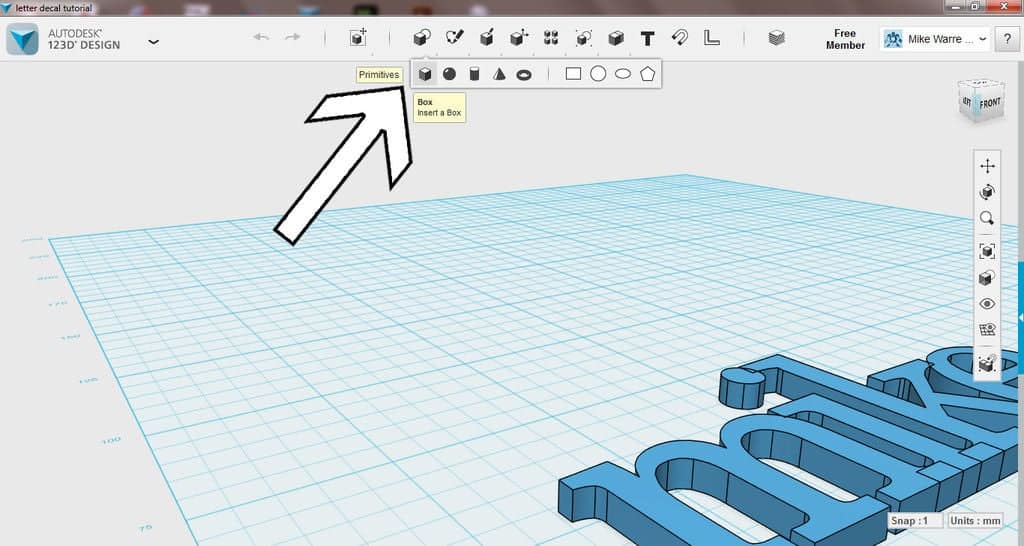
To sew this printout there need to be small openings that will allow a needle and thread. To make this we’ll use a the box and cylinder primitives to create an extruded wedge shape with two pegs underneath; this will be the shape we use to subtract from the lettering to make the sewing channel.
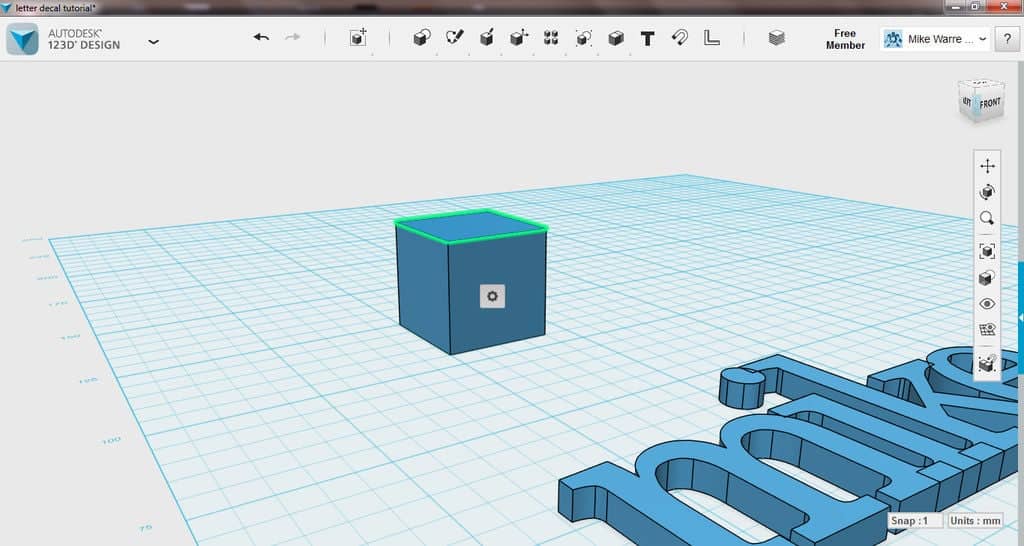
Drop a box onto the scene from the primitives toolbar on the top.
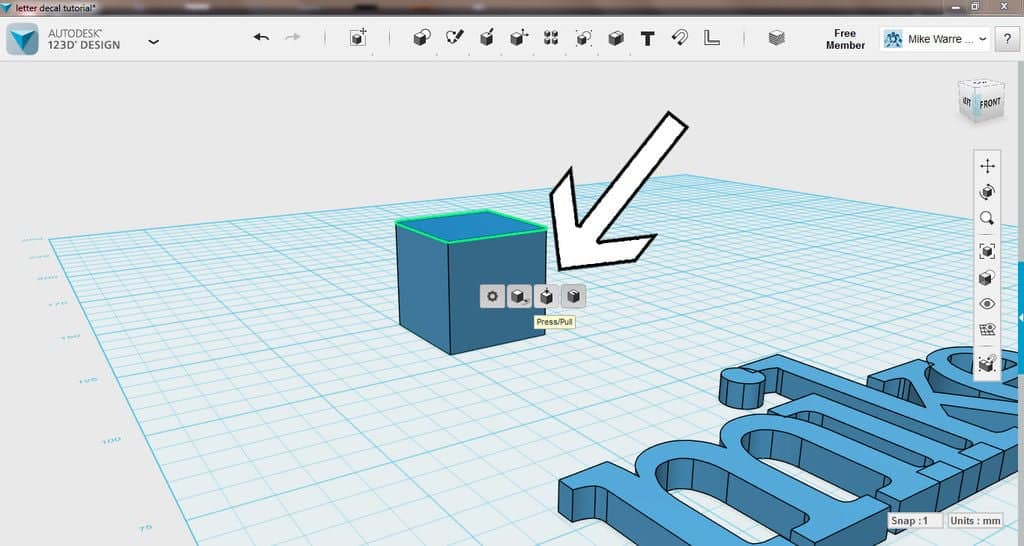
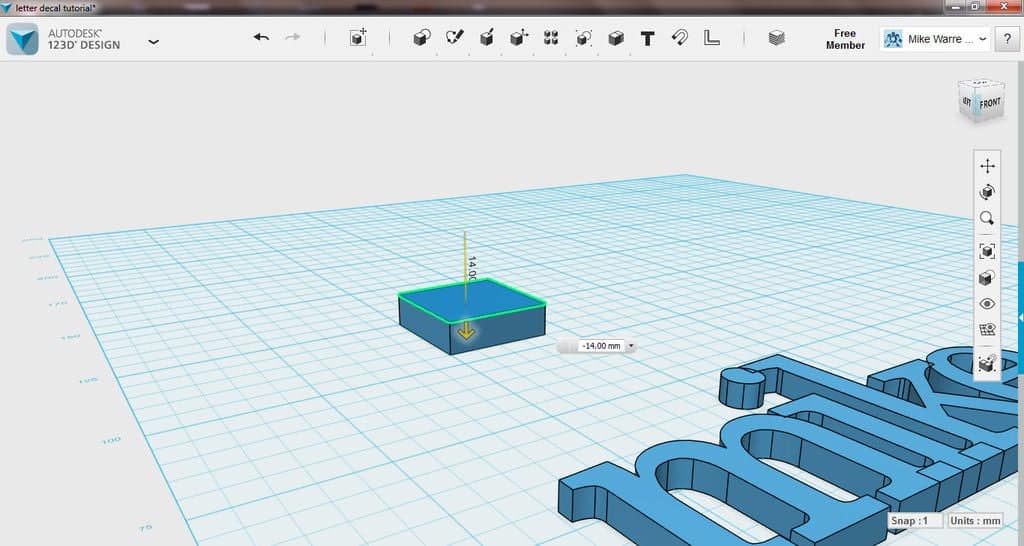
To resize the box start by highlighting the primitive, then click on one surface, this will display a small gear icon that will allow you to modify that property of the model. Click the press/pull and move the surface down which will squish the model. Using the same technique you can resize the box to a small rectangle shape.
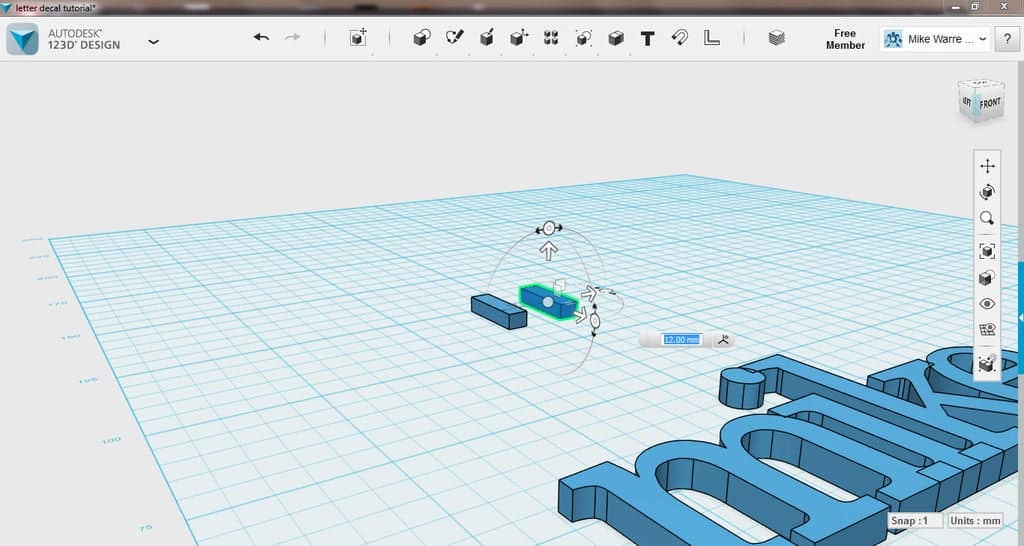
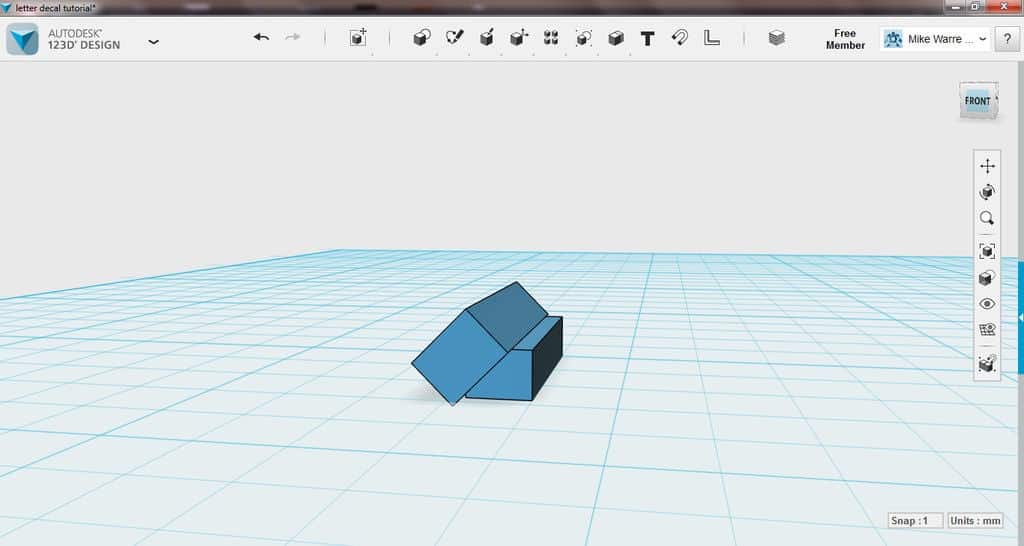
Copy this shape and paste a copy next to the original, rotate the copy about 60 degrees along its long axis. Move the tilted copy over the original to overlap over one of the long edges.
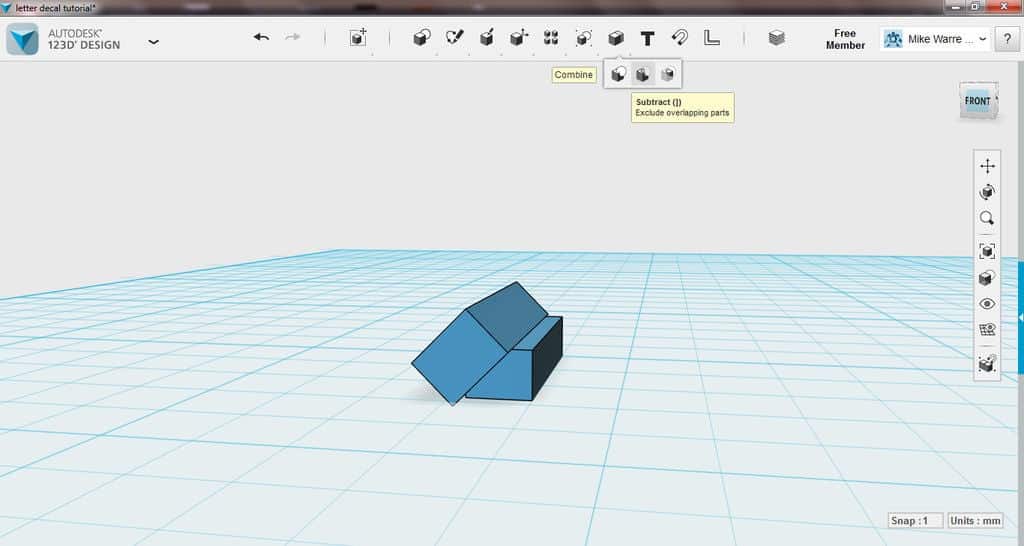
To subtract two models click the combine icon from the top toolbar and then click subtract. Select the model that you wish to remain first, then click the rotated copy to indicate this is the shape you wish to subtract. Press enter to accept and you should be left with a wedge shape extrusion.
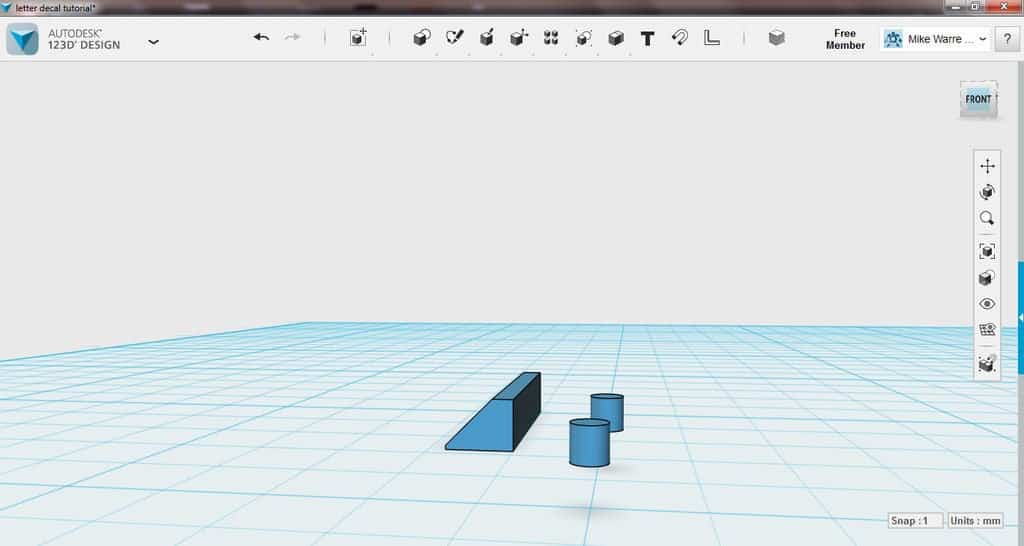
Drop a new primitive into the scene, make this one a cylinder.
Click the cylinder, from the bottom toolbar click the scale icon. Drag the arrow on the model to scale it down. We’ll use the small cylinder as one of the legs for under the model. These legs will allow the needle and thread to pass through and secure the graphic to your hat.
Click the cylinder model and move it underneath the wedge extrusion. Copy and paste the cylinder to make a duplicate and move it to the other side of the wedge extrusion.
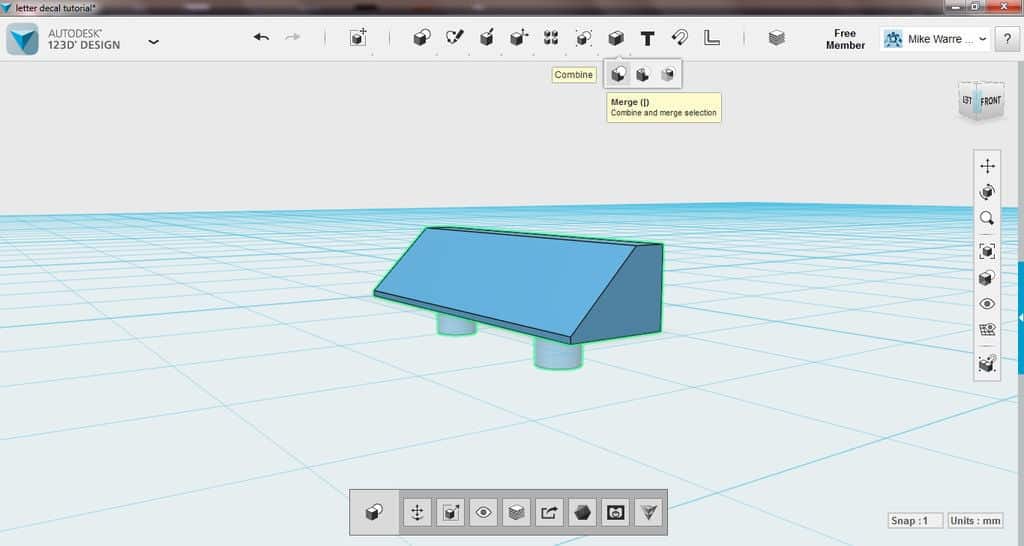
From the top toolbar click the combine icon and merge. Click the wedge extrusion and both cylinders, then click enter to accept the merge.
This combined model will be the wedge shape we subtract from each letter to make an opening for sewing.
Step 6: Subtract Sewing Wedge
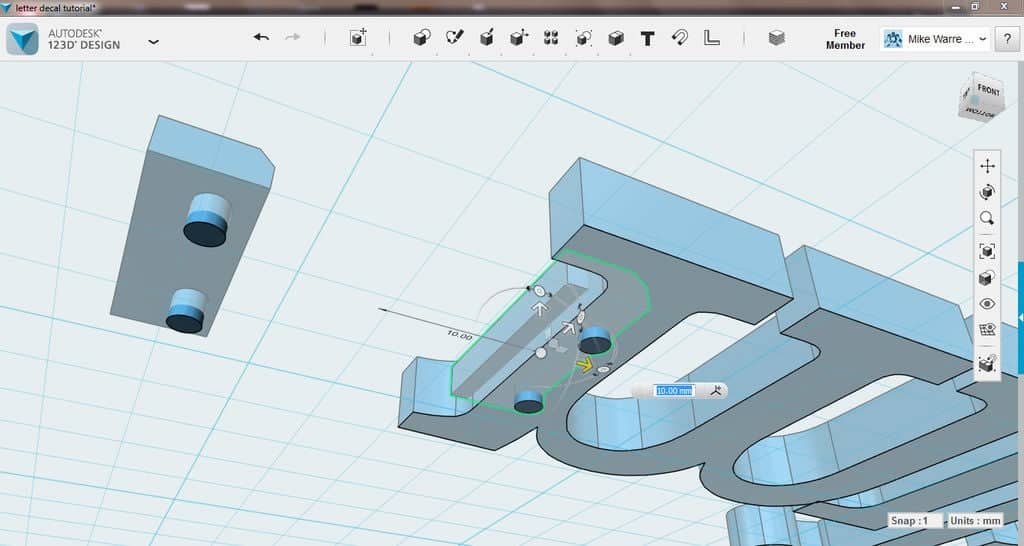
Move the wedge near a flat portion of your lettering. This wedge model will be subtracted from the lettering to make an opening with thread can pass through. Depending on how big you made the wedge, and the font you used, you can conceal these wedge subtractions in some inconspicuous places on your model, making the subtractions less noticeable.
Since you lose the subtraction always copy and paste a new wedge from the original.
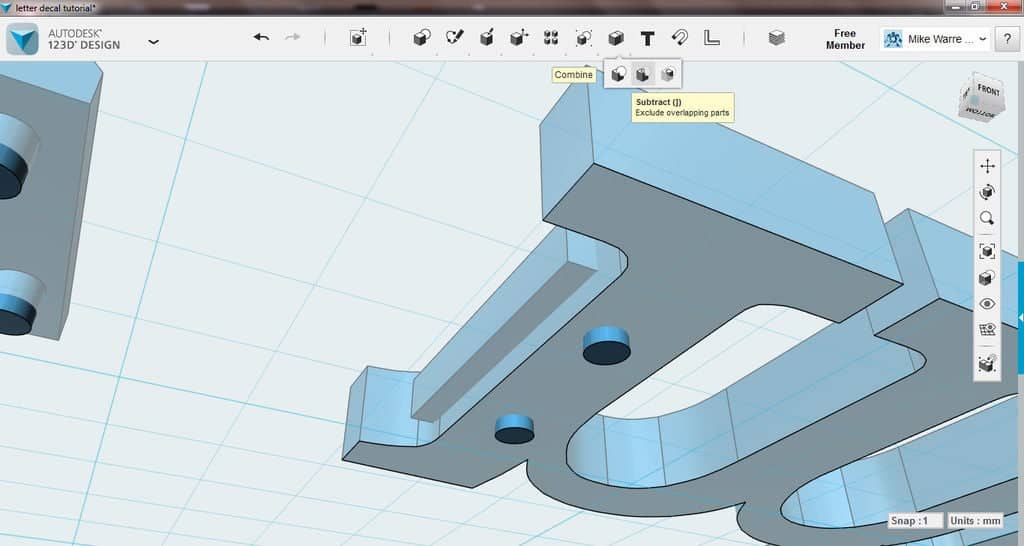
Click the wedge model copy and move it into a flat section of the lettering, with the legs poking through the underside of the letters and the square back of the wedge are poking out the back. From the top toolbar, click combine then subtract. Click the letter first, and then click the wedge copy and enter to accept. You should be left with a channel opening with two holes in the underside.
If your subtraction is not what you wanted you can undo and push/pull some sides of the wedge model to get the profile you need. Then go back and try to subtract the wedge shape again.
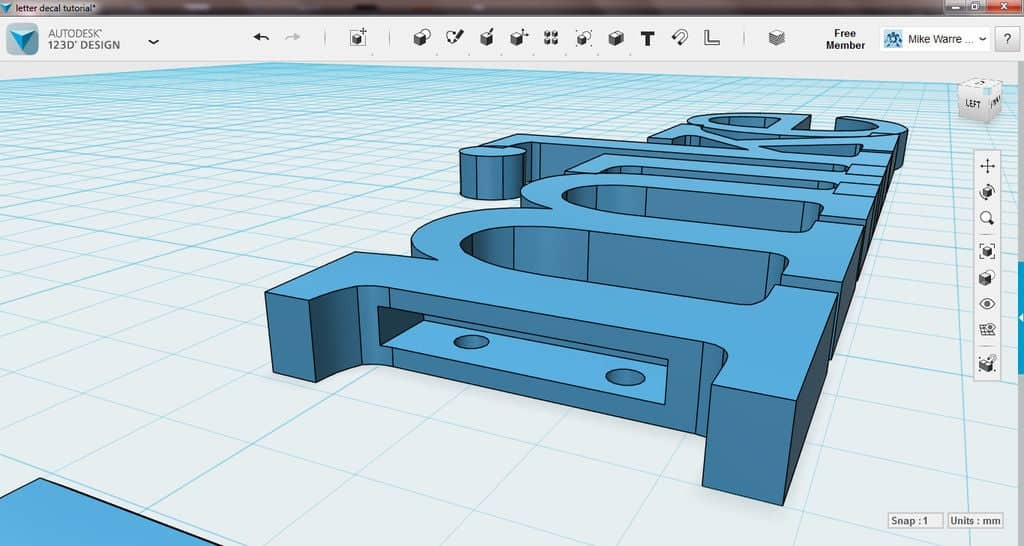
Step 7: Export the STL file and 3D print it
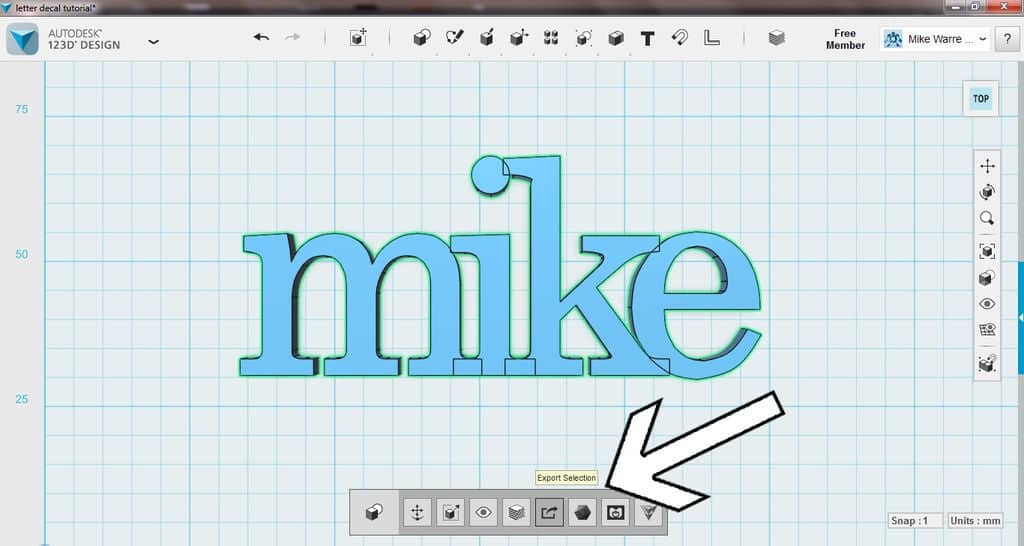

Once you are happy with the placement of the wedge subtractions, you can drag a window around the letters and from the bottom, toolbar click the export selection.
Save the file as an STL file. Then you can have a rest and watch your 3D printer to accomplish your idea.
Step 8: Clean the model
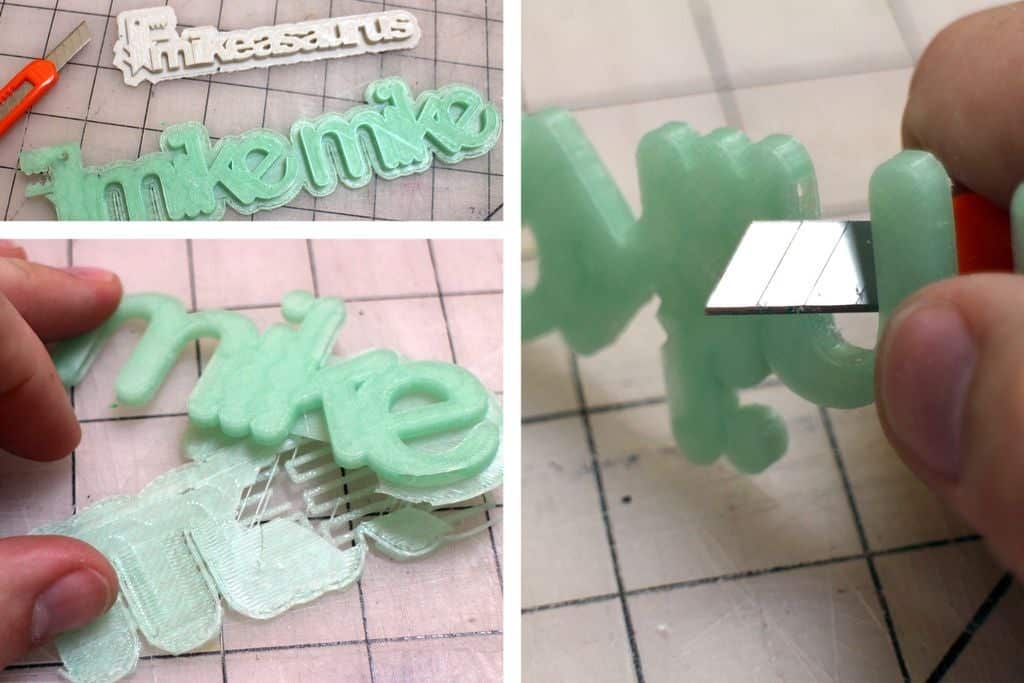
After printing, you may have to clean your model of any support structure. A sharp hobby knife can help to clean up the edges and give a nice crisp design. Take a look at the sewing channels and ensure there’s a clear path for you to sew through.
Step 9: Heat and bend the graphics with hot water
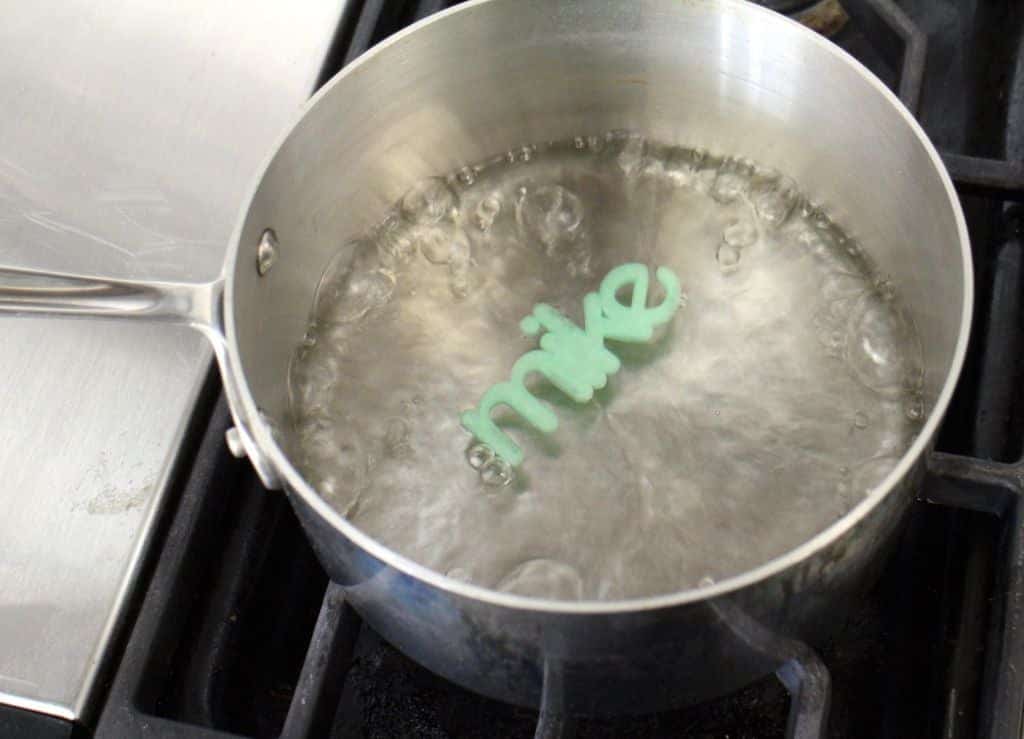
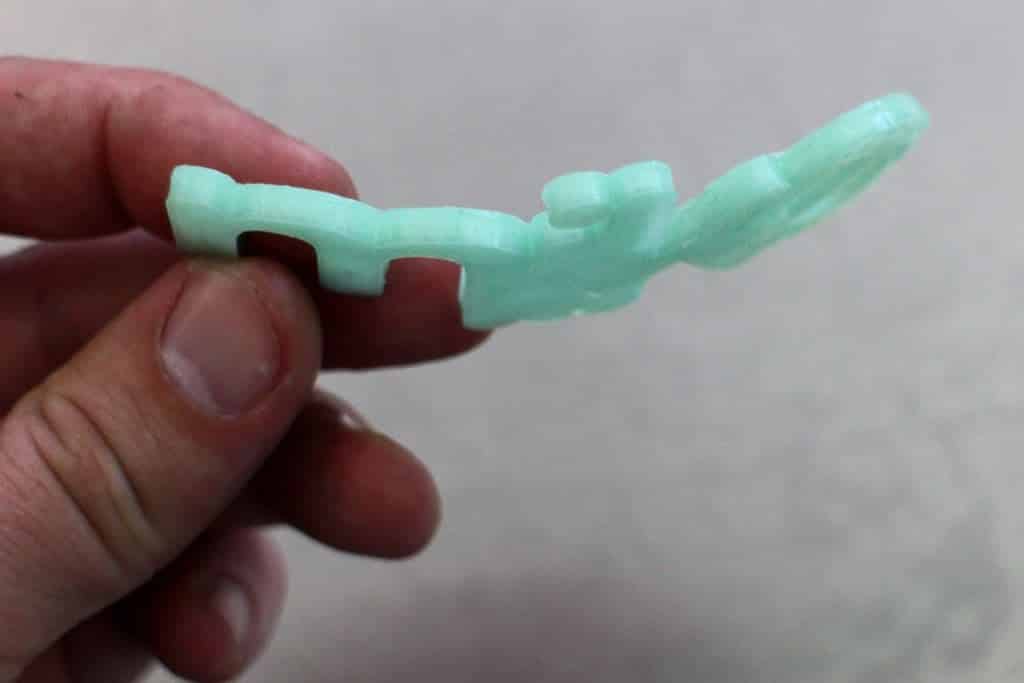
Put a small saucepan of water to boil, then reduce heat to a low boil. Using tongs put the model into the scalding water for about a minute, then use the tongs to remove the model and bend it to the profile of your hat.
The model will be very hot, maybe too hot, try wrapping the hot model in a cloth to insulate your hands before banding.
Repeat placing models into the hot tub to warm them up and bend.
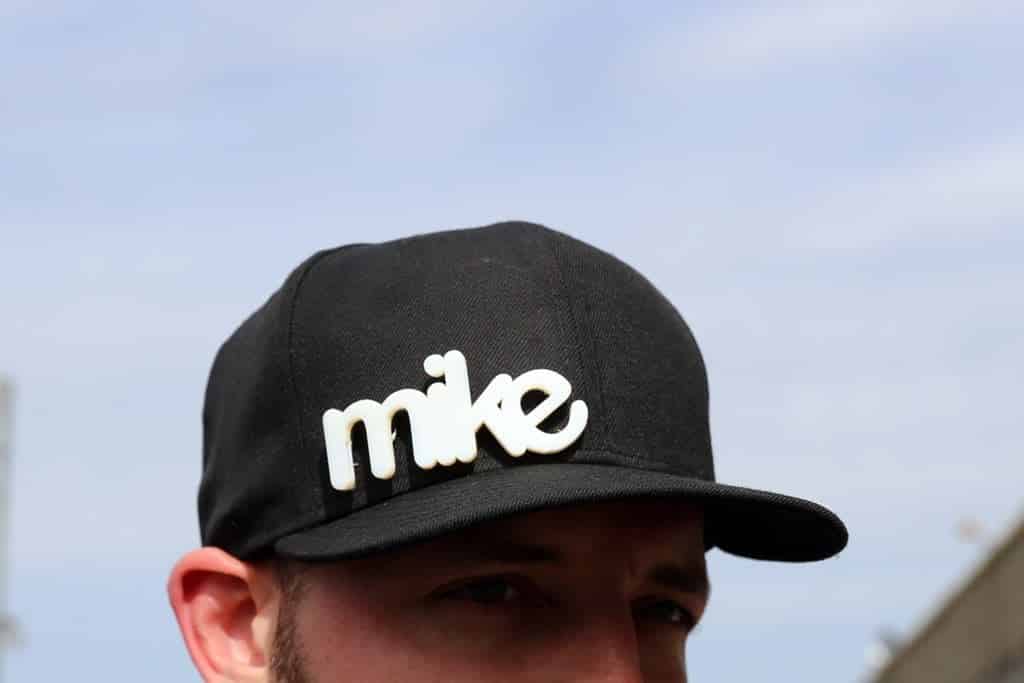
Step 10: Sew the graphic into your hat
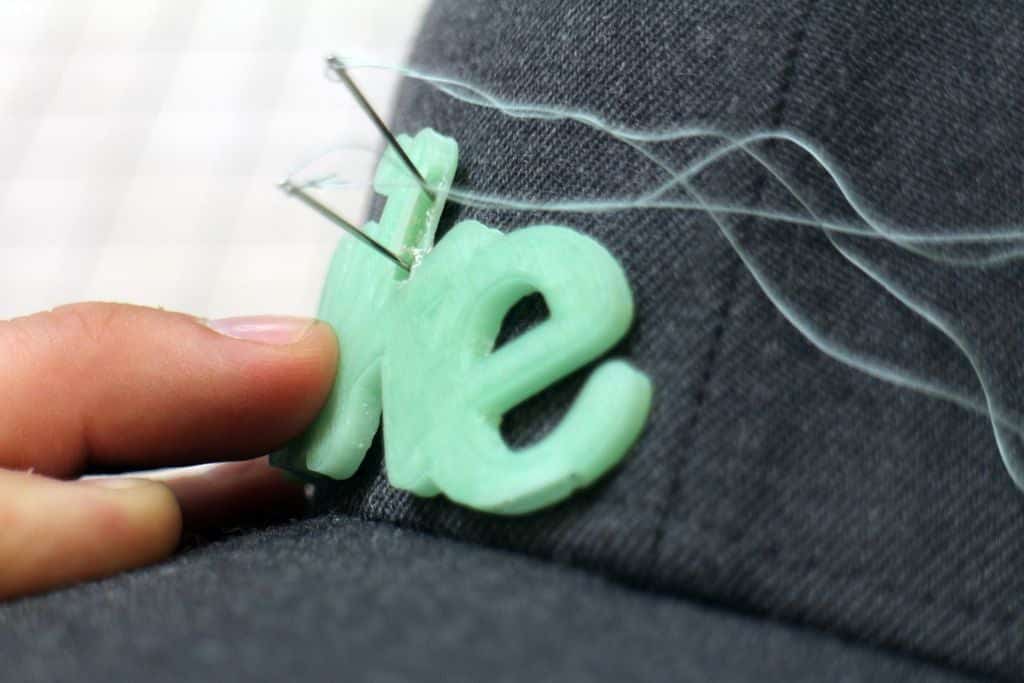
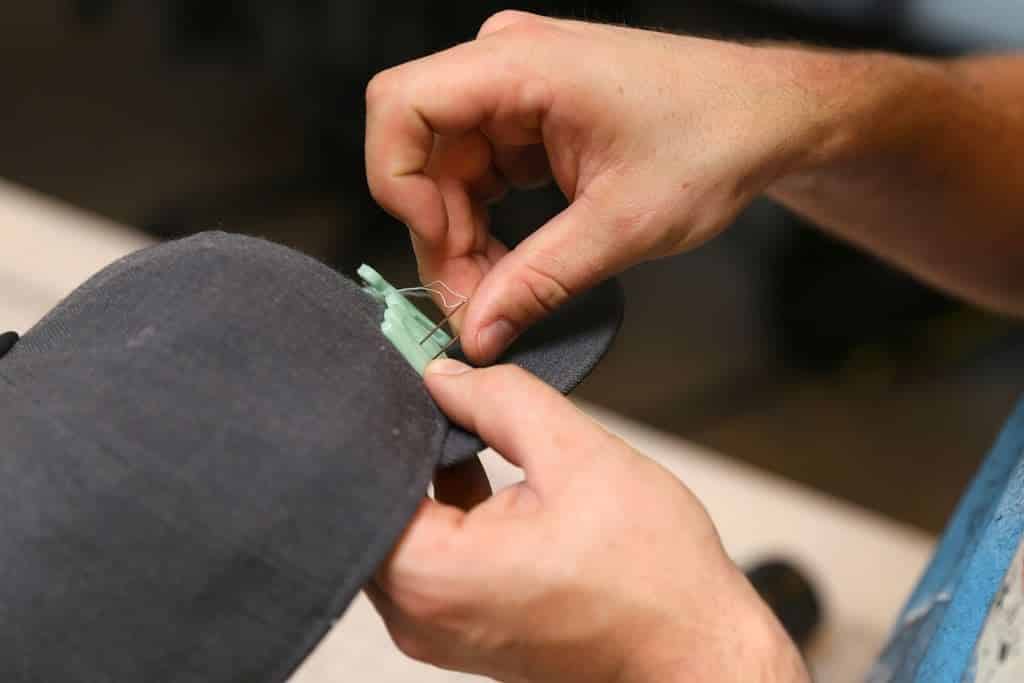
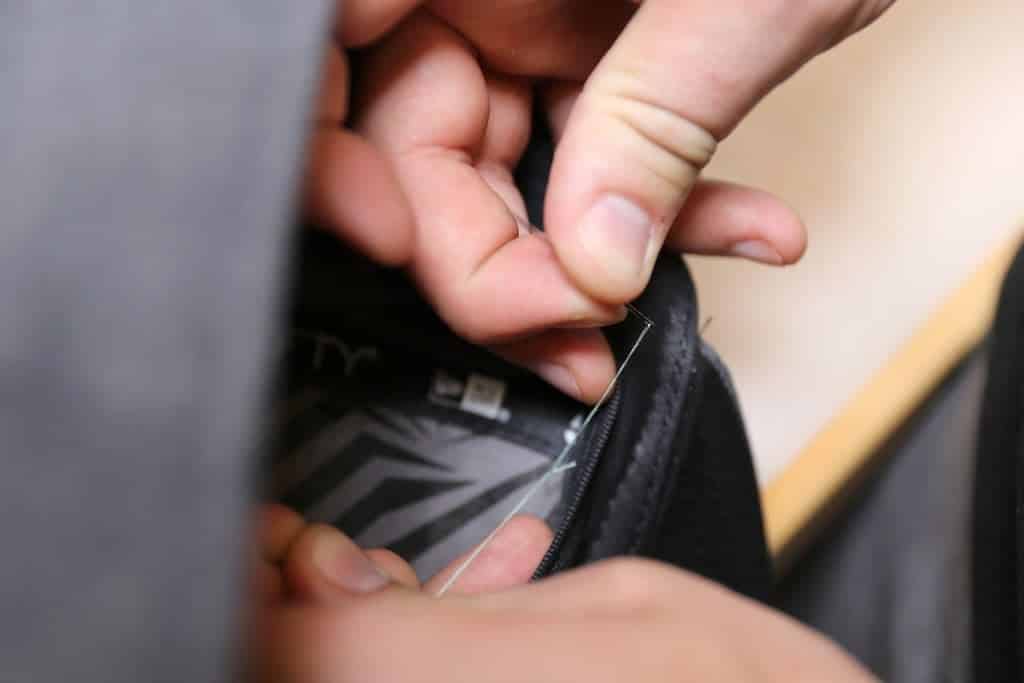
After bending the graphics, they can be sewn into the hat.
The trick is to use a thread with 2 needles, threading the needles through each opening in the letter channel. Once the needles have been passed through the holes in each channel they can be tired off from inside the hat.
Step 11: Sanding and installing the LED
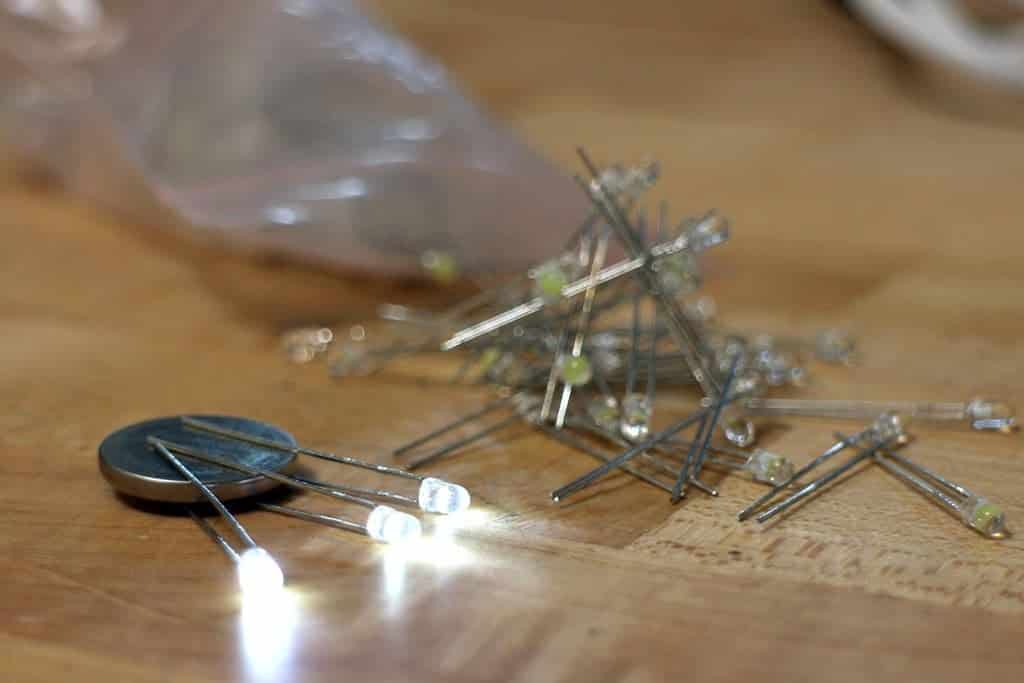
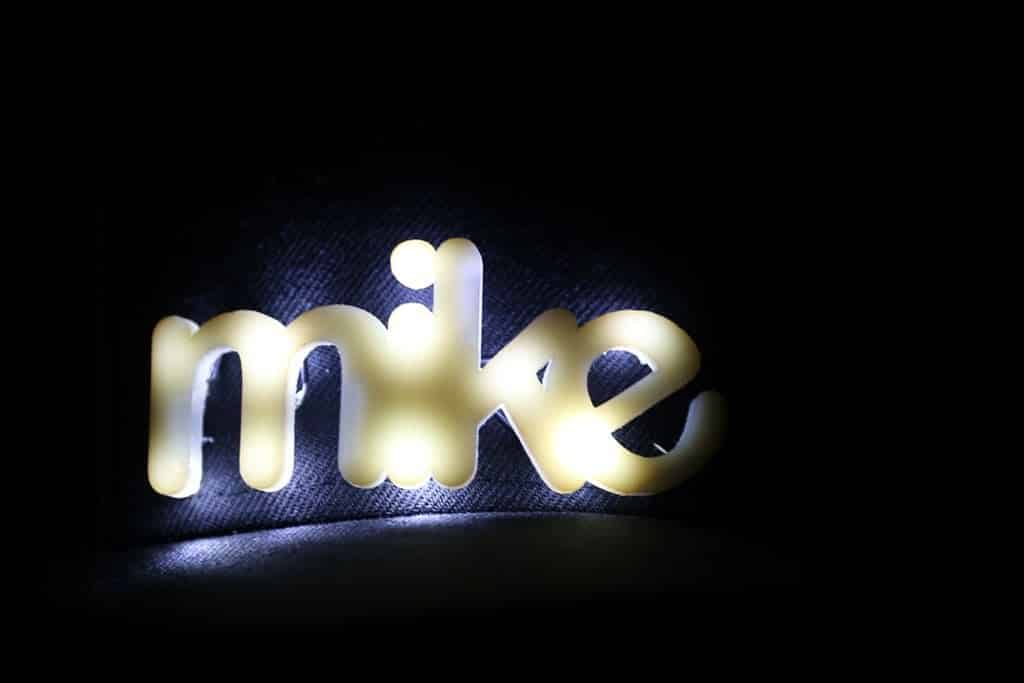
You can also try making an illuminated hat with LED behind the letters, which will look like a marquee.
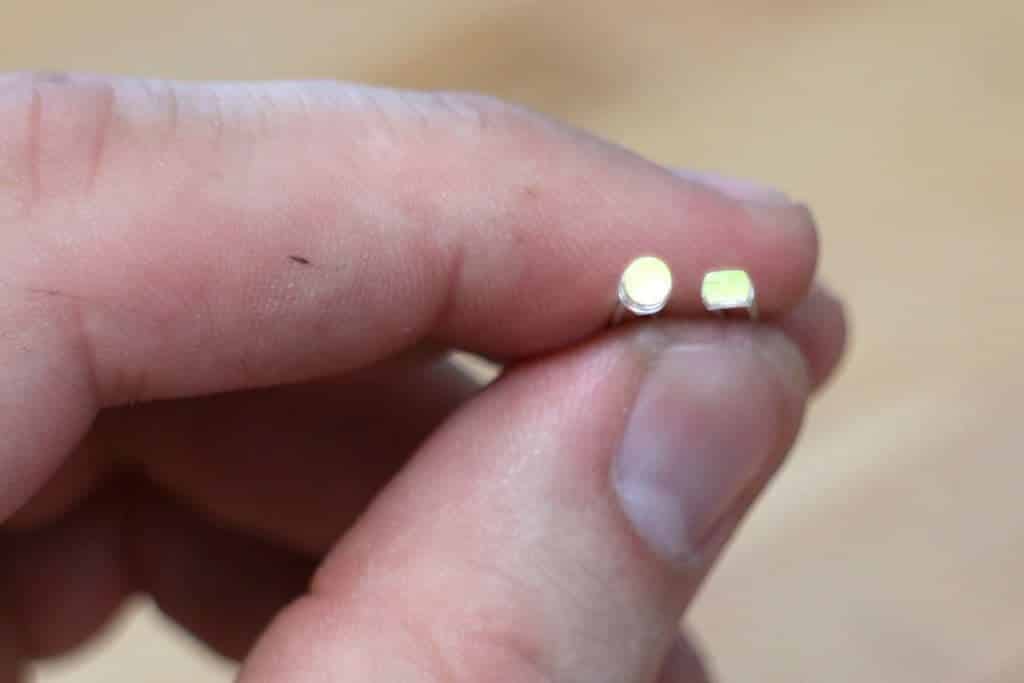
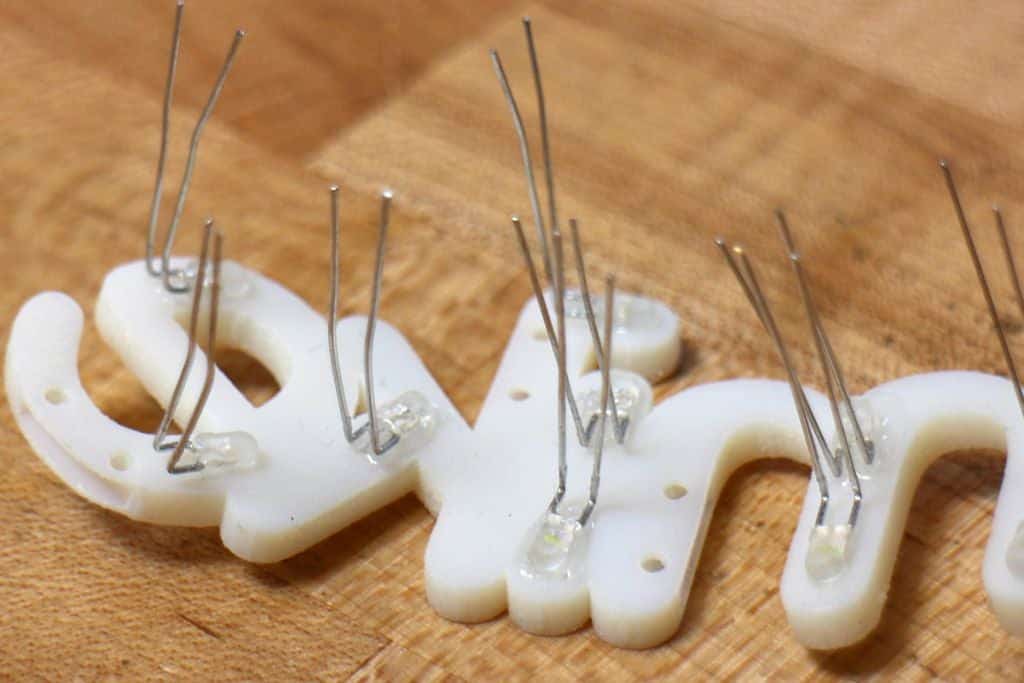
You can lower the profile on each LED by sanding opposing sides down as close as you could to the cathode/anode inside the plastic LED. Hot glue is also helpful to secure the flat face of the LED to the backside of the model, bending the leads upwards and away from the model.
Step 12: LED Graphics – Wiring
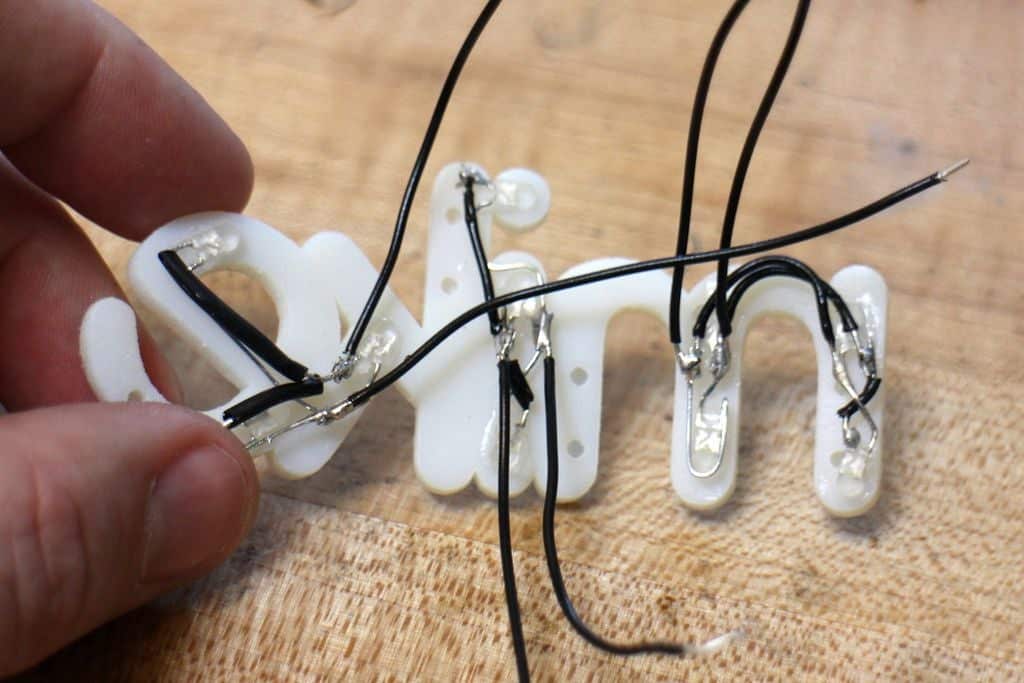
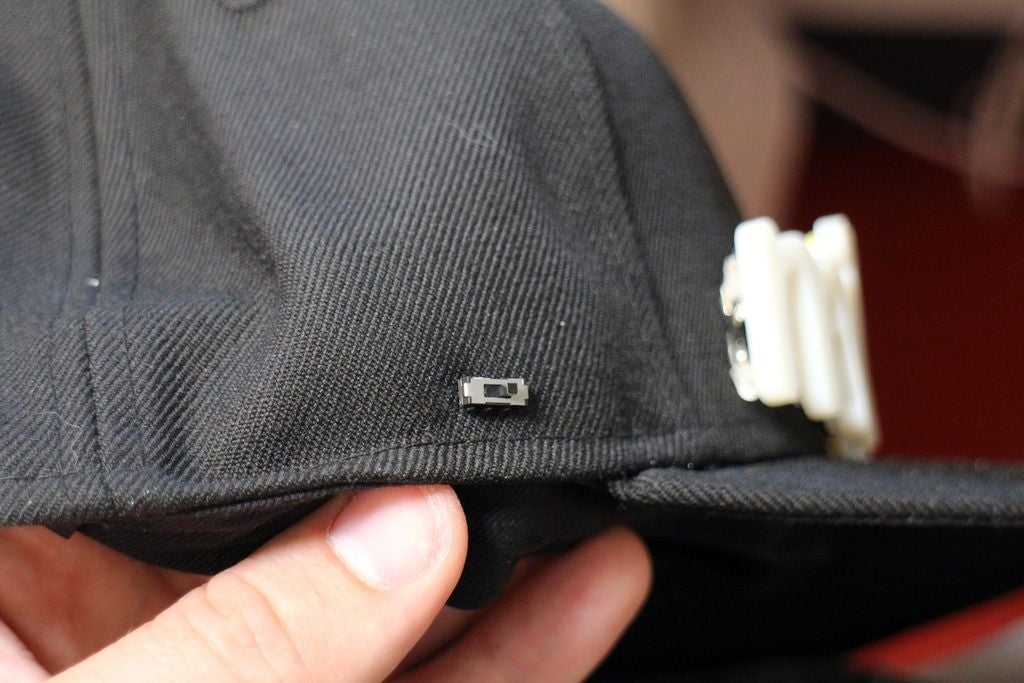
The LED leads were clipped and I wired up 3-4 LEDs in parallel. I also took the time to install a switch into the side of the cap to control the LEDs.
Step 13: LED Graphics – Installing Marquee
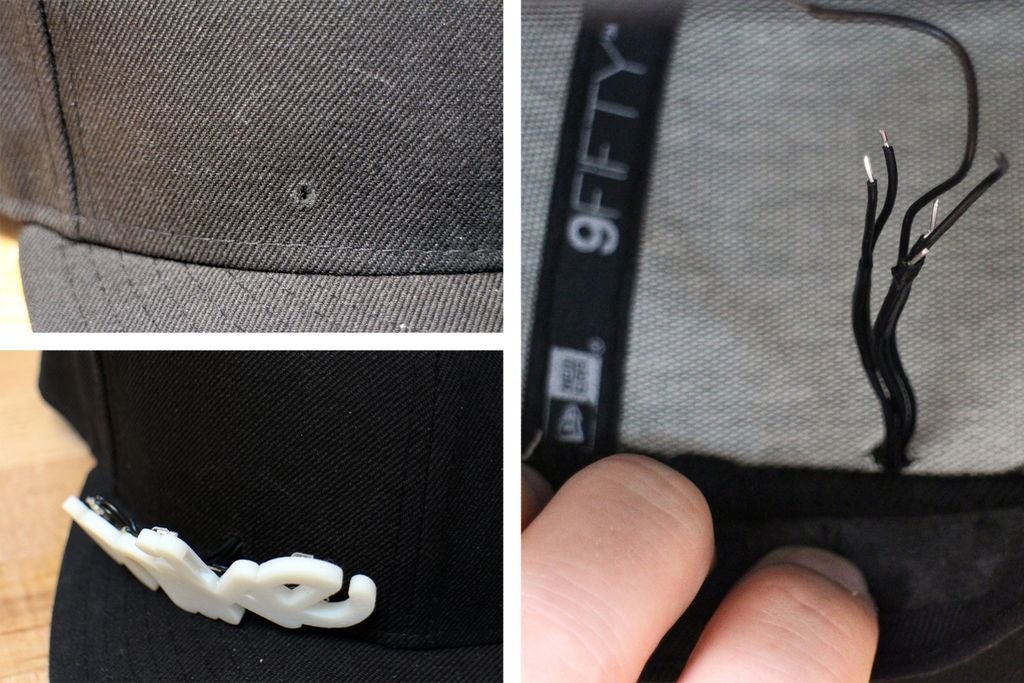
To pass the wiring through the cap I punched a small hole through with a small awl. The marquee wires were passed through and wired up to the switch on the side of the cap, then to a few small coin cell batteries.
Thanks for the great idea, Becky Stern and Noe Ruiz!
I love the new graphics on my cap, and any time I want to update I can print a new one out in about an hour.