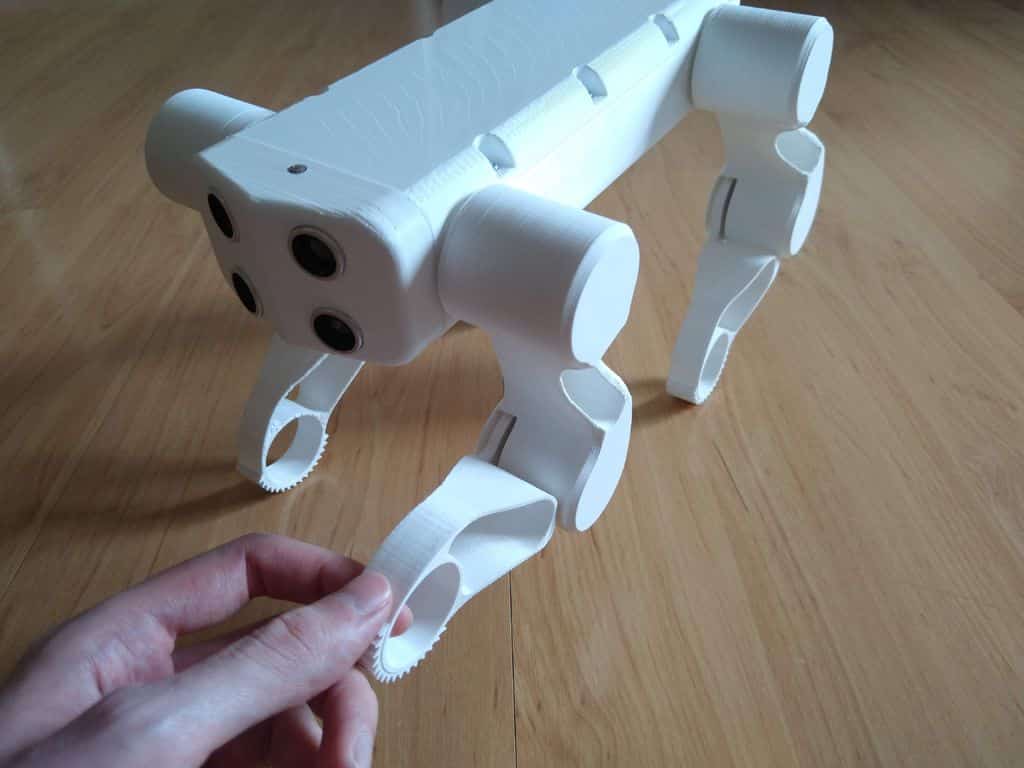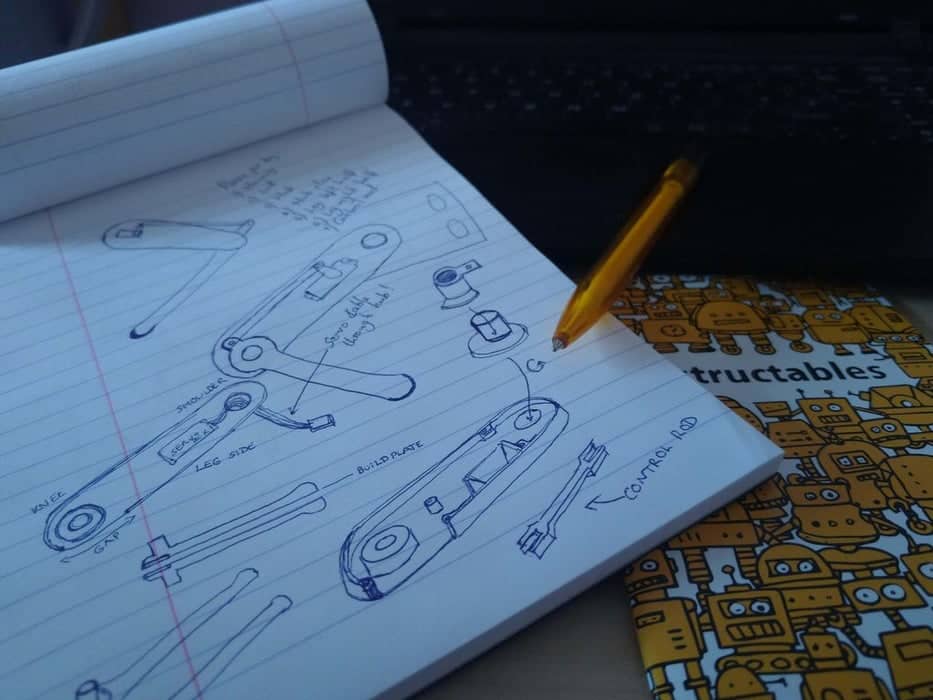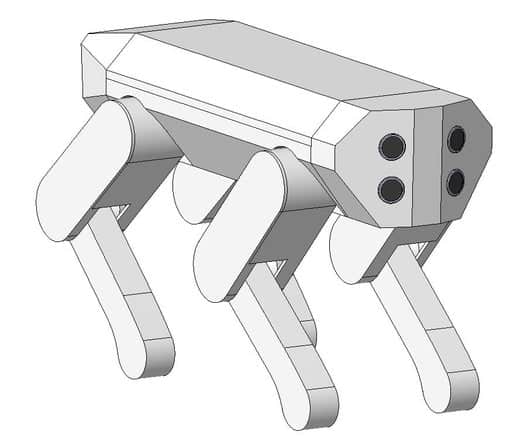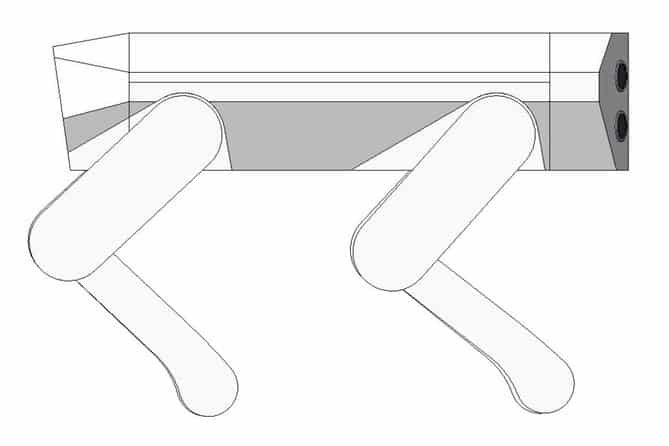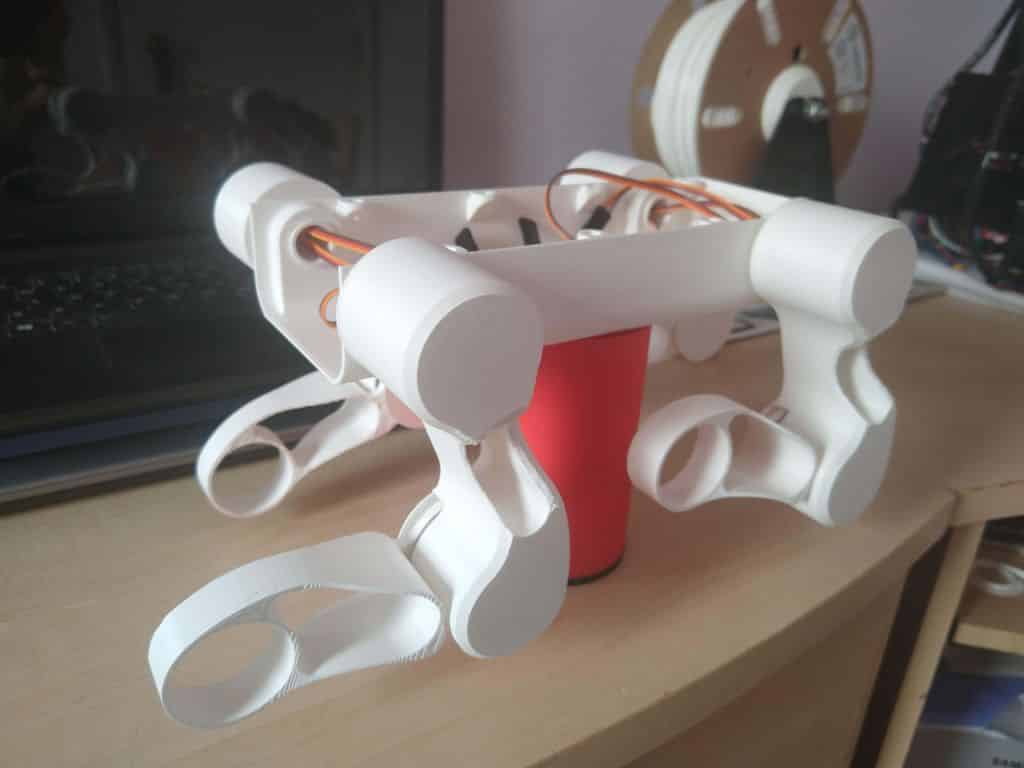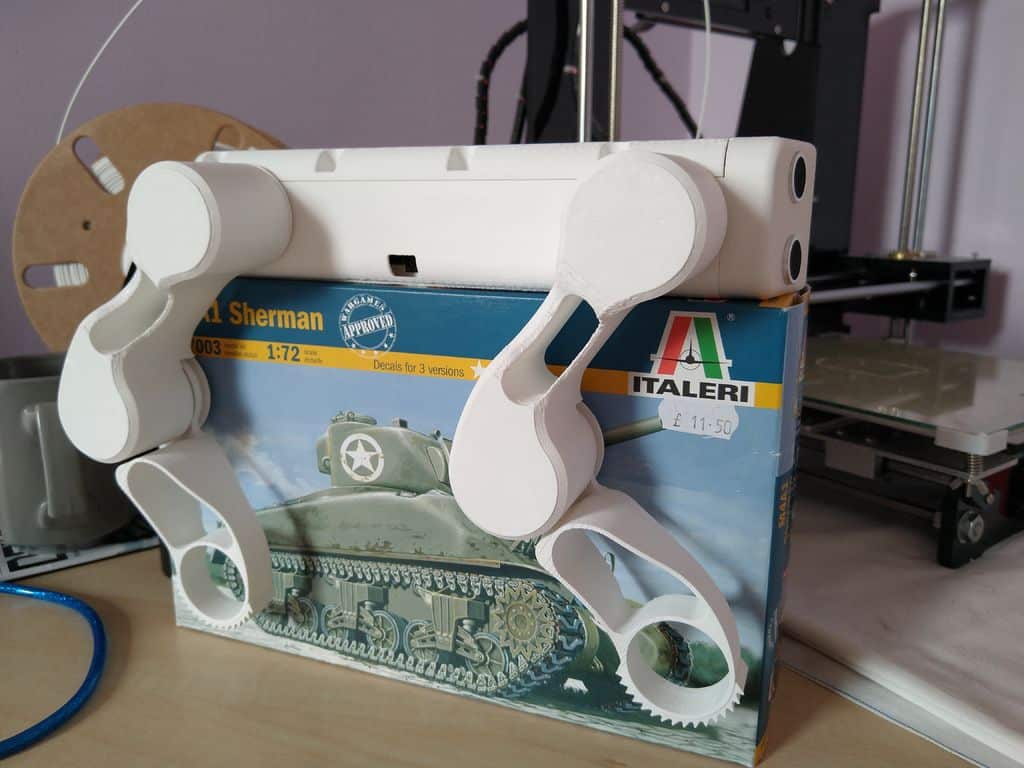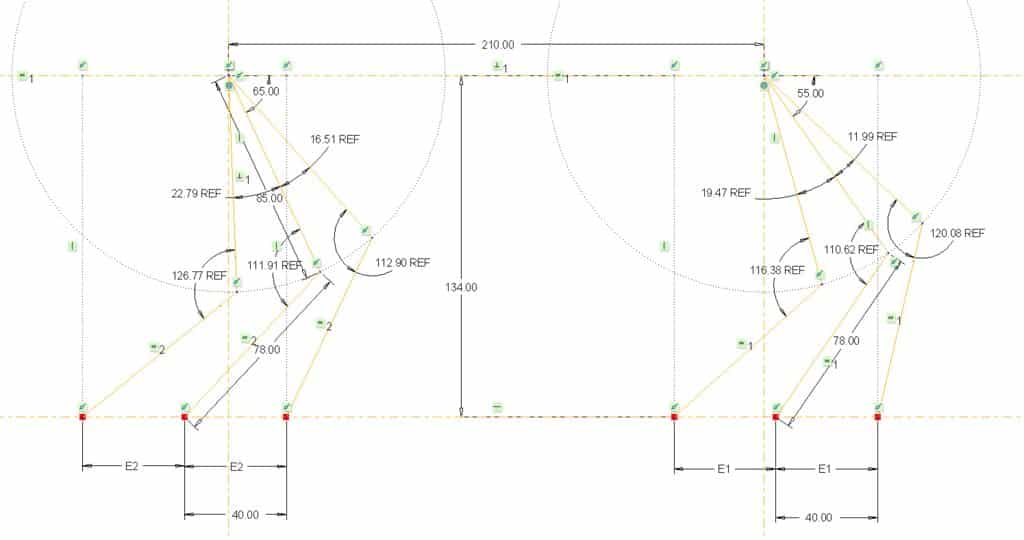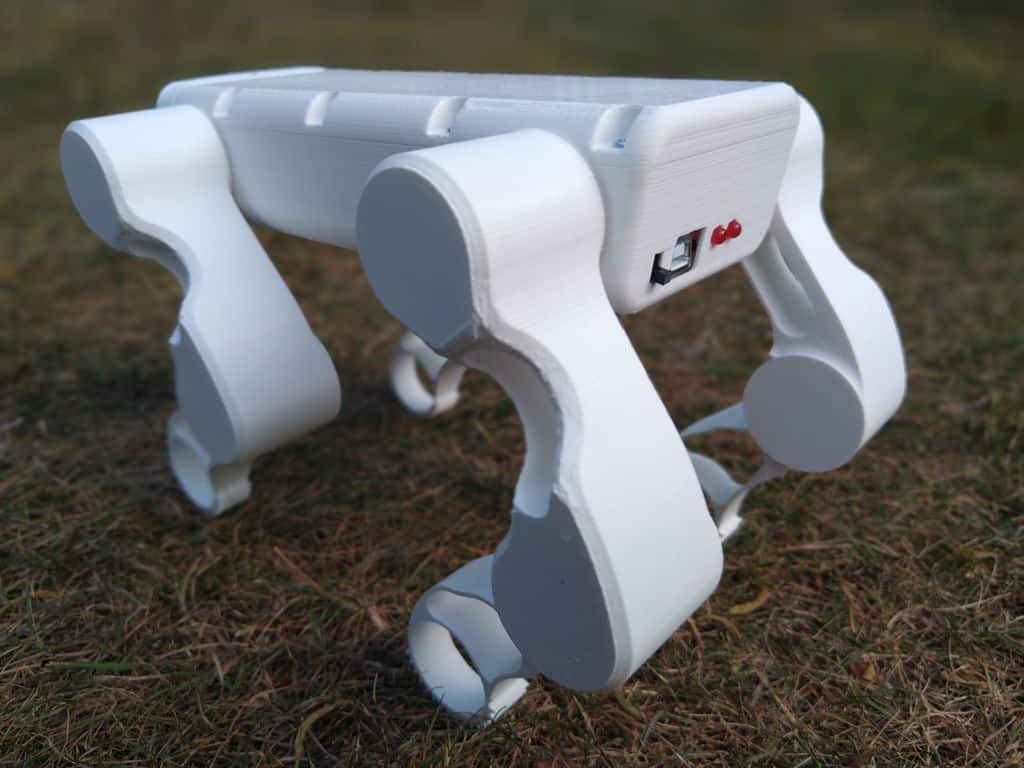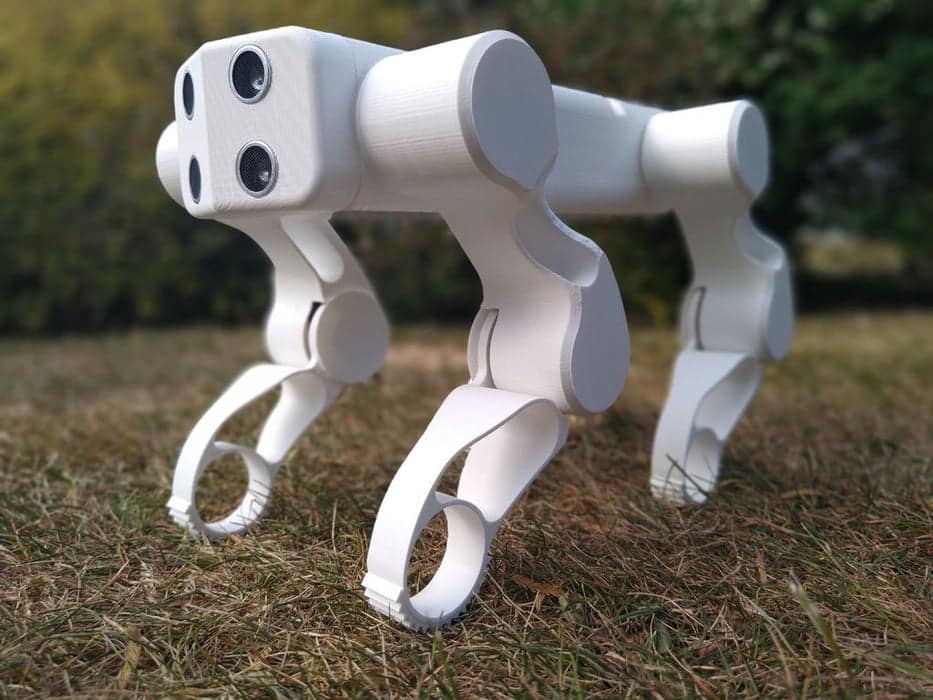
This instructable details how to make a small quadruped robot using 3D printed parts. It is designed to be compact, simple, and inexpensive to build. This project uses an Arduino Uno as the microcontroller. In this instructable, you will find complete 3D model files, Arduino programs, and instructions needed to replicate (and hopefully improve upon) this project for yourself!
Please note:
- Some care needs to be taken when following this instructable. There is some risk posed by the use of a 3D printer, soldering iron, craft knife/scalpel, superglue, and fire due to battery short-circuit. There are however no dangerous voltages used in this project, and no prior electrical experience is required.
- This instructable will describe to you how to build an exact replica of my own build, but see the penultimate step ‘Potential Improvements’ for things I might have done better/differently with hindsight. I’d like to build a second robot incorporating these changes, but you may wish to build these into your first build yourself if you wish.
Please also note:
- GoodBoy robot cannot be expected to come when called.
- GoodBoy robot not tested in conjunction with cats, squirrels, or rabbits.
- GoodBoy robot not prone to ticks, lice, etc., but owners should be careful to not subject the dog to code bugs.
- The author of this instructable does not hold himself responsible if your real dog becomes scared of their imminent technological redundancy.
Step 1: Knowing The 3D Printing Techniques Used Here
There are several unique techniques you’ll need to use to make this robot for yourself, for me, it was my first time trying some of these so it was an interesting set of prints to do!
- Embedded electrical cables – The robot’s legs use two servo motors each, one in the knee and one in the shoulder. I wanted to hide all electrical cabling from sight with this design, so for the ‘thigh’ part, I decided to try embedding the servo cable inside the thigh print. Hidden within the part is a small channel, just large enough for the cable. At the appropriate point in the print, I paused the printer, laid the cable through the channel, and then resumed the print. After a few more minutes, the channel was covered, and the servo cable is now hidden within the part.
- Meshmixer advanced supports for complex overhangs – This is a slightly tricky piece of software to use, but can be very useful for creating ‘tree’ type supports for parts with difficult overhangs. We’ll be using this several times in this build.
- Friction fitted parts – Many of the parts in this build are not glued, just relying on a tight friction fit between printed parts. We’ll use this technique to mount the electronics snugly and securely within the body, but also permitting them to be removable if needed.
- Integrated hex nuts for bolts – The lid of the body encloses the entire electronics bay, and is held down using 8 M2.5 bolts. The nuts for these are a push-fit into hexagonal cavities in the body and held in place using superglue.
Step 2: The Components You Will Need
Main components:
- Arduino Uno (genuine or clone)
- Adafruit Powerboost 1000C
- 18650 Li-Ion Battery
- HC-SR04 Sensor x 2
- 9g Servo x 8 (Towerpro SG90 or similar)
- LDR x 1
Minor components:
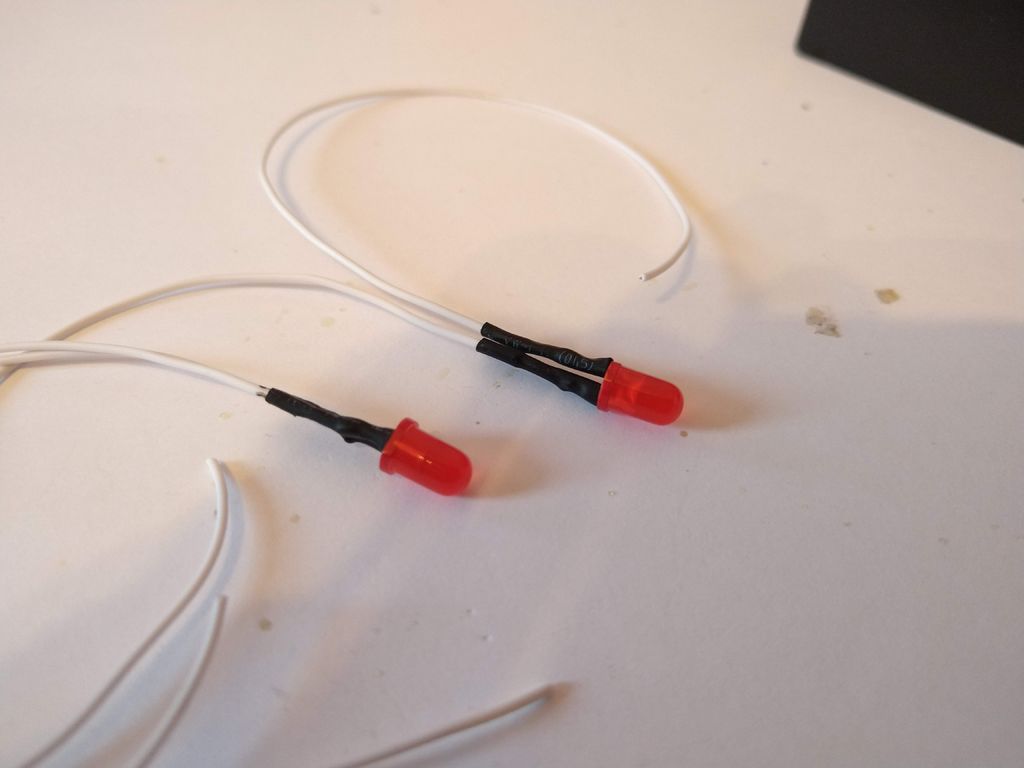
- 5mm LED x 2 (red or other color, your choice!)
- Stripboard (25 x 60mm)
- SPDT slide switch
- Header pins
- Hookup wire (narrow gauge)
- Hookup wire (wider, for battery and power leads)
- 18650 battery holder (recommended, not essential)
- 3k Ohm Resistor x 2
- 470 Ohm Resistor x 1
- M2.5 Nuts x 8
- M2.5×8 Bolts x 8
- Heatshrink tubing
- Electrical tape
Tools and equipment:
- 3D Printer, print bed at least 210 x 210mm – see below for what 3D printer.
- Soldering iron and solder
- Superglue
- Vaseline (for lubricating printed joints in the robot’s legs)
- Side cutters (useful)
- Scalpel/craft knife (vital for fettling prints and more)
- Sandpaper/file (for fettling prints)
- Micro USB charger (I used my Raspberry Pi charger, a phone charger would be fine too)
- Arduino USB cable
- PC/Laptop for programming robot, preparing prints, etc.
Software:
- Slicing software (I used Ultimaker Cura)
- Autodesk Meshmixer (for advanced support generation)
- CAD software (this is if you wish to make modifications to the CAD, I use the educational license of Creo Parametric. Tinkercad, Fusion 360, Autodesk Inventor are other CAD options, please use whatever you are comfortable with!)
- Arduino IDE
Step 3: The Design of The GoodBoy Robot Dog
The screenshots above show the first concept I created nearly four weeks ago. This quickly changed into the more recent shape, as I attempted to make it smaller and lighter. I knew that with the cheap 9g servo motors there would not be a huge amount of excess torque, so I shrank the dog design as far as possible. The first design also looked a bit murdery, if you have seen that particular Black Mirror episode you’ll know what I mean …
Step 4: GoodBoy CAD
The full CAD files for the robot can be found where I have uploaded it into the GrabCAD Community Library. Please follow this link to see the files. I decided to upload the assembly as a [.step] file so that it will be importable into any major CAD software, so that hopefully as many of you as possible will be able to use the files. You will almost certainly wish to make minor edits to the files before printing them (such as adjusting mechanical fits to suit the expected quality of your 3D printer, or to fit the components you’ve bought, especially the servos).
Since the contest closed, I have edited this instructable, to mention that the [.stl] files are also uploaded to the GrabCad library (see above link). It contains a [.zip] folder with all files, including a readme that explains that it also contains a variant on the wrist print (experimental version to widen the ground track, that I haven’t tried printing myself yet, although you may find it an improvement on the pure V1 design).
Step 5: 3D Printing Tips & Settings
Meshmixer
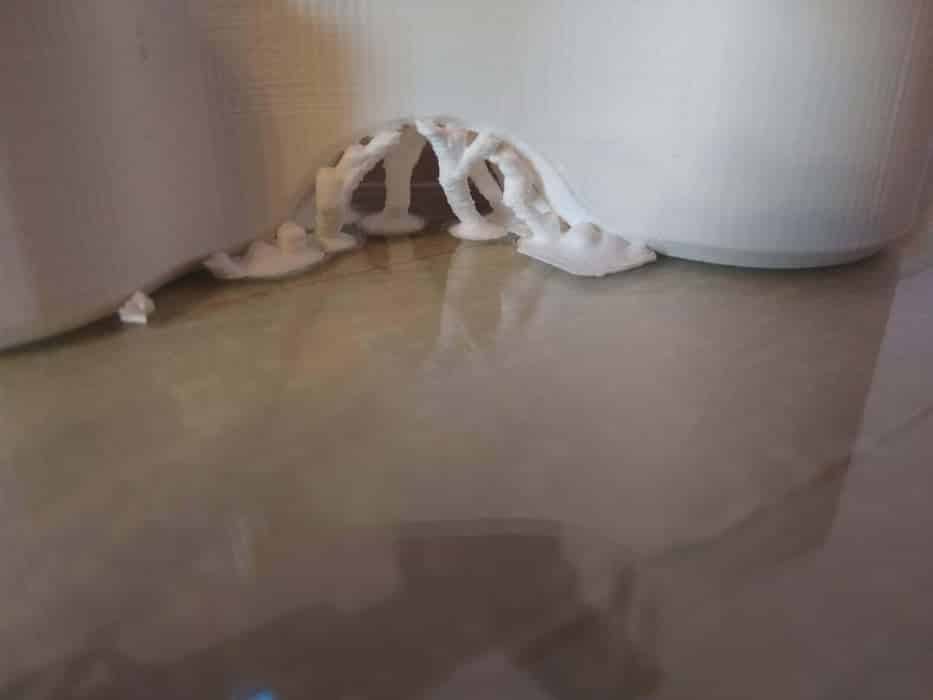
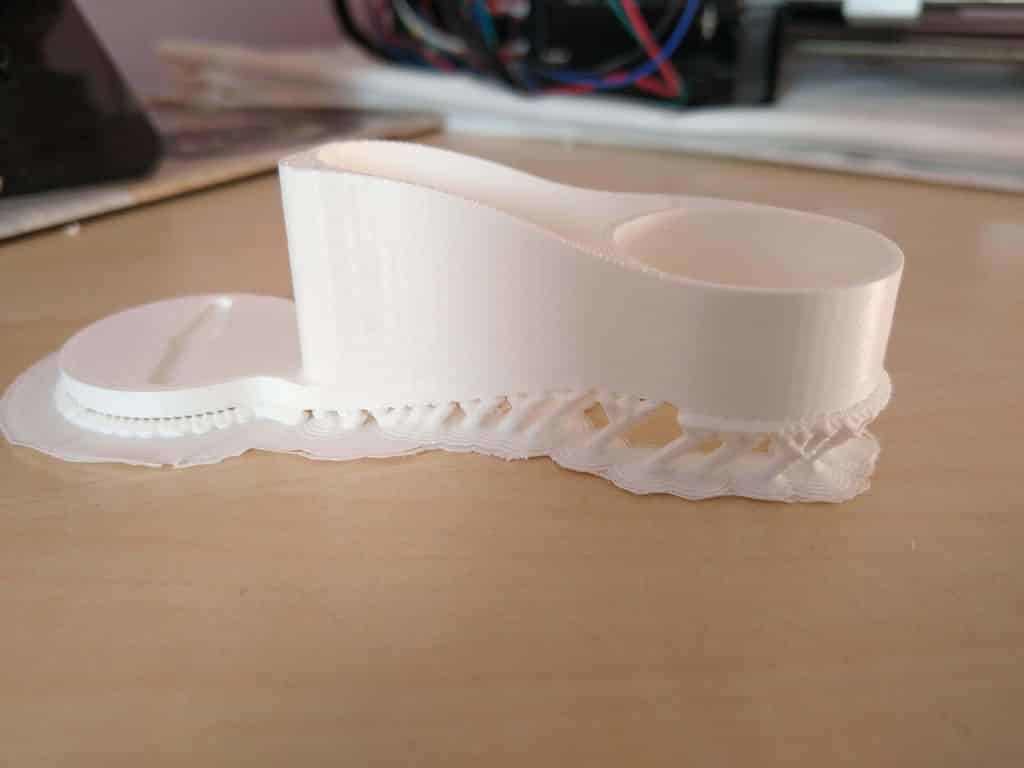
The first two images show meshmixer type supports, which I used when printing the ‘thigh’ and ‘wrist’ pieces, as they worked much better for me than basic type supports on these difficult shapes. The third image shows the Overhang settings I used in Meshmixer to create these supports, I thought I’d show you these as there’s a lot of settings and it can be difficult to use.
When you open Meshmixer, press Import, and select your .stl file of the part you need. Then select Edit from the taskbar on the left, and Transform. Use this to alter the orientation of your file, and press Accept. Then select Align, and Accept. This should automatically lay your part on the print bed. Don’t worry that the print bed may not match your 3D printer, I think Makerbot Replicator 2 is the default, we’re just going to edit the .stl file, and export it again, so it makes no difference. Now select Analysis from the taskbar, and overhangs. Here, change the settings to match those I’ve pictured above. Press [1] Generate Support, then Done if satisfied. Now all you have to do is File and Export, and choose where to save your new .stl file which will now contain these supports. Next, you’ll import this into your chosen slicing software (and remember to set supports to ‘off’ in there, as otherwise, it may try to generate other supports to support these supports!).
Cura/Your Slicer of Choice
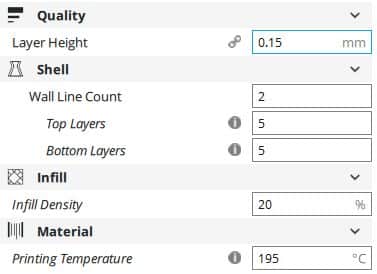
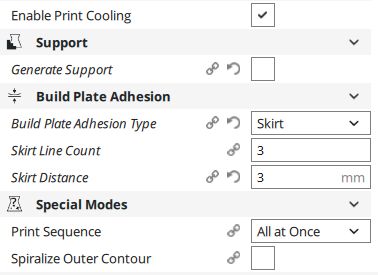
I use Cura for creating my print files, just because I’m most familiar with it, but it doesn’t matter what you use, they’re all very similar. I’ve added some screenshots of the print settings I used for all the GoodBoy parts, so you can see, but depending on the quality of your 3D printer you may be able to print better/faster – you’ll know this best! To maximize quality, I printed very slowly for everything, and used a relatively small layer height. The most critical parts for quality are of course those concerning the leg joints – the 3D printed parts serve as hubs and axles, it is key that they are as smooth and dimensionally accurate as possible!
For parts like the leg joints, I printed several iterations of them, altering the clearance or tolerance I had allowed between the interfacing parts a little each time (in my CAD software). I needed to experiment a little to see what the tightest (but still freely running) fit I could achieve was, and you should do the same if you like.
Step 6: Leg Assembly Process
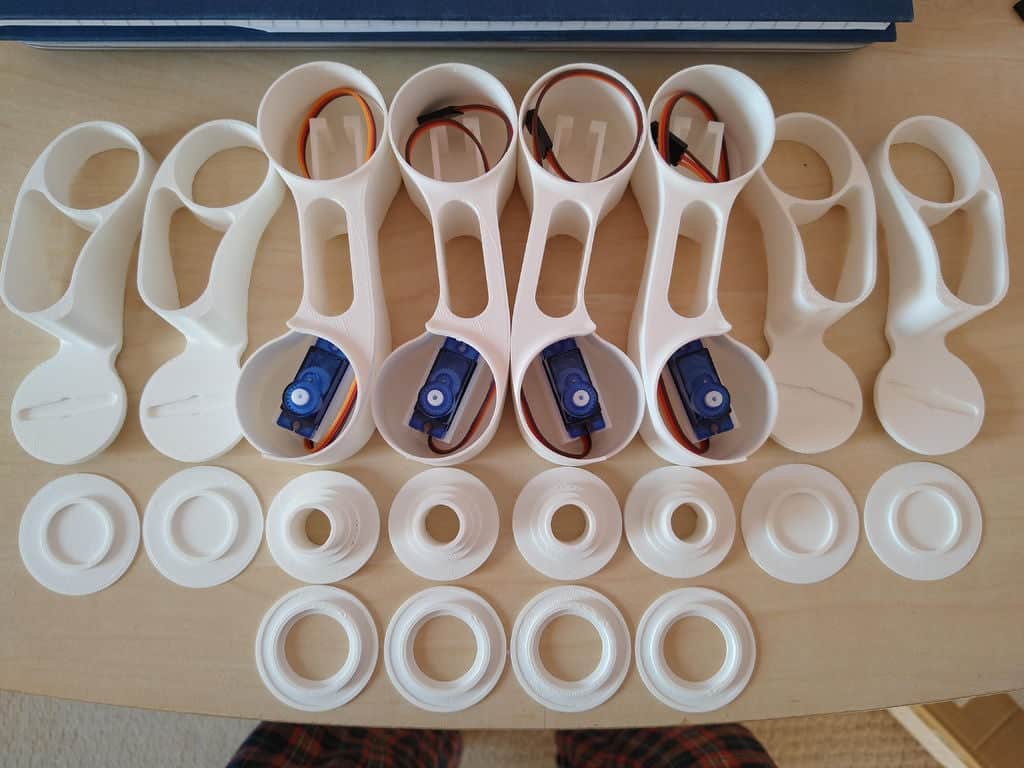
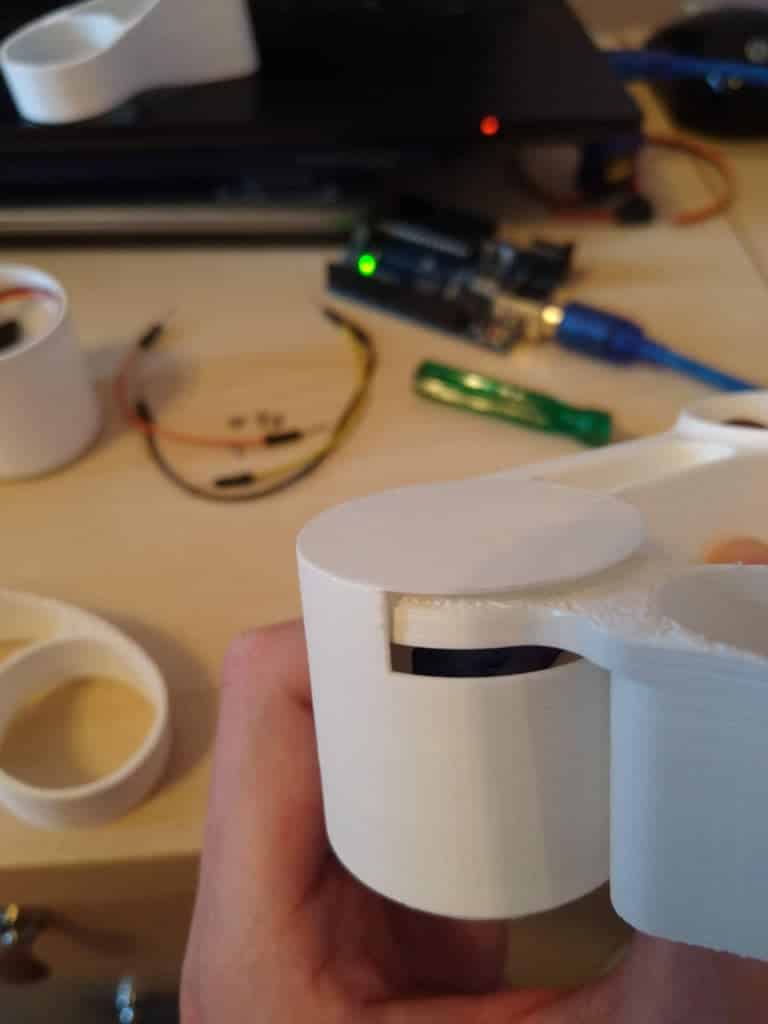
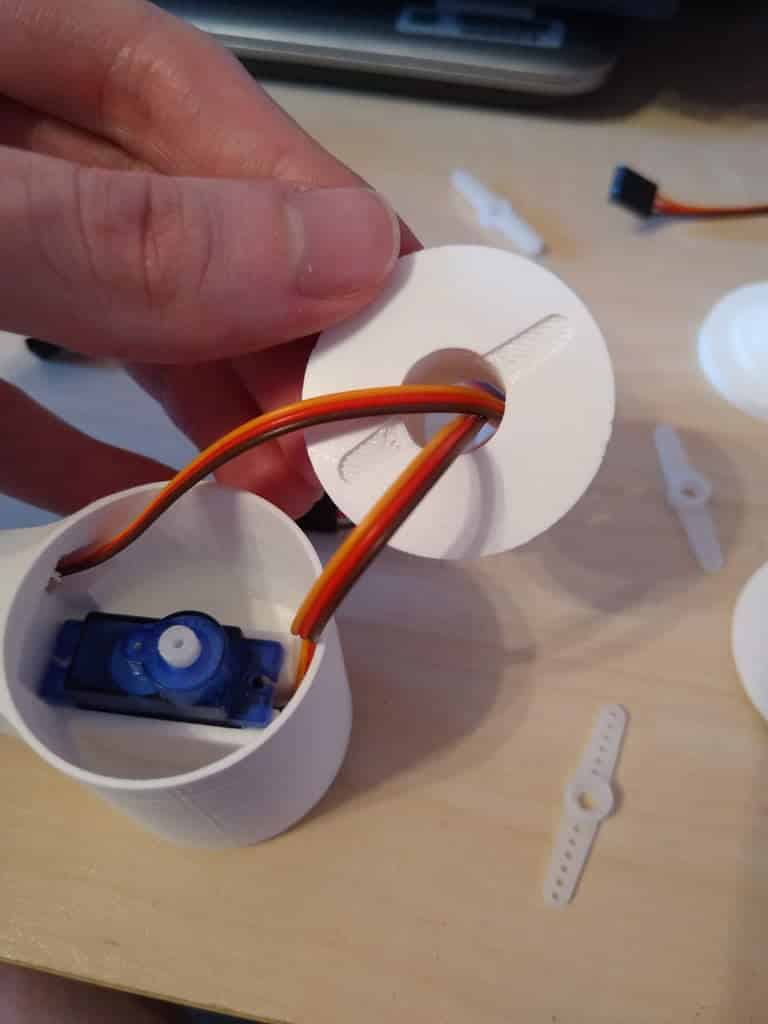
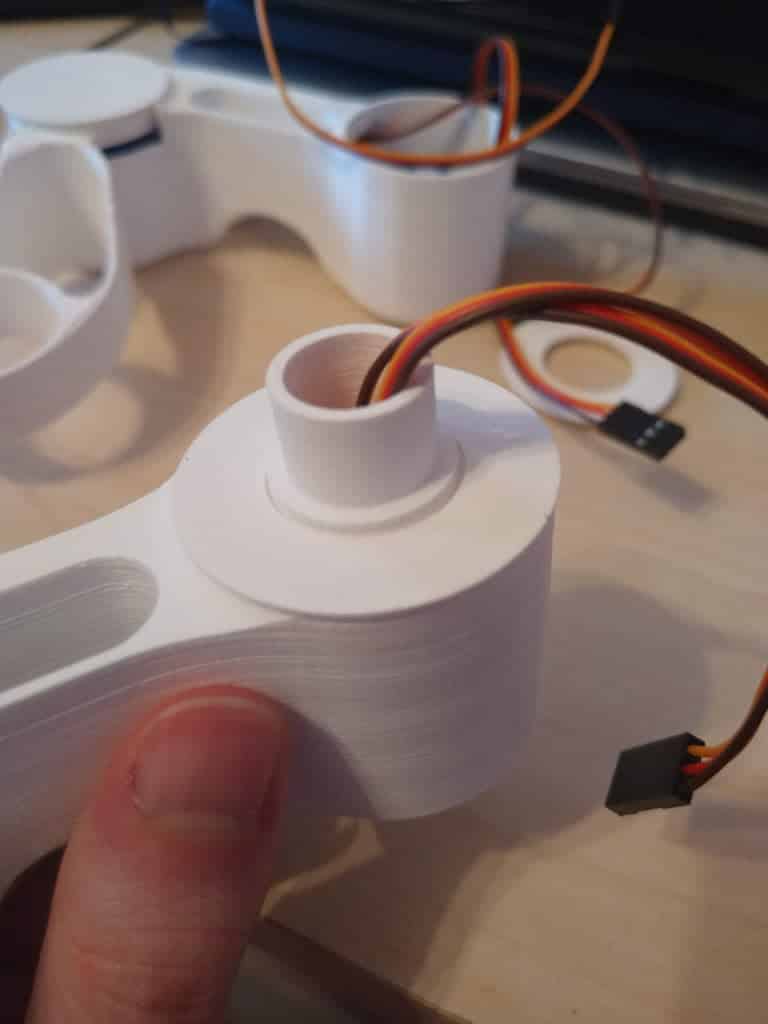
Apologies for the many photos! This is quite a difficult step, so I have tried to illustrate it as much as possible. The steps below relate to the photos in the order you see them, so just follow them one by one.
- The parts all printed and ready.
- Create a little program to centralize each servo to the 90-degree position. It’s important you centralize each servo before gluing them in to avoid limiting your available movement later on.
- This little wheel-like part is a jig, used to align the servo motor controlling within the leg joint area. It is very important that the servo axis is concentric with the outer circle. This picture just illustrates how the jig fits into the cavity tightly, and the central hole grips the servo shaft, positioning it correctly. Superglue the knee motors in place, and use this jig to align them quickly before the glue dries.
- Now it is time to superglue the shoulder motors in position. Pass the servo cables through the holes in the alignment jog, then place some superglue under the motor. Use the alignment jig to centralize the servo motor in the cavity. Before the servo dries, press the servo firmly into place using a screwdriver like shown.
- Vaseline is applied to the surface on the wrist part that will run inside the knee cover. This helps keep it running. Before this step I recommend twisting these parts together quickly in your hands, this will abrade any imperfections between their fit, and will leave you with two nicely fitting parts.
- Knee joint cover is added, superglued around its rim.
- Next to install the shoulder motor. The wires are first fed through the jig tool.
- Superglue is applied under the motor, and the jig pressed into position whilst the motor sets in place.
- Now we can remove the jig, and are ready for the next step.
- Initially feed both motor cables through the hole within the shoulder hub part.
- Push the servo horn between the cables, and superglue it in the cavity on the underside of the shoulder hub part.
- Next press the shoulder horn onto the servo motor hub, you don’t need to glue it or screw it in place.
- As before, apply some lubrication to the shoulder cover part.
- Glue the cover in place, with superglue around the rim. That’s the shoulder joint complete!
- Job done! Just three more legs to go – be glad you’re not building a robot centipede!
Step 7: The Body

Printing the Body
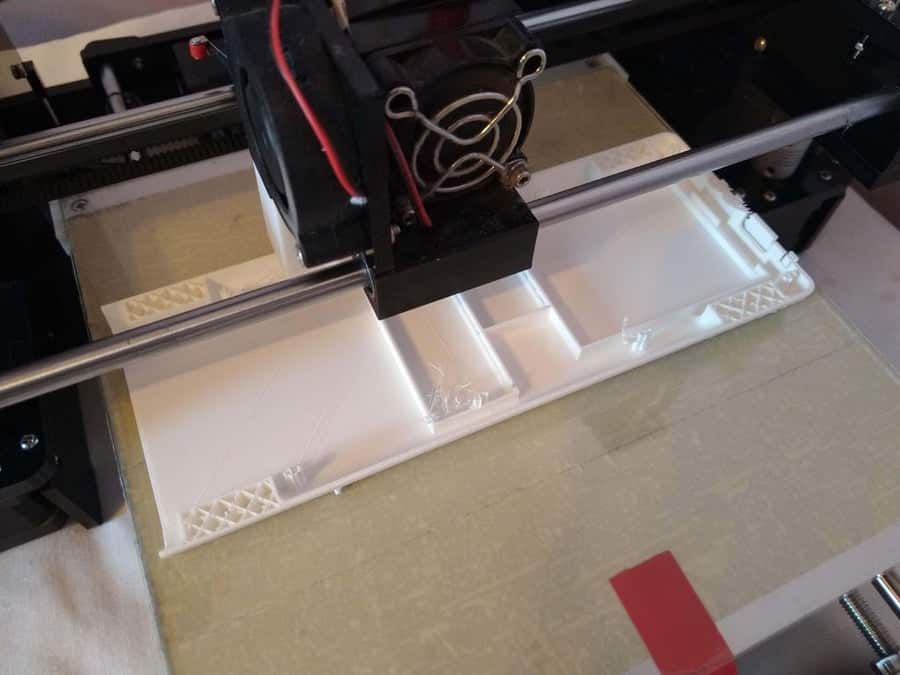
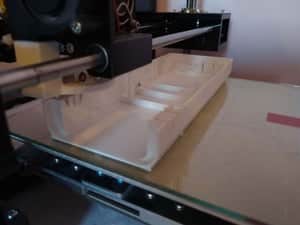
There were two long prints to be done – for the body and the lid, but luckily the quality of these was the good first time. I used the normal Cura-generated supports on both, which came away easily with fingers, pliers, and a scalpel when the print was completed. Luckily I had no issues with warping on these large parts, but make sure your print bed is well leveled and cleaned before starting! After printing, I could experiment with test-fitting the main components inside as you can see, which was satisfying to find they fitted right away.
You can also superglue the 8 M2.5 hex nuts into their recesses within the body, taking care not to get glue into their threads.
Step 8: Electrical Schematic
This schematic (made in PowerPoint, as there weren’t all the components I needed on Tinkercad), should show you the layout as clearly as possible. Of course, you have the freedom to modify as you like, but I’m sure it’s helpful to be able to see exactly how I’d done it.
See the numbers on the diagrams for the matching explanations:
- SPDT Slide Switch– This is used to control whether the PowerBoost 1000C is providing power output. It is wired to the VS, EN and GND pins. Please see the official Adafruit Powerboost 1000C page for more info.
- Powerboost 1000C – Again, please check the official tutorial for specific wiring and pin information. Power is taken from the board to two rails on the stripboard (shown copper strips up for clarity, it will have those down in fact). You, therefore, create a +5V rail and a Ground rail on the stripboard, which you will power all of your other components from.
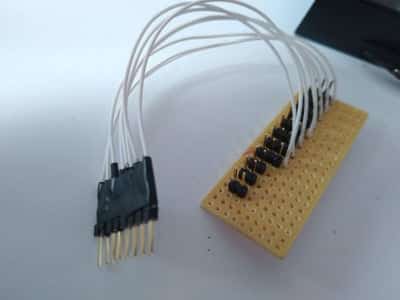
- Servo Motor – Only one is shown for clarity. I added 8 sets of 3 header pins to the stripboard, one pin to the +5V rail, one to the Ground rail, and a third pin on the adjacent rail (for the signal wire). Using a scalpel I separated each segment of the signal rail to isolate each signal pin of each servo from each other.
- 18560 Battery – Wired to the Powerboost 1000C as shown.
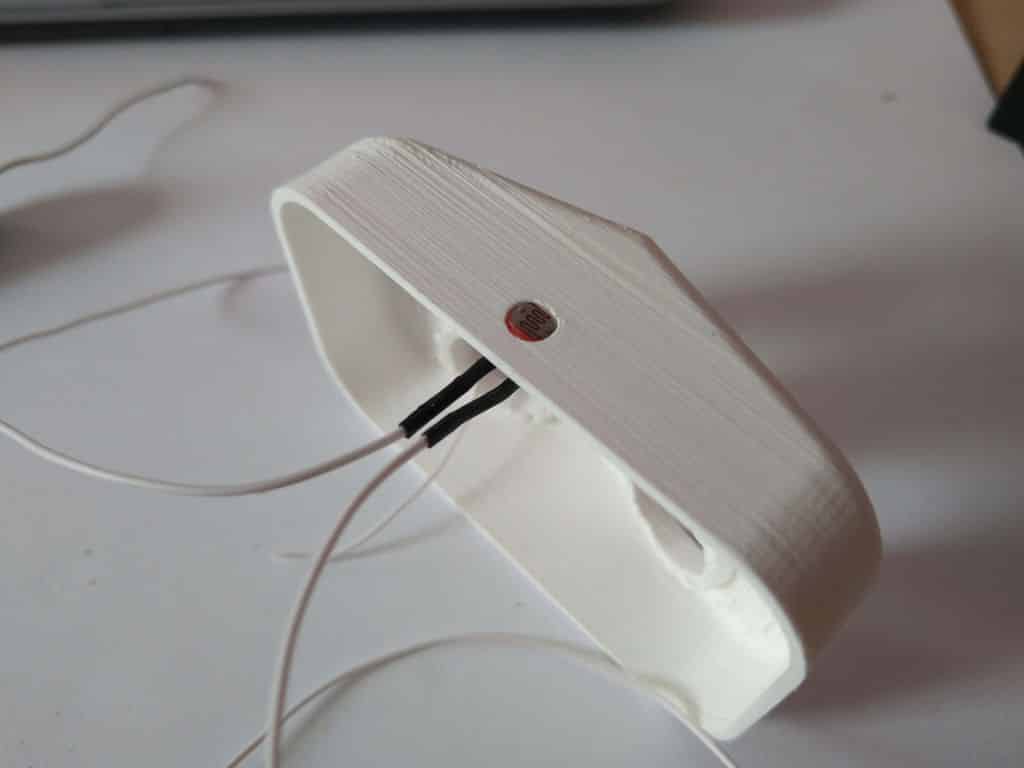
- LDR – The reading is taken from this using a voltage divider circuit as shown, through a 10k Ohm resistor to the ground rail. This cable goes to one of the analog ports on the Arduino. The other leg of the LDR is connected to the +5V rail on the stripboard.
- HC-SR04 Ultrasound Sensor – Only one of the pair is shown for clarity. This type of sensor has 4 pins (if yours has 3, then look for specific guidance on connecting that, it won’t be a problem, but I’ll describe 4 pin type as that is what I used). The Vcc and Gnd pins of the sensor go to the +5V and Ground rails of the stripboard respectively. The Trig and Echo pins go to two Arduino Digital I/O pins as shown. The same arrangement is used for the second sensor too.
- Arduino Power Input – The Arduino is powered through the 5V pin. A pair of wires from the +5V and Ground rails of the stripboard are taken to the 5V and Ground pins of the Arduino. [See note of caution, below].
- LEDs – Only one of the pair is shown with wires for clarity. The anode is connected to a Digital I/O pin of the Arduino. The other leg goes to the Ground rail of the stripboard, via a resistor.
[NOTE OF CAUTION]
Powering the Arduino via the 5V pin in this way is not an officially recommended method of powering the board, as it bypasses some of the power regulation circuitry. I powered the Arduino in this way, because the Powerboost 1000C outputs 5V, and I did not have a suitable alternative. Using the 5V pin in this way is the only way to run the Arduino on 5V without using the USB, and I wished to leave this unused and orientated through the outer shell of the robot’s body so I could upload programs easily. Using the 5V pin in this way is fine provided that you observe the following precautions:
- The Arduino must not be powered via the Powerboost 1000C and also connected to a laptop via the USB at the same time. By powering via the 5V pin, you bypass the input power selection circuity, so the Arduino will be overloaded and probably burn out. Before connecting the Arduino to the computer to upload a program, make sure the Powerboost 1000C is turned off, and for extra protection it is best to disconnect the cables that go to the 5V and Ground pins of the Arduino, thus isolating it from the onboard power source.
- The 5V input to the 5V pin must be a good regulated 5V power. The Powerboost 1000C does this well, but if you decide to use a different board to check your specs, it will be equivalently good!
- The polarity of the 5V and Ground wires into those pins on the Arduino, taking power from the rails on the stripboard MUST be observed, as otherwise the Arduino may be permanently damaged. Be careful!
Step 9: Wiring
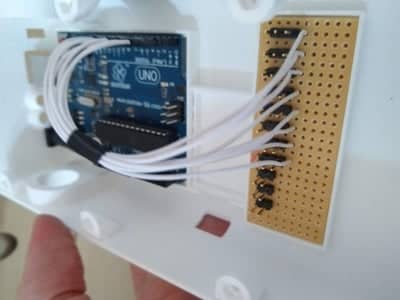
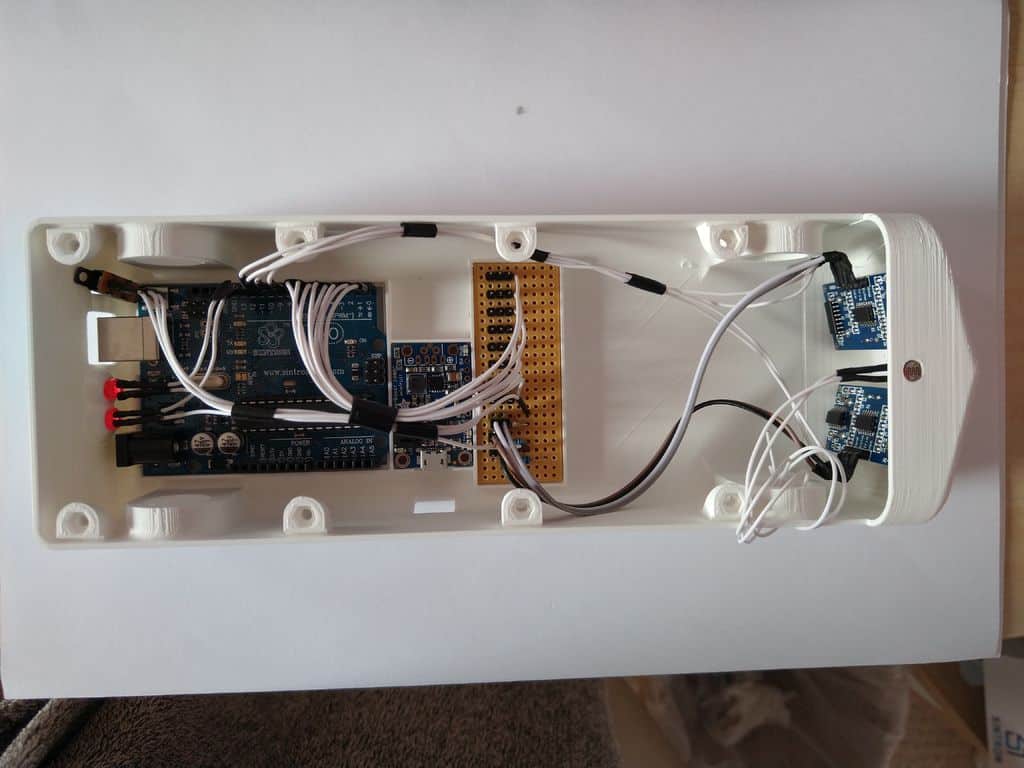
This section covers the wiring for the robot. It took me a couple of days to complete this step myself, I tried as hard as possible to keep it neat and tidy.
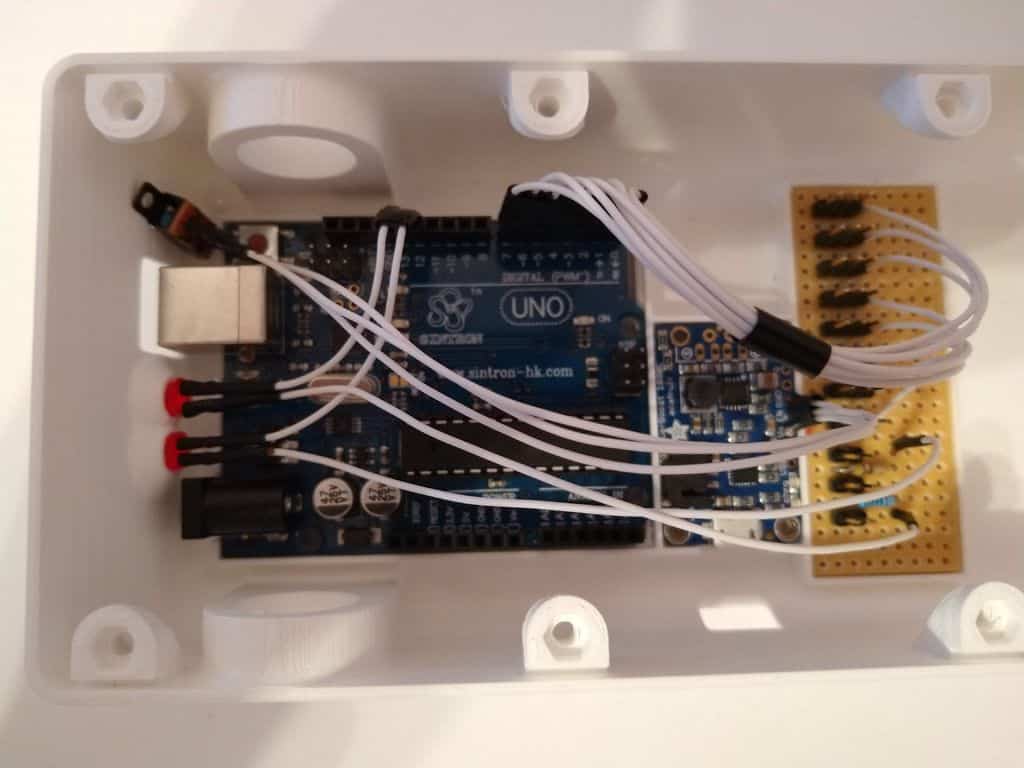
The photos should be fairly self-explanatory, but one key step to note is that after soldering the header pins onto the stripboard (the 8 sets of 3 for the servo motors) you need to use a scalpel/craft knife to make a slice through the rail that connects one of the outermost pins of the header pins. These pins are for the signal wires of each servo cable, and you must isolate each section of the rail from each other as otherwise, each servo will receive multiple, confusing signals from the Arduino.
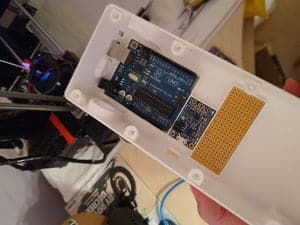
I didn’t superglue either the Arduino, PowerBoost 1000C, LEDs, Ultrasounds, or stripboard into their holders in the dog’s body, the friction fit was good enough to hold these in place. It’s a good idea to leave it as that, so you can remove any of them if you need to – I had them in and out a lot during the build whilst adjusting wire lengths, connections etc! As part of the wiring process, also superglue the head to the dog’s body, after installing the HC-SR04 ultrasound sensors, and the LDR too.
The final part I printed was a battery holder for the 18650 cell. I used a couple of pieces of metal strip to make contact within this, and soldered on cables to that to connect it to the Powerboost 1000C. This works well, but it might be easier just to buy a battery holder and glue this into the body!
How to use your multimeter!
A basic multimeter (mine is a pocket-sized basic model) is invaluable when doing a task like this. Using the voltmeter setting you can measure the battery voltage, and Powerboost 1000C output for instance. The Ohmmeter setting is really handy when doing the soldering. If you expect two pads or wires or tracks on the stripboard to be electrically connected, you should see near to 0 Ohms of resistance between them. If you expect two places to be not connected (e.g. the 5V rail and Ground rails of the stripboard), then you should see infinite resistance – and if you see no resistance then you know you’re shorting them out and need to go back and check!
I accidentally shorted the 5V and Ground rails on the stripboard at one point – with just a tiny wire tail of a soldered joint. Unfortunately, I turned the power on from the battery without checking, and this shorted out – the Powerboost 1000C got very hot and made a strong burning smell! If I had used my multimeter to check I wouldn’t have been in this situation – I nearly had a stroke but doggo was ok thankfully!
Step 10: Leg Attachment
With the electricals done, and all printed parts completed, the final construction step is to glue the legs in place. I used superglue for this step, which was a bit hair-raising as it dries very quickly and doesn’t allow re-positioning. I managed to glue three legs in place successfully, although the 4th leg wasn’t quite fully in place when the glue set. This luckily was not bad enough to require a replacement leg, but it did slightly reduce the quality of motion later on, as this leg wobbled slighlty more than was expected.
The photo shows an earlier dry-fit test of the legs in place, before I had even added the dog’s head.
Step 11: Get a Grip
As soon as I started to program walking movements, I found the smooth plastic feet lacking sufficient friction. These small spiked pieces were a quickfix solution to this, printed quickly and super-glued onto the soles of the robot’s feet. They work well, although I felt a bit daft for not thinking of this sooner!
Step 12: Programming
n.b. these plastic kit model boxes were the perfect size to sit the robot on whilst I programmed it – hopefully you can find something similar! When the robot is powered off, the legs will not support the robot in a standing position, as that requires the torque from the active servo motors. Hence you’ll need support like this to cradle it as you work.
Servo Simultaneous Movement – Arduino programs are essentially single thread, so they cannot do two things at once. The method to use is to incrementally move the legs, alternating tiny increments of each motor so that an appearance of simultaneous movement is created. You can see how this is done in the program I’ve uploaded to this step of the instructable. My inspiration for this was the role of a pianola (self-playing piano), that has small perforations to play different keys in order.
Gait – I spent a long time watching slow-motion videos of real dogs walking, to learn more about their motion. A dog whilst walking will always have 3 points of contact with the ground, with one paw leaving the ground simultaneously with another paw arriving on the ground. A faster pace involves two paws off the ground at once. I programmed routines of 5 or so different gaits whilst experimenting with the coding, looking for the option that allowed the best balance and movement. The movement in the attached code moves a single leg at any one time, and shift the robot’s body relative to the feet to ensure that the center of gravity is held over the stationary legs, ensuring that the dog will not tip over.
Functions – The code makes use of several functions e.g. ‘pawtrick’ and ‘forward step’, which can take an input defining the number of steps to take. The ultrasound sensors in the nose are read after each step, and the walk code will be paused if both sensors detect a nearby object.
Future Capability – The intention of mounting both ultrasounds at a 15 degree off-center angle was so that the dog could decide which way to turn if it detects an obstacle. There is also plenty of opportunities to experiment with different gaits and walking methods, as there is an unlimited way to achieve motion with a legged robot!
LDR – The LDR on the dog’s head is a simple way of providing some human interaction. The dog detects if it has been shaded (by a hand/finger laid on top) for 3 seconds continuously, and then triggers the paw trick function.
Step 13: Potential Improvements
With the experience I’ve gained building this robot, I’m keen to build another using the things I’ve learned. There are several main improvements I would make, but you may wish to include these in your build from the beginning. In no particular order, here are some things I’d recommend:
- Servo motor choice – the motors I use in this project are low quality – imitation TowerPro SG90 servos with plastic gears. I do not know if they produce the rated torque they claim, and the plastic gears result in unnecessary backlash in the legs. They cost me only a little more than £1 each, but for about £6 you could purchase a genuine quality servo with metal gears, and higher rated torque. If you’re able to invest that little more, it would be beneficial as the minimal torque and relatively large amount of backlash in my robot caused some difficulty. Most 9g servos have similar dimensions, so the CAD for the 3D printed parts should not require much modification.
- Foot grip – My initial foot design did not have sufficient grip as you’ll have read in this instructable. The spiked additions I retro-fitted improved it considerably, but perhaps you could consider adding rubber pieces to the feet to act as grippy soles, or design different spikes or textures on the 3D printed part.
- Balance and foot spacing – The width between the feet in my initial design is adequate but minimal. For improved balance, I would recommend slightly increasing the distance between the legs, by modifying the wrist pieces for instance. Additionally, the feet are currently 15mm (about 0.6″) wide each, but they would provide better balance if wider, 25mm for example (about 1″). If you’re able to make this change to the CAD, it would be worth investigating.
- Powerboost 1000C – The choice of this power board in the robot was based on what I had available. It is a good choice, however, being compact and powerful. However, the absolute maximum current that it can provide at 5V is about 2A. A single 9g servo can draw as much as 0.5A or even more at maximum torque, so clearly 2A is not adequate to run all motors at full power. If you have a suitable alternative to the PowerBoost 1000C, this could be considered, although only if you are competent with electronics and understand the changes you will be making.
- Backlash – Backlash or ‘slack’ is the lost motion in a mechanism caused by gaps and excessively large mechanical tolerances. This is relevant in the joints of the legs in this robot. If your 3D printer can print to very good quality, then consider reducing the gaps between the rotating/running parts in the shoulder and knee joints – the better and tighter (but still able to run freely) you can make these joints the better leg motion you will be able to achieve.
Step 14: The Tail End
Thank you for reading my instructable, I hope you enjoyed it. If you’re encouraged to build one for yourself, great! I will do my best to answer any questions you may have. I’ve thoroughly enjoyed this project, although doing it from start to finish in about 3.5 weeks (whilst working full time) has been quite hectic! There are lots of things I’ve learned doing this that I’d love to apply to a GoodBoy 2.0, so perhaps you’ll see an instructable for that come along some time…
P.S. Thank you so much for the enthusiasm that you have all shown for this instructable, it has been wonderful to receive all of your suggestions for improvements too. I’ll be posting more instructional videos on my YouTube channel to help you build one for yourself. A GoodBoy V2 is in the works too!
Source: Daniel Hingston


