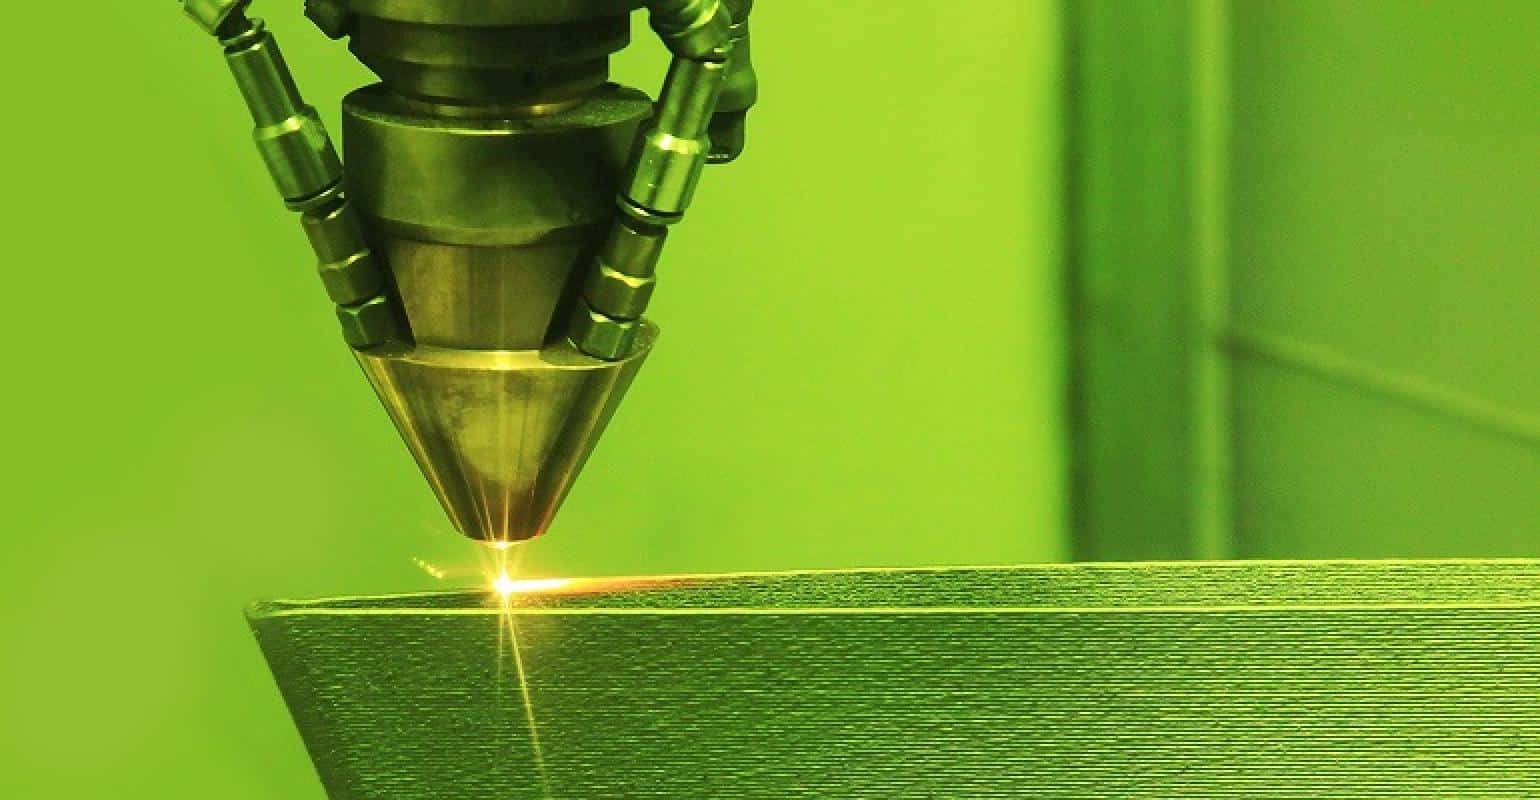
Researchers have been looking for various methods to control defects in the 3D printing process, which may cause functionally impaired parts and objects.
The Argonne National Laboratory of the U.S. Department of Energy (DOE) collaborated with Texas A&M University to develop a solution that uses temperature and its relationship with object stability to help resolve metal objects Printing problems.
The team’s research has shown that by using temperature data during production, personnel overseeing the additive manufacturing process can predict the formation of subsurface defects in metal parts, which can be resolved on-site, said Aaron Greco, manager of the interface department of Argonne. The “Mechanics and Materials” group of the Applied Materials Department (AMD).
He said in a press statement: “Ultimately, you will be able to print something at the source and collect temperature data, and you can see if there are any abnormalities, then fix it or start over.” This is a big goal.
Control porosity
The key problem with defects in the laser-based additive manufacturing process is the pores inside the object formed during printing. Porosity refers to the tiny, usually microscopic “voids” that may appear, making printed parts prone to cracking and other failures.
The team used X-ray technology to design an experimental device that allowed them to capture temperature data from a standard infrared camera and observe the printing process from above, while they used X-ray beams for side observation. This provided them with a comprehensive view to identify the pores formed under the surface of the metal part.
One phenomenon observed is the thermal history of the object, during which the peak temperature is low and then gradually decreases, which is related to the low porosity. Conversely, a thermal history starting from high, decreasing, and then increasing later is more likely to indicate a large porosity.
To make this connection, the team used machine learning algorithms to interpret the data and predict the formation of pores based on thermal history.
The results of this experiment found that there is indeed a correlation between surface temperature and the potential and existence of pores. This is the starting point for learning how to avoid pores and potential defects.
Expansion process
Greco said the connections made by the researchers should help mitigate the risks associated with 3D printing errors in the production of metal parts, which would cause manufacturers to increase costs and inhibit the widespread adoption of the technology.
“To realize its full potential, we need to lower the risk to lower the cost,” he said in a press statement.
In order to reduce the maximum workload of the process, the researchers used 200 data points instead of millions of data points that can be used for large-scale computer modeling to develop “a custom method that can make full use of limited data.” Argonne’s AMD computational materials scientist said at a press conference.
The researchers published a paper in the journal Additive Manufacturing detailing their research.
The team hopes that future manufacturers can use the process to identify and correct defects during printing, as it will eliminate the need for expensive and time-consuming inspections of every mass-produced component that exists today.
However, AMD’s materials scientist Ben Gould pointed out that so far, this work is only a “very, very good first step”, and the process must eventually be extended to use thousands of data points to build accurate models. In the press statement

