- FDM 3D Printed Silky PLA Vase with Elegant Essence
- FDM 3D Printed Zelda Master Sword Game Cartridge Holder
Gallery
About Project
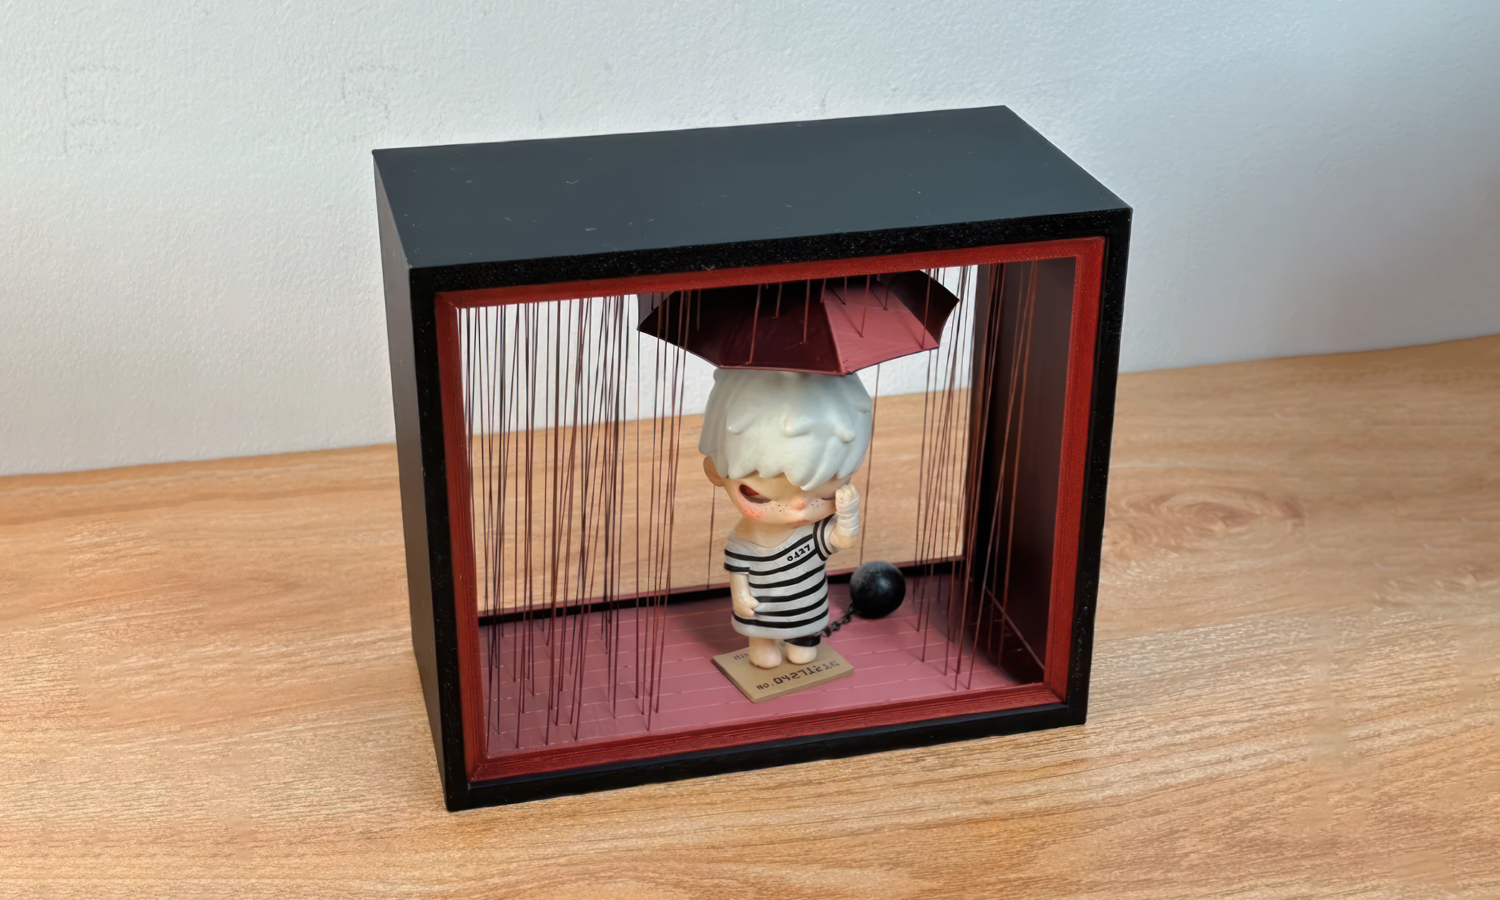
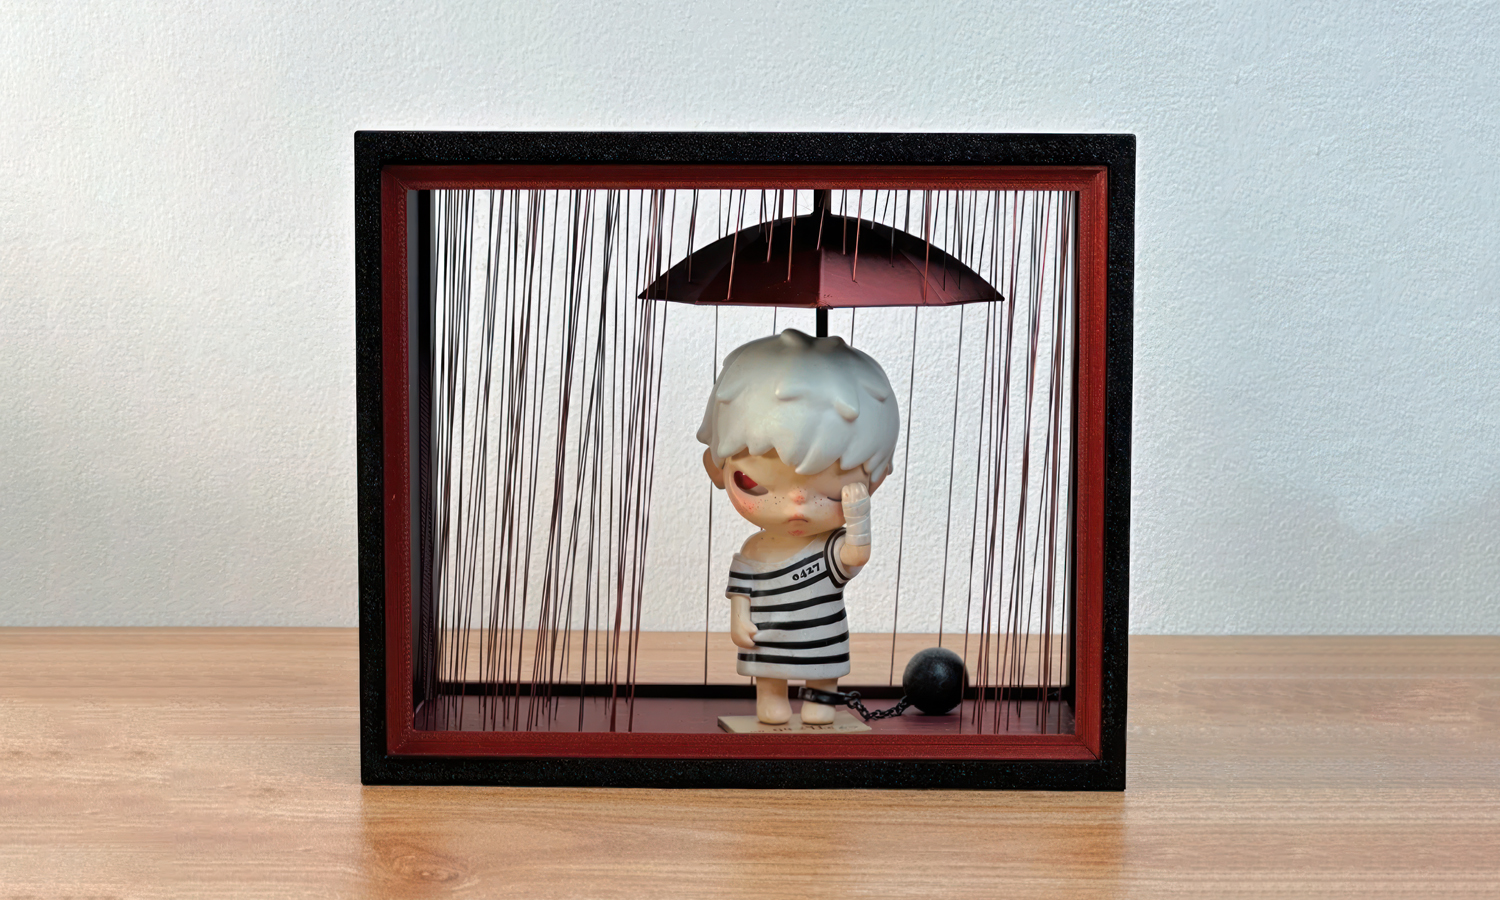
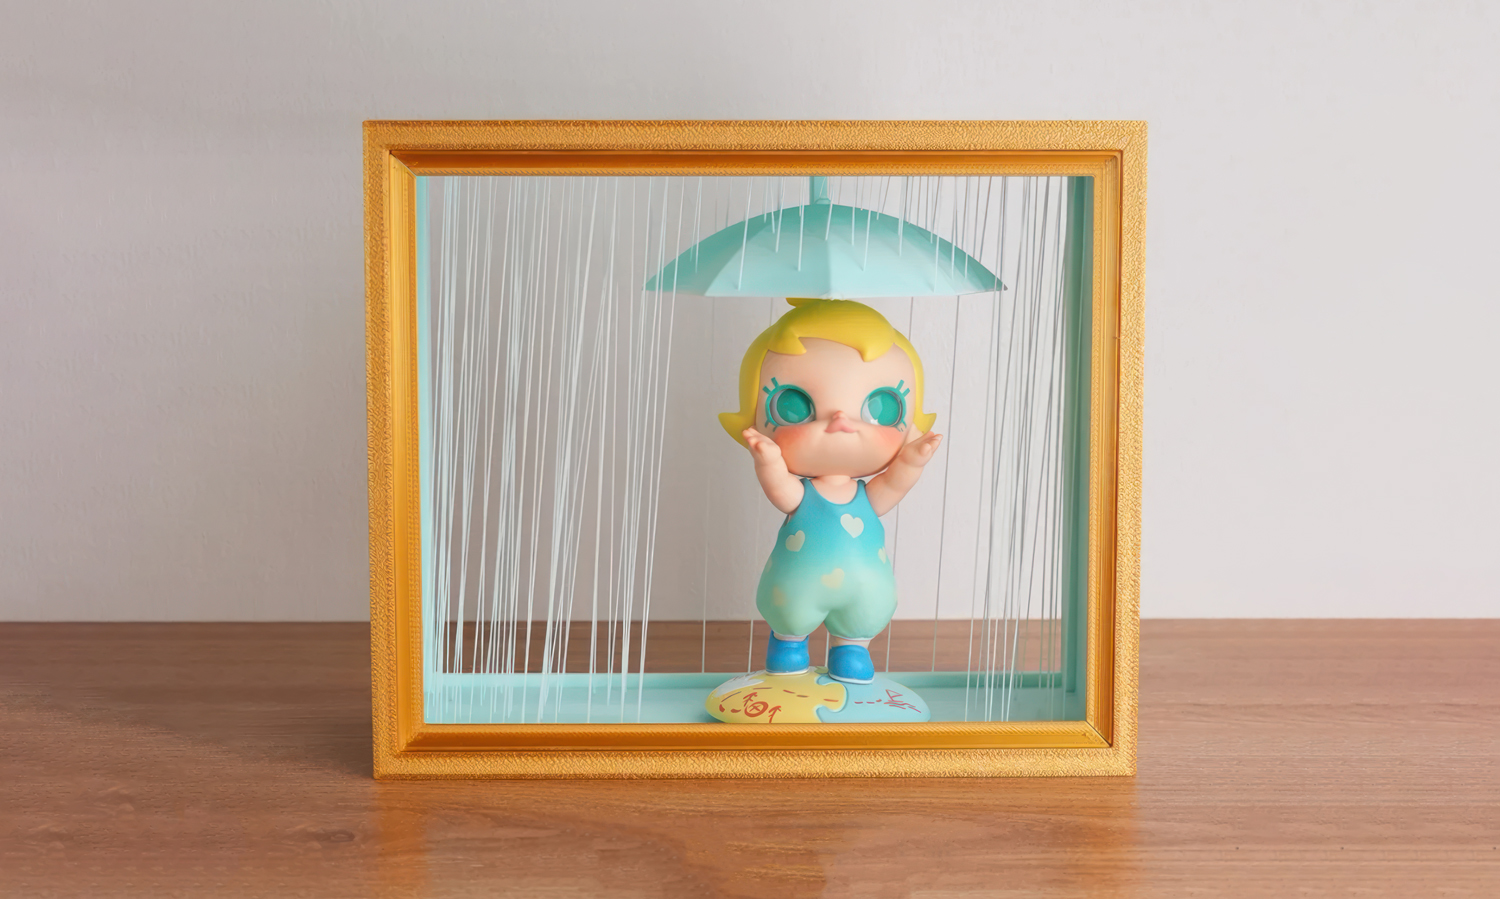
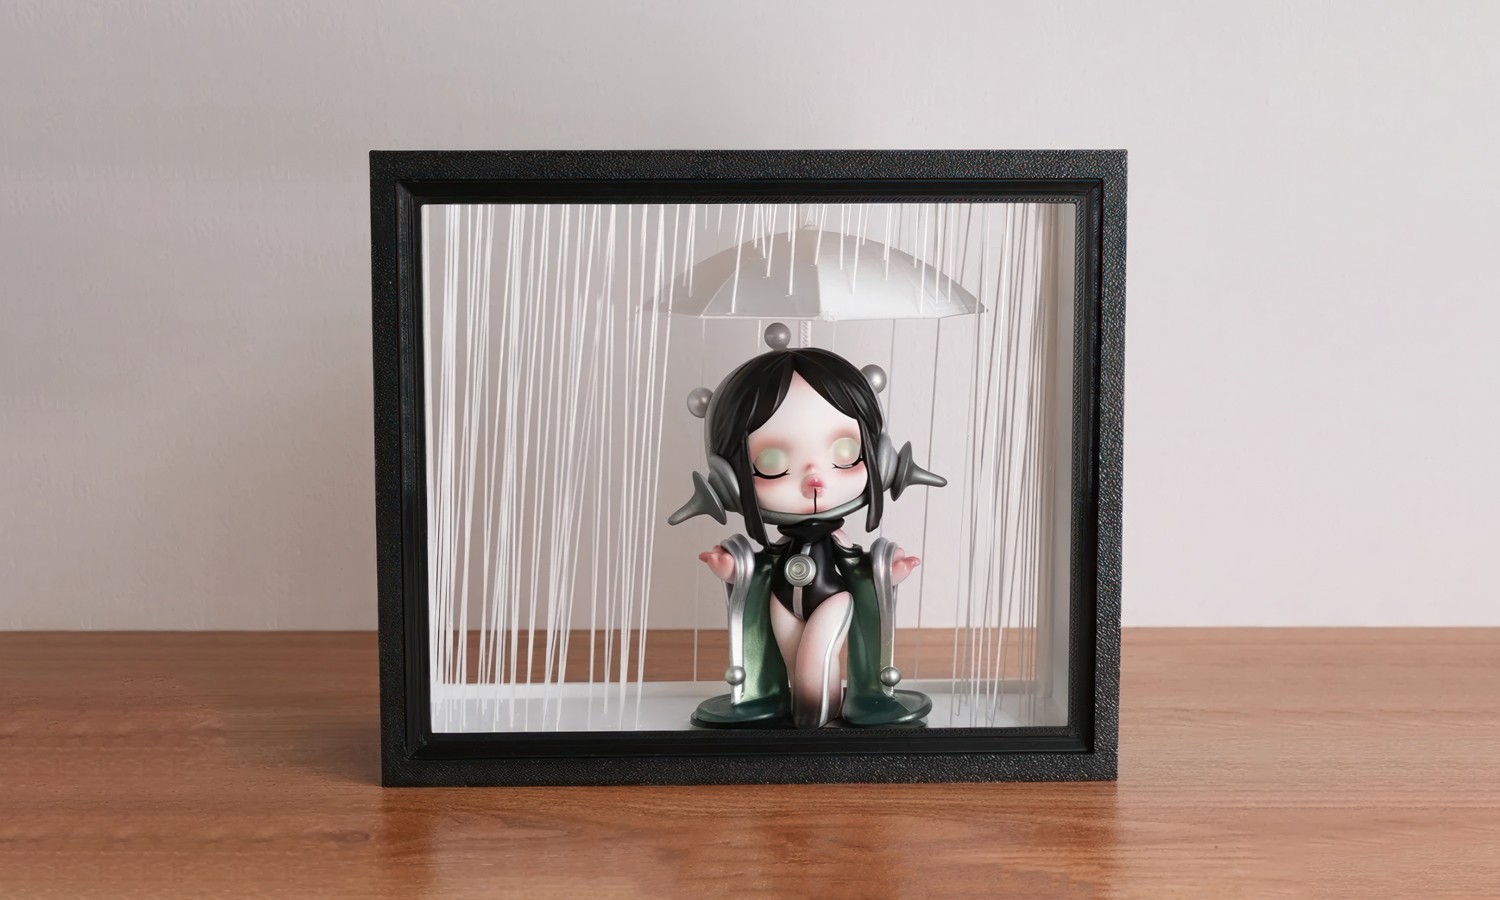
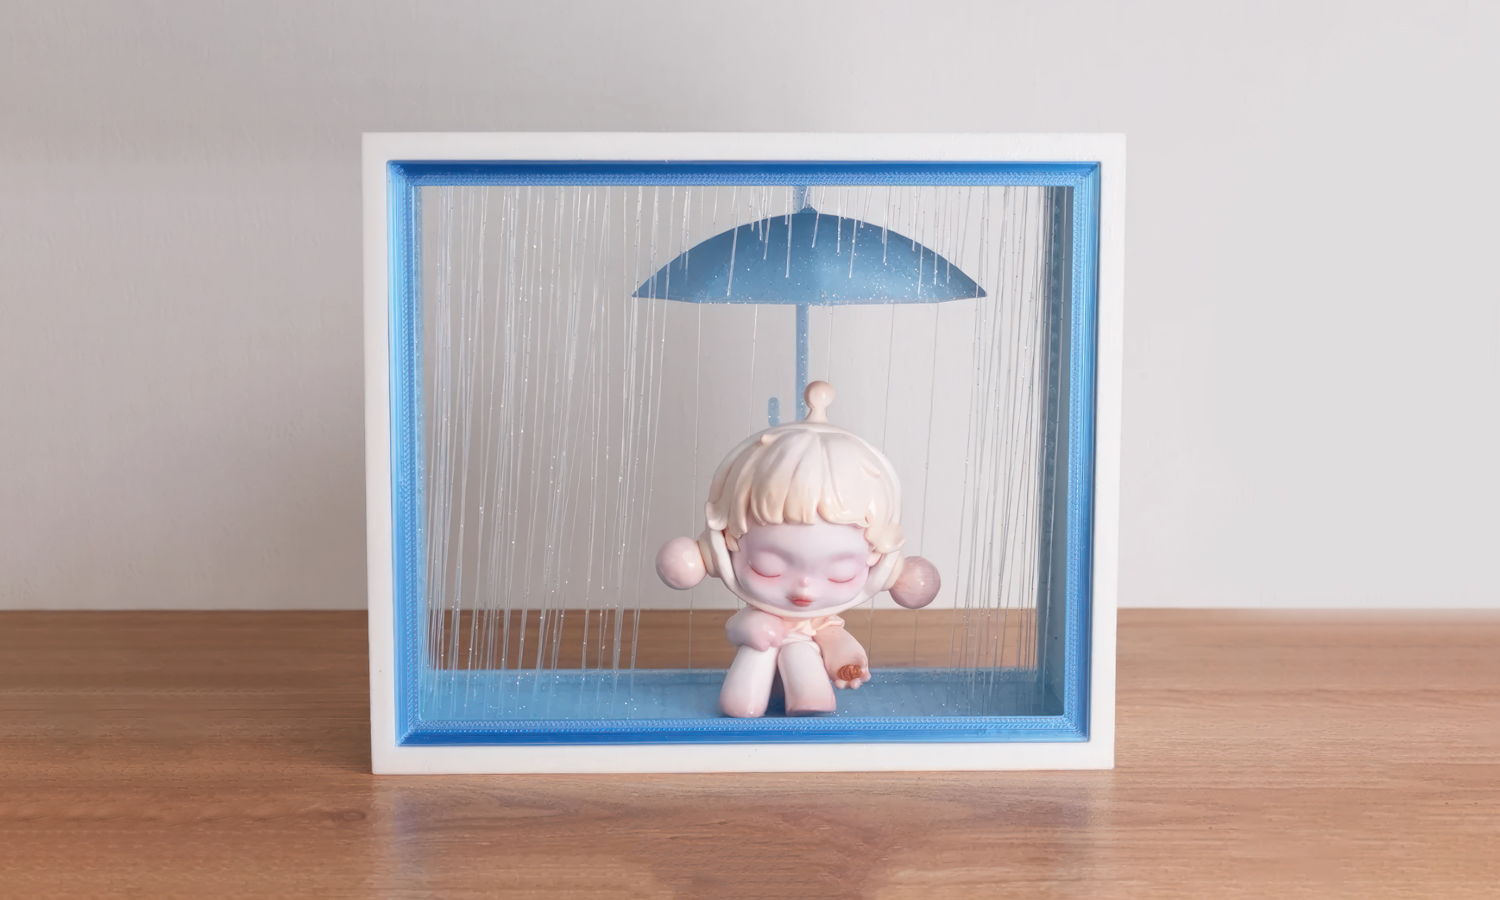
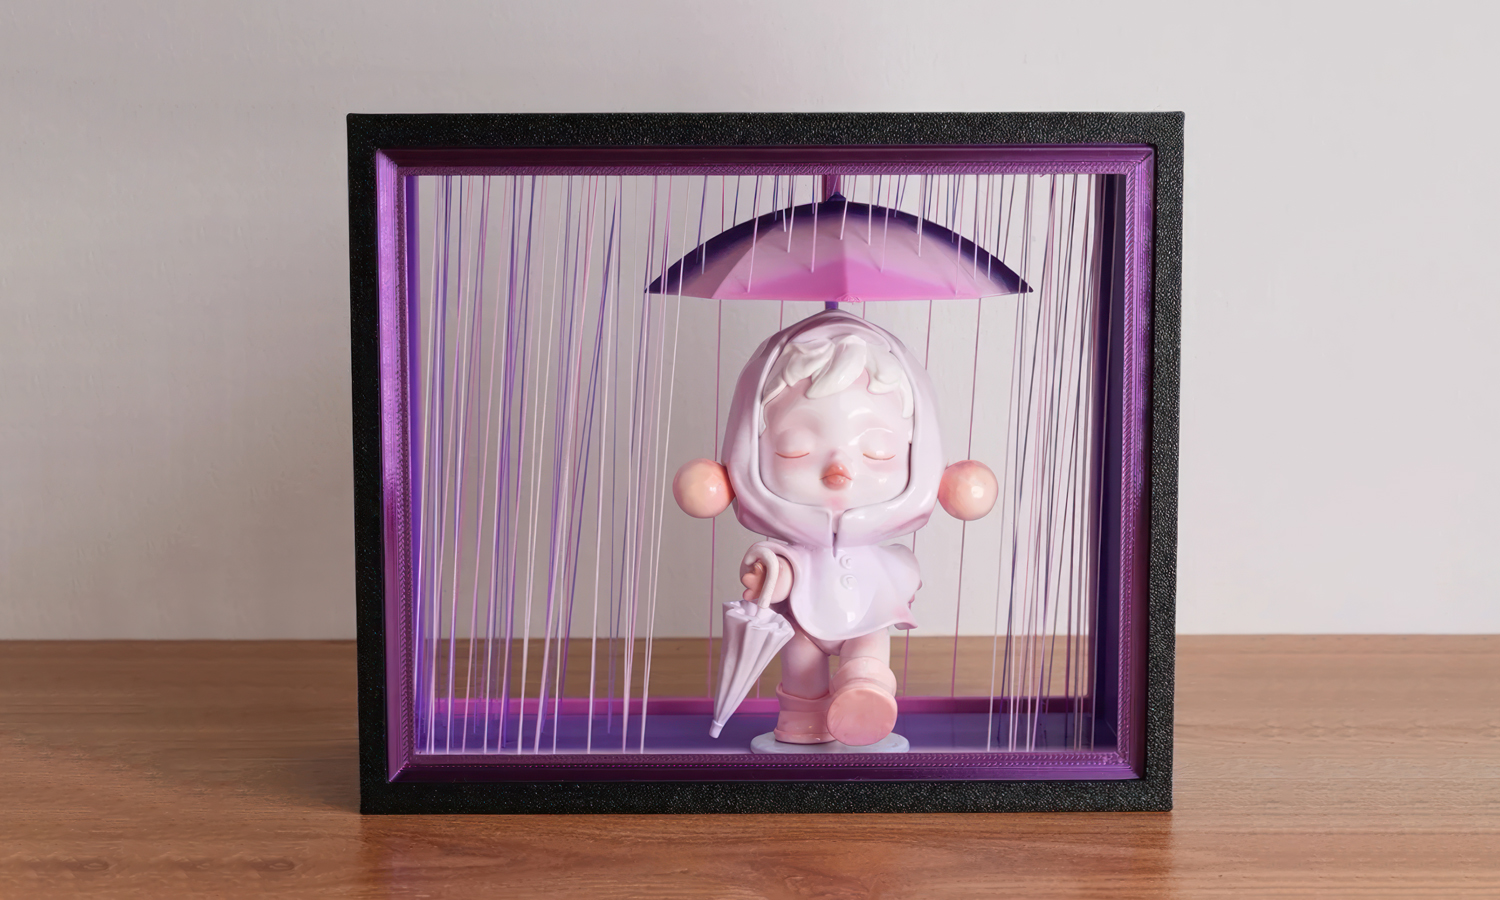
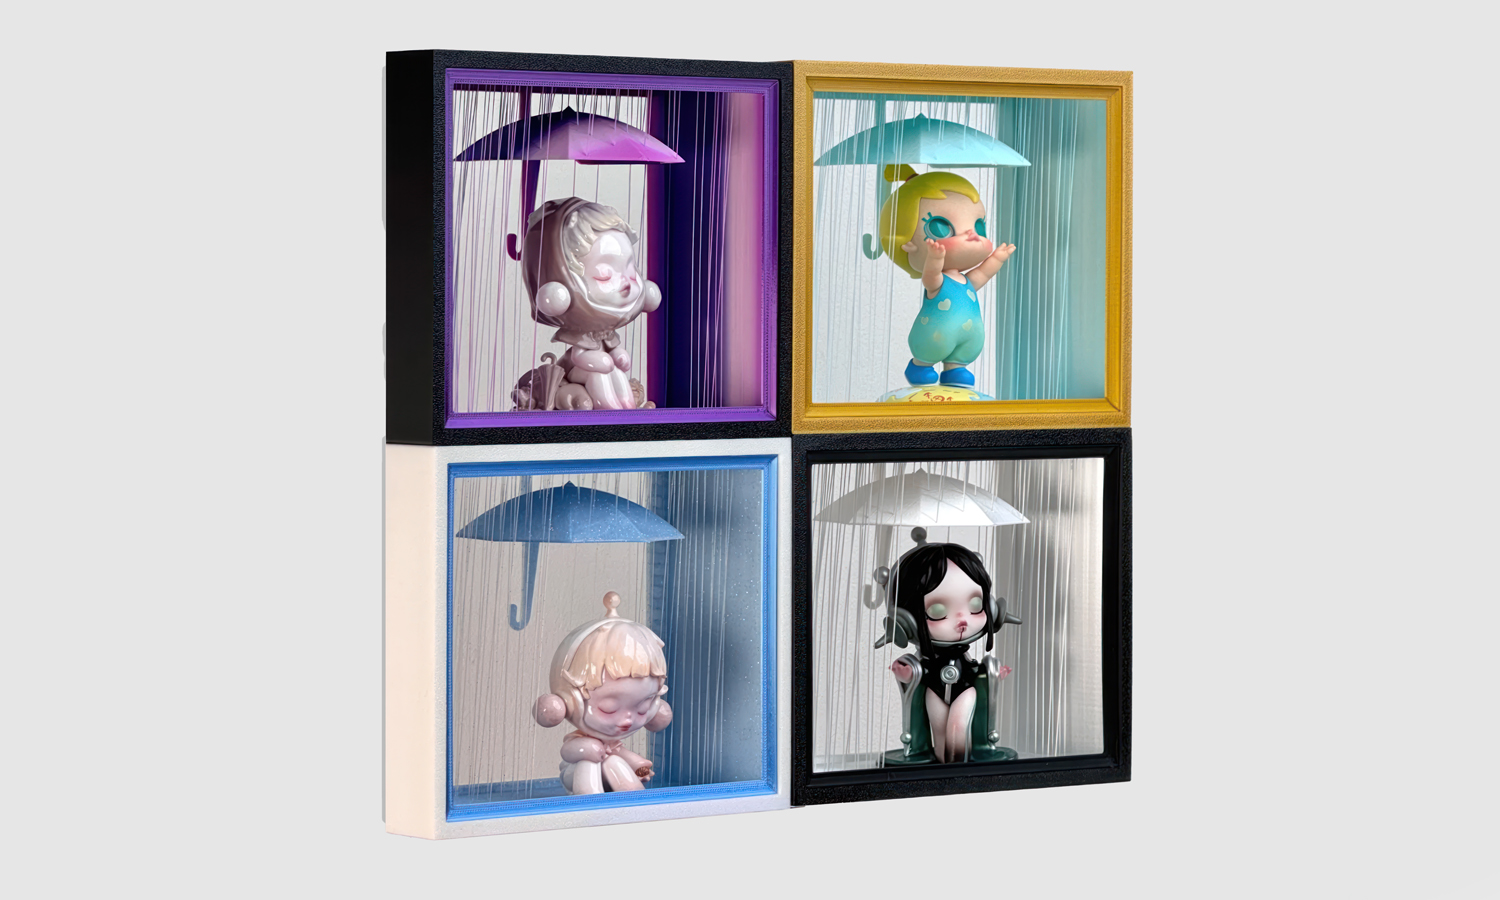
Imagine this: Your beloved Pop Mart figurine, caught in a moment of serene contemplation, standing beneath a gentle rain. A custom-designed 3D printed frame, with delicate vertical lines mimicking raindrops and a tiny umbrella held aloft, completes the scene.
This isn’t just a toy accessory; it’s a work of art, a testament to the creativity and passion of collectors. The FDM 3D printed raining frame, with its intricate details and customized color schemes, adds a touch of magic to each figurine.
While the frame is undeniably charming, it’s important to handle it with care. The vertical lines, though beautiful, are delicate and may be prone to breakage.
We’re truly inspired by the creativity of this collector. It’s a reminder of the endless possibilities that 3D printing offers.
Are you a toy collector or designer looking to elevate your creations? FacFox offers a wide range of 3D printing services, including FDM printing, to bring your imaginative accessory ideas to life. From intricate details to bold designs, we can help you create unique and captivating pieces that enhance your toy collection.
Contact us today to discuss your next project.
Solution
- Step 1: The design of the rain frame was created using 3D modeling software, ensuring it matched the custom color scheme for each figurine.
- Step 2: The design files were prepared for FDM 3D printing, with attention to detail in the vertical lines resembling rain.
- Step 3: The FDM 3D printer was loaded with filament chosen to match the desired color scheme.
- Step 4: The printing process was initiated, and the frame was printed layer by layer with meticulous care.
- Step 5: Upon completion, the printed frame was carefully removed from the printer bed.
- Step 6: Support structures were delicately removed to avoid damaging the brittle vertical lines.
- Step 7: The frame was inspected for quality, ensuring the rain lines and the overall structure were intact.
- Step 8: An opened umbrella, supported with a rod, was printed and assembled, ensuring it fit seamlessly with the frame.
- Step 9: The character was positioned in the frame with care, ensuring the brittle lines were not damaged.
- Step 10: The completed piece was inspected for quality and durability, capturing the moment of innocence and playfulness.
