Material Resin, Rubber
Quantity 1 pcs
Price Range $1-100
Lead Time 2 workdays
Gallery
About Project
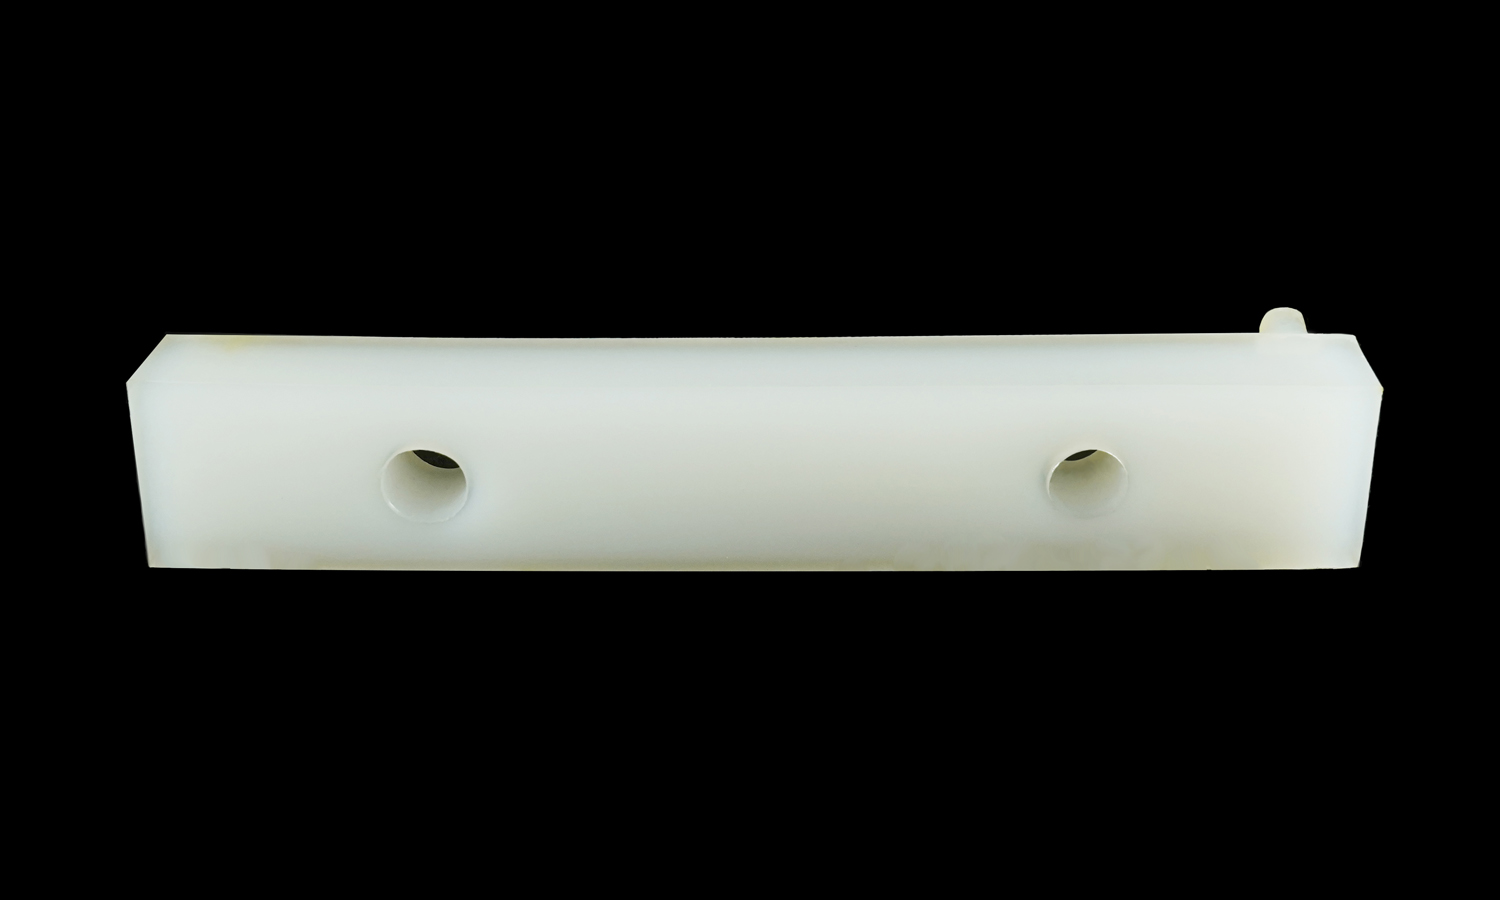
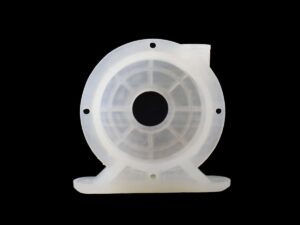
Ever wondered what keeps heavy-duty conveyor systems running quietly and smoothly for years? Meet the Polyurethane (PU) Chain Guide, also known as a wear strip.
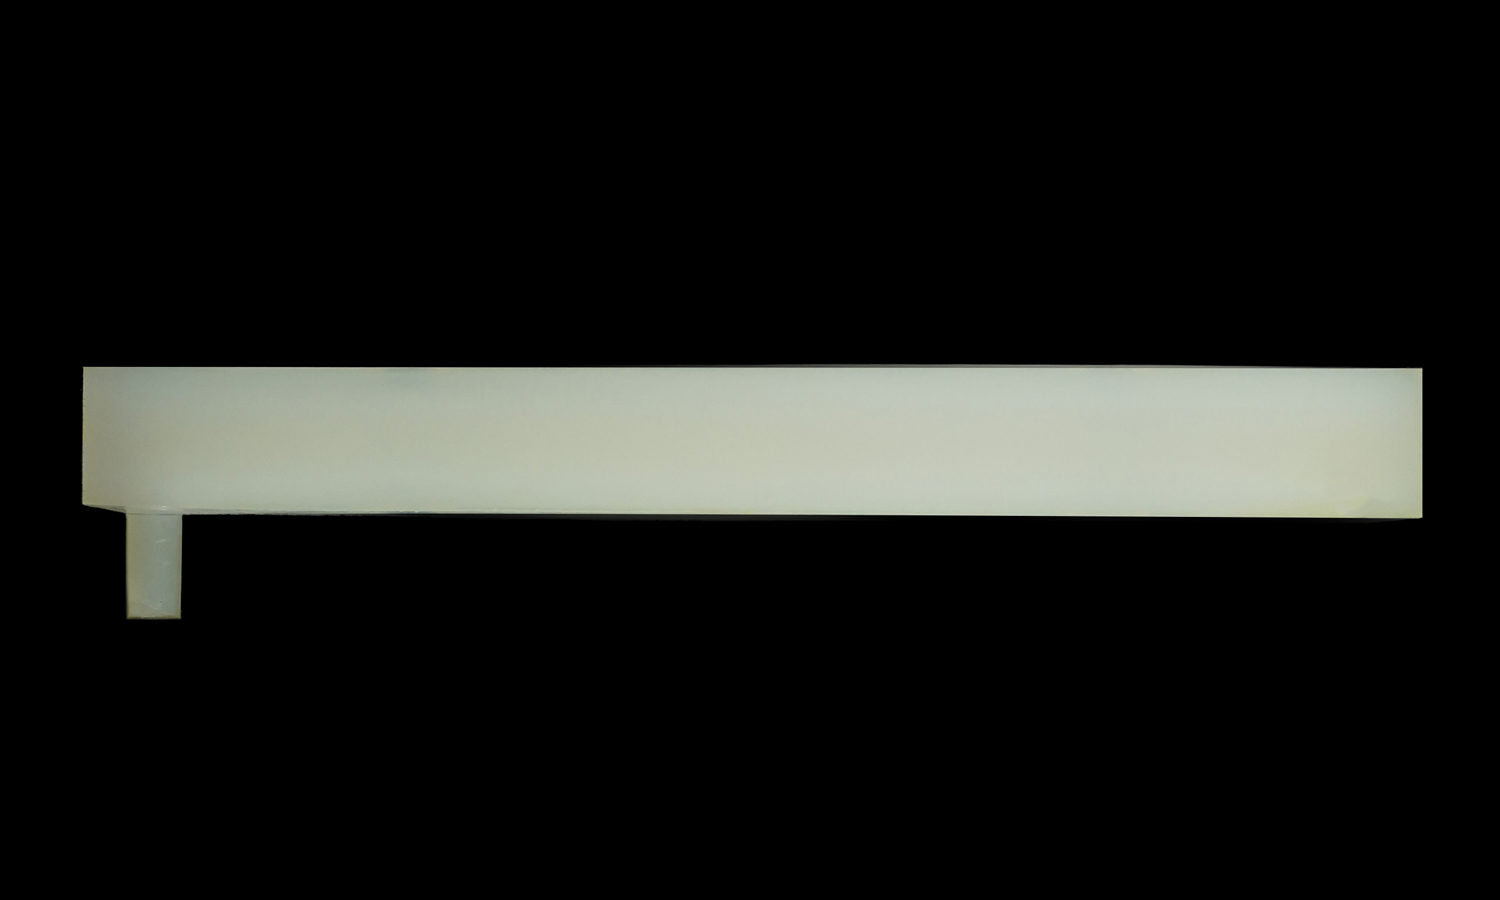
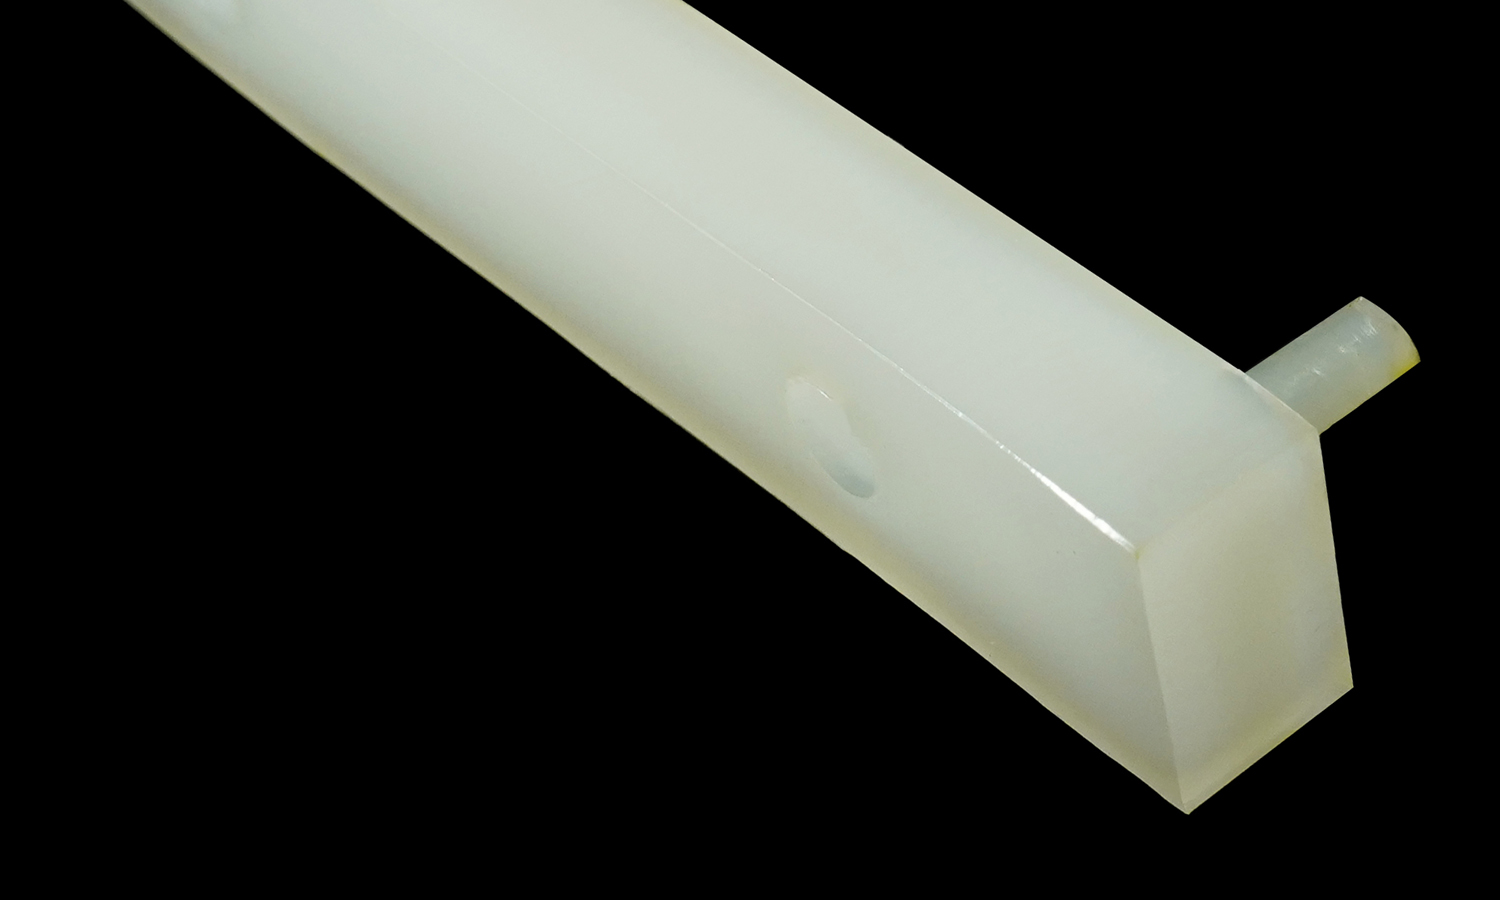
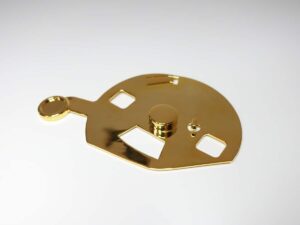
This specific partŌĆöidentifiable by its translucent, off-white hue and integrated locating pinŌĆöis a critical component in the packaging and bottling industries. Its job is simple but vital: prevent metal-on-metal friction between the roller chain and the machine frame.
Why Polyurethane?
Industrial operators choose PU for these “invisible” tasks because it offers:
- High Abrasion Resistance: It outlasts most plastics under constant sliding contact.
- Self-Lubrication: Minimizes the need for messy oils that can contaminate food or beverage lines.
- Impact Damping: It absorbs vibration, significantly reducing the decibel level on a busy factory floor.
Need Custom Replacements? FacFox Has You Covered!
Finding the exact replacement for a legacy machine can be a maintenance nightmare. ThatŌĆÖs where FacFoxŌĆÖs 3D Printing Service steps in.
Instead of waiting weeks for expensive tooling or high-volume minimums, FacFox allows you to go from a digital file to a functional part in days. Using advanced MJF (Multi Jet Fusion) or SLS (Selective Laser Sintering) technologies, we can print high-performance TPU (Thermoplastic Polyurethane) parts with:
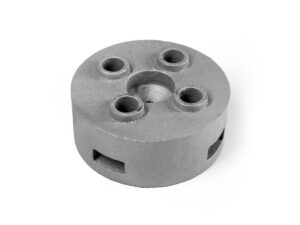
- Complex Geometries: Intricate mounting holes and locating pins are printed with 100% accuracy.
- Adjustable Hardness: From soft, rubber-like 88A to rigid, wear-resistant 95A.
- Fast Turnaround: Prototypes or end-use parts shipped globally in as little as 3 days.
Whether you need a one-off replacement for a broken guide rail or a small batch of custom-sized wear strips, FacFox provides industrial-grade quality without the industrial-sized wait.
Ready to upgrade your production line? Upload your CAD file today at FacFox.com and get an instant quote!
Solution
- Step 1: The technical specifications and dimensions were meticulously extracted from a CAD model or a physical sample.
- Step 2: A precision mold was engineered and machined from aluminum to accommodate the specific locating pin and mounting hole geometry.
- Step 3: The raw polyurethane resin was preheated and degassed in a vacuum chamber to ensure no air bubbles remained in the mixture.
- Step 4: The liquid polyurethane was poured into the heated mold cavity under controlled temperature conditions.
- Step 5: The part was cured in a high-temperature industrial oven until the material reached its optimal chemical cross-linking and hardness.
- Step 6: The solidified component was carefully demolded and the excess material, or flash, was trimmed from the edges.
- Step 7: The final product was inspected for dimensional accuracy and surface finish before being cleared for shipment.

