Gallery
About Project
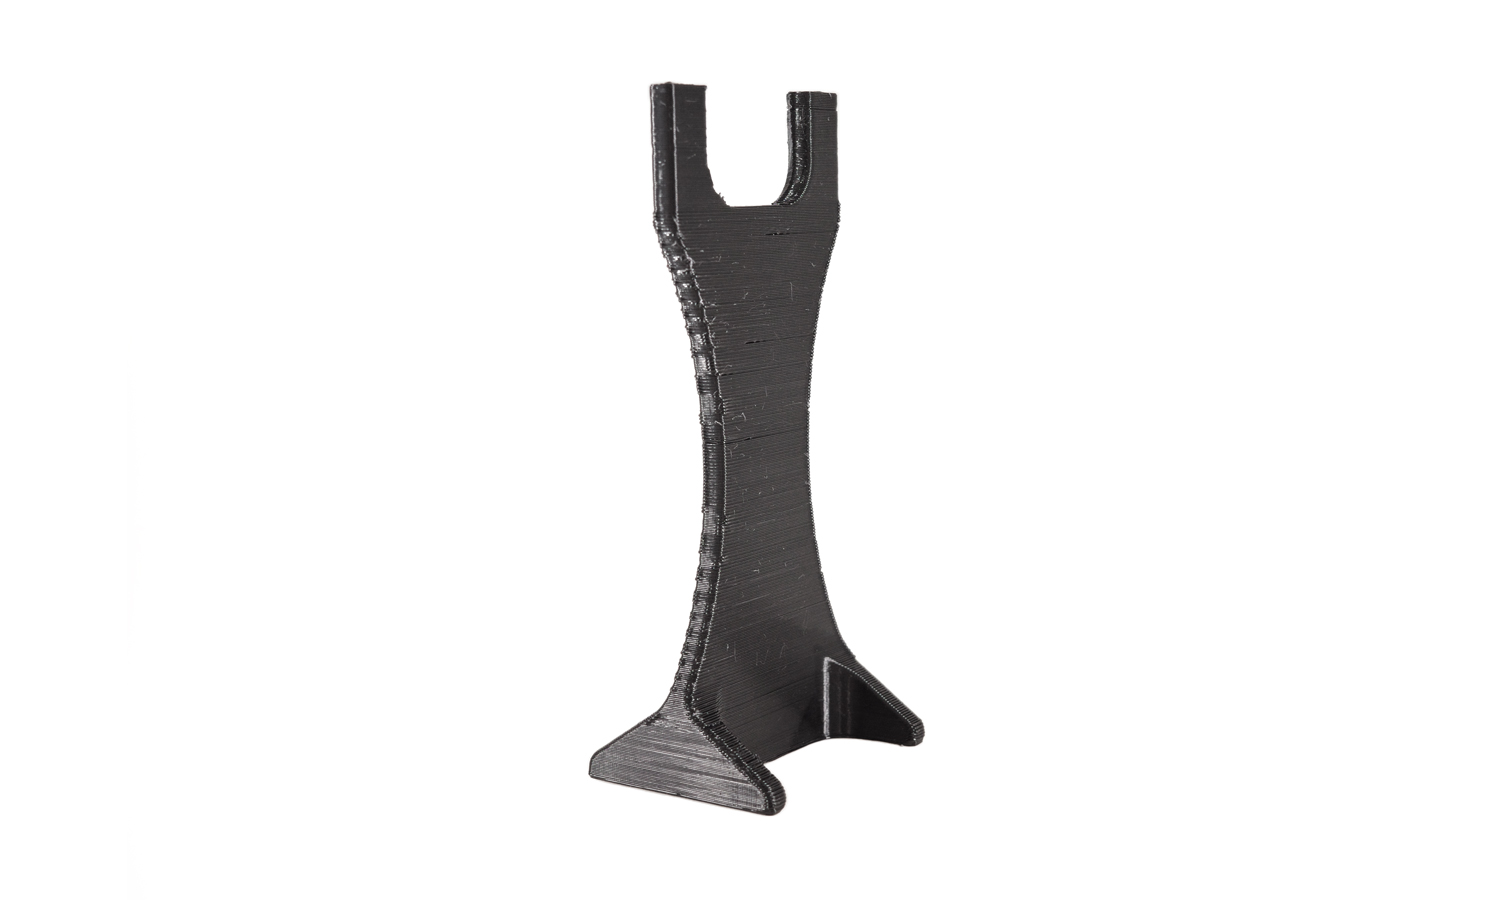
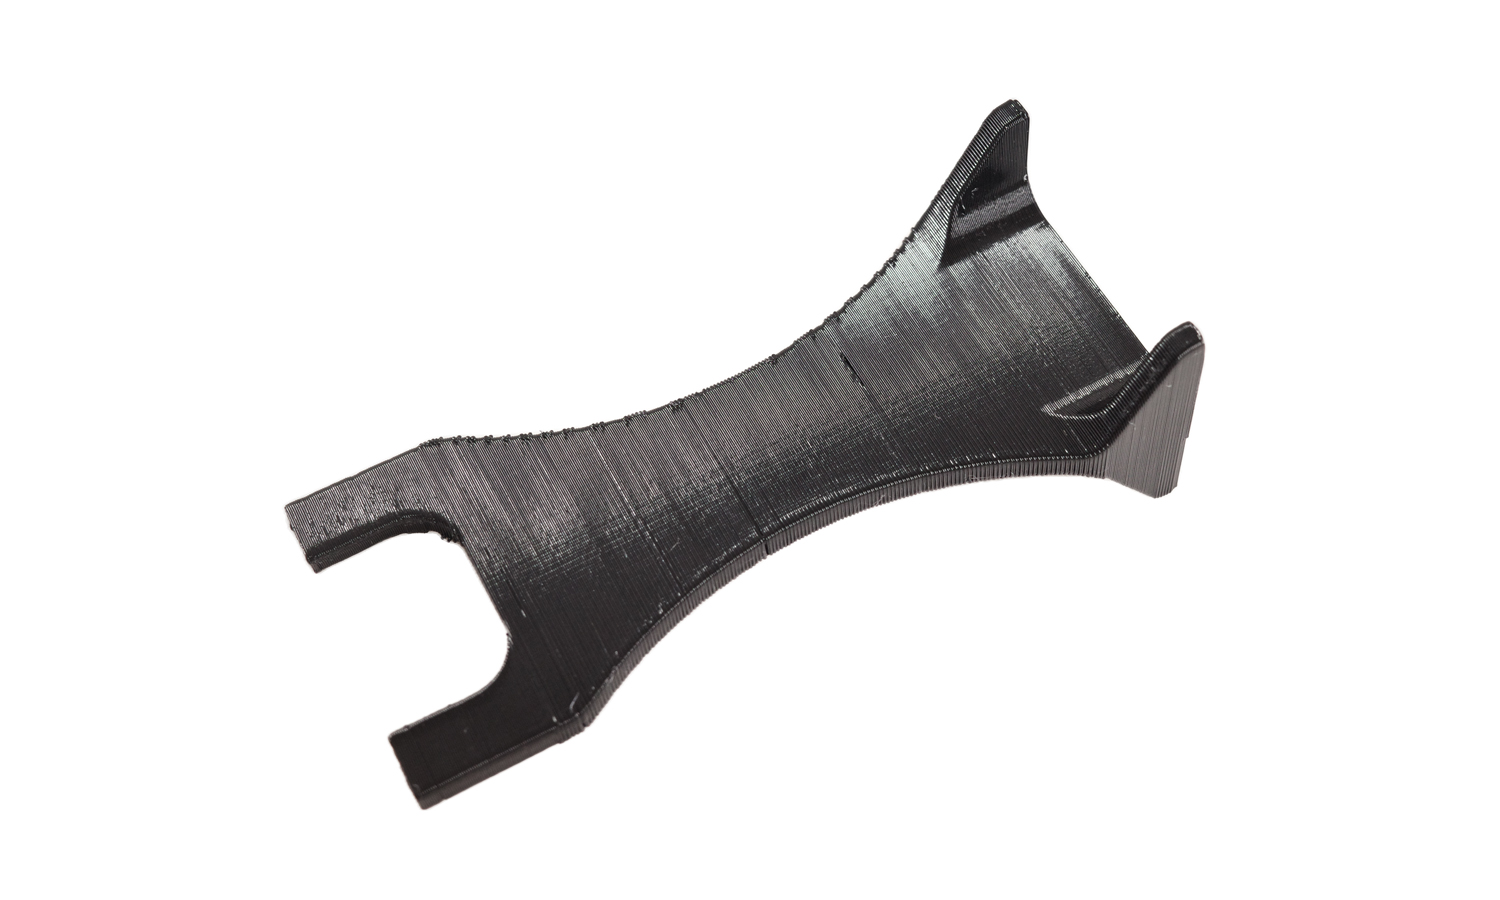
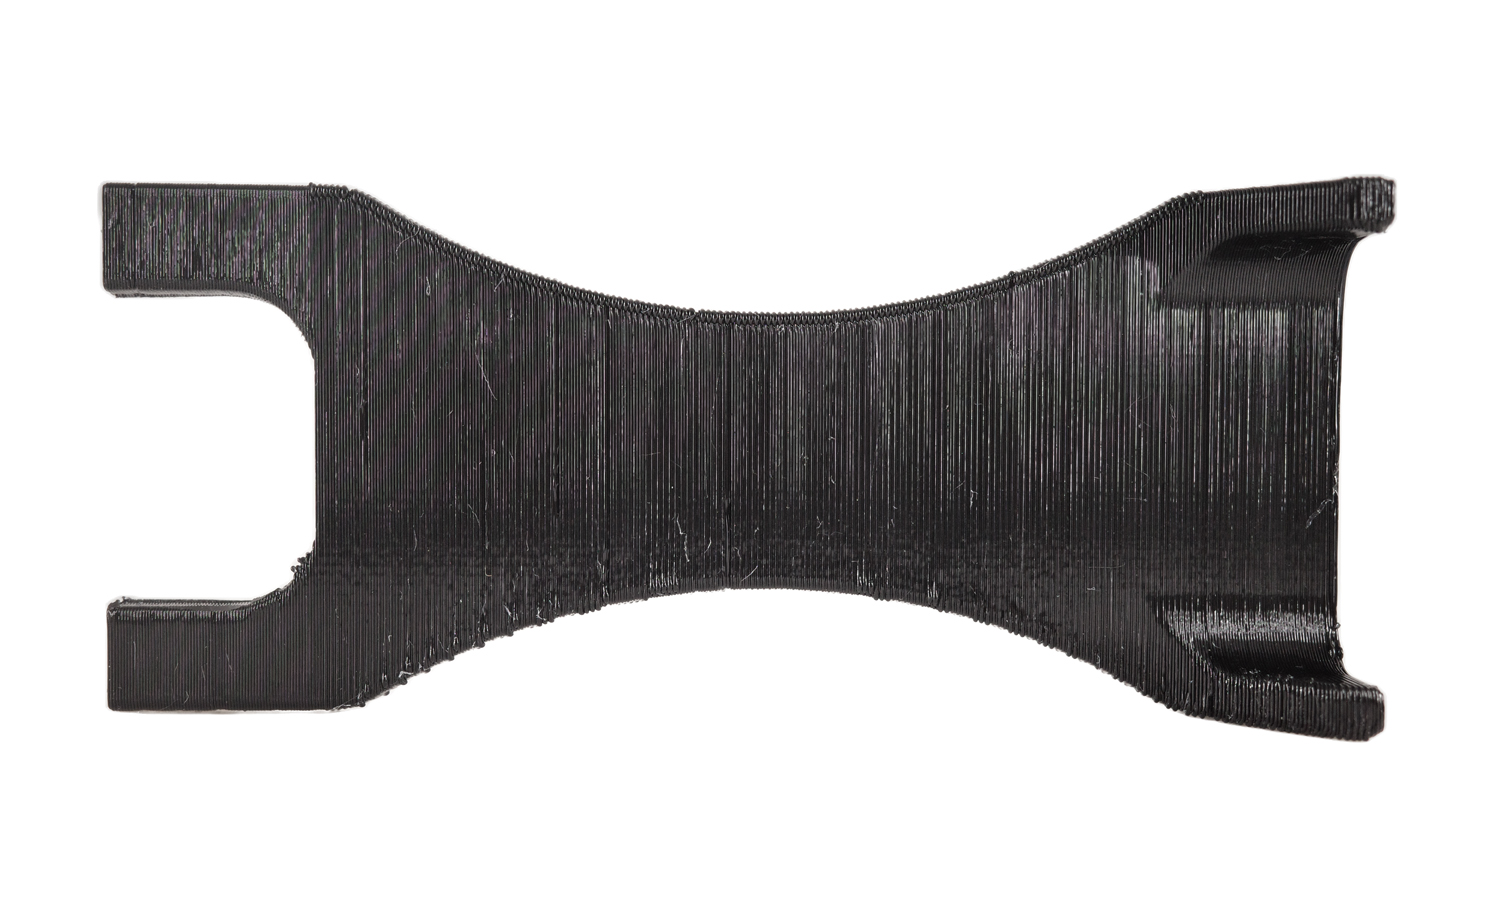
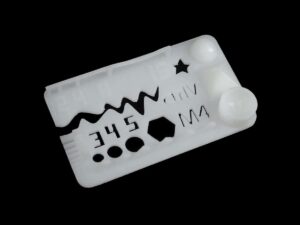
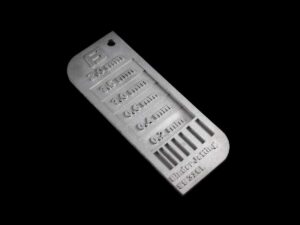
We used our FDM 3D printer to create this stunning black PETG monument-like prototype, and we are amazed by the results! We chose PETG for this project because we wanted to showcase its potential for creating complex and intricate shapes. We also wanted to compare it with another popular 3D printing material, ABS, which we will show you in another post.
As you can also see from the photos, there are some stringings on the surface. These can be removed by sanding or cutting them off with a knife. There are also some curlings on the edges, which are kind of inevitable with this material.
We decided to show you the raw piece of PETG in this case, without any post-processing or finishing. We wanted to give you an honest and transparent view of what PETG can do and what its limitations are.┬Ā
If you are interested in trying out PETG for your own 3D printing projects, we have good news for you! FacFox is a leading online platform that offers high-quality PETG manufacturing services at affordable prices. You can upload your 3D model to our website facfox.com, choose your preferred material, color, and quantity, and get an instant quote. We will print your model with our professional FDM 3D printers and ship it to you in no time. You can also choose from other materials such as PLA, ABS, Nylon, TPU, and more.
FacFox is your one-stop shop for all your 3D printing needs. Whether you need a prototype, a product, or a gift, we can make it happen. Visit our website today and start your 3D printing journey with us!
Solution
- Step 1: The 3D model of the monument-like shape was designed using CAD software. The model was then exported as an STL file, which is a standard format for 3D printing.
- Step 2: The STL file was imported into slicing software, which is a program that converts the 3D model into a series of instructions for the FDM 3D printer. The slicing software also allowed to adjust various parameters such as the layer height, infill density, print speed, and temperature.
- Step 3: The slicing software generated a G-code file, which is a set of commands that tells the FDM 3D printer how to move the extruder and deposit the filament.
- Step 4: The FDM 3D printer was loaded with a spool of black PETG filament, which is a type of thermoplastic that has excellent strength, durability, and flexibility. The filament was fed into the extruder, which is a device that melts and pushes the filament through a nozzle.
- Step 5: The FDM 3D printer started to print the prototype by following the G-code instructions. The extruder moved along the X, Y, and Z axes and deposited the melted PETG filament layer by layer on the heated bed, which is a platform that supports the print and prevents warping. The print took several hours to complete.
- Step 6: After the print was finished, the FDM 3D printer cooled down and the model was removed from the heated bed. The prototype had some stringing on the surface and some curling on the edges, which are common defects of PETG printing. These could be removed by sanding.


