Material Resin
Quantity 1 pcs
Price Range $100-1,000
Lead Time 4 workdays
Gallery

About Project
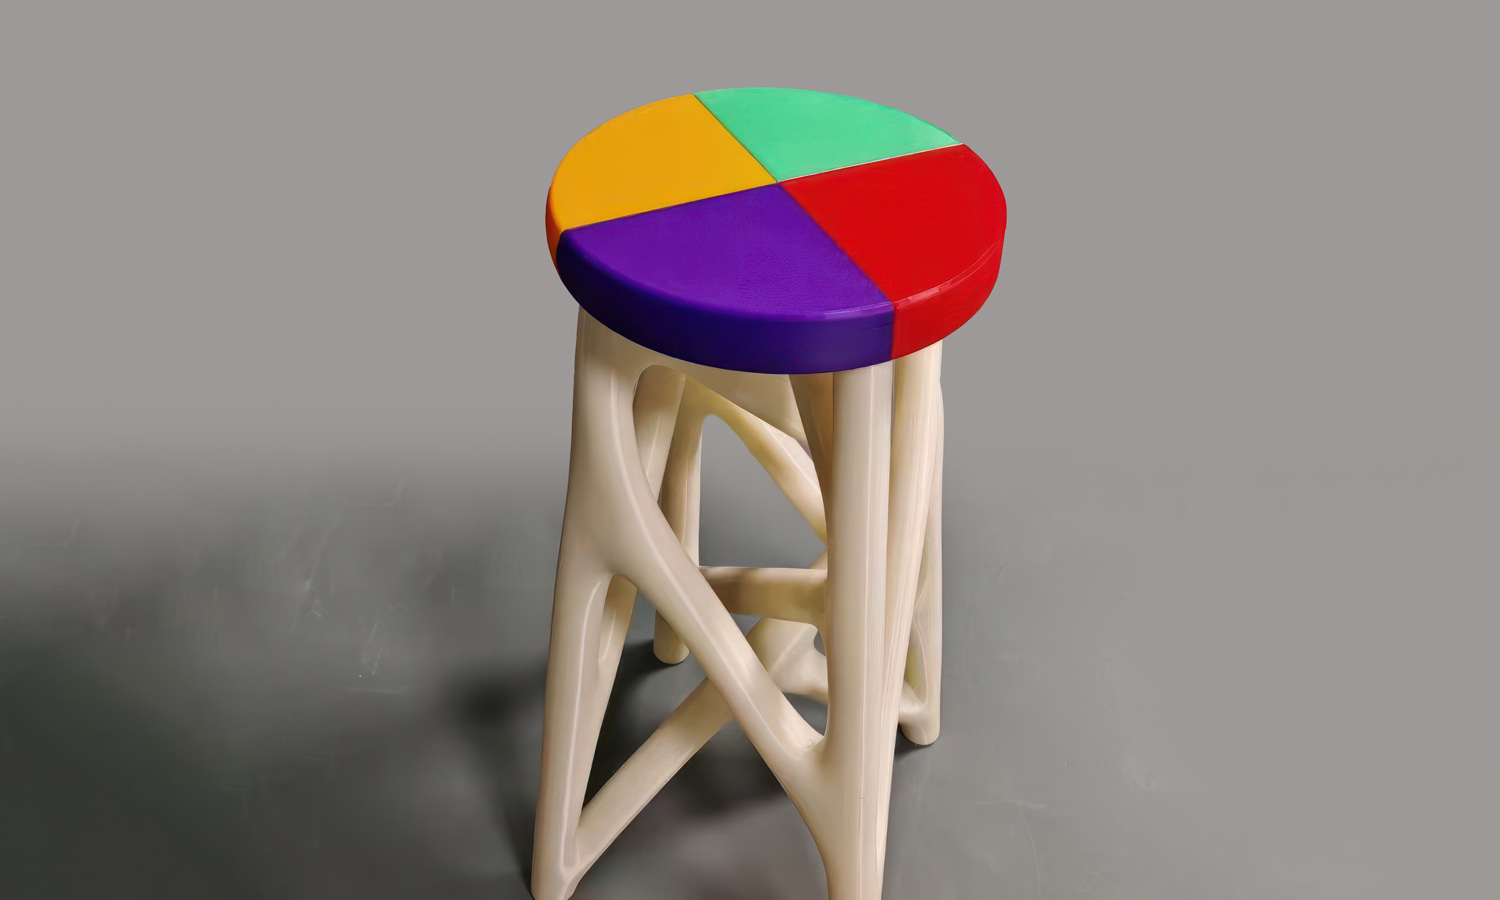
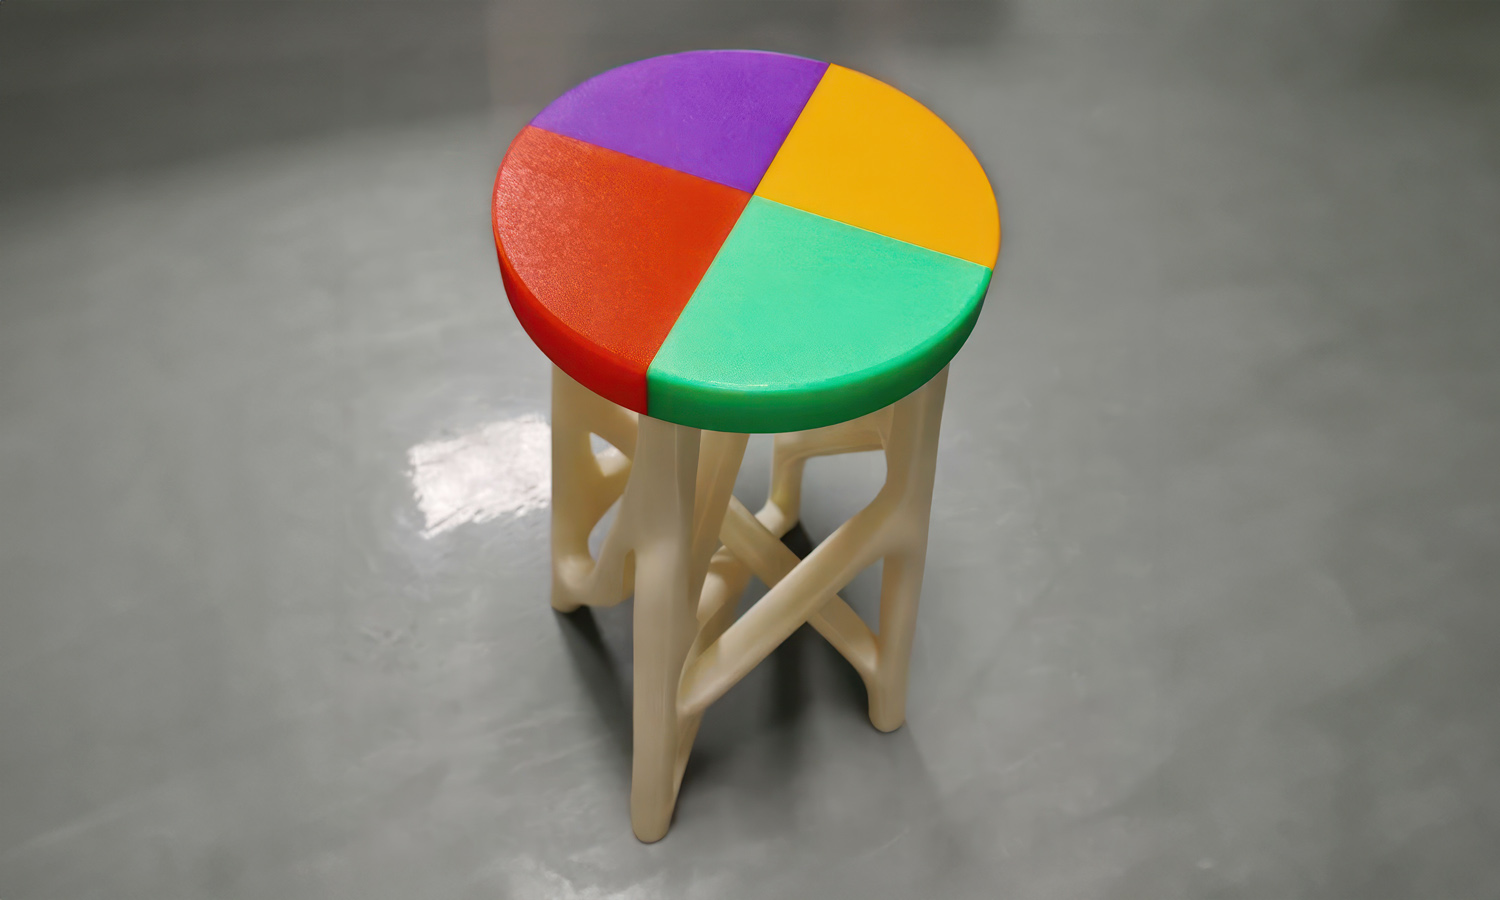
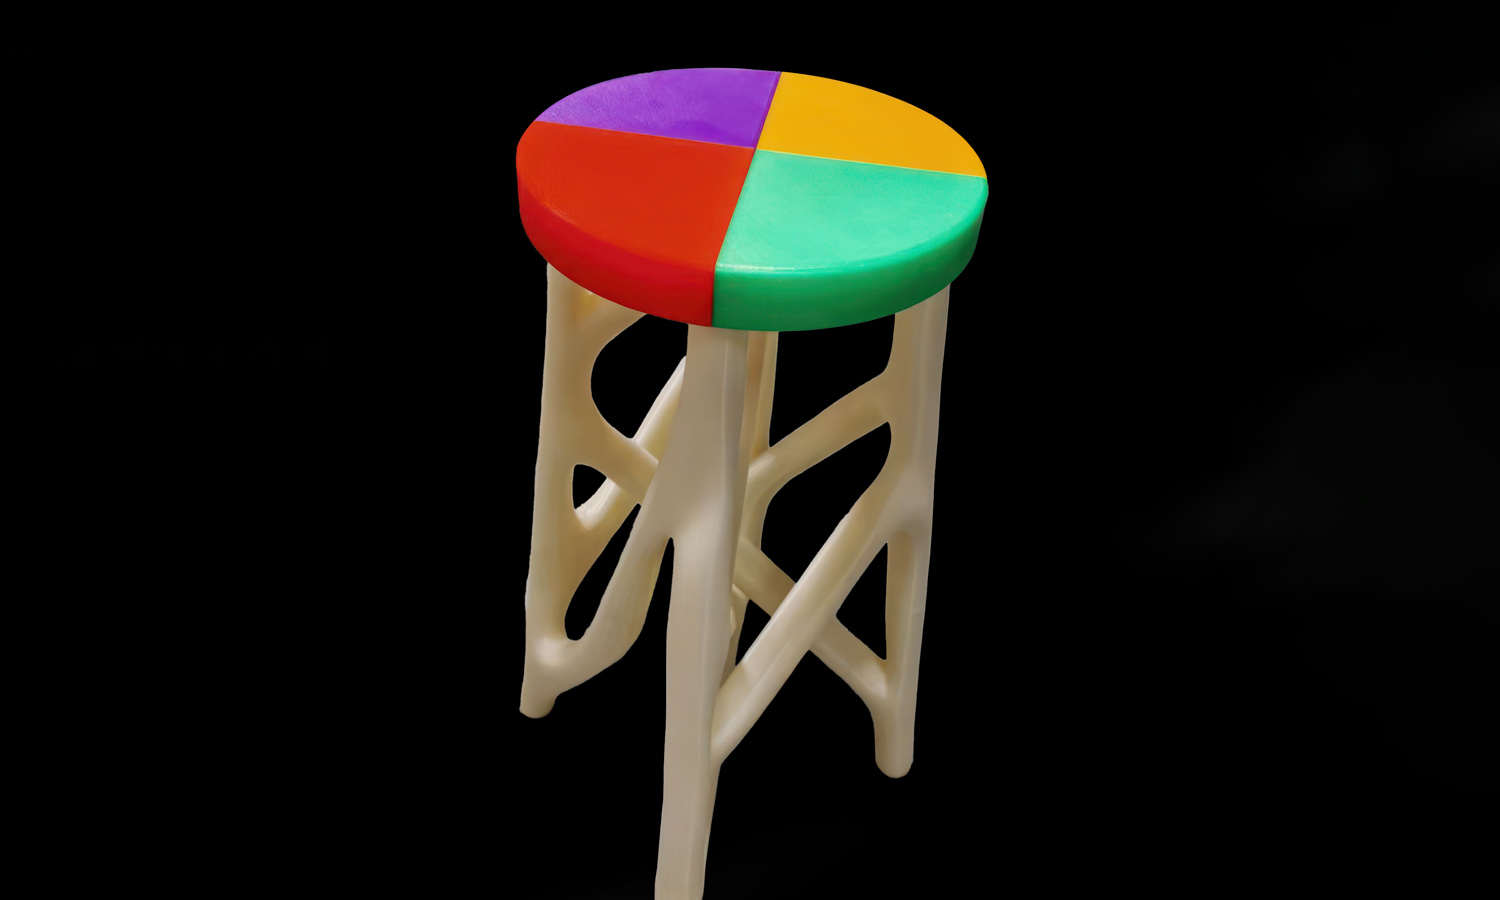
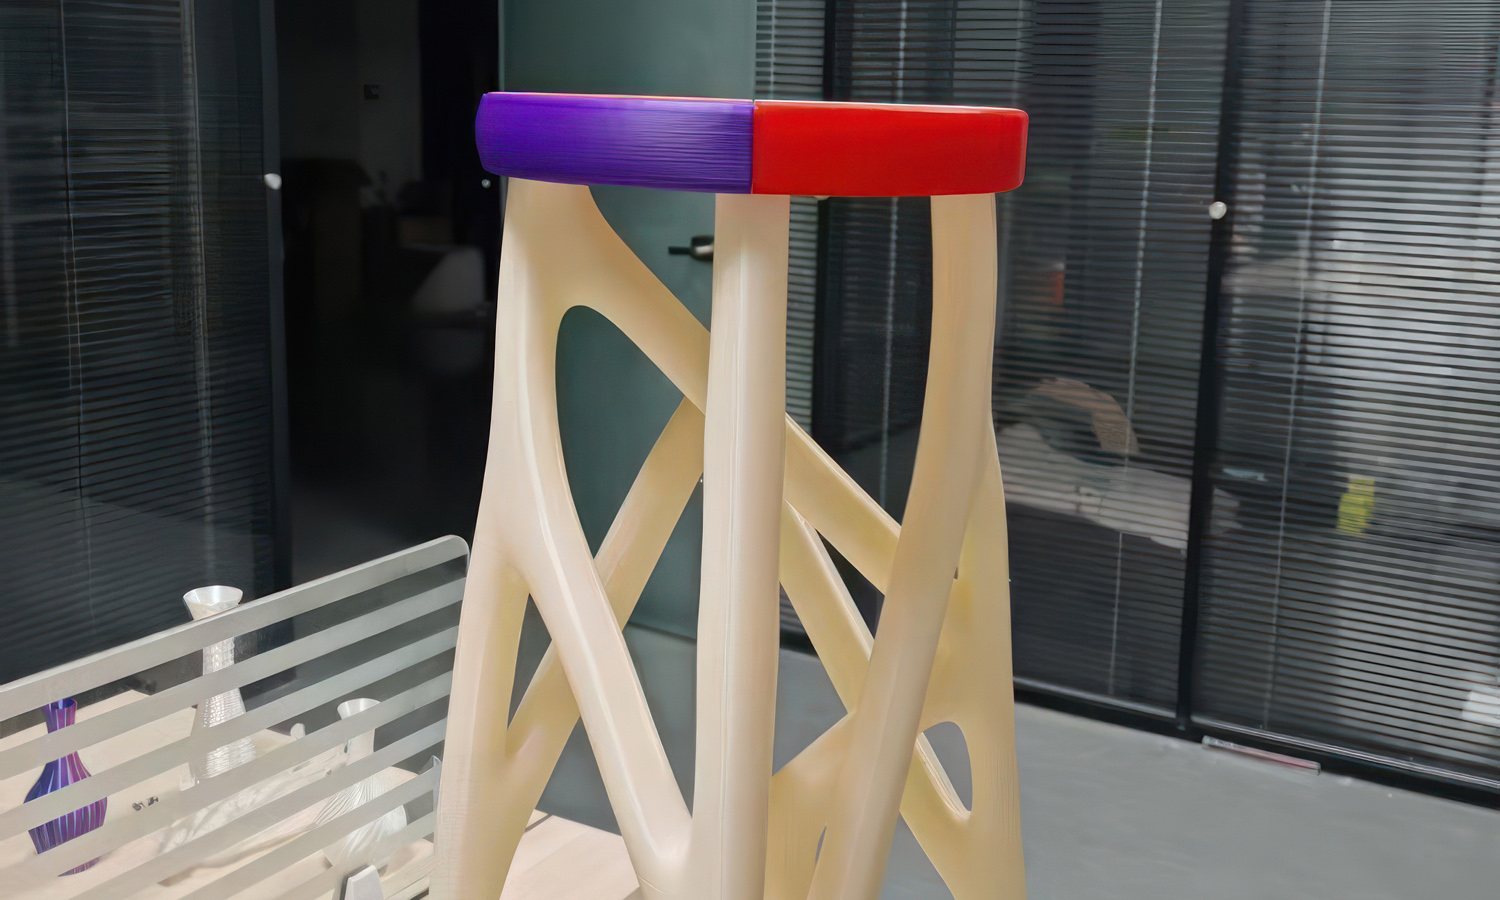
Introducing the Wheel of Fortune Seat, a stunning example of what can be achieved with SLA 3D printing technology. This tall stool features a unique, organic-looking base that is both visually striking and structurally sound. The base, 3D printed in pristine white resin, showcases intricate, interwoven lines that form a complex and captivating structure. This design not only provides robust support but also adds an element of modern artistry to any space.
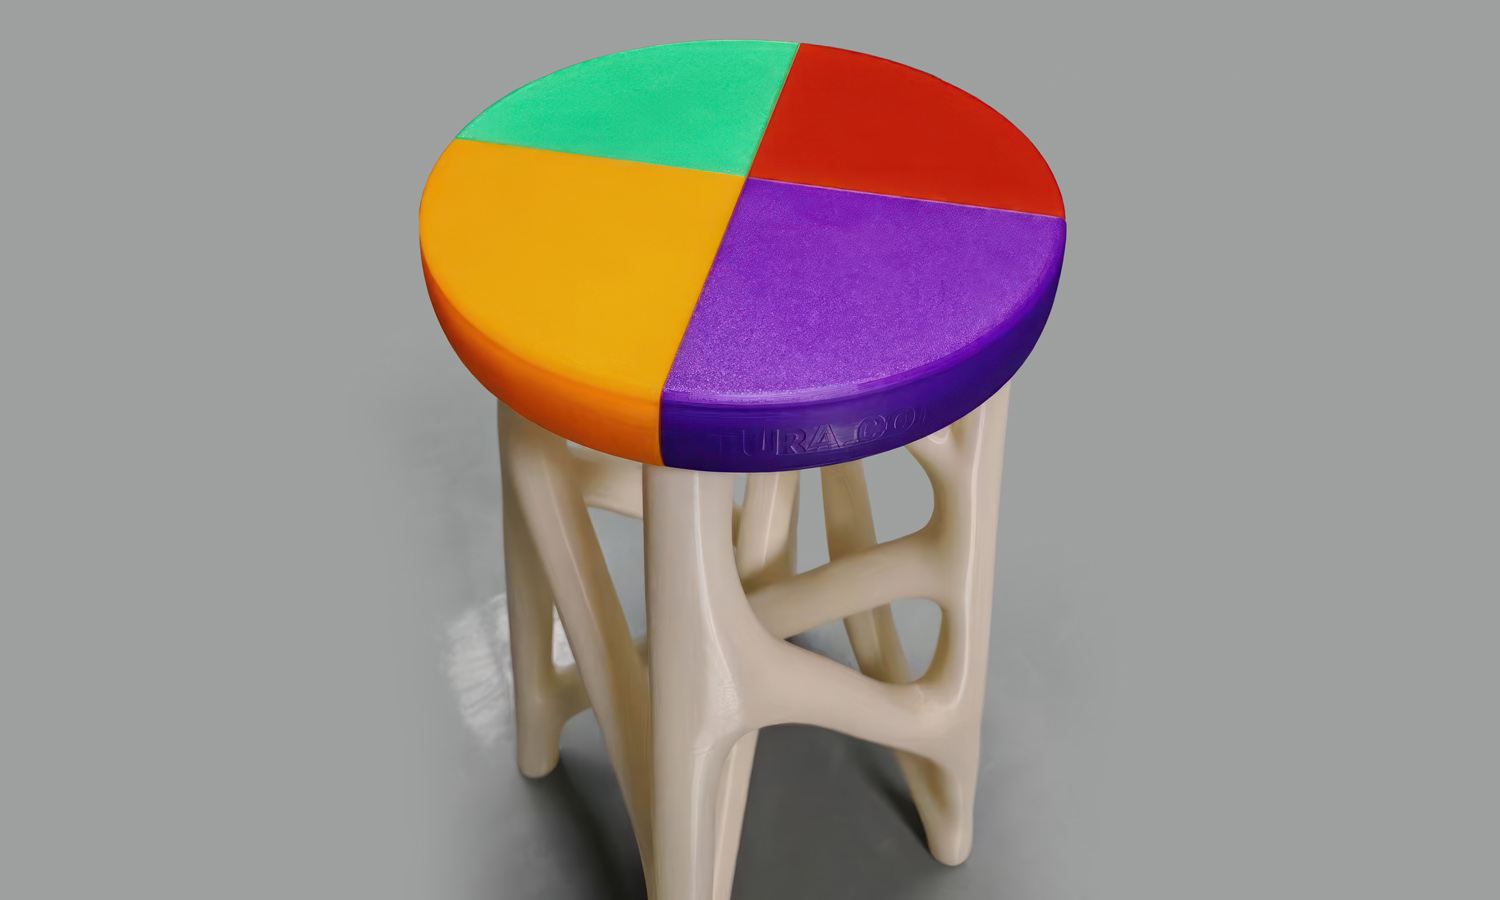
The seat itself is a circular platform divided into four vibrant quadrants, each painted a different color: yellow, green, red, and purple. This playful and whimsical design invites users to engage with the seat in a fun and interactive way, making it a perfect addition to creative environments, modern homes, or trendy offices.
The combination of advanced SLA 3D printing technology and high-quality resin material ensures that the Wheel of Fortune Seat is not only aesthetically pleasing but also durable and reliable. The precision of SLA printing allows for the creation of the intricate base design, which would be challenging to achieve with traditional manufacturing methods.
At FacFox, we specialize in bringing your creative visions to life with our state-of-the-art 3D printing prototyping services. Whether you’re looking to create intricate designs like the Wheel of Fortune Seat or need precise and reliable prototypes for industrial applications, our team of experts is here to help. We offer a wide range of materials and finishes to suit your specific needs, ensuring that your prototypes are both functional and visually stunning.
Explore the endless possibilities of 3D printing with FacFox and let us help you turn your ideas into reality. Visit our website to learn more about our services and start your next project with us today!
Solution
- Step 1: Design Creation.В The digital 3D model was created using computer-aided design (CAD) software.
- Step 2: Preparation.В The model was prepared for printing by adjusting the settings and slicing it into layers.
- Step 3: Resin Filling.В The tank was filled with liquid SLA Tough Resin.
- Step 4: Platform Positioning.В The build platform was positioned at a specific height within the resin tank.
- Step 5: Layer Curing.В A UV laser was used to selectively cure and solidify the resin layer by layer.
- Step 6: Layer Addition.В The build platform was incrementally raised to allow new layers of resin to be cured.
- Step 7: Post-Curing.В The printed object was removed from the tank and further cured under UV light to enhance its strength.
- Step 8: Cleaning.В The object was cleaned to remove any uncured resin.
- Step 9: Finishing.В The final touches, such as sanding and painting, were applied to achieve the desired appearance and texture.


