Material Resin
Quantity 3 pcs
Price Range $1-100
Lead Time 2 workdays
Gallery
About Project
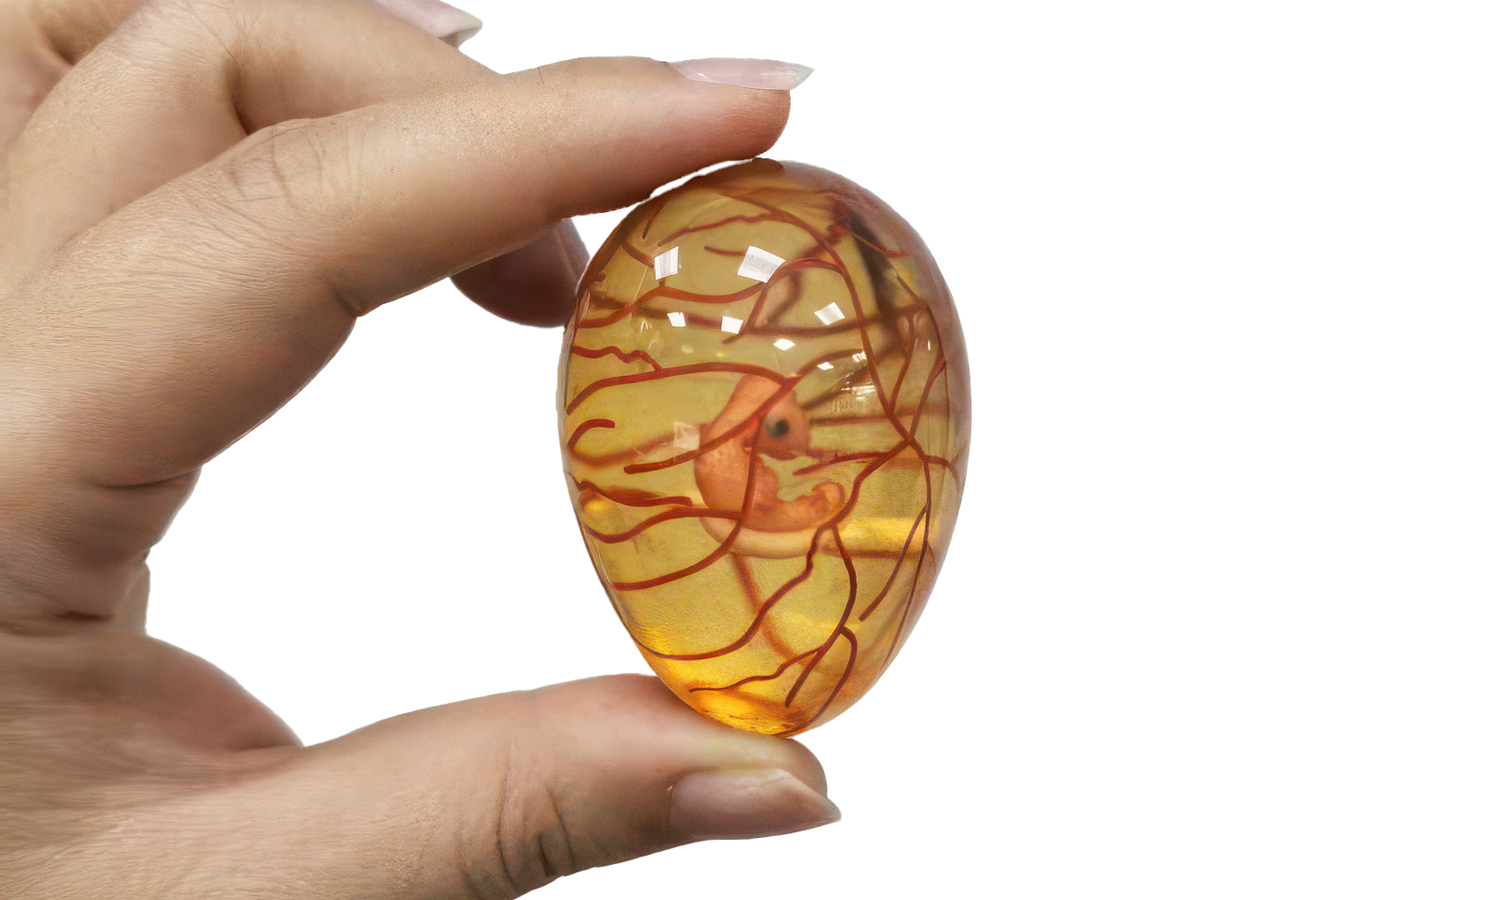
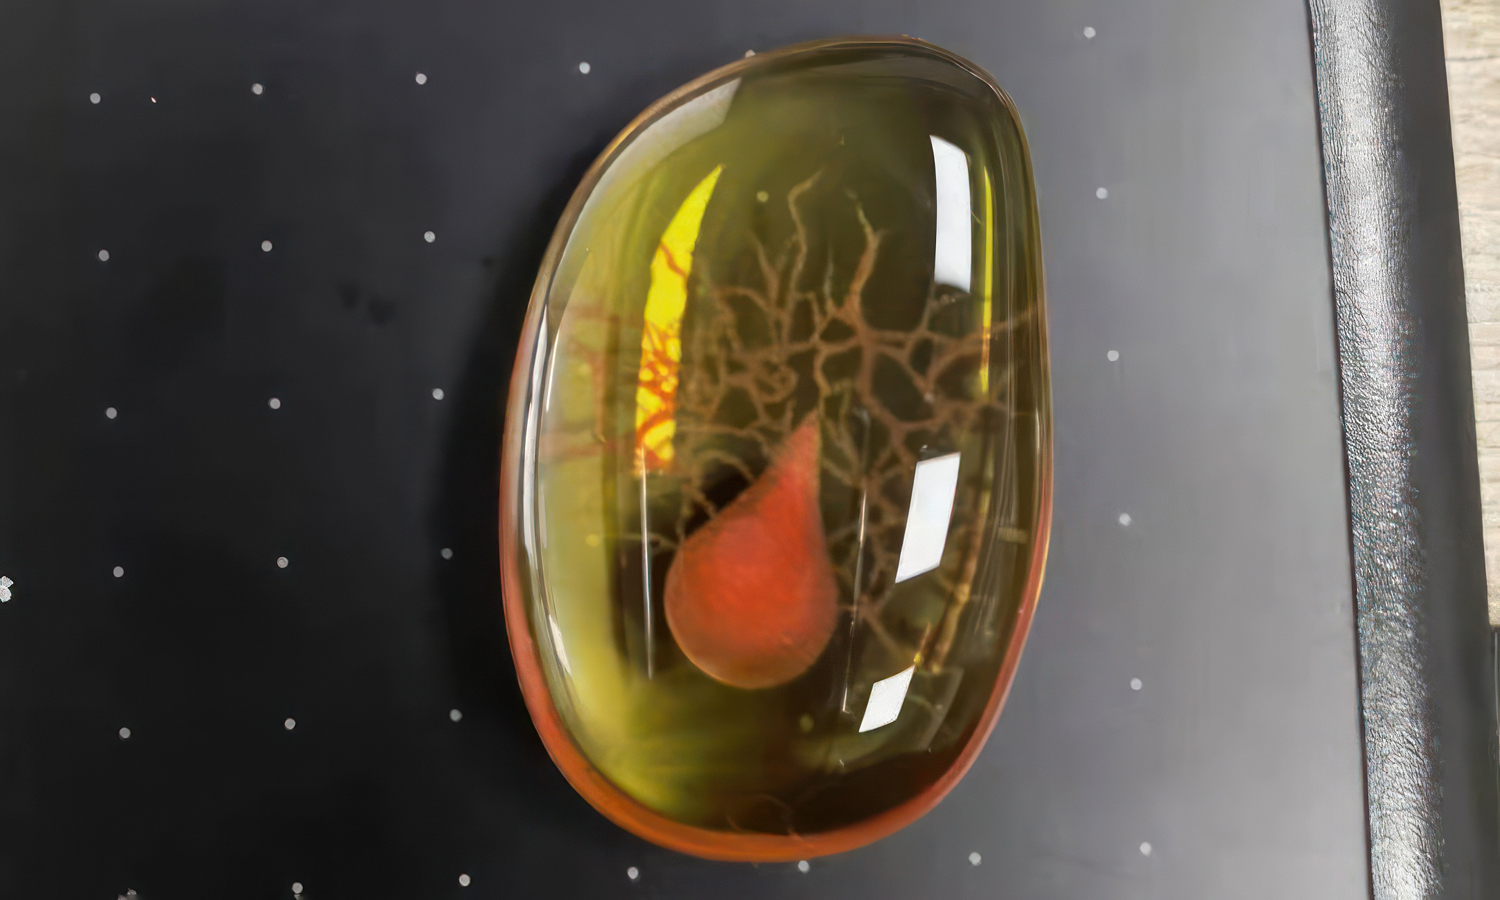
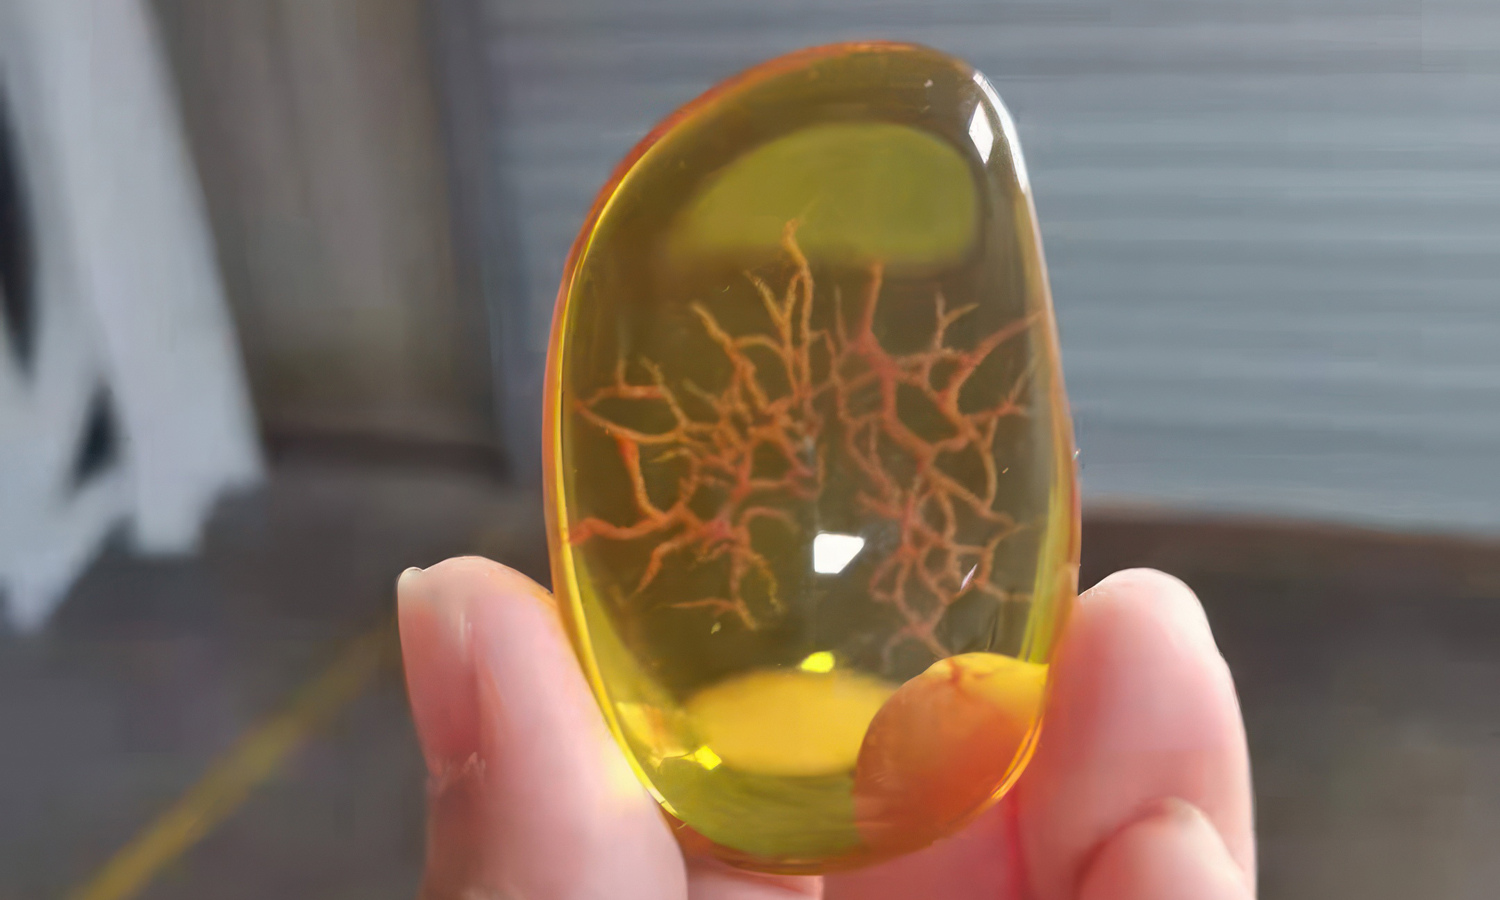
Imagine holding a flawless, amber-tinted egg in your hand. Suspended inside its crystal-clear shell is a perfectly formed embryo, surrounded by an intricate web of vibrant red blood vessels. It looks like a priceless prehistoric fossil discovered deep within the earth, but it is actually a masterpiece of modern manufacturing. This striking piece tells the story of how complex biology can be replicated with breathtaking, photo-realistic precision.
How is this done? The secret lies in PolyJet 3D printing technology. Operating much like an advanced inkjet document printer, a PolyJet machine jets ultra-thin layers of liquid photopolymer resin onto a build tray, which are instantly cured and solidified by a UV light.
What makes PolyJet truly revolutionary is its capability for multi-material and multi-color printing in a single pass. By blending different base resins directly at the print head, it can effortlessly mix a fully transparent clear resin with precise color tints. This allows complex, microscopic internal structures—like the sprawling vascular networks of a heart or a delicate embryo—to be printed completely suspended inside a solid, smooth body without any assembly lines or glueing required.
With astonishing tolerances and layer heights down to a microscopic 16 microns, it captures details that traditional manufacturing cannot touch. The final result is a naturally smooth, high-fidelity model that serves perfectly as an educational tool for surgeons, a flawless prototype for designers, or a captivating showpiece for collectors.
Whether you need intricate anatomical models or striking visual prototypes, bring your most complex visions to life with FacFox’s full-color 3D printing services.
Solution
- Step 1: The highly detailed 3D digital model, including the internal vascular networks and embryo geometry, was designed using advanced CAD software.
- Step 2: The digital file was sliced into ultra-thin cross-sectional layers by the print preparation software to chart the path for the print heads.
- Step 3: Microscopic droplets of liquid photopolymer resin, consisting of both transparent and colored base materials, were jetted simultaneously onto the build tray.
- Step 4: Each deposited layer of liquid resin was instantly cured and solidified by an integrated UV light source.
- Step 5: Temporary gel-like support material was automatically deposited to cradle the overhangs and internal cavities during the layering process.
- Step 6: The completed model was removed from the machine, and the surrounding support material was washed away using a pressurized water jet.
- Step 7: The exterior surfaces were meticulously polished by hand to achieve a flawless, glass-like optical clarity.