Material Resin, Rubber
Quantity 56 pcs
Price Range $100-1,000
Lead Time 2 workdays
Gallery
About Project
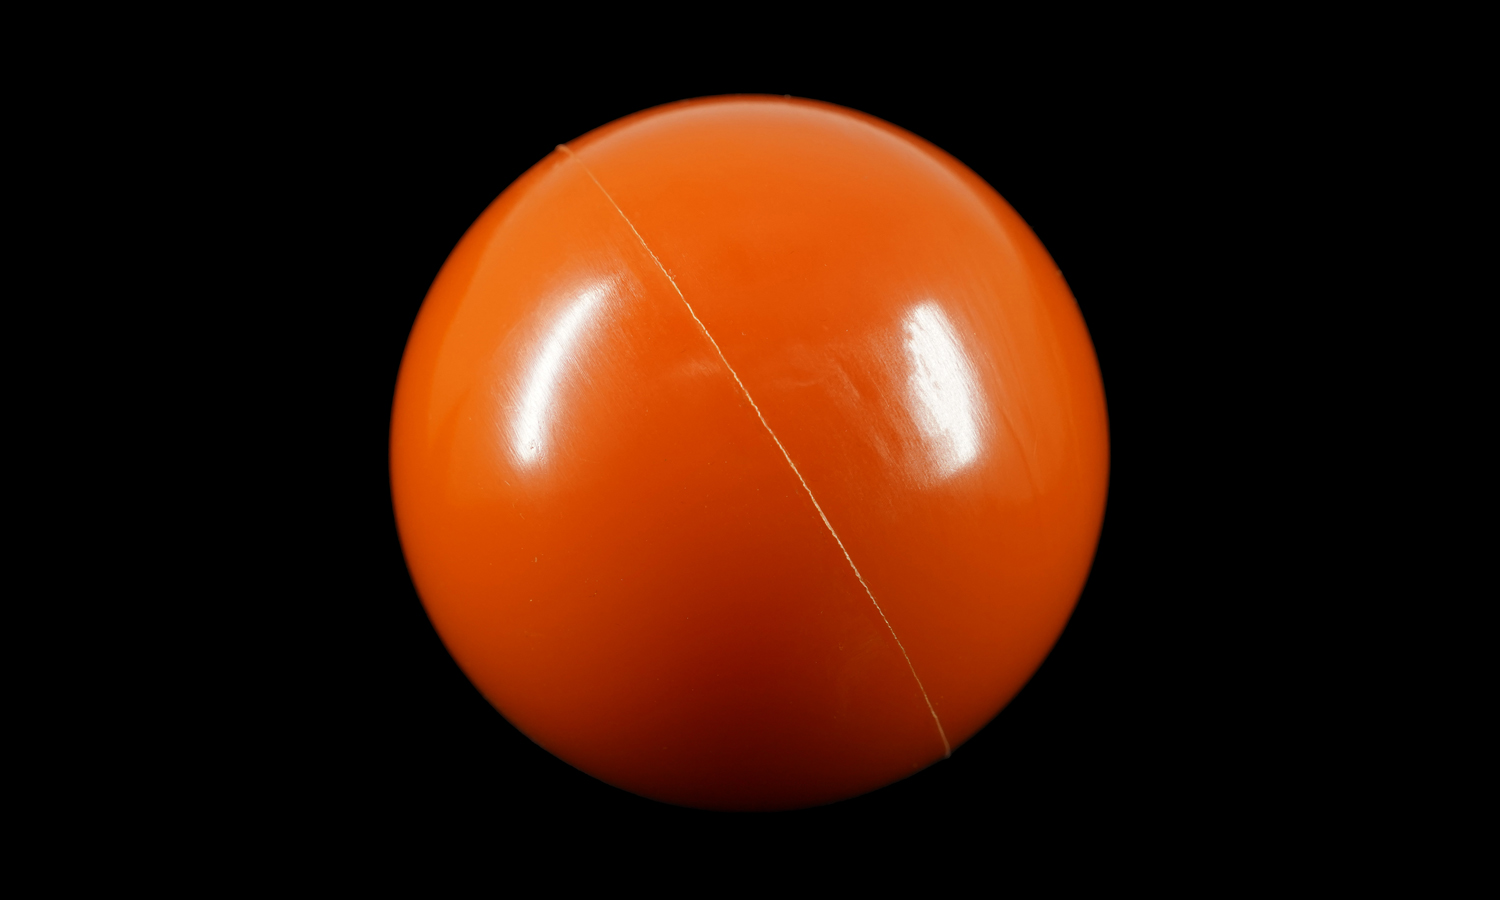
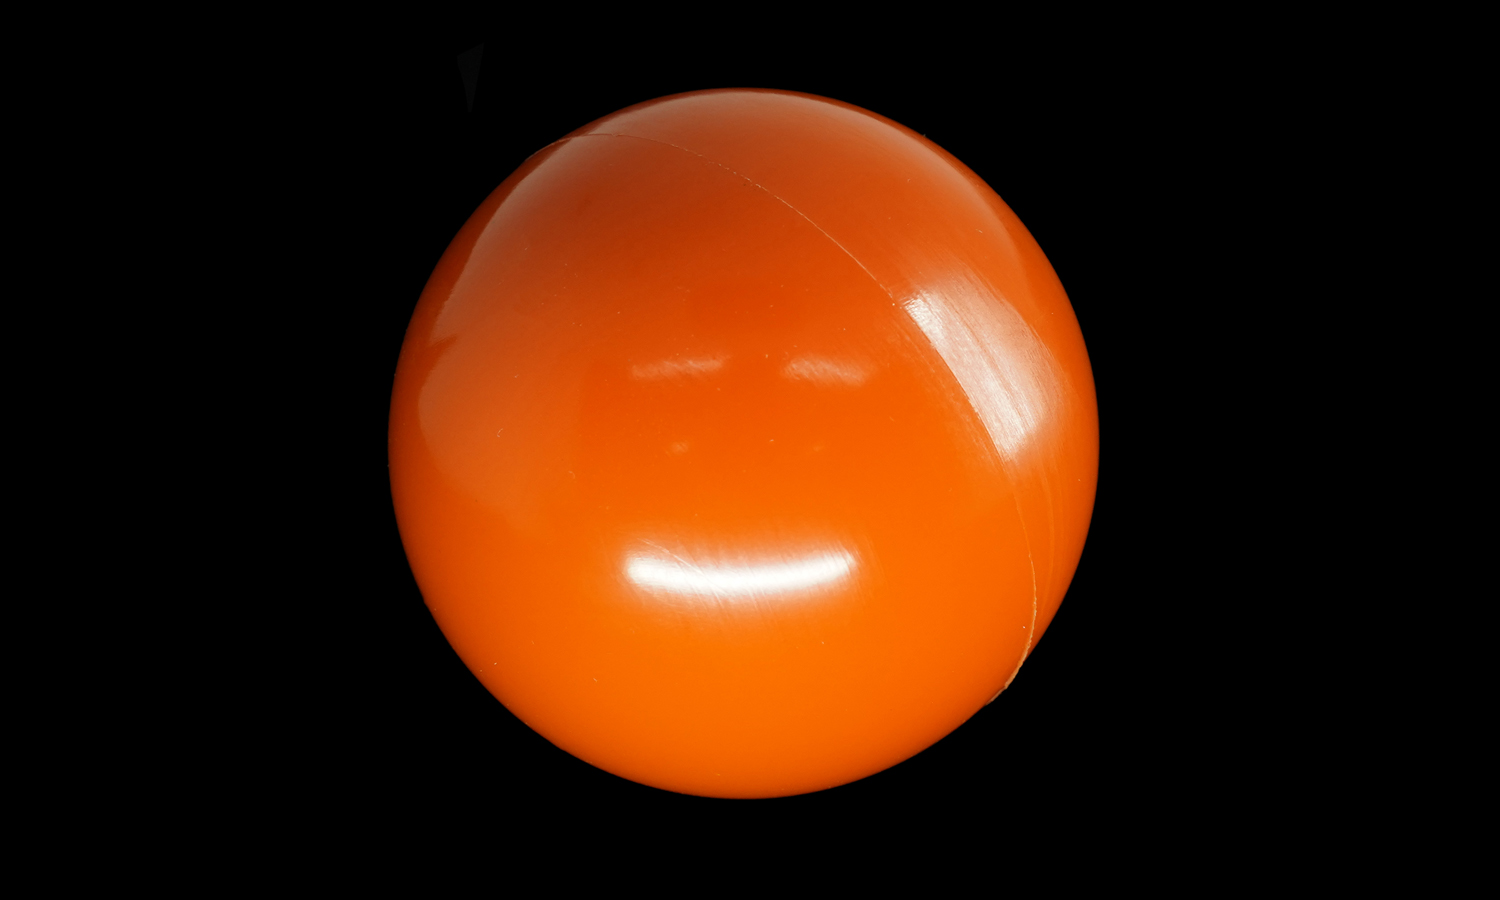
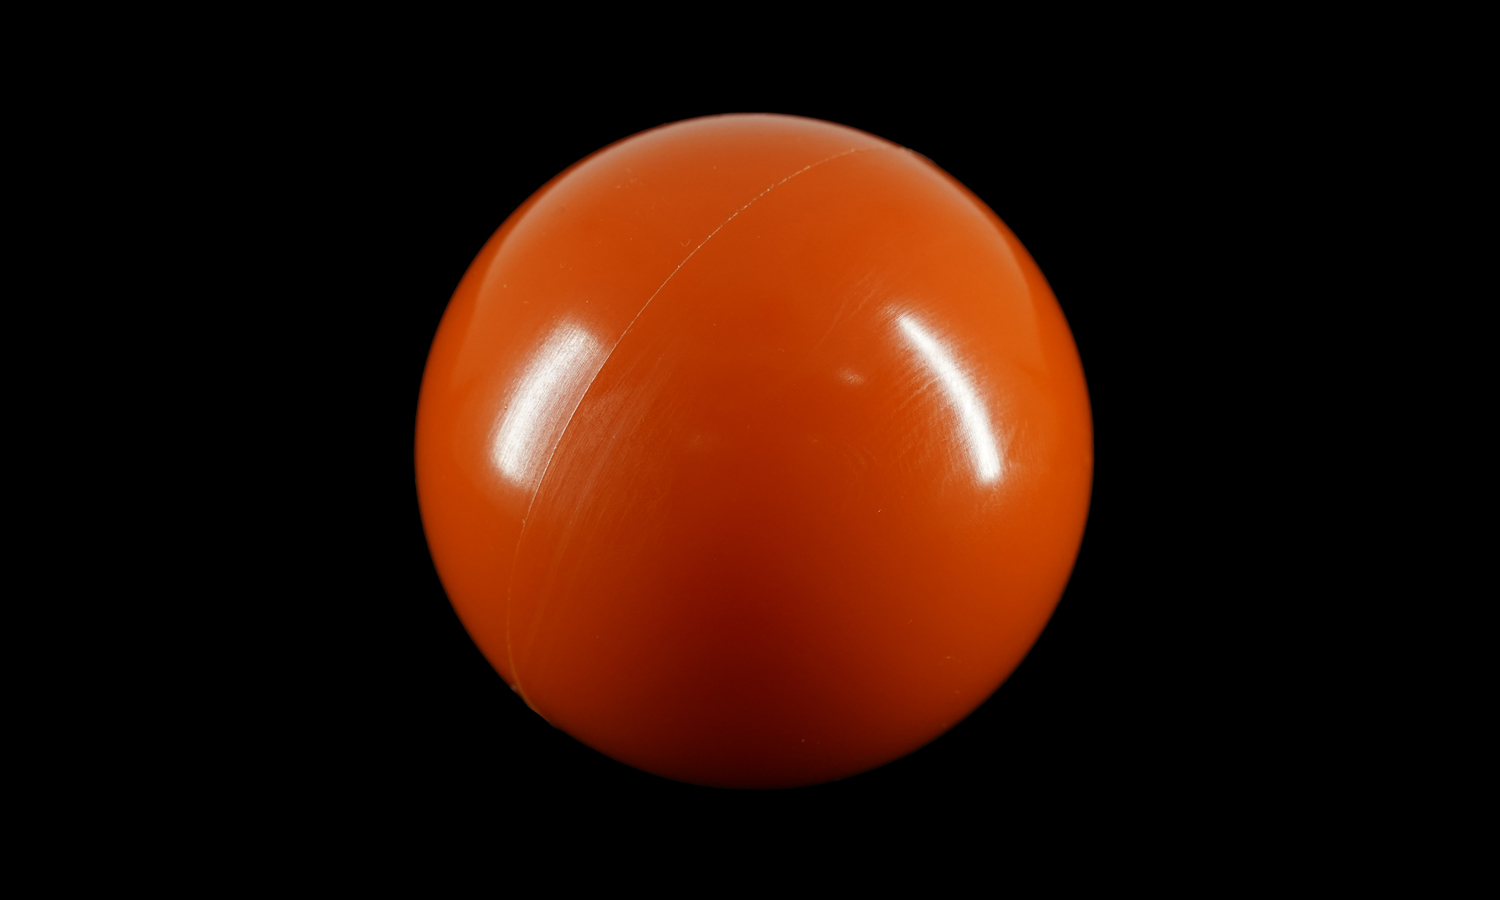
This glossy orange sphere was fabricated using polyurethane (PU) casting, a process ideal for producing smooth, durable prototypes and small-batch parts. The ball was molded from a two-part silicone mold, created using a polished master model to achieve its high-gloss surface. During casting, pigmented PU resin was poured and cured under vacuum to eliminate bubbles and ensure consistent density.
The visible parting line running along its circumference marks where the two halves of the mold met – a normal feature in cast components that can be polished away for a seamless finish if desired. The result is a lightweight yet resilient ball with a rich, uniform color and a tactile glossy surface that mimics injection-molded quality.
FacFox’s PU casting service allows designers and engineers to produce realistic prototypes and end-use parts with production-level aesthetics. Whether for consumer products, props, or functional testing, FacFox delivers high-quality polyurethane components with custom colors, textures, and finishes – bridging the gap between rapid prototyping and mass manufacturing.
Solution
- Step 1: A smooth master sphere was prepared and cleaned to ensure a flawless surface finish before mold making.
- Step 2: The master was positioned inside a mold box, and liquid silicone rubber was poured to form the first half of the mold.
- Step 3: After curing, alignment keys were added, release agent was applied, and the second half of the silicone was poured and cured to complete the mold.
- Step 4: The cured two-part mold was separated, and the master sphere was carefully removed to reveal the cavity.
- Step 5: Pigmented PU resin was accurately mixed and vacuum-degassed to remove air bubbles and ensure consistency.
- Step 6: The silicone mold was assembled, clamped, and preheated for improved flow and surface replication.
- Step 7: The degassed PU resin was poured or injected into the cavity and allowed to cure under controlled conditions.
- Step 8: Once fully cured, the ball was demolded, and excess material from the gate and vent was trimmed away.

