Gallery
About Project
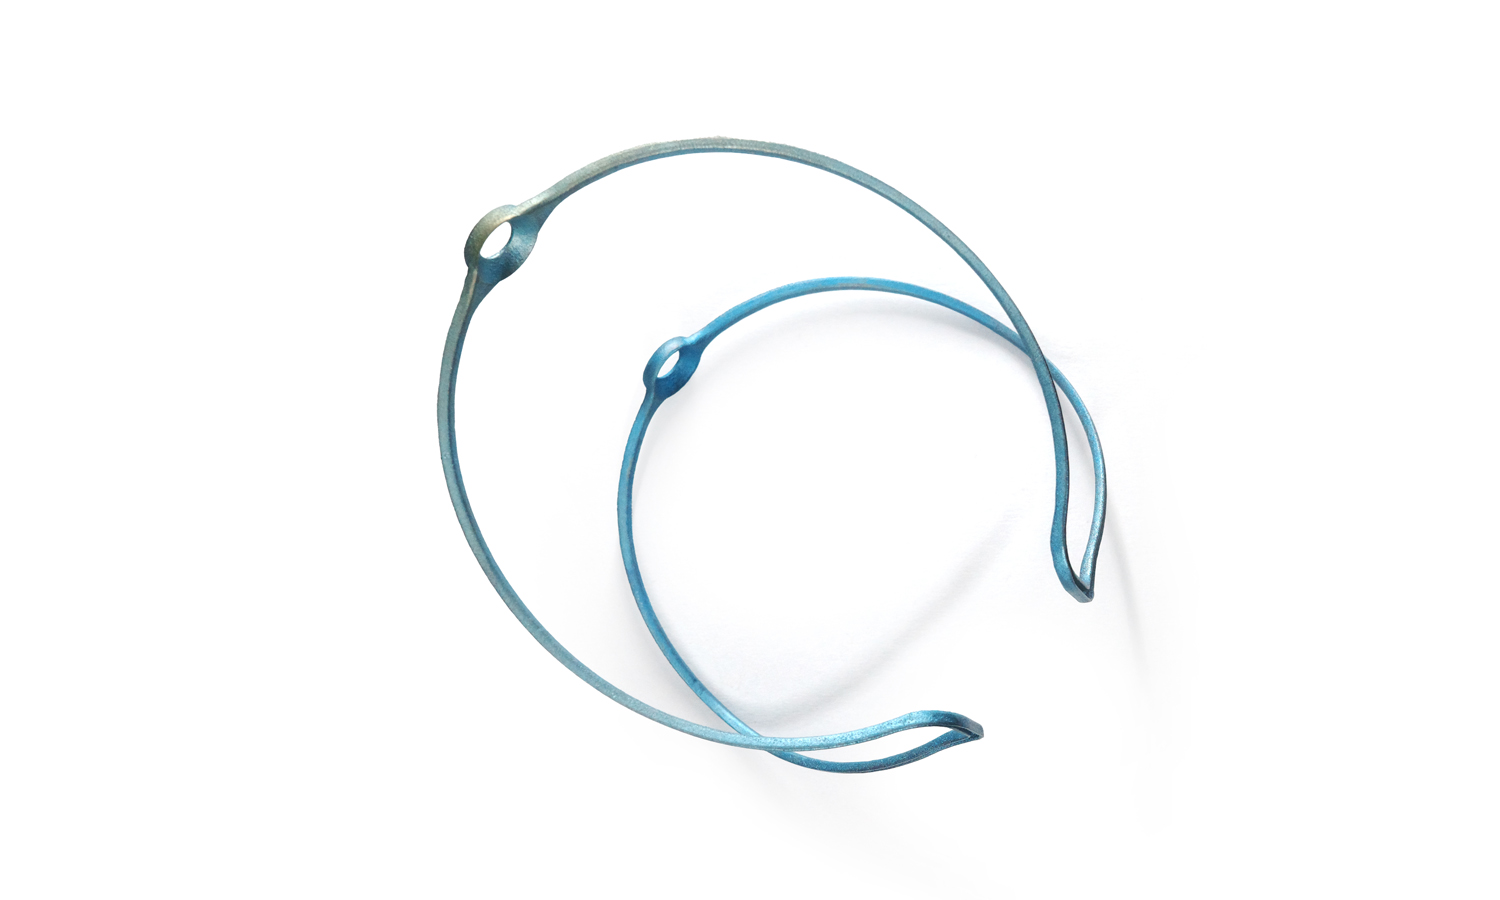
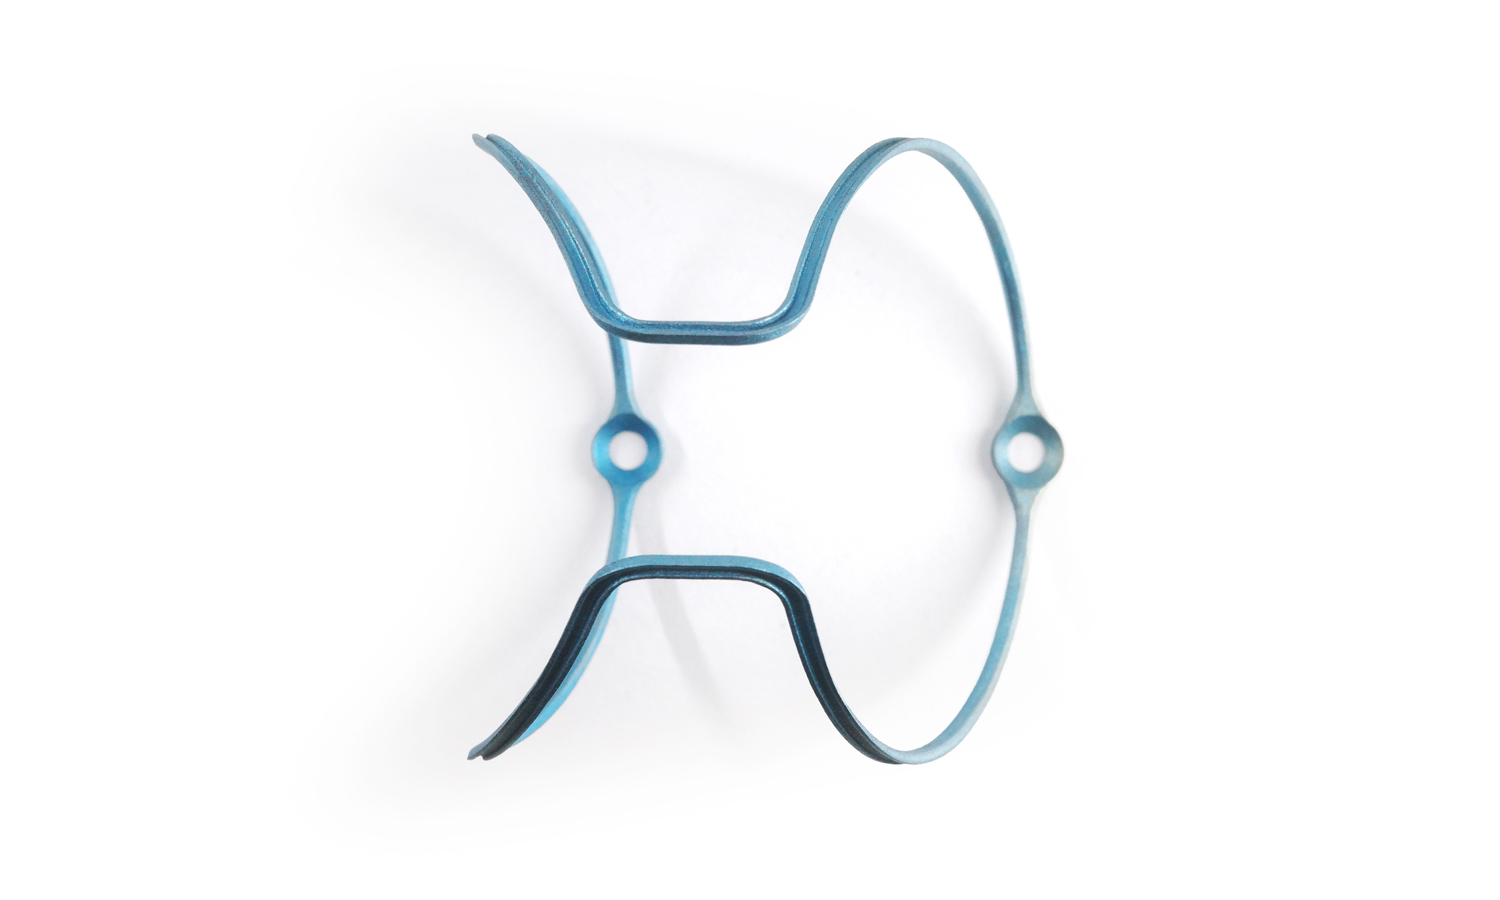
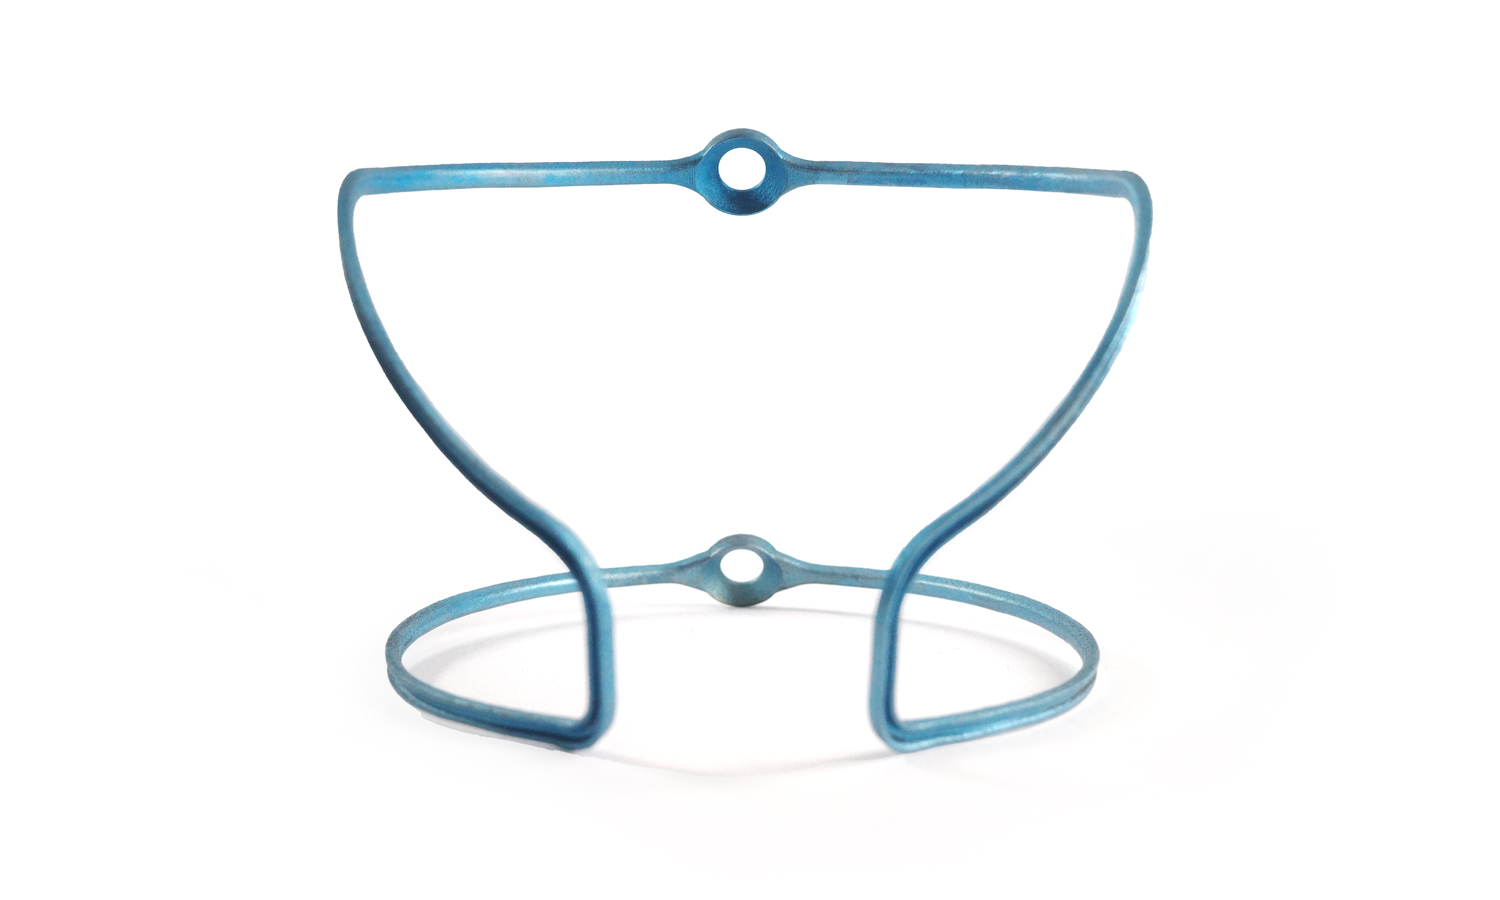
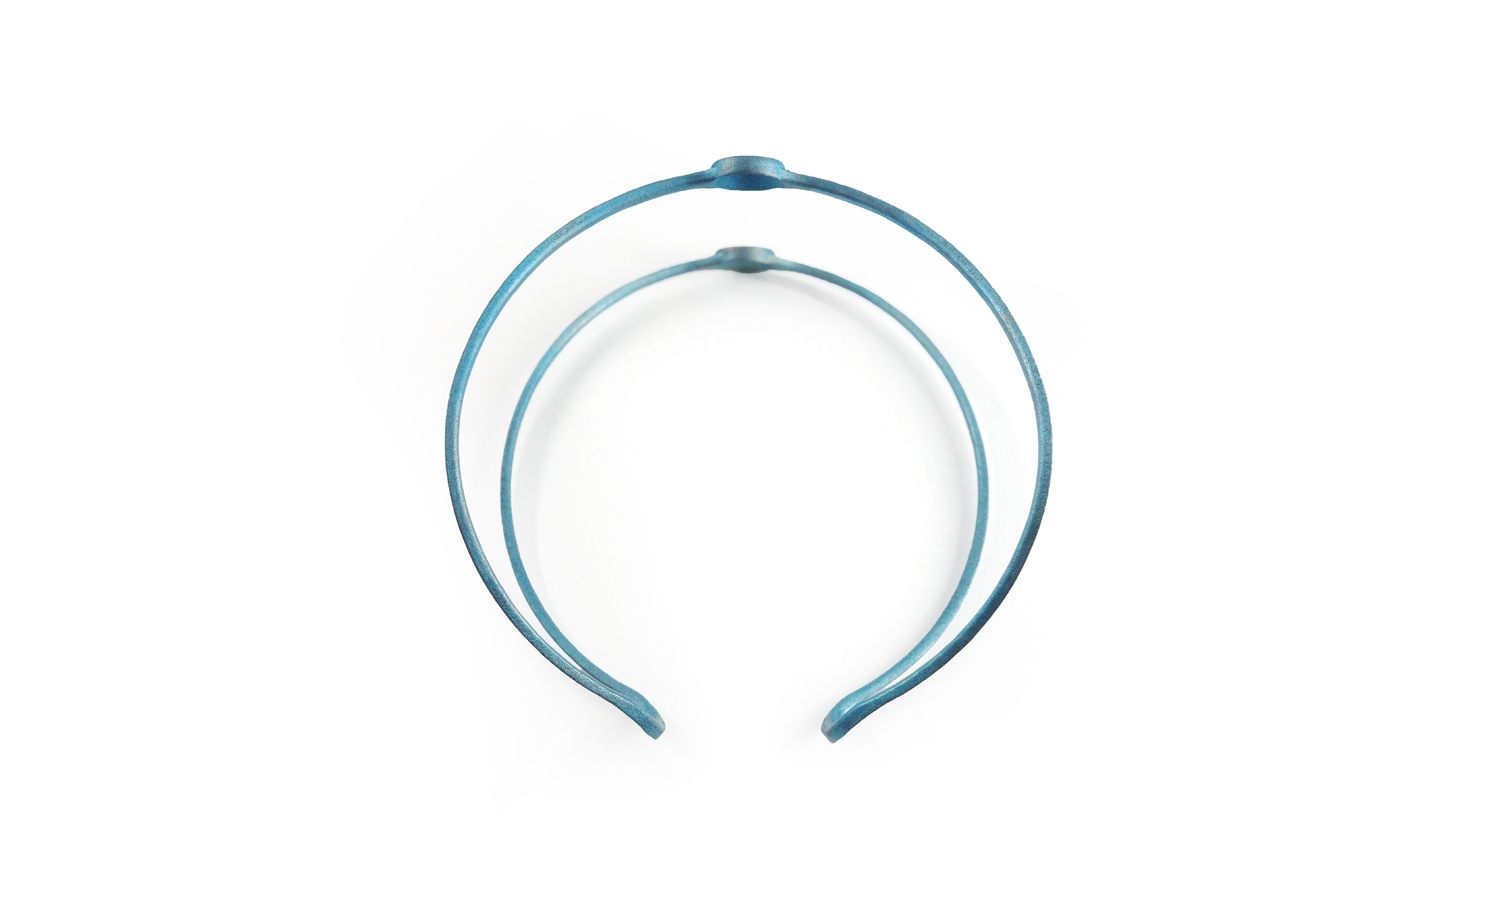
Introducing our latest innovation in cycling accessories: the DMLS 3D Printed Anodized Blue Bike Bottle Cage. This state-of-the-art bottle cage combines cutting-edge Direct Metal Laser Sintering (DMLS) technology with the aesthetic appeal of anodized titanium to create a truly unique and functional piece.
The bottle cage features a sleek, streamlined design that securely holds your water bottle while adding a touch of elegance to your bike. The anodized blue finish not only enhances its visual appeal but also provides an extra layer of protection against corrosion and wear.
Notably, the anodized finish displays a fascinating interplay of colors, with parts of the cage showing a subtle yellow hue. This color variation is a natural result of the anodization process, where differences in the thickness of the oxide layer produce different colors. The thicker areas result in the blue color, while thinner regions may show yellow, giving each piece a unique, iridescent quality.
At FacFox, we specialize in delivering high-quality titanium 3D printing and anodizing services. Our advanced DMLS technology ensures precise and robust metal parts, while our expert anodizing process allows for customizable and vibrant finishes.
Whether you’re looking to create custom bike components, automotive parts, or intricate artistic designs, FacFox has the expertise and technology to bring your vision to life with exceptional precision and beauty. Discover how FacFox can elevate your projects with our state-of-the-art titanium 3D printing and anodizing services.
Solution
- Step 1: The design of the bike bottle cage was created using CAD software.
- Step 2: The digital design file was uploaded to the DMLS 3D printer.
- Step 3: Titanium powder was carefully loaded into the printer’s build chamber.
- Step 4: Layers of titanium powder were selectively fused together by a high-powered laser to build the bottle cage layer by layer.
- Step 5: The 3D-printed bottle cage was removed from the printer once the printing process was complete.
- Step 6: Excess titanium powder was cleaned off the printed bottle cage using a brush and compressed air.
- Step 7: The printed bottle cage was subjected to post-processing steps to remove any remaining powder and to smooth the surface.
- Step 8: The bottle cage was placed in an anodizing bath where an electrical current was applied to create an oxide layer on the titanium surface.
- Step 9: The voltage and duration of the anodizing process were precisely controlled to achieve the desired blue color.
- Step 10: The anodized bottle cage was thoroughly rinsed and dried to complete the anodizing process.
- Step 11: The finished anodized blue bike bottle cage was inspected for quality and uniformity of the color.
