Gallery

About Project
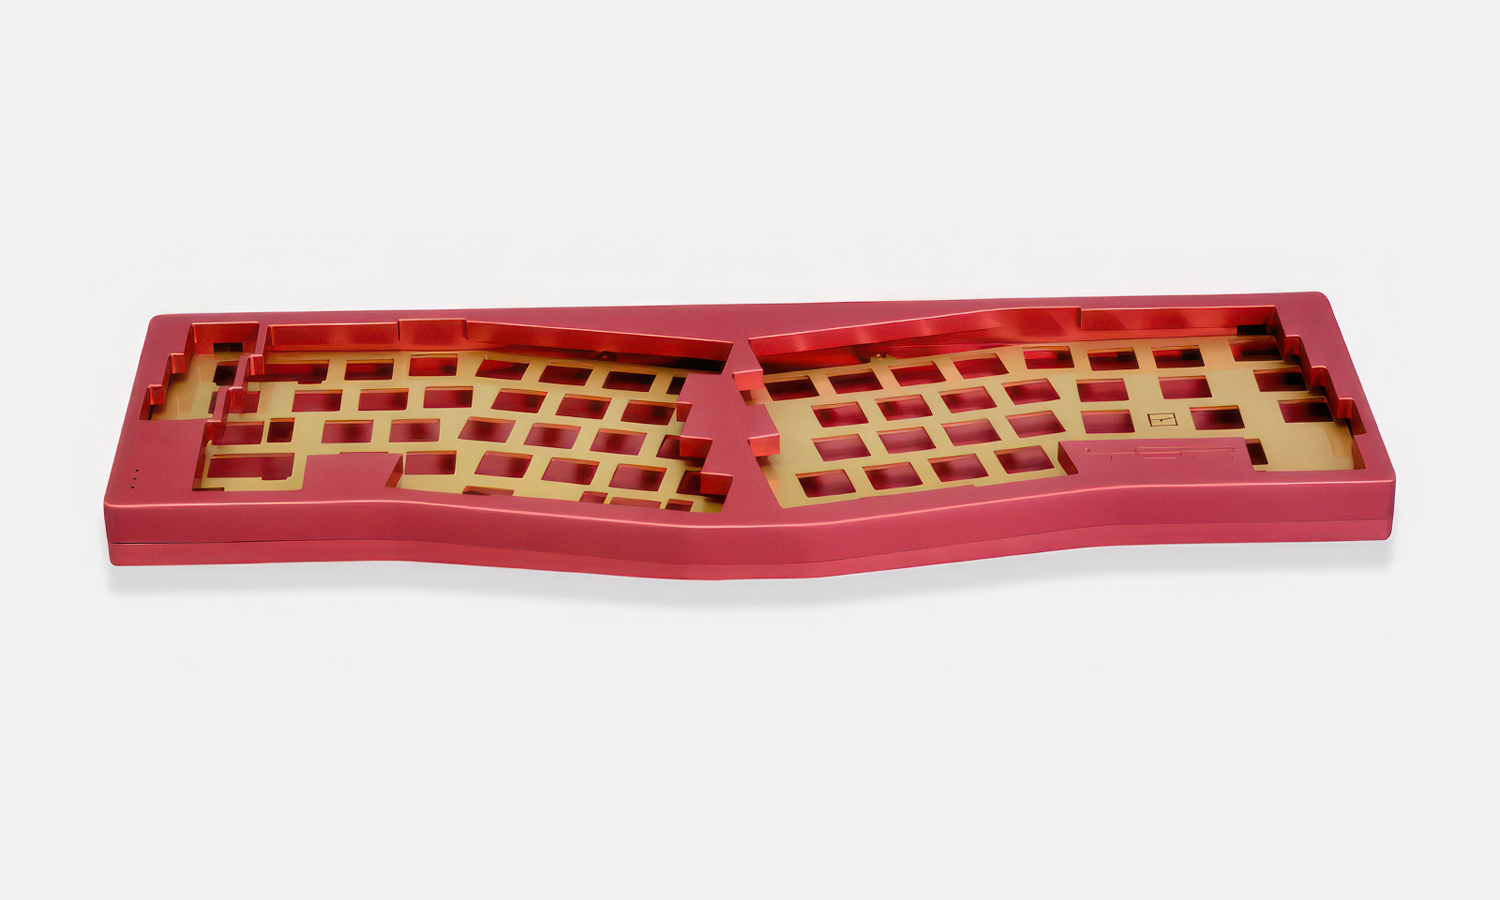
Check out this stunning Alice-layout mechanical keyboard case we just finished! There is something incredibly satisfying about the way those ergonomic curves meet the precision of industrial manufacturing.
The Build Details
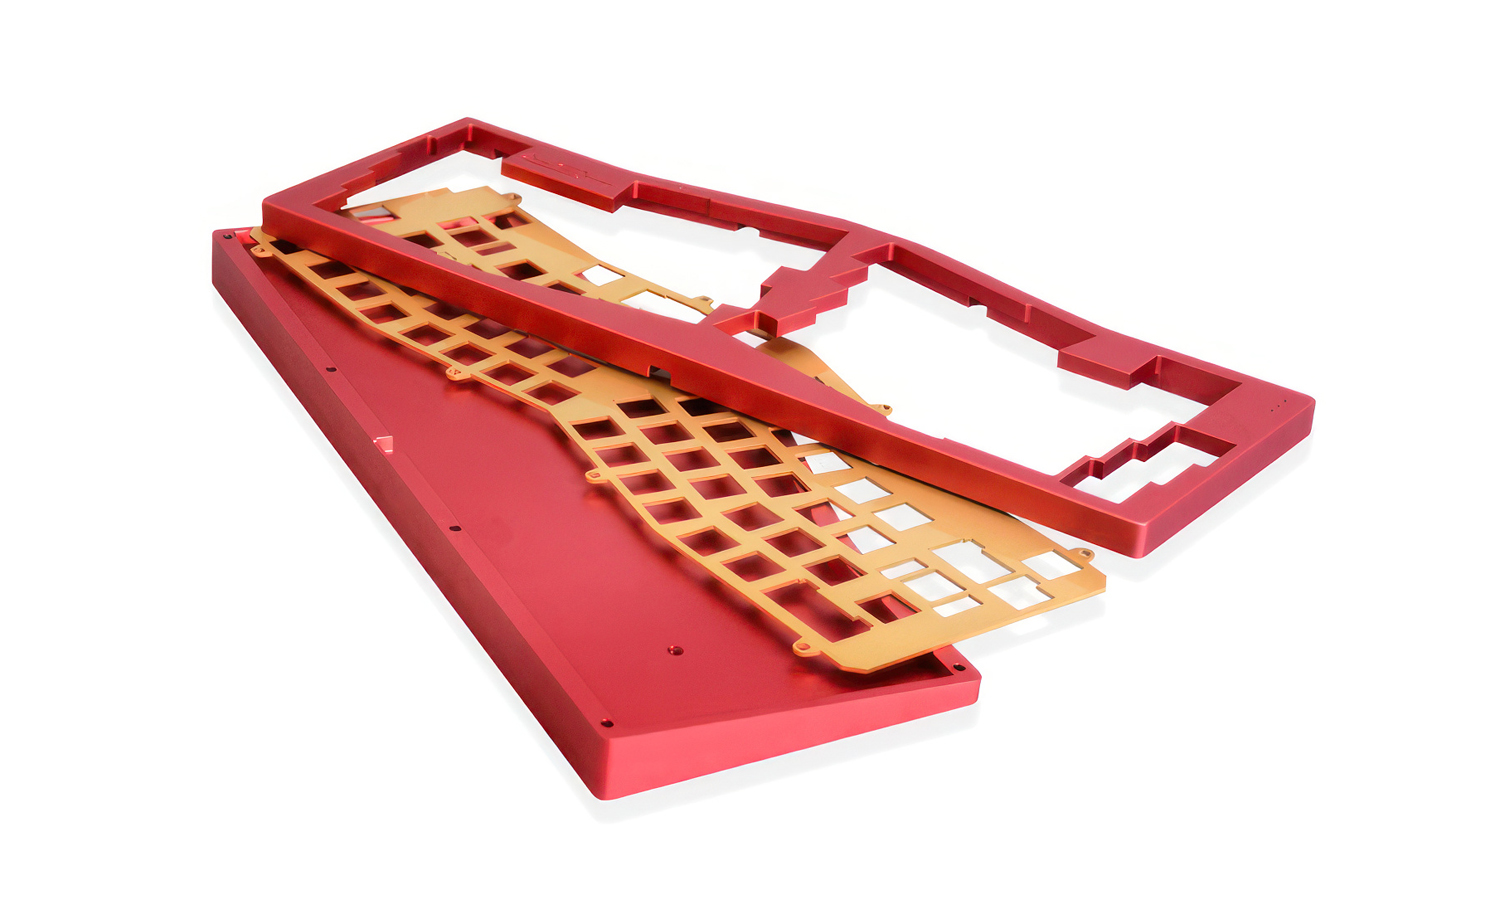
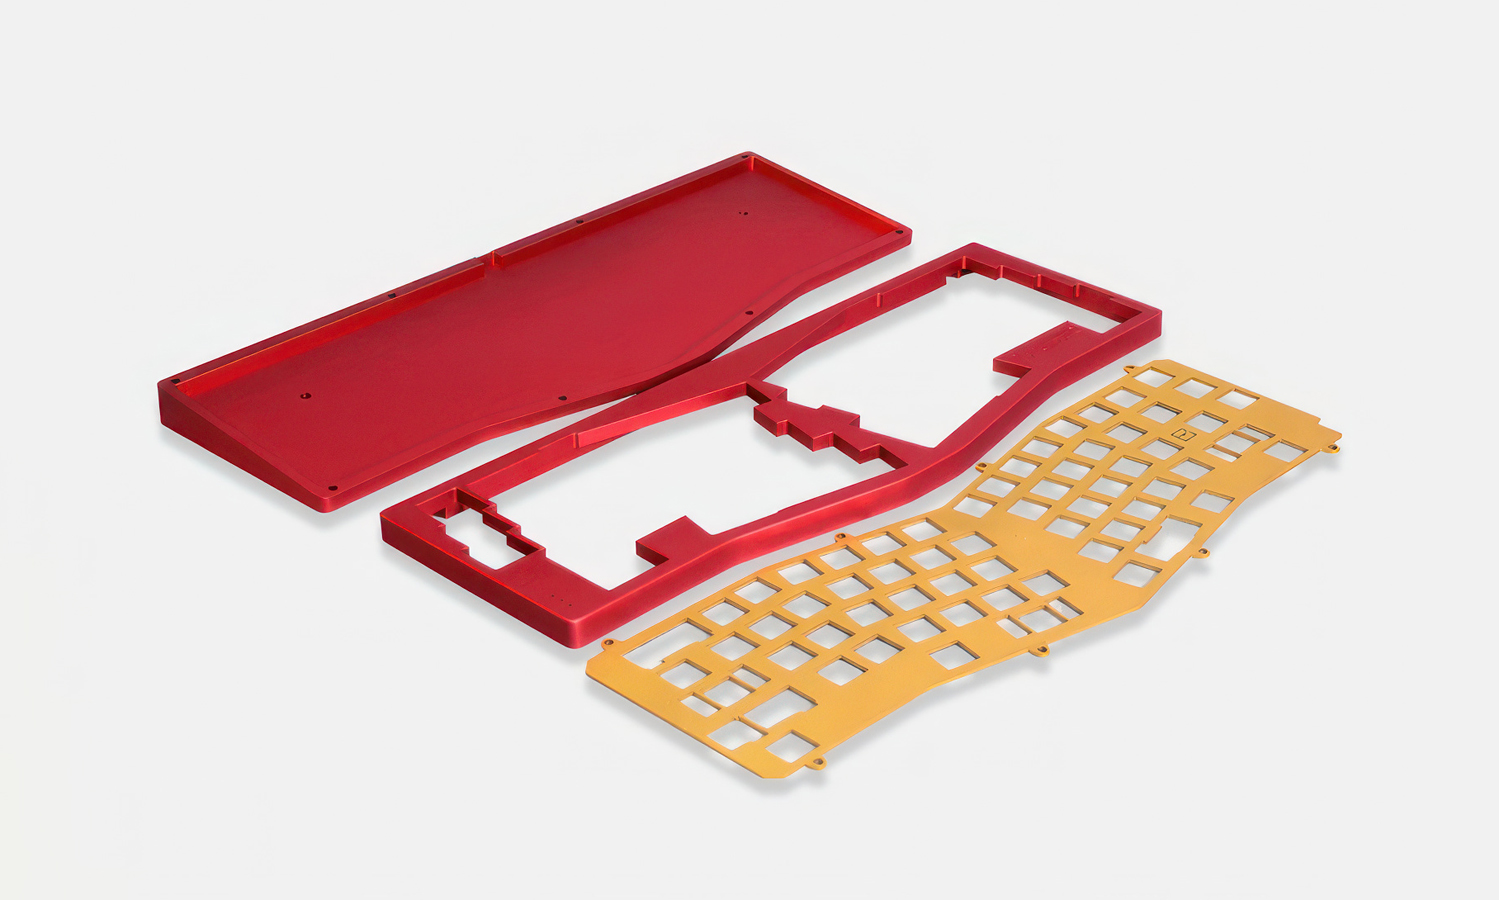
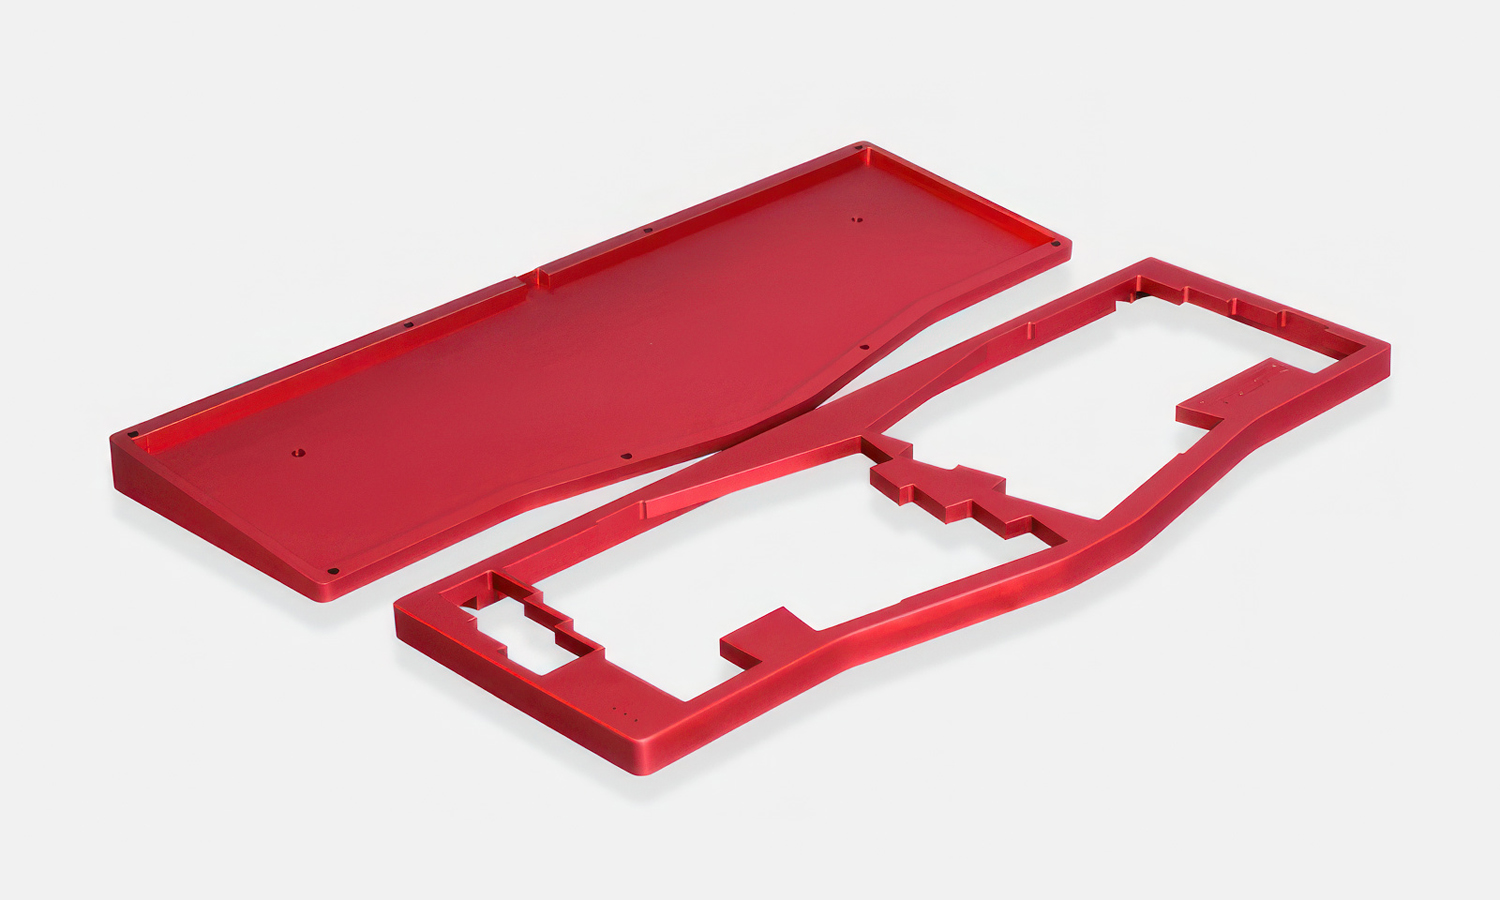
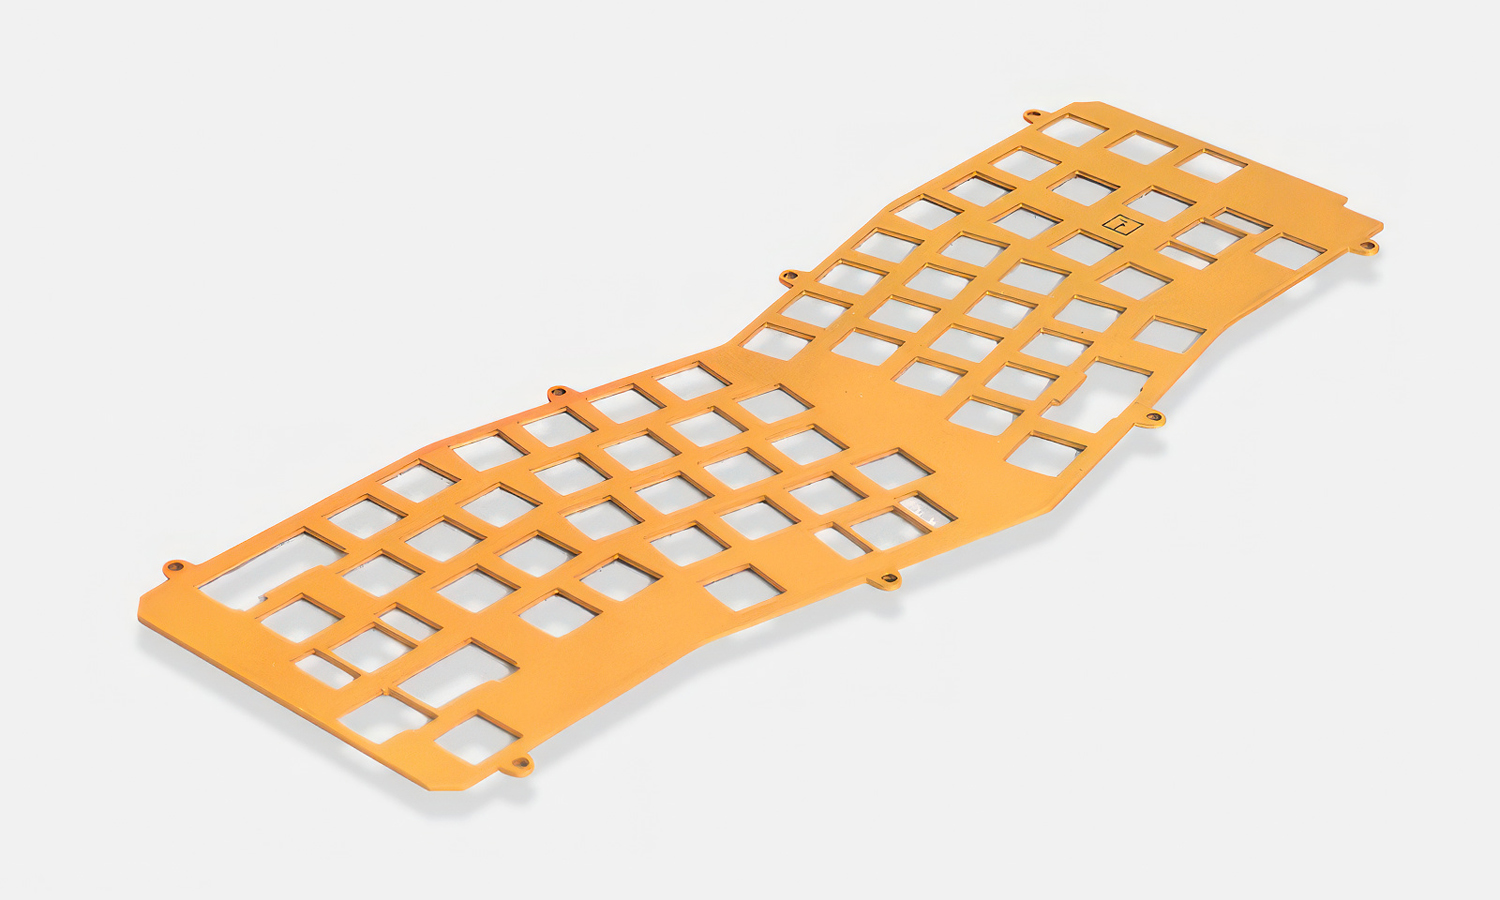
This project features a high-grade aluminum alloy body, finished in a striking, deep matte red. To give it that extra “pop” and premium weight, we paired it with a beautiful gold-anodized plate. The Alice layout isn’t just about ergonomics; itŌĆÖs a design statement, and seeing these raw CNC-machined components come together is a treat for any tech enthusiast.
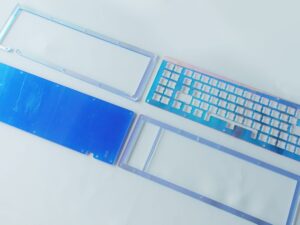
The assembly consists of three main parts:
- The Top Frame: Precision-milled to house the unique split-key layout.
- The Switch Plate: Finished in gold for a brilliant contrast against the red.
- The Weighted Base: Engineered for stability and that signature “thock” sound profile.
Every edge is crisp, and the anodization is buttery smoothŌĆöexactly what you want when you’re building a centerpiece for your desk.
Bring Your Vision to Life with FacFox
If youŌĆÖre a designer or a hobbyist looking to create your own custom keyboard, parts, or prototypes, FacFox is here to help! Our professional CNC machining services offer incredible precision with a massive variety of materials and finishesŌĆöfrom anodized aluminum to brass and polycarbonate. We pride ourselves on fast turnaround times and expert support to ensure your CAD files turn into a perfect physical product.
Ready to start your next project? Head over to FacFox and letŌĆÖs build something amazing together!
Solution
- Step 1: The 3D CAD models for the top frame, bottom case, and switch plate were designed and optimized for CNC machining.
- Step 2: High-grade 6061 aluminum alloy blocks were selected and secured onto the CNC milling machine beds.
- Step 3: The complex ergonomic curves and internal cavities were precision-milled using multi-axis CNC machines to achieve the Alice-layout geometry.
- Step 4: The switch plate was punched or milled with precise square tolerances to ensure a perfect fit for mechanical switches.
- Step 5: All machined components were bead-blasted to remove tool marks and create a uniform, matte surface texture.
- Step 6: An electrolytic chemical process was utilized to apply the deep red and gold anodized finishes, which hardened the surface and provided vibrant color.
- Step 7: Final quality inspections were performed to ensure the mounting points and screw holes were perfectly aligned for assembly.


