- BinderJet 3D Printed and Polished SS316L Polyhedral Decoration Nut
- BinderJet 3D Printed SS316L Ring with Triangular Facets
Gallery
About Project
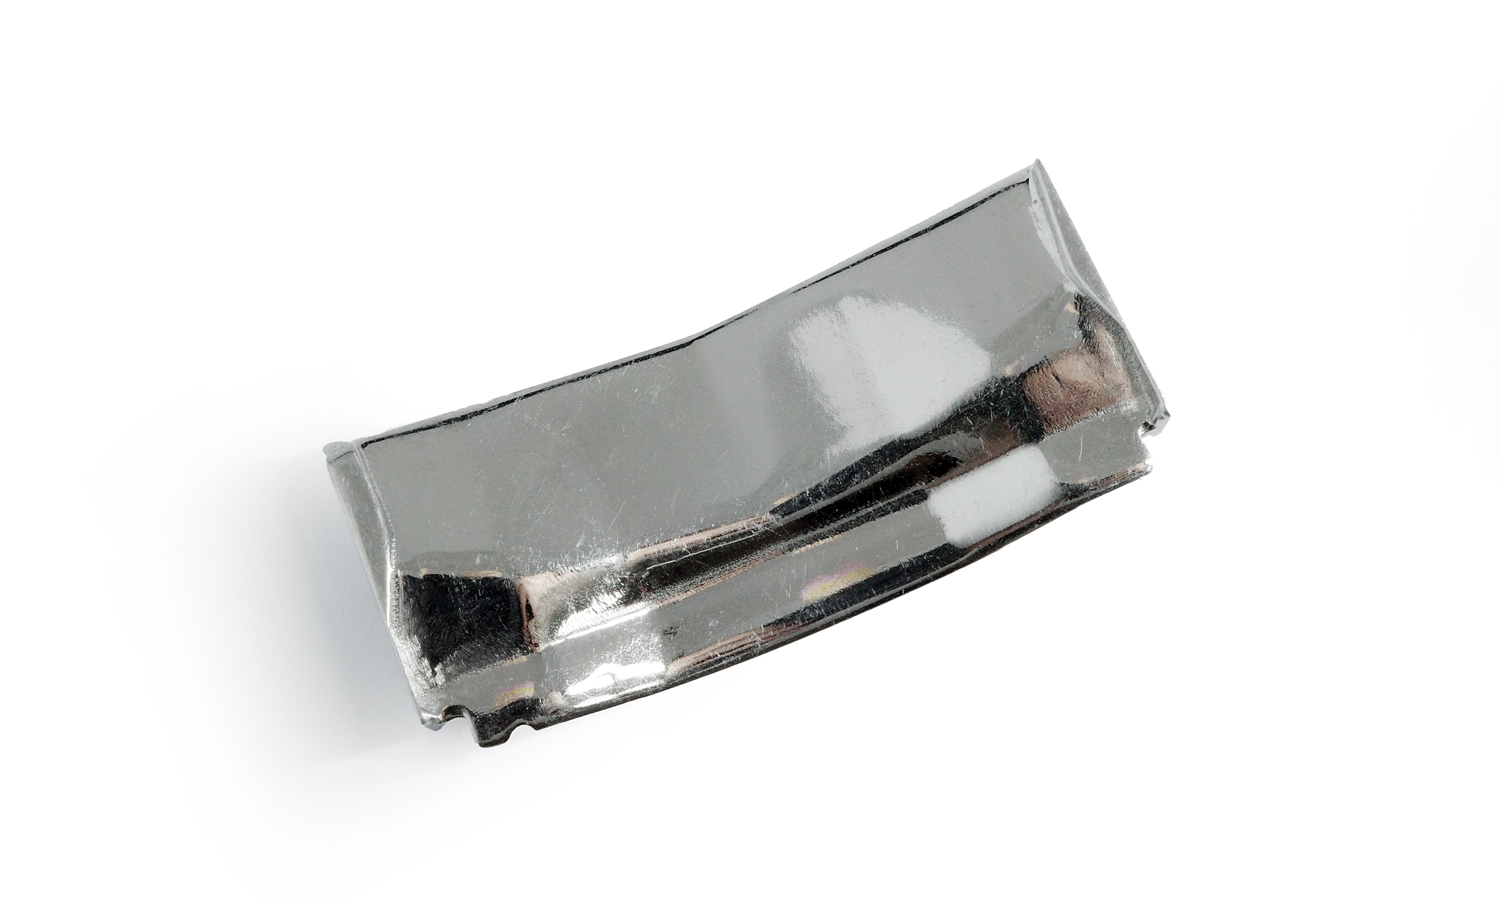
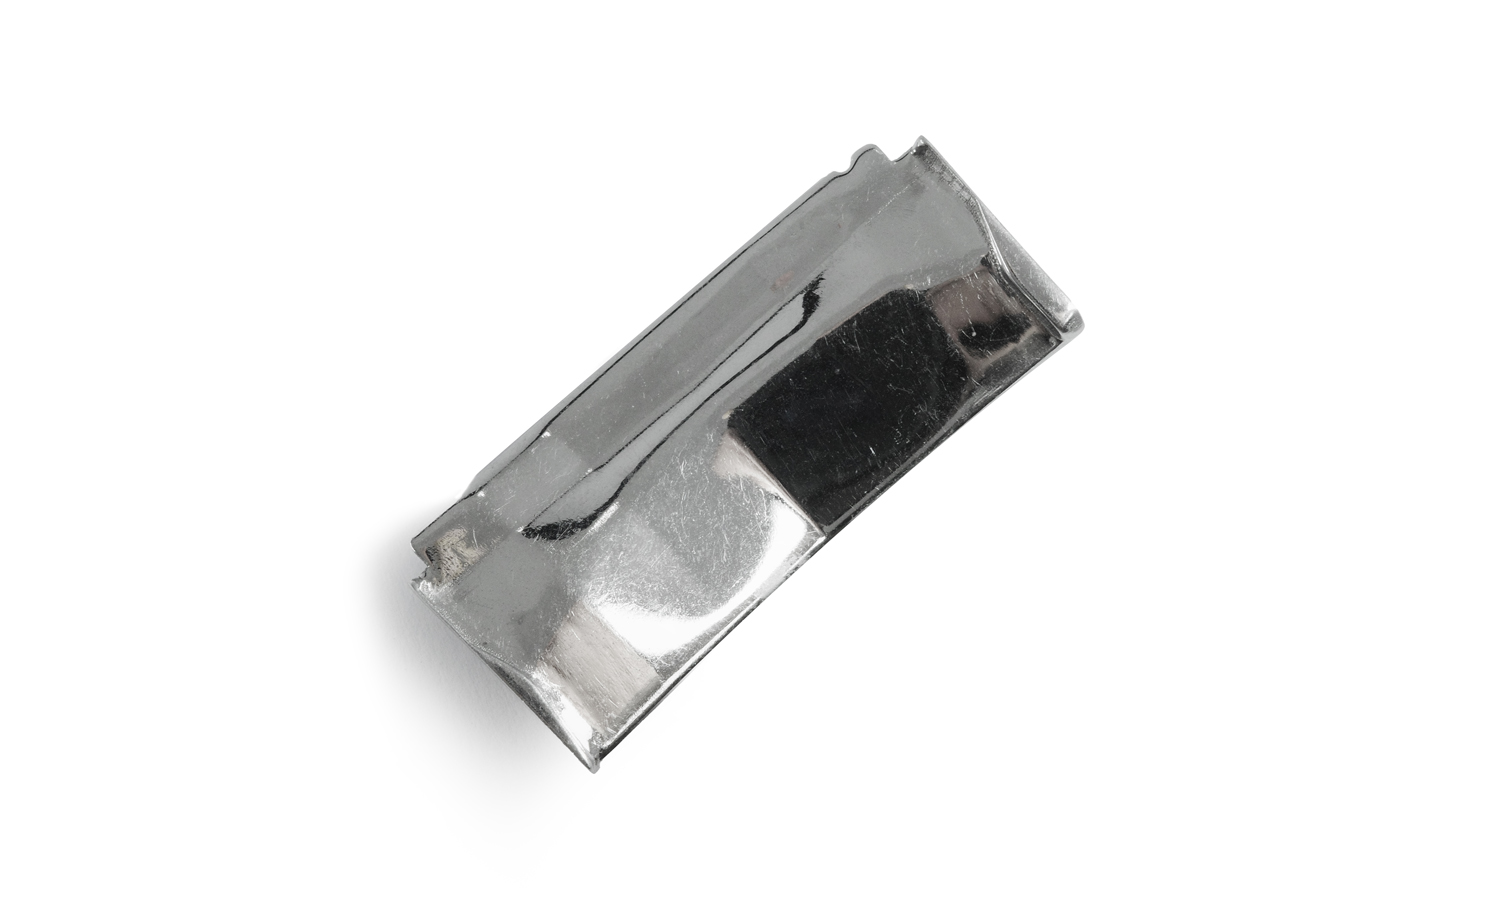
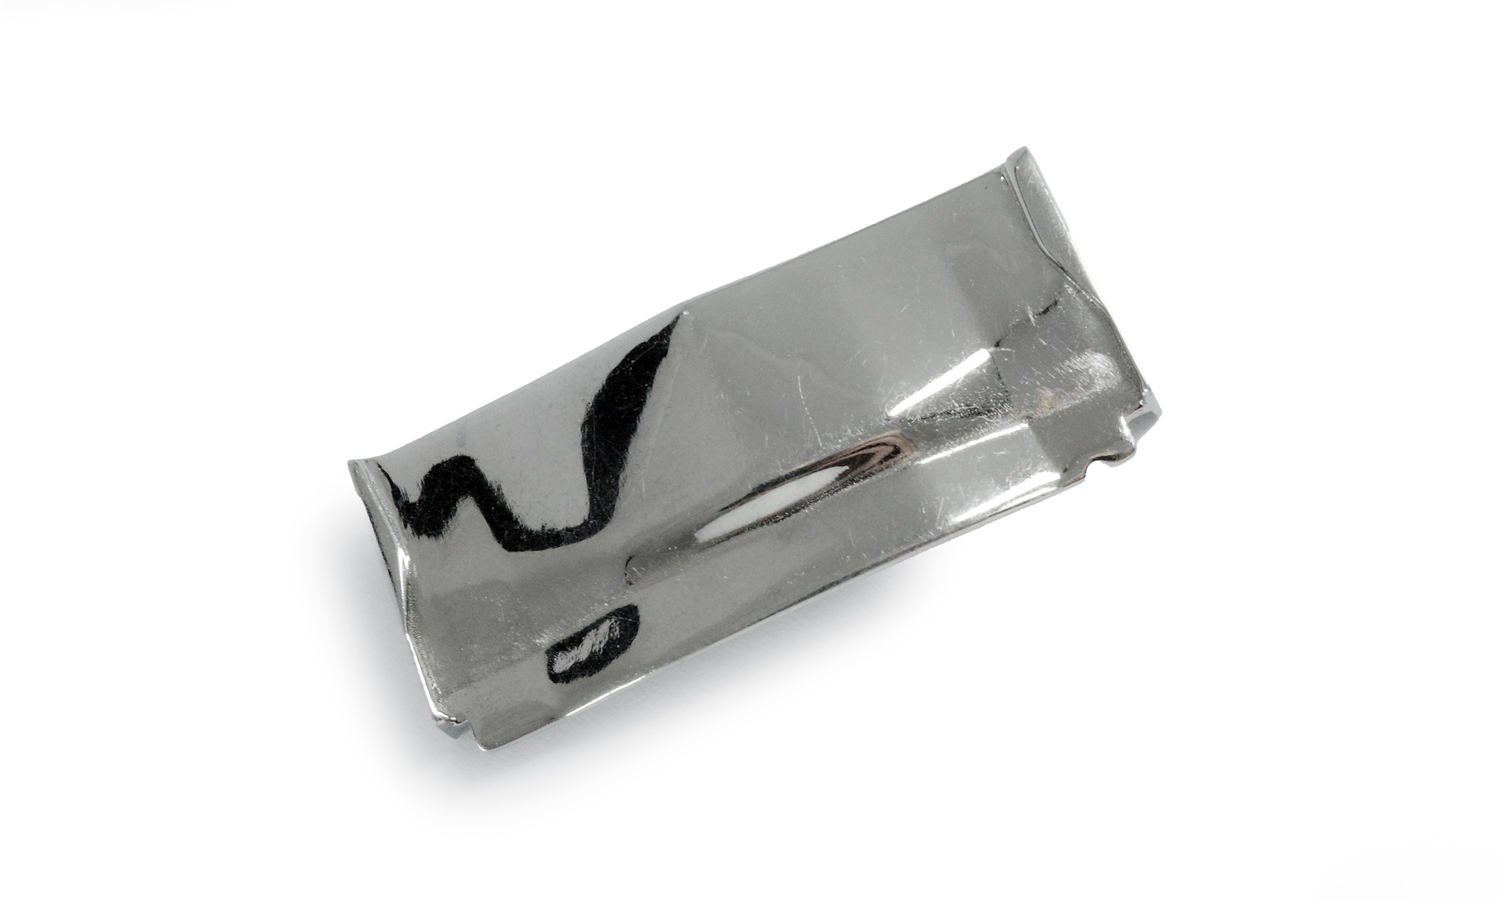
This stunning 3D-printed SS316L band is a true marvel of modern manufacturing. Crafted using BinderJet 3D printing technology, this piece showcases the intricate details and smooth finish that can be achieved with this advanced process.
The polished surface of the band reflects light beautifully, highlighting its elegant curves. The slightly bent ends hint at its potential integration into a larger assembly or system.
Whether you’re an engineer, designer, or simply an admirer of innovative technology, this piece is sure to impress.
Want to bring your designs to life with BinderJet 3D printing? FacFox offers cutting-edge metal 3D printing services, including BinderJet, to help you realize your most ambitious projects. Contact us today to learn more.
Solution
- Step 1: 3D Model Creation. A digital 3D model of the band was designed using computer-aided design (CAD) software.
- Step 2: Data Slicing. The 3D model was sliced into thin, horizontal layers, creating a set of instructions for the 3D printer.
- Step 3: Powder Bed Preparation. A thin layer of stainless steel powder (SS316L) was spread evenly across the build platform.
- Step 4: Binder Jetting. A printhead jetted a liquid binder onto the powder, selectively binding the particles together to form the shape of the first layer of the band.
- Step 5: Powder Layering. A new layer of powder was spread over the partially built part.
- Step 6: Binder Jetting. The process of binder jetting and powder layering was repeated for each subsequent layer, building the band up layer by layer.
- Step 7: Debinding. The printed part was subjected to a debinding process to remove the binder, leaving a porous, green state part.
- Step 8: Sintering. The green part was sintered in a high-temperature furnace to fuse the metal particles together, creating a solid, dense metal part.
- Step 9: Polishing. The part was polished to a high-gloss finish, enhancing its aesthetic appeal and improving its surface properties.
