Gallery
About Project
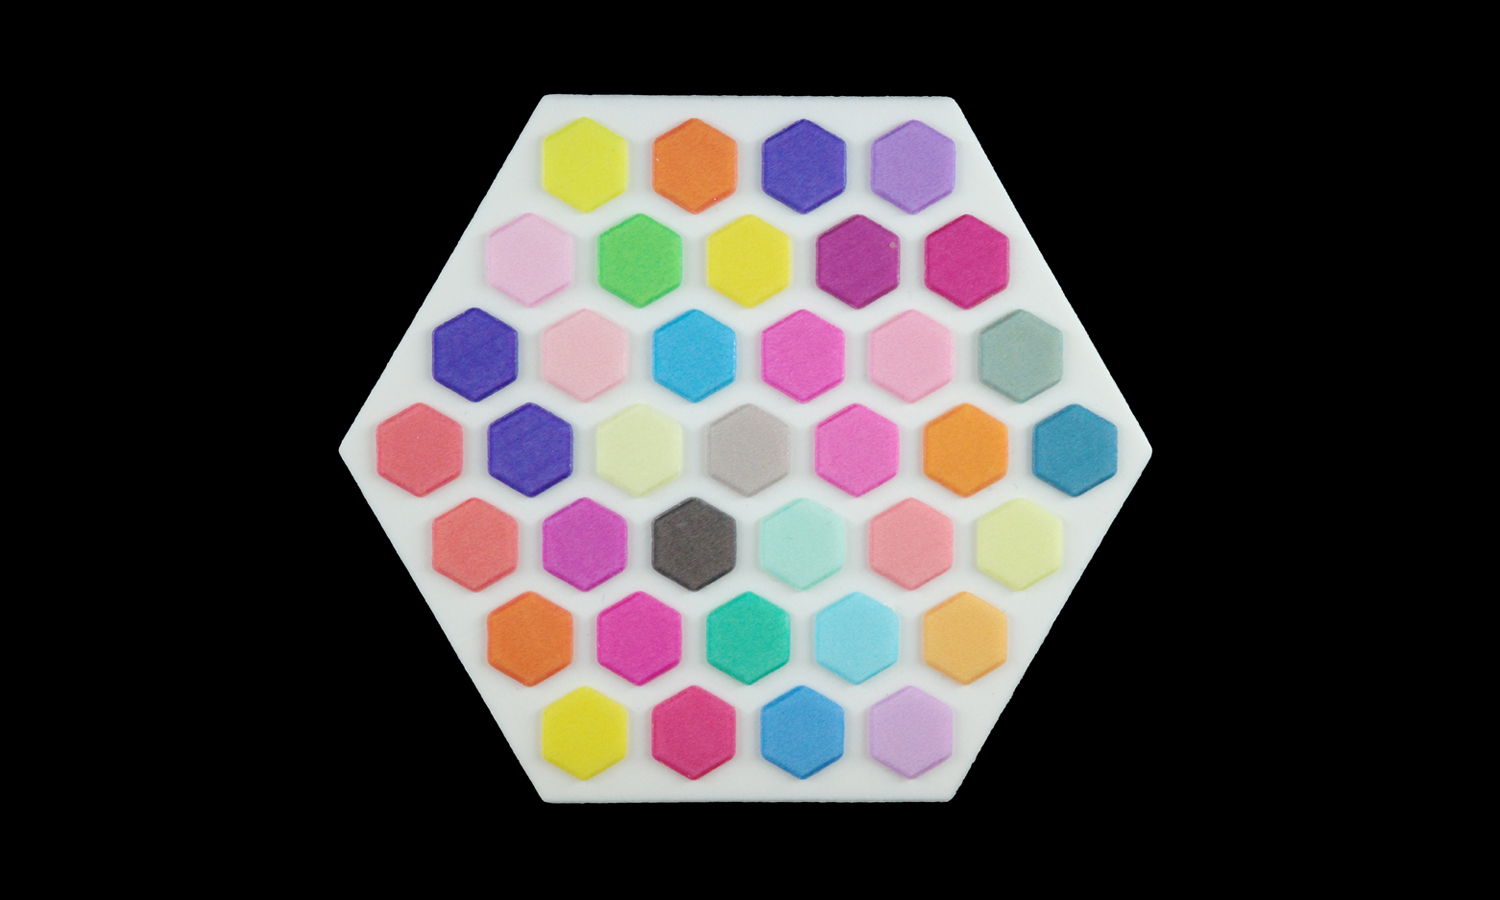
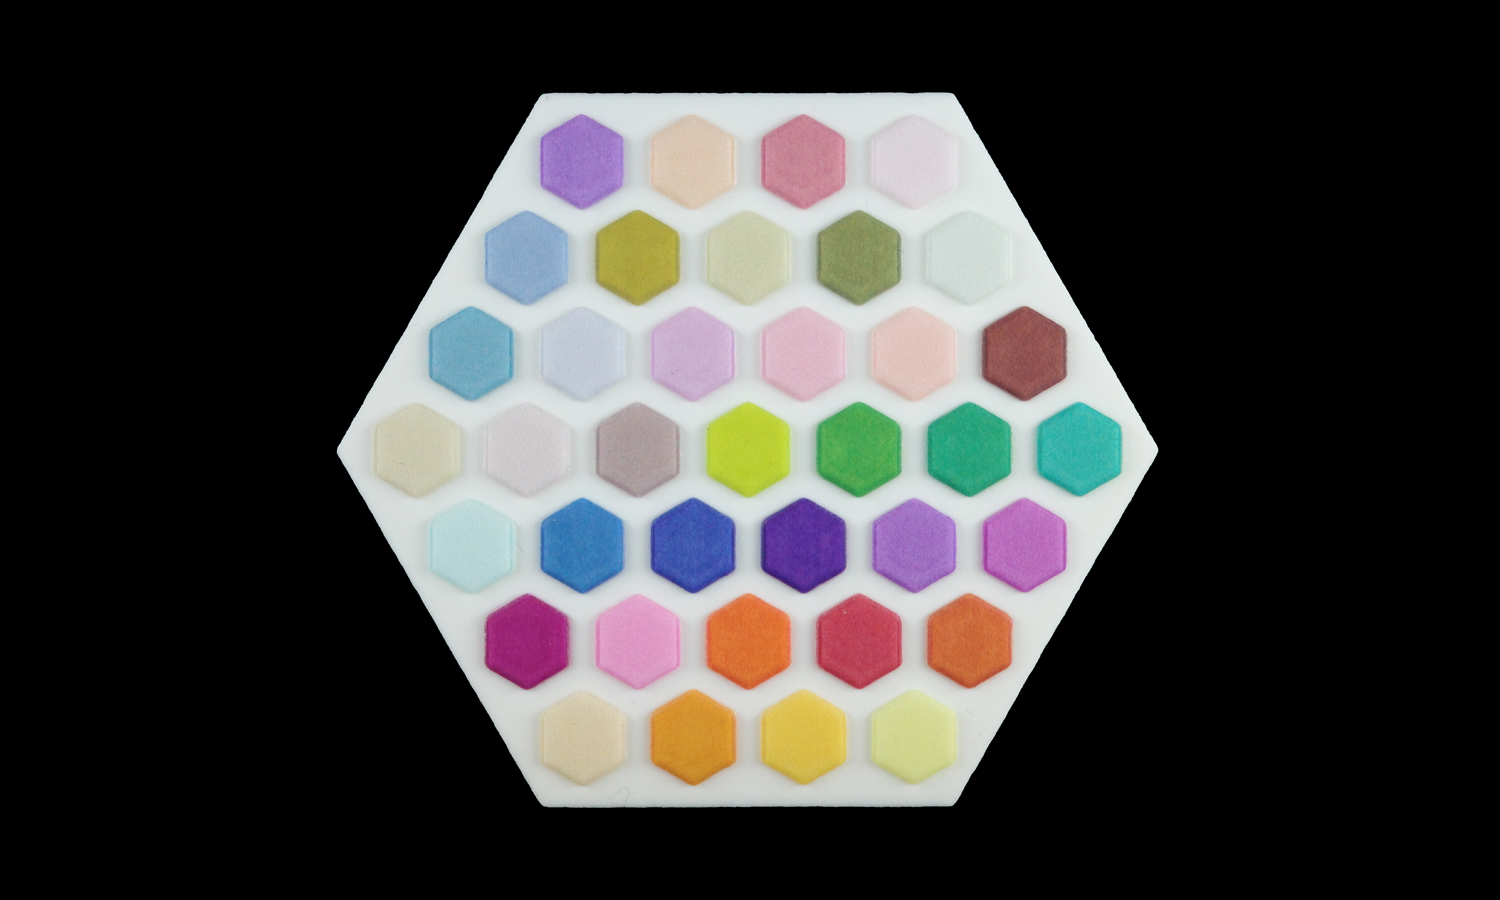
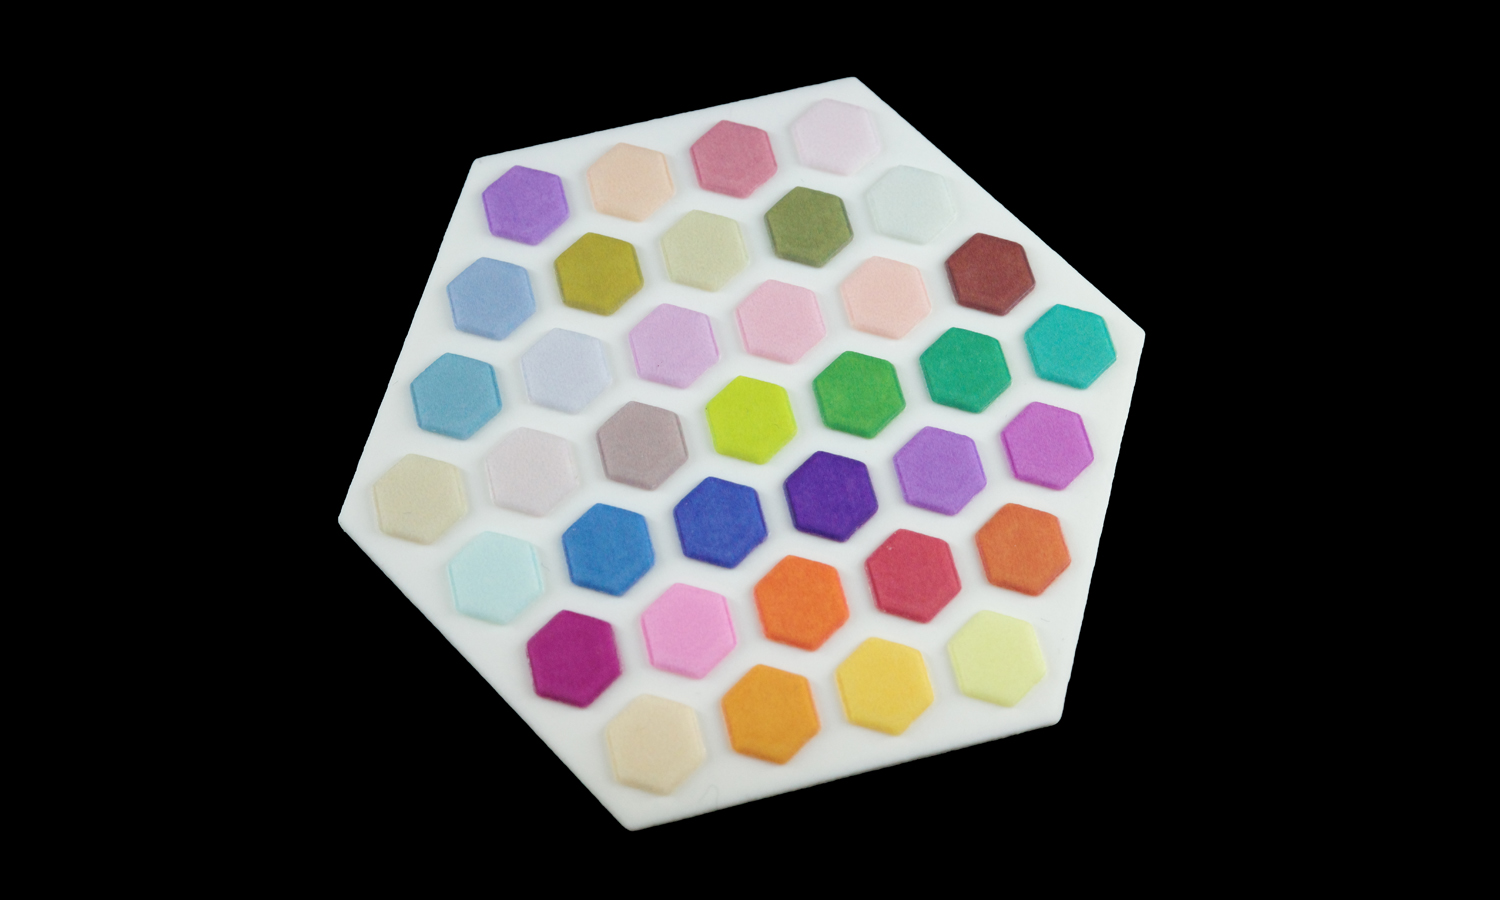
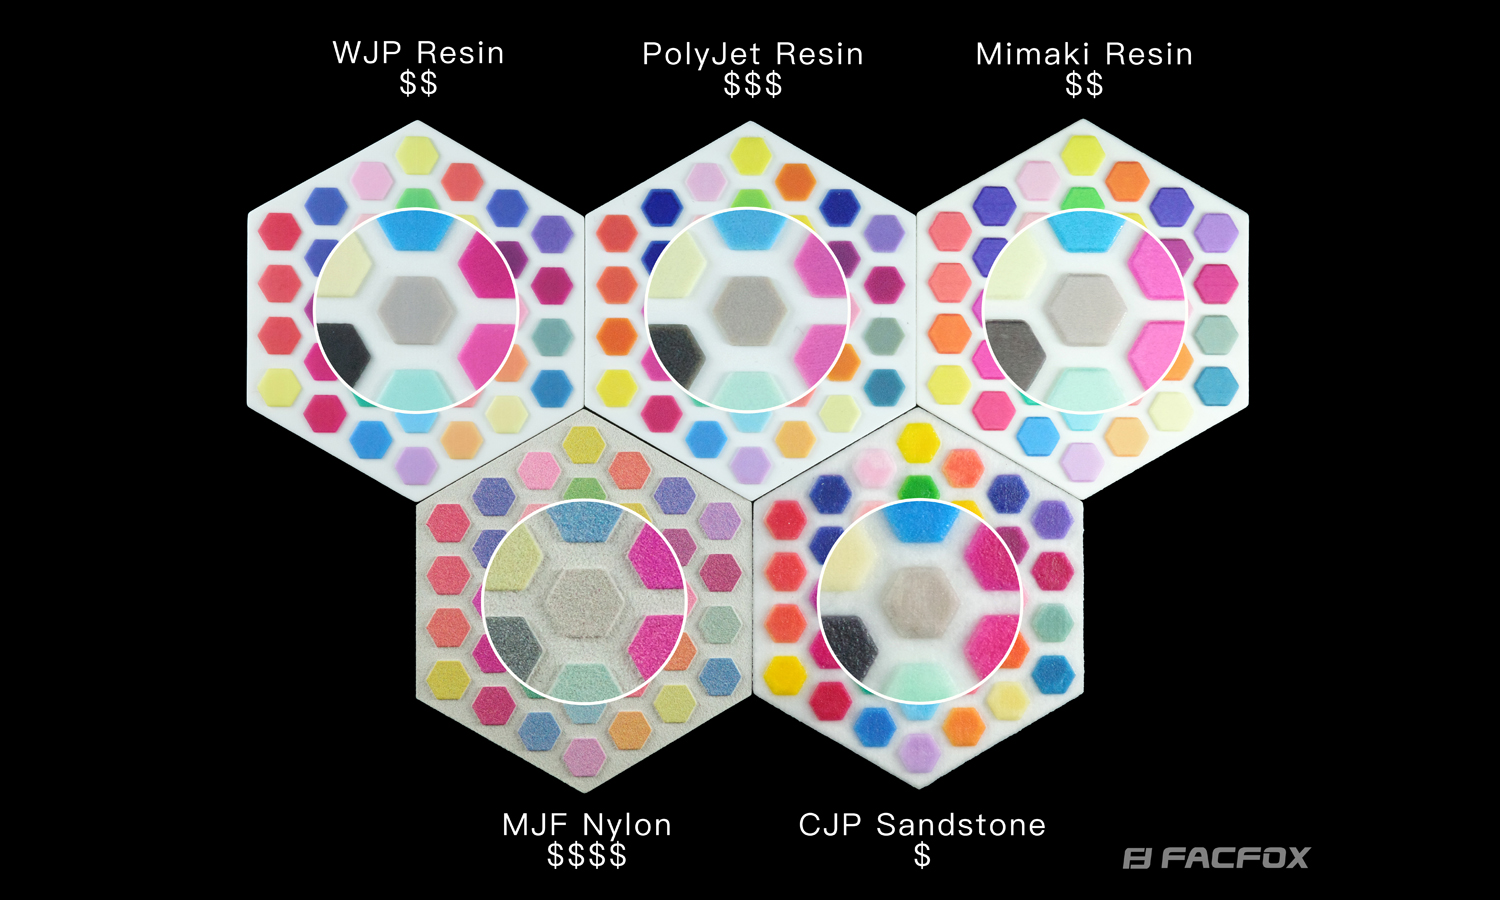
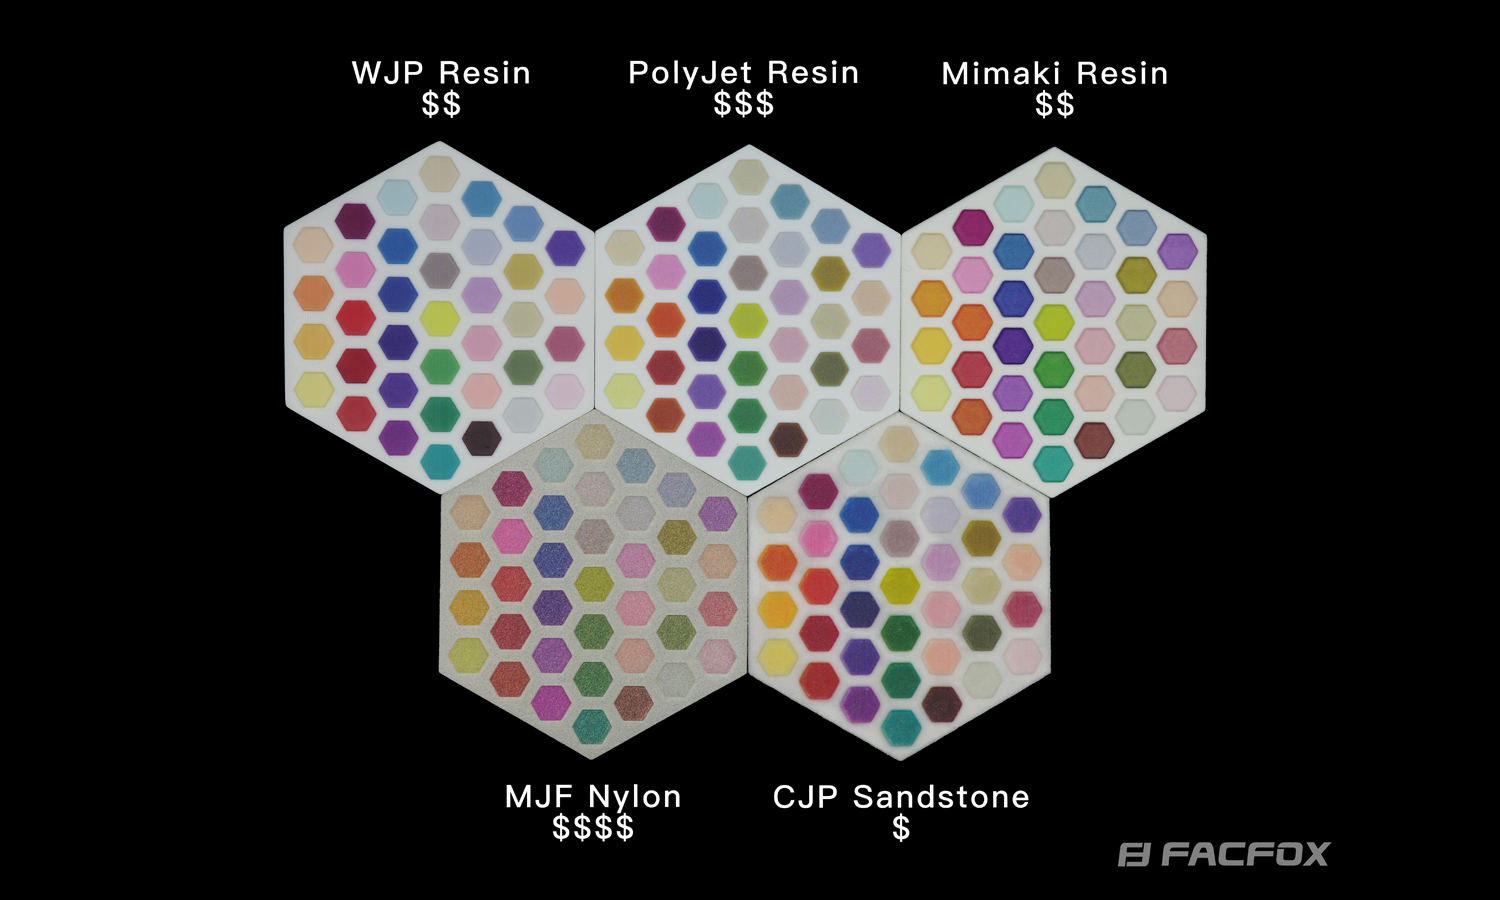
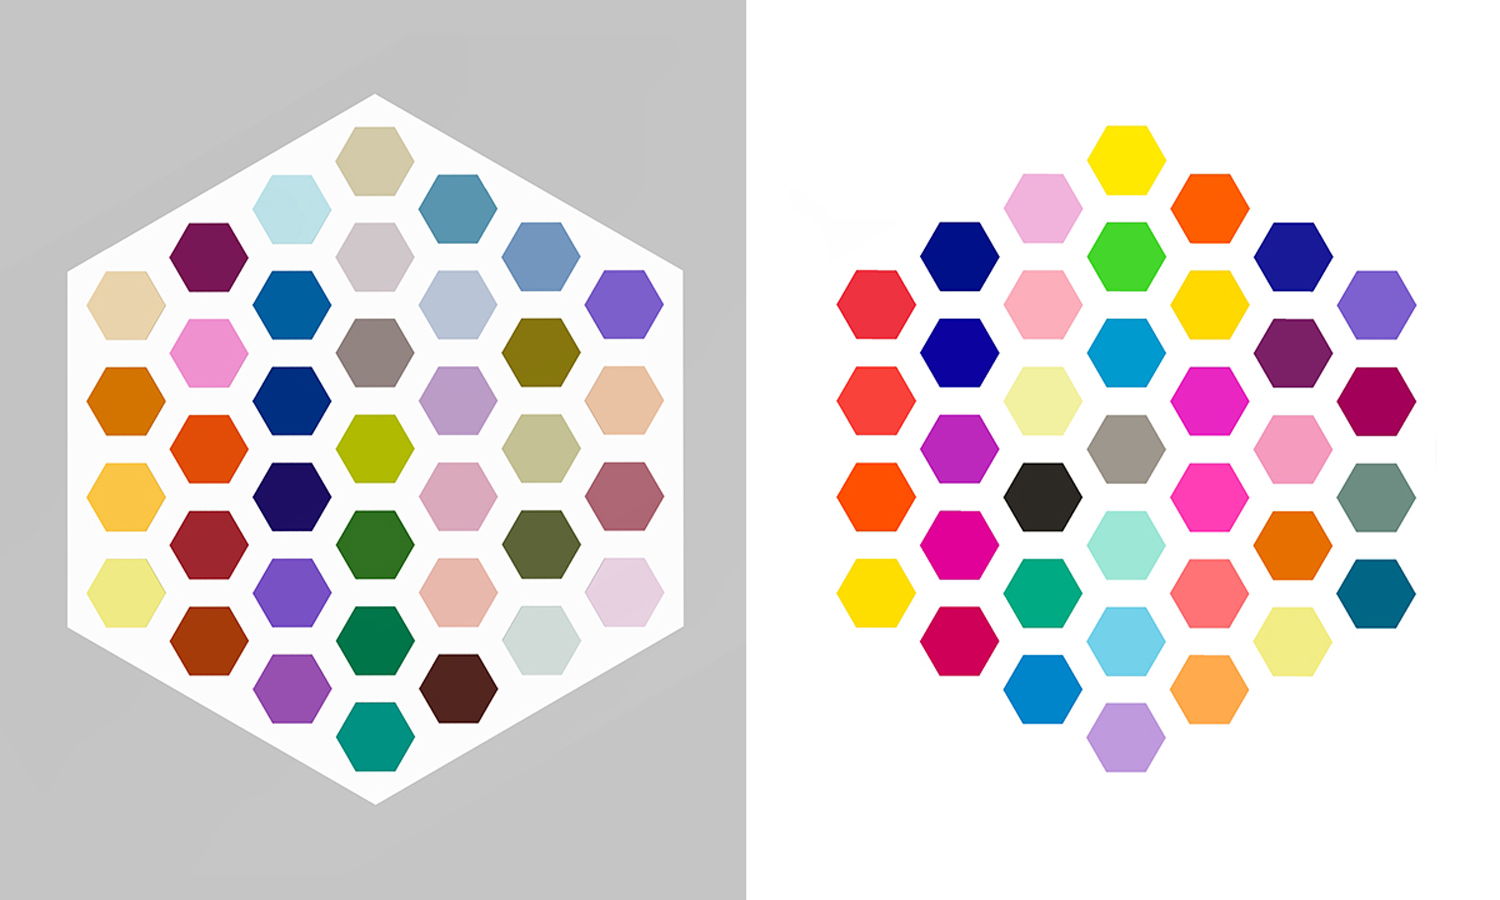
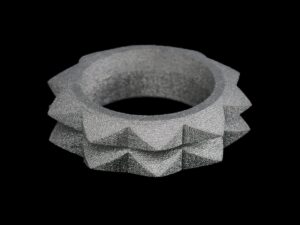
This hexagonal display of color swatches showcases the capabilities of Mimaki’s full-color resin 3D printing technology. At first glance, the overall impression is vivid and cheerful, with a high-brightness and light-toned color palette that demonstrates excellent saturation. These characteristics are particularly desirable for design applications requiring eye-catching, vibrant models.
Upon closer inspection, the surface of each swatch appears smooth and exhibits a light gloss, adding to the polished aesthetic. The surface color is mostly uniform, which reflects well on the printer’s ability to maintain consistency across complex multicolor outputs. However, under magnification or from a very short viewing distance, some slight inconsistencies in pigmentation become apparent, along with a few micro-imperfections. These are minor and do not detract significantly from the overall quality, but they are worth noting in applications where perfect finish is critical.
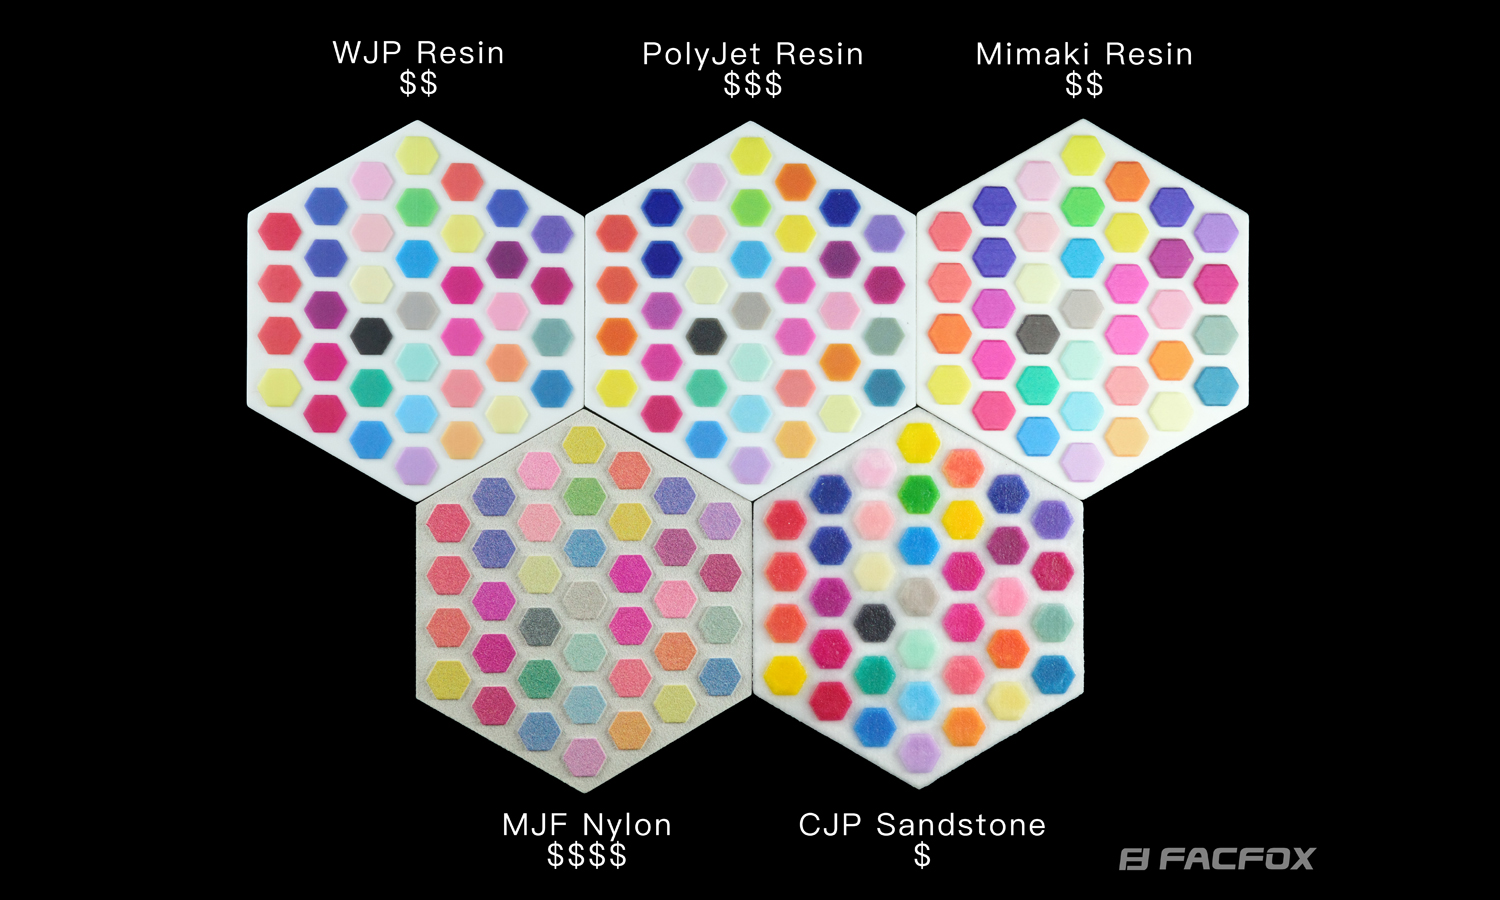
The resolution and detail achieved here demonstrate the advanced capabilities of Mimaki’s 3DUJ-series printers, which are among the few in the industry capable of producing millions of distinct color tones with high fidelity using UV-curable resin. This makes them particularly valuable for professionals in industries like medical modeling, architectural design, animation prototypes, and visual merchandising.
Bring Your Full-Color Designs to Life with FacFox
If you’re looking to harness the power of Mimaki’s cutting-edge full-color 3D printing technology, FacFox offers professional-grade services that bring your vivid ideas into reality. With expertise in handling Mimaki printers and a reputation for precise, high-quality output, FacFox helps designers, creators, and engineers produce detailed, visually stunning 3D prints at any scale. Whether you’re prototyping, presenting, or just exploring full-color 3D for the first time, FacFox provides the tools and expertise to make your vision pop-literally and figuratively.
Solution
- Step 1: The 3D model was designed and prepared using specialized CAD software.
- Step 2: The design file was loaded into the Mimaki 3D printer’s software for further preparation.
- Step 3: The print settings, including material type and resolution, were configured according to the specifications of the project.
- Step 4: The Mimaki printer was set up with UV-curable resin cartridges in the desired color range.
- Step 5: The printing process was initiated, and the printer was calibrated to ensure optimal color accuracy and material adhesion.
- Step 6: Layers of resin were selectively cured with UV light, and the printing process was completed in multiple passes to build the structure.
- Step 7: After printing, the object was carefully removed from the build platform.
- Step 8: Excess resin was washed off using a specialized solvent to ensure a clean finish.
- Step 9: The printed swatches were inspected under magnification for any imperfections or inconsistencies in the surface or color.


