Material Resin
Quantity 1 pcs
Price Range $100-1,000
Lead Time 20 workdays
Gallery
About Project
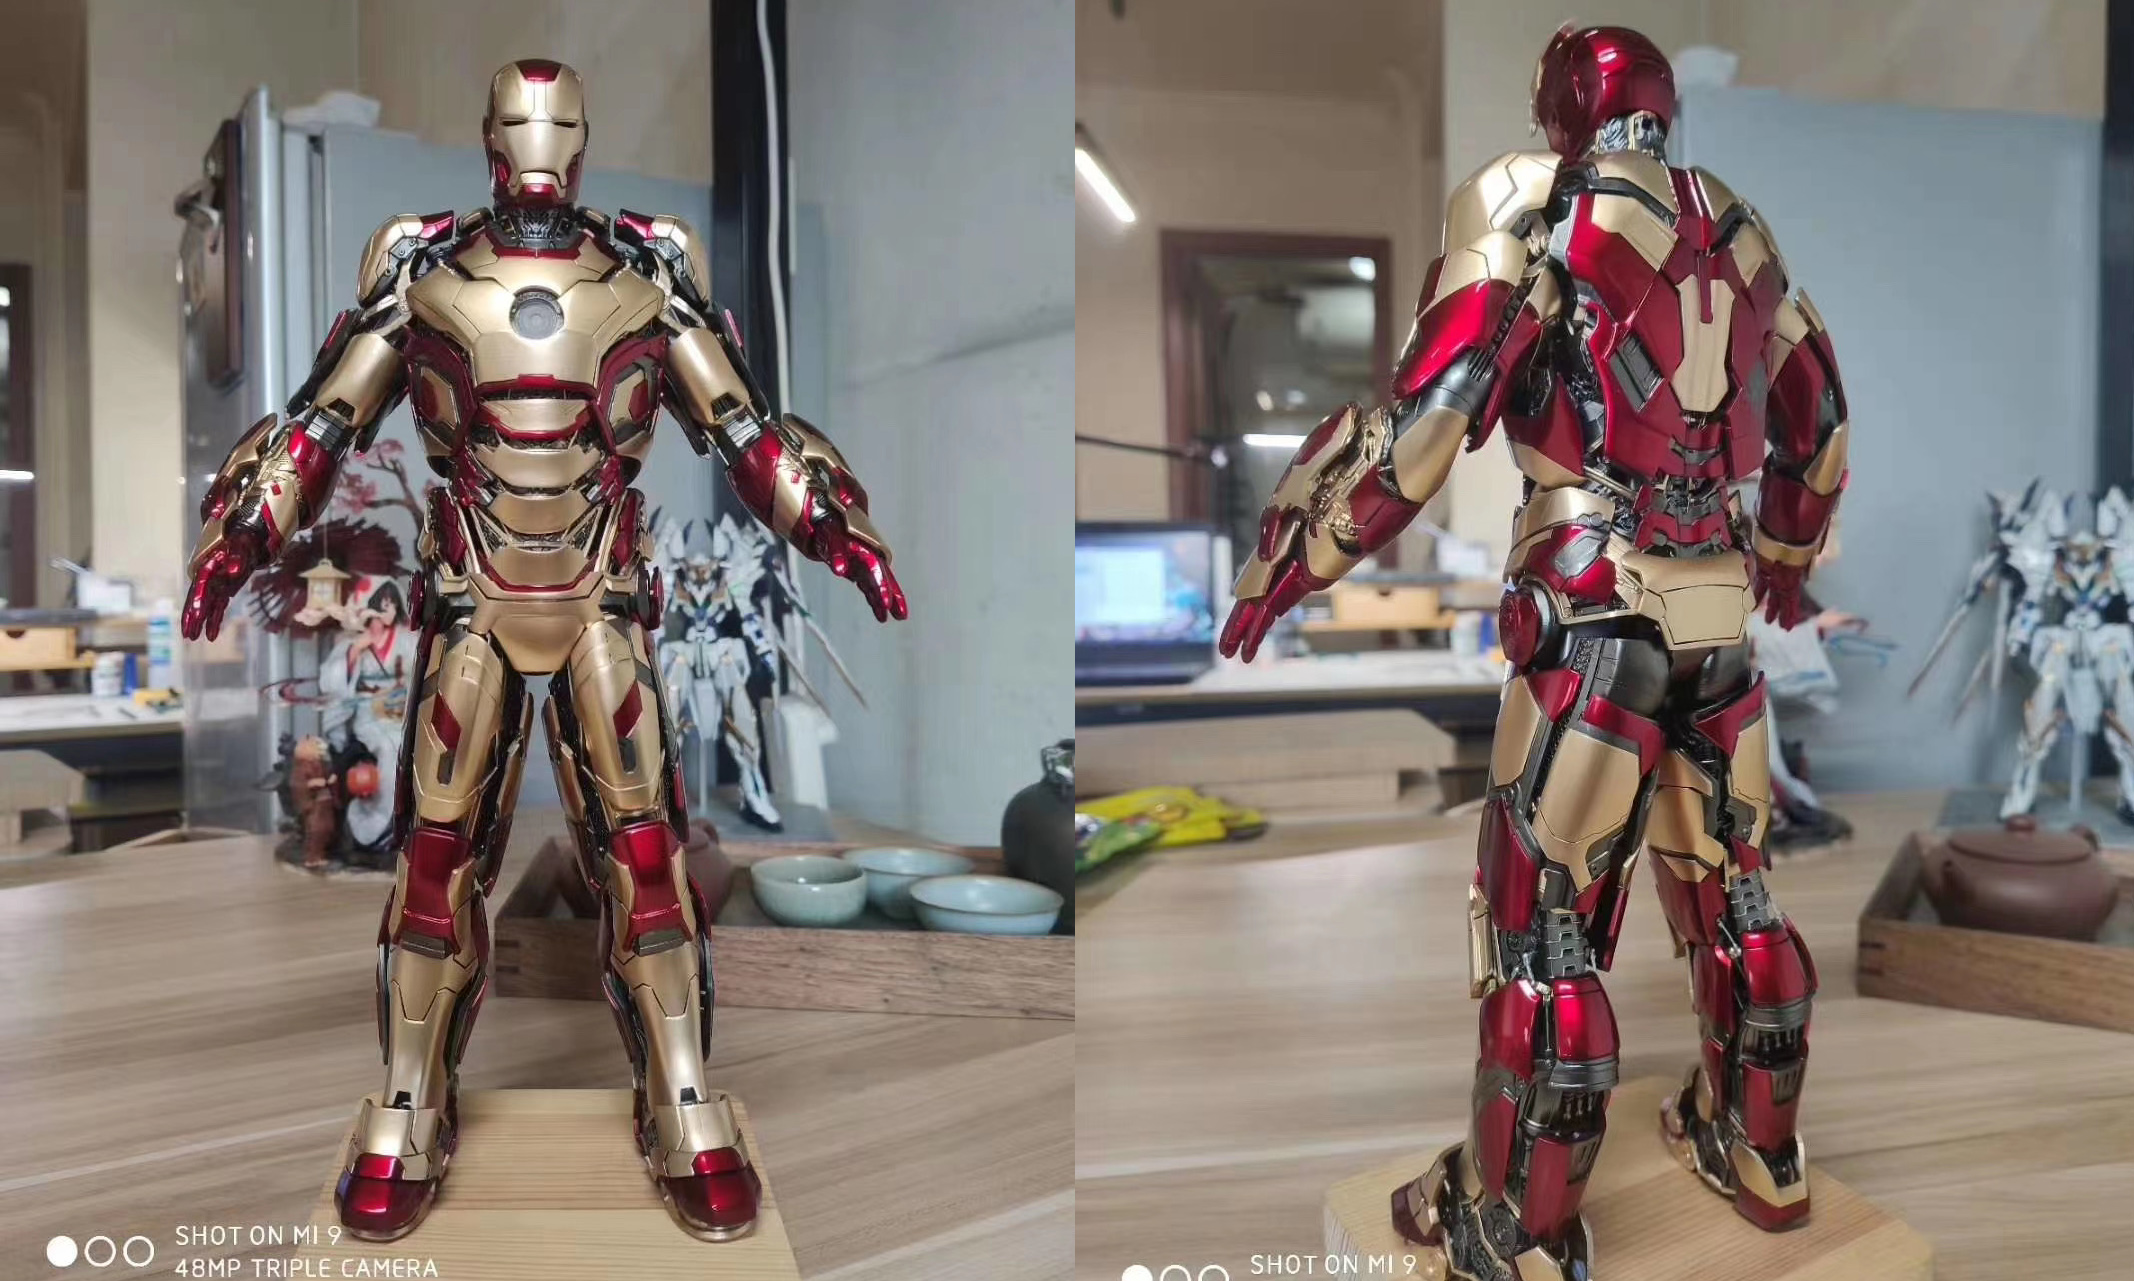
Whether it be his sarcasm, his sense of humor, his intelligence, or his relatability, there are many reasons why people love Iron Man. He possesses powered armor that gives him superhuman strength and durability, flight, and an array of weapons. In addition to the general-purpose model he wears, Tony Stark has developed several specialized suits for space travel, deep-sea diving, stealth, and other special purposes.
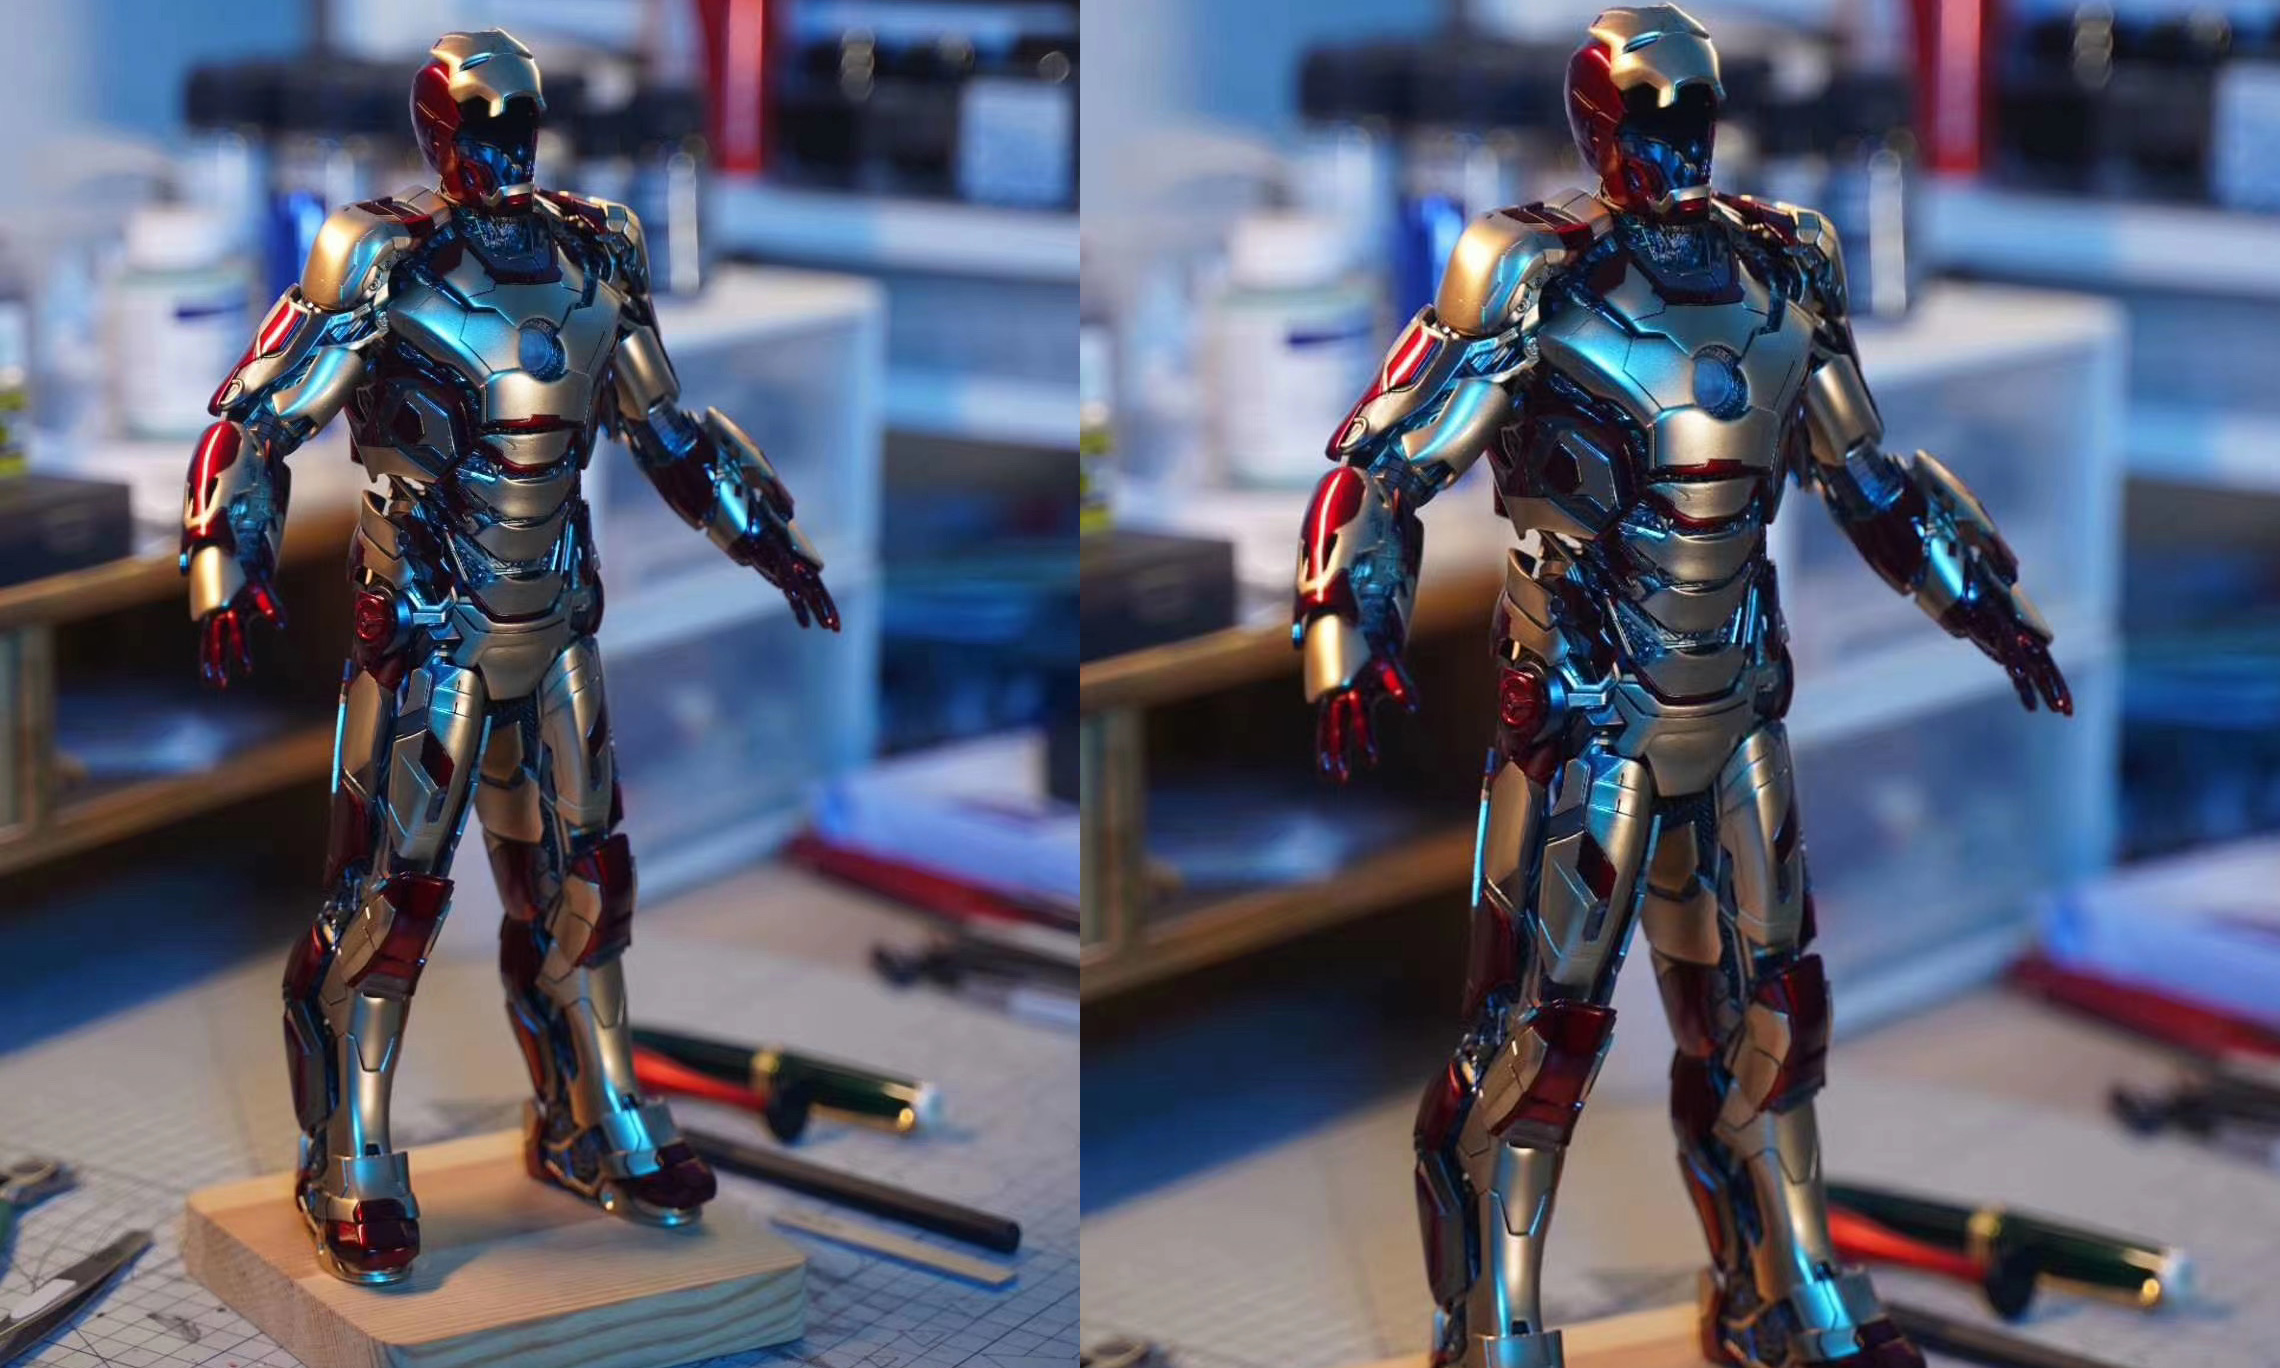
Many of our designers and engineers are crazy fans of Tony Stark, and they cooperated to design and make the 35cm Iron Man action figure. The Mark XLII has a unique and special design. Unlike most of its predecessors, the Mark XLII does not feature the usual Red and Gold plating, but instead has a darker hue for the red plating and a lighter color for the gold plating.
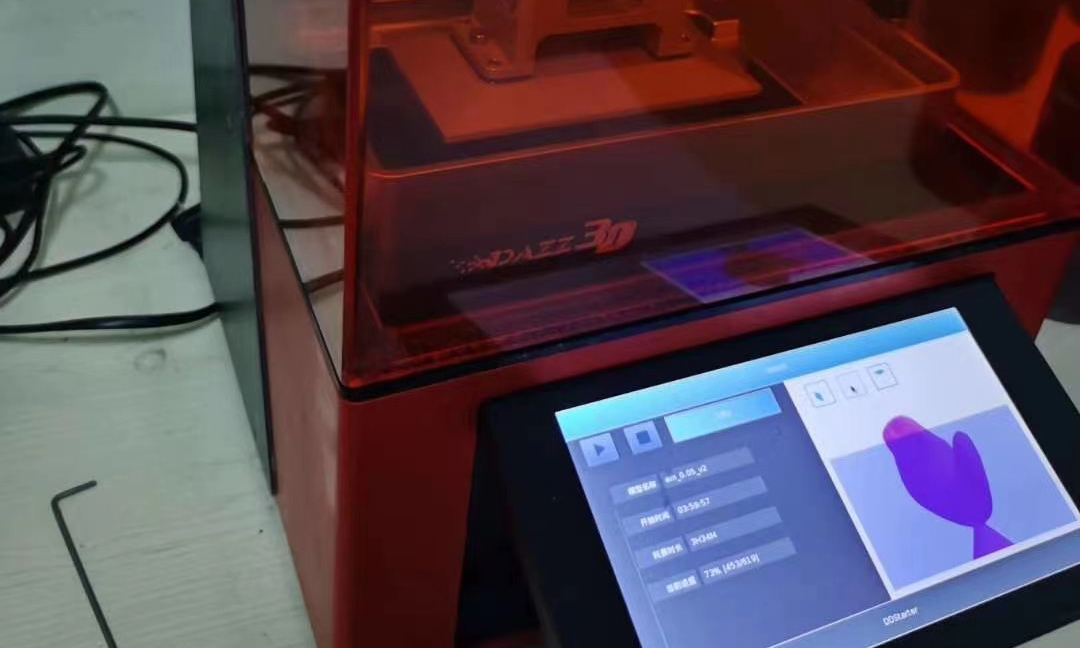
We adopt LCD 3D printing technology, which can produce parts faster compared to SLA 3D printing.
LCD 3D printers use an array of UV LCDs as a light source. The light from the flat LCD panels shines directly, in a parallel fashion, onto the build area. Because this light isnŌĆÖt expanded, pixel distortion is less of an issue with LCD printing.
What this means is that the print quality of an LCD printer depends on its LCD density. The more pixels it has, the better the print quality.
Solution
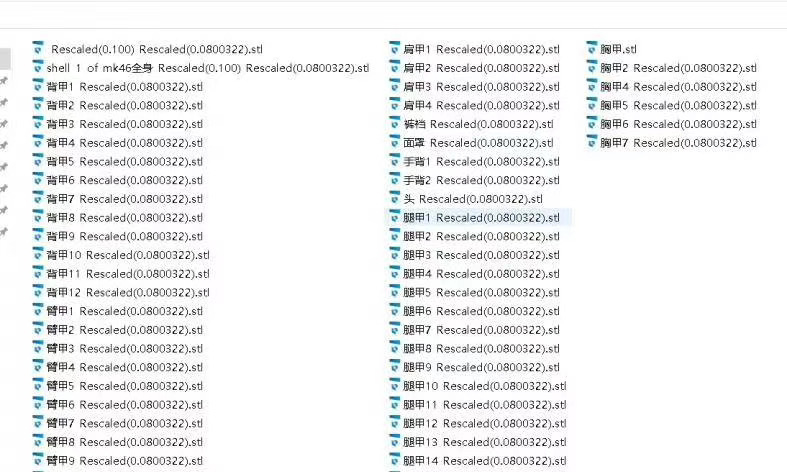
- Step 1: Design the 3D models of the Iron Man action figure based on the Mark 42. We build the 3D models of his main body and parts of the outer layer rather than build the whole body in one piece, to make the pieces of the armour removable. The designer has set the places for magnets on the main body and outer layer in advance.
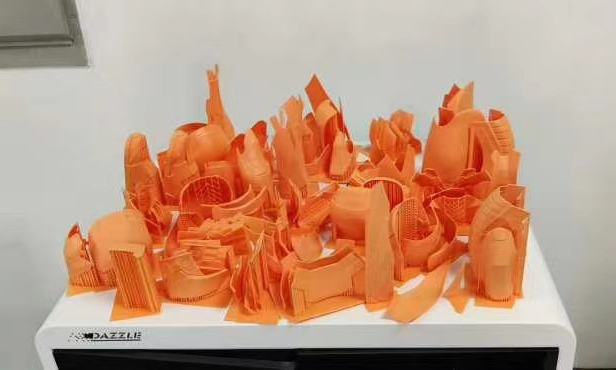
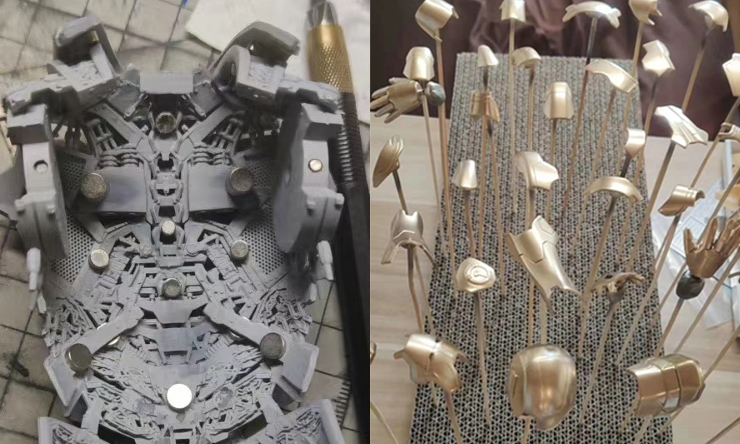
- Step 2: 3D print the main body with SLA printing technology using SLA Black Tough Resin, and print the outer layer with LCD 3D printer using DLP Ultra Detail Resin.
- Step 3: Regular post-processing. Cut off the supporting structure, wash and air-dry the printed parts. Sanding and polishing by hand with the help of grater, tweezer, filling paper and other tools to improve the details, as there are some excess materials.
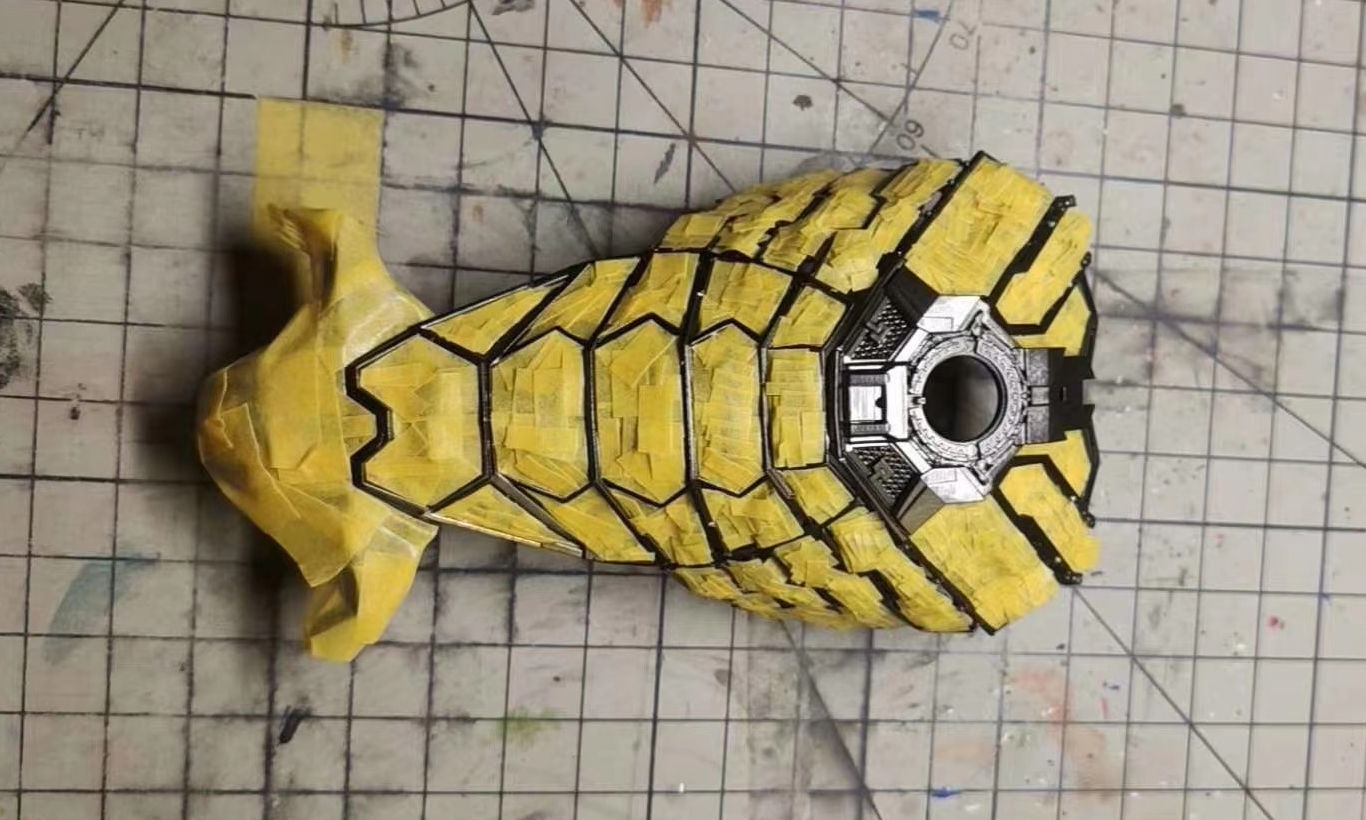
- Step 4: Paint the prints with metallic paint manually after post-processing. A tip for painting the thin frame: taping the surrounding parts as protection. Insert the magnets into the main body, and also attach the magnets onto all the pieces of the armour with super glue.
- Step 5: Assemble the armour with the main body with magnets. Glue the main body with the wooden base.


