FDM 3D Printed Soccer Ball Assembly Puzzle

FDM 3D Printed Soccer Ball Assembly Puzzle

facfox-case-study
Process 3D Print
Material Plastic
Quantity 1 pcs
Price Range $1-100
Lead Time 2 workdays

Gallery

About Project

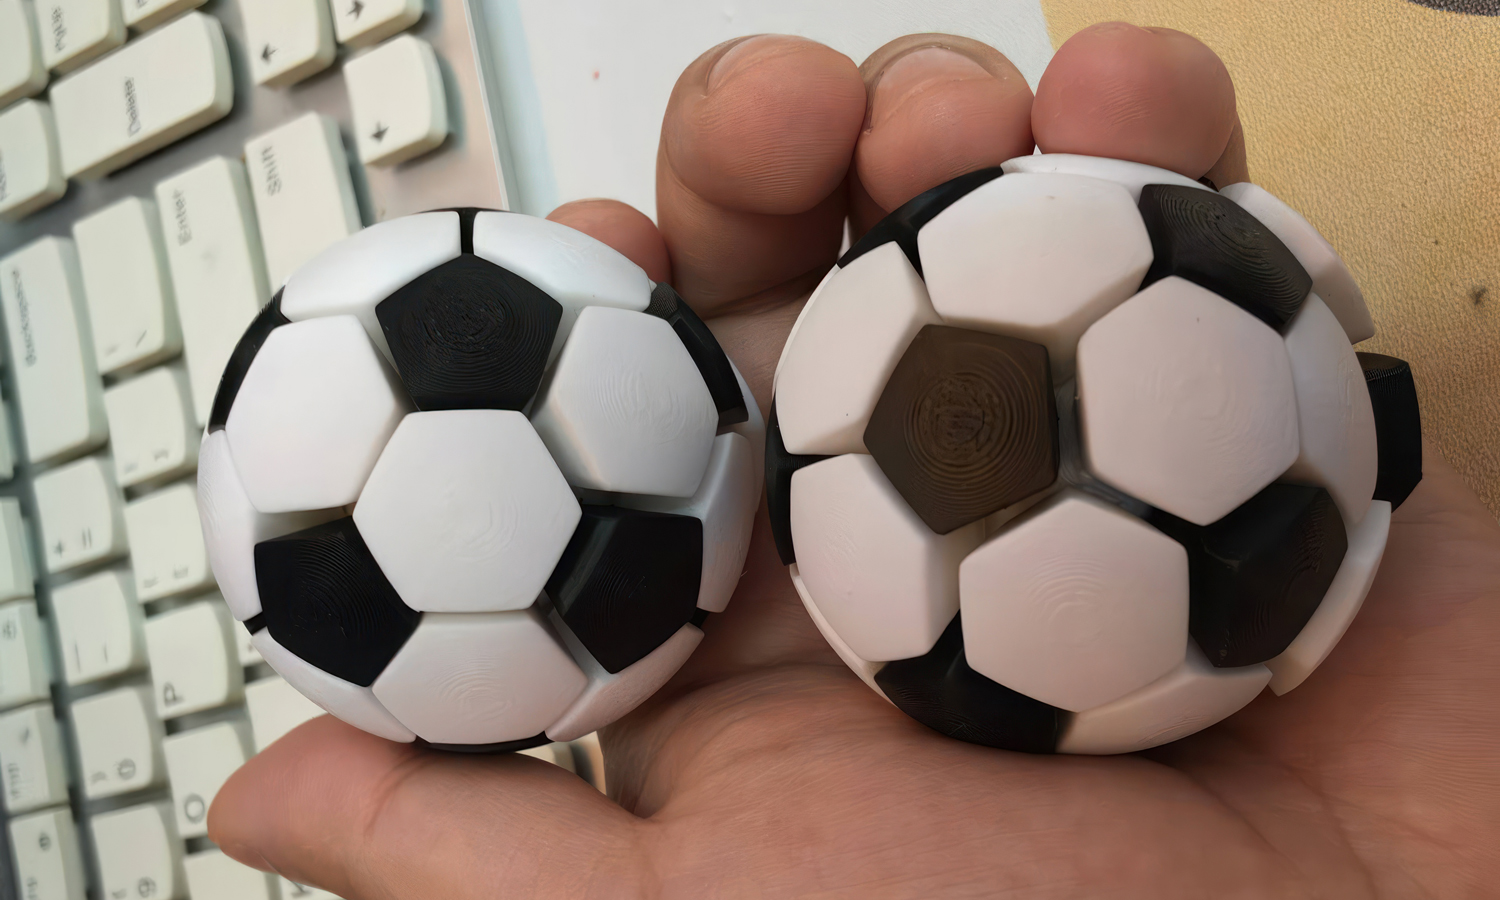
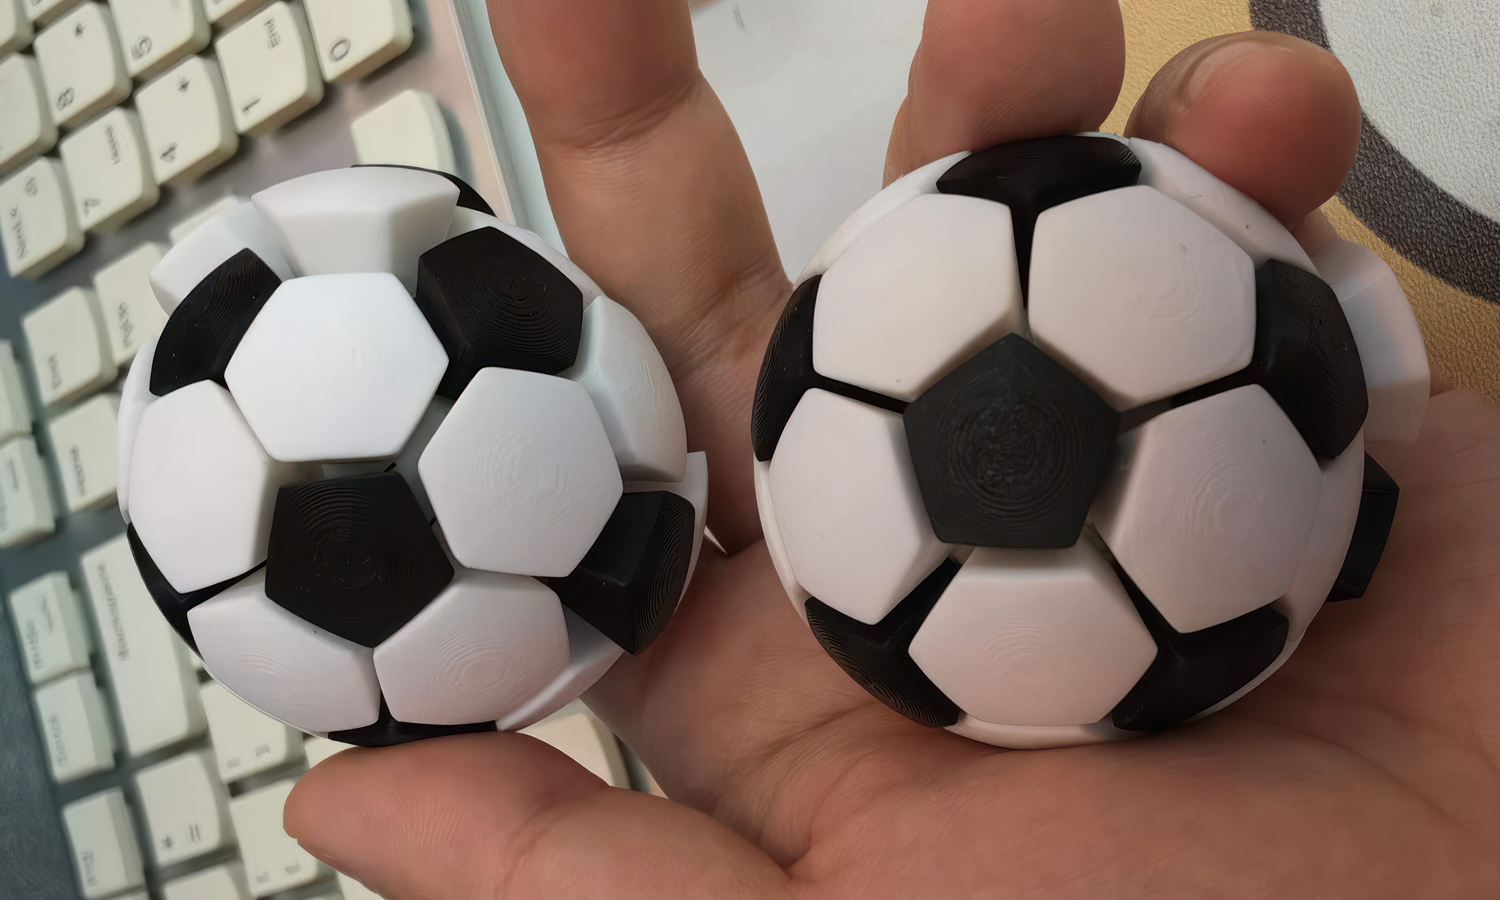
The 2026 FIFA World Cup renewed global interest in football-themed toys and collectibles. This compact FDM printed puzzle turns the familiar black-and-white ball pattern into a hands-on assembly game.

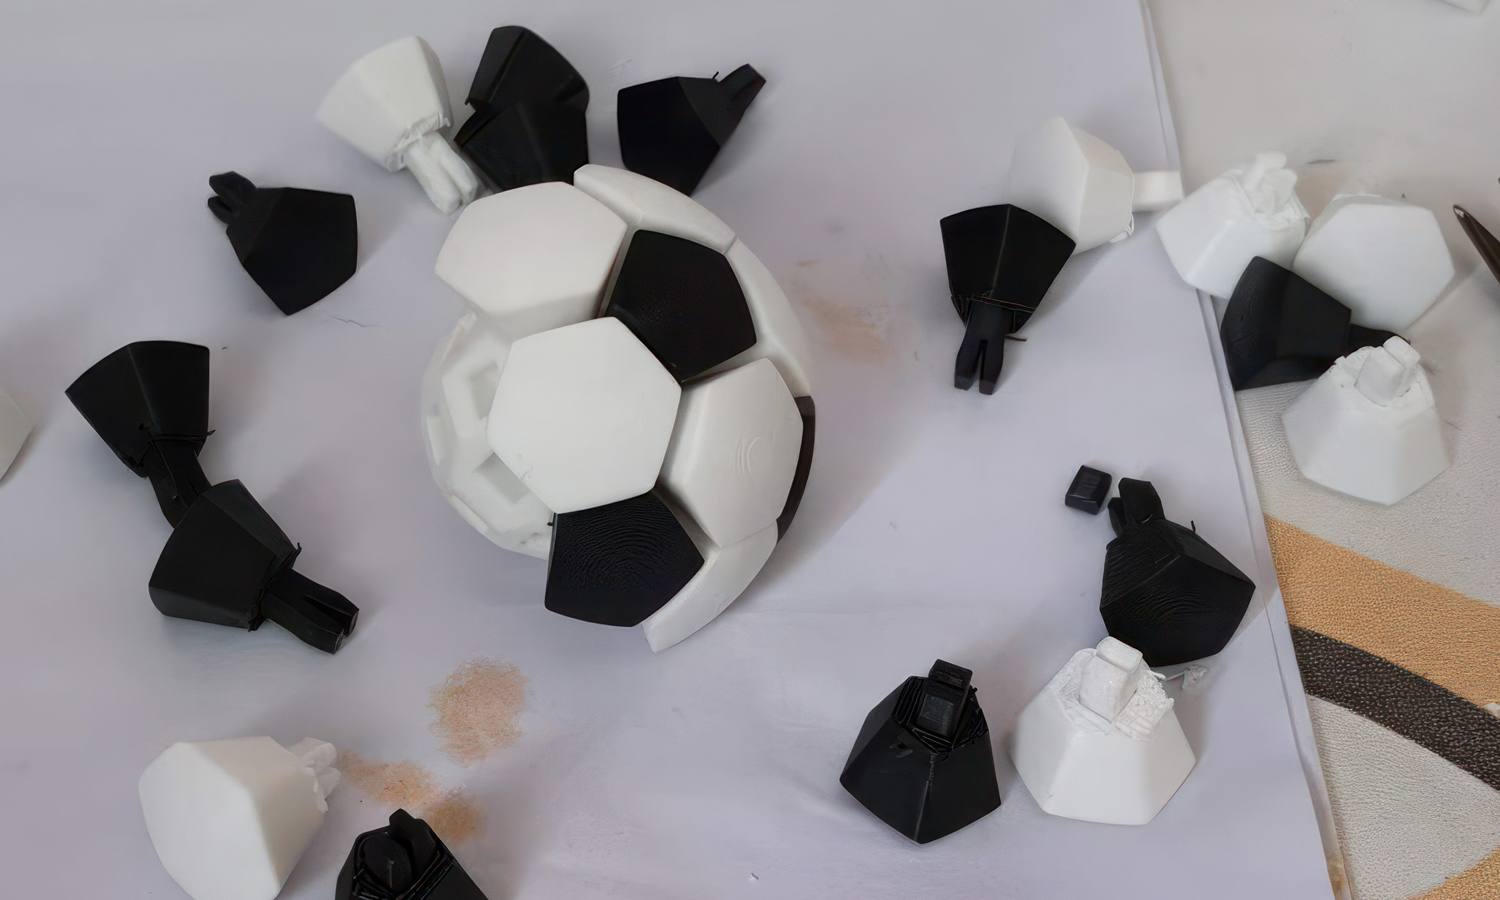
Its value lies in the interaction rather than elaborate decoration: separate panels are fitted together to complete the sphere, then disassembled for another round. Contact FacFox or upload your 3D files for a quote.

Challenge

The toy is assembled from repeated black and white panels that must form a regular sphere while still being easy to take apart and rebuild. Small dimensional errors can accumulate around the ball, creating loose joints, excessive insertion force, or an uneven outer surface. Several pieces also require support during FDM printing, leaving burrs and rough contact areas that must be removed without changing the connector dimensions.

Solution

  • Step 1: Recommend a suitable process and material based on the client’s requirements and budget, assess printing and assembly risks, and discuss necessary model revisions with the client.
  • Step 2: Check the spherical geometry, panel sequence, connector clearances, minimum wall thickness, and repeated part consistency before production.
  • Step 3: Print a small set of mating pieces first and adjust the connector tolerance until assembly force and retention are suitable for repeated use.
  • Step 4: Separate the black and white parts by material color and optimize orientation and support placement to protect the visible faces and connector geometry.
  • Step 5: Print the full set with consistent layer height, temperature, cooling, and extrusion settings to reduce dimensional variation between repeated pieces.
  • Step 6: Remove supports and carefully trim, file, and sand the burrs on support-contact surfaces, avoiding excessive material removal from the snap-fit areas.
  • Step 7: Inspect each piece for warping, sharp edges, blocked gaps, and connector damage, then sort the panels by color and position.
  • Step 8: Complete a full trial assembly, check roundness, seam uniformity, retention, and disassembly force, and make final local adjustments before packing.