Gallery
About Project
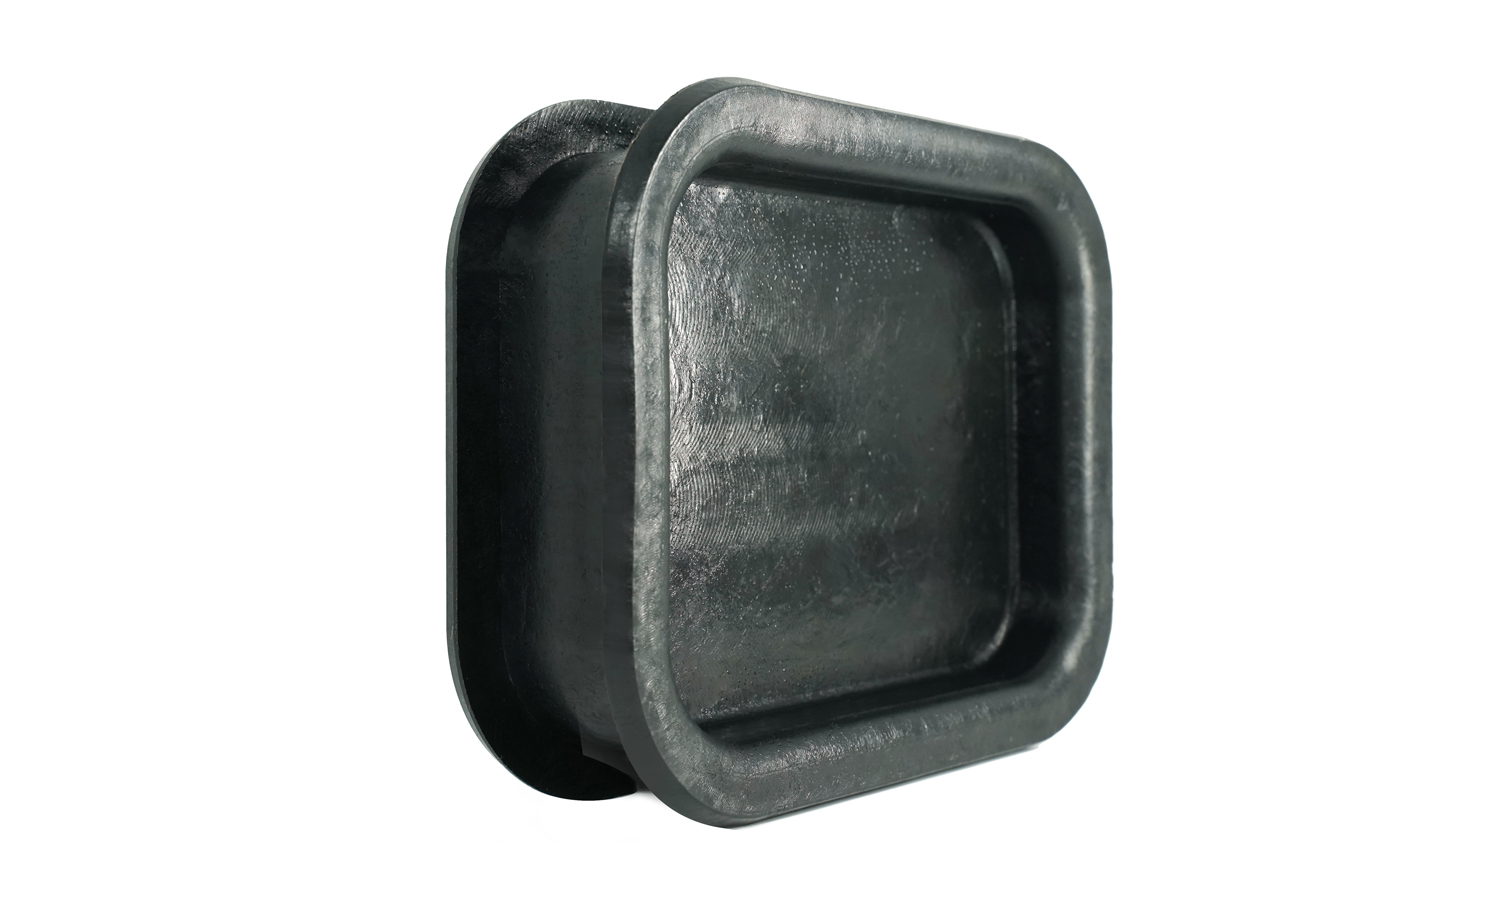
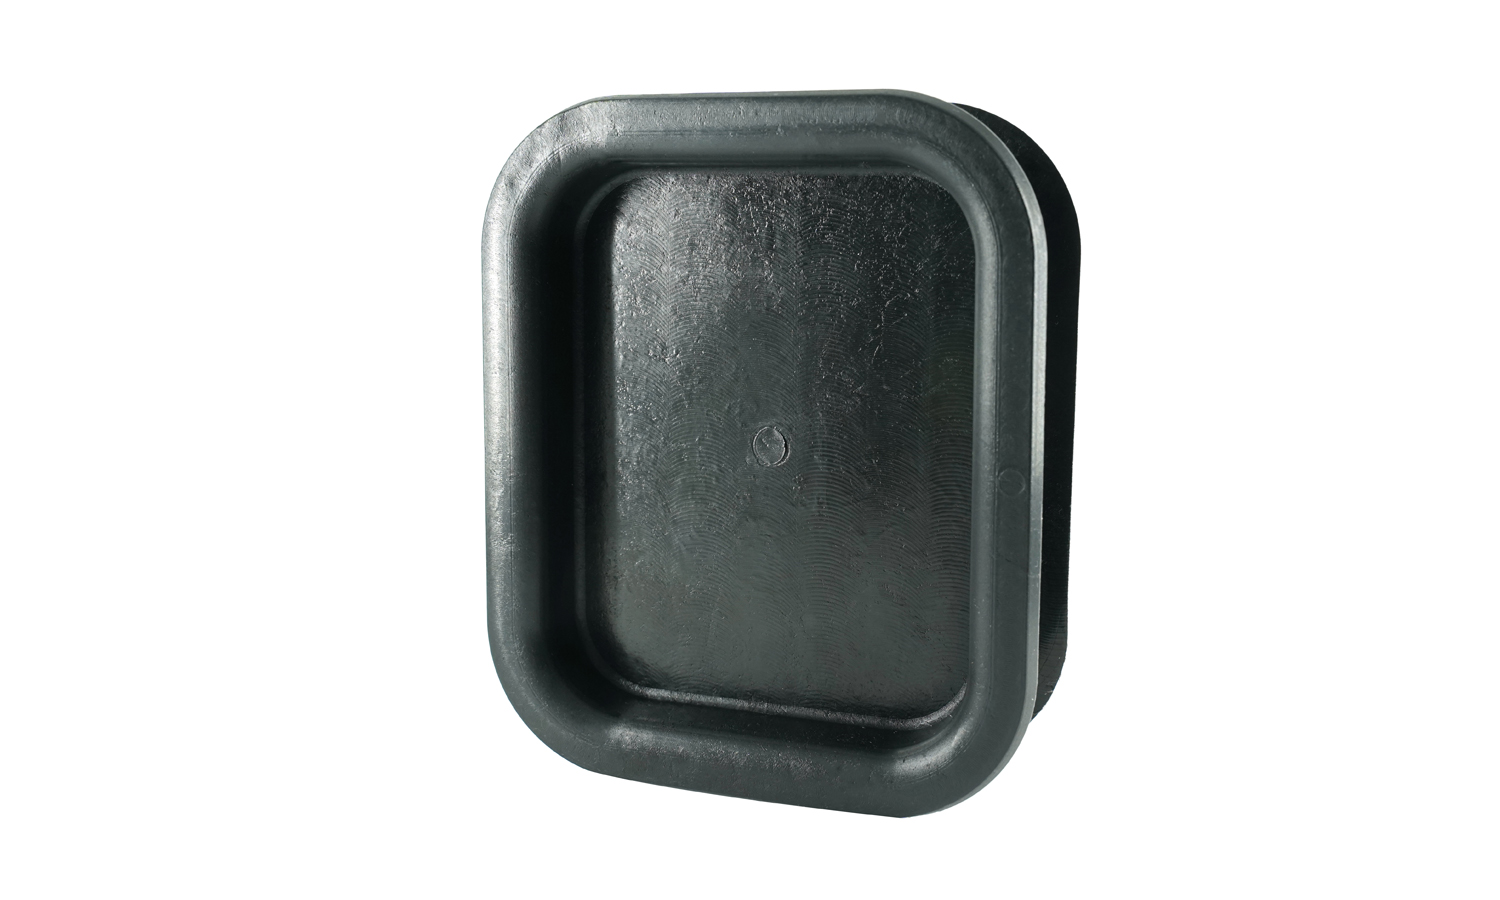
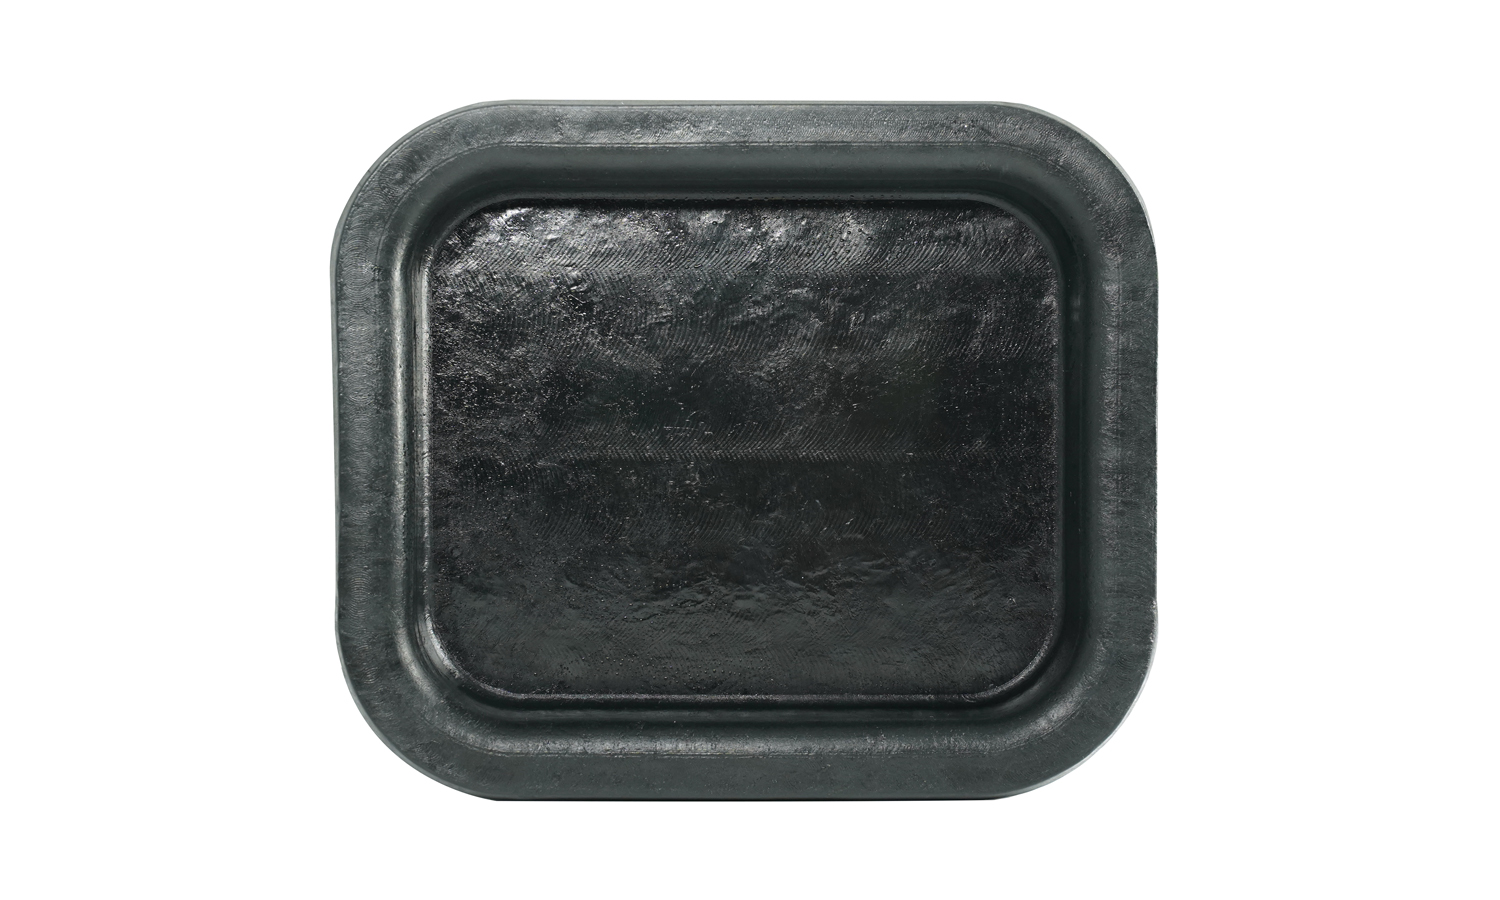
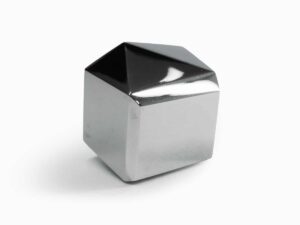
This black Polyurethane (PU) component is a prime example of high-performance industrial design. With its distinct “H-profile” channel and recessed center, it is likely a custom sealing grommet or protective boot designed for panel-mounting. Whether itŌĆÖs acting as a vibration dampener or a watertight seal for cable pass-throughs, parts like these are essential for the longevity of heavy machinery and electronic enclosures.
How ItŌĆÖs Made: The Casting Technique
Components of this quality are typically produced using Urethane Casting (also known as Vacuum Casting). This technique is the “gold standard” for low-to-medium volume production because it bridges the gap between 3D printing and expensive injection molding.
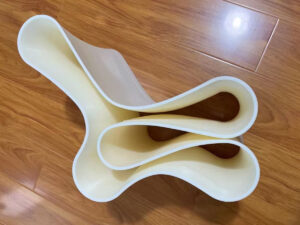
Instead of machining costly metal molds, the process uses a 3D-printed or CNC-machined master pattern to create a flexible silicone mold. Liquid polyurethane resin is then poured or injected into this mold. Because the mold is flexible, it can easily capture complex geometriesŌĆölike the deep undercuts and sharp internal corners seen in these photosŌĆöthat would be difficult or impossible to eject from a traditional steel tool.
The result? A part that looks, feels, and performs exactly like a mass-produced plastic component, but without the months of lead time or the five-figure tooling costs.
Bring Your Designs to Life with FacFox
Are you looking to move from a prototype to a functional batch of 10, 50, or 500 parts? FacFoxŌĆÖs Polyurethane Manufacturing Service is built for speed and precision.
- Production Quality: Get parts with industrial-grade durability and professional surface finishes.
- Material Variety: Choose from a wide range of durometers (from soft rubber-like 20A to hard hat-rigid 85D).
- Fast Turnaround: Go from a digital file to finished cast parts in as little as 5ŌĆō7 days.
Whether you need custom gaskets, durable handles, or complex housings, FacFox provides the expertise to scale your project efficiently.
Solution
- Step 1: The Master Pattern was Created. A high-resolution master pattern was produced, typically using SLA 3D printing or CNC machining. This pattern served as the exact physical blueprint for the final part and was meticulously finished to ensure the desired surface texture was achieved.
- Step 2: The Silicone Mold was Formed. The master pattern was suspended in a casting box, and liquid silicone rubber was poured around it. Once the silicone was fully cured, the block was precisely cut open and the master pattern was removed, leaving behind a highly detailed negative cavity.
- Step 3: The Resin was Prepared and Degassed. The specific polyurethane resin was selected and mixed with pigments to achieve the solid black color. To ensure a structural finish free of bubbles, the liquid mixture was placed in a vacuum chamber where all trapped air was removed.
- Step 4: The Mold was Cast. The liquid PU resin was injected into the pre-heated silicone mold. This stage was performed under vacuum conditions to ensure the material flowed into every intricate detail of the “H-profile” and internal corners.
- Step 5: The Component was Cured. The filled mold was placed into a curing oven. High temperatures were maintained to accelerate the chemical reaction, allowing the polyurethane to solidify and reach its final mechanical properties and Shore hardness.
- Step 6: The Part was Demolded and Finished. Once hardened, the part was carefully removed from the flexible silicone mold. Any excess material from the entry points (the gates and risers) was trimmed away, and the component was inspected for dimensional accuracy before its final delivery.

