Material Resin
Quantity 1 pcs
Price Range $1-100
Lead Time 4 workdays
Gallery

About Project
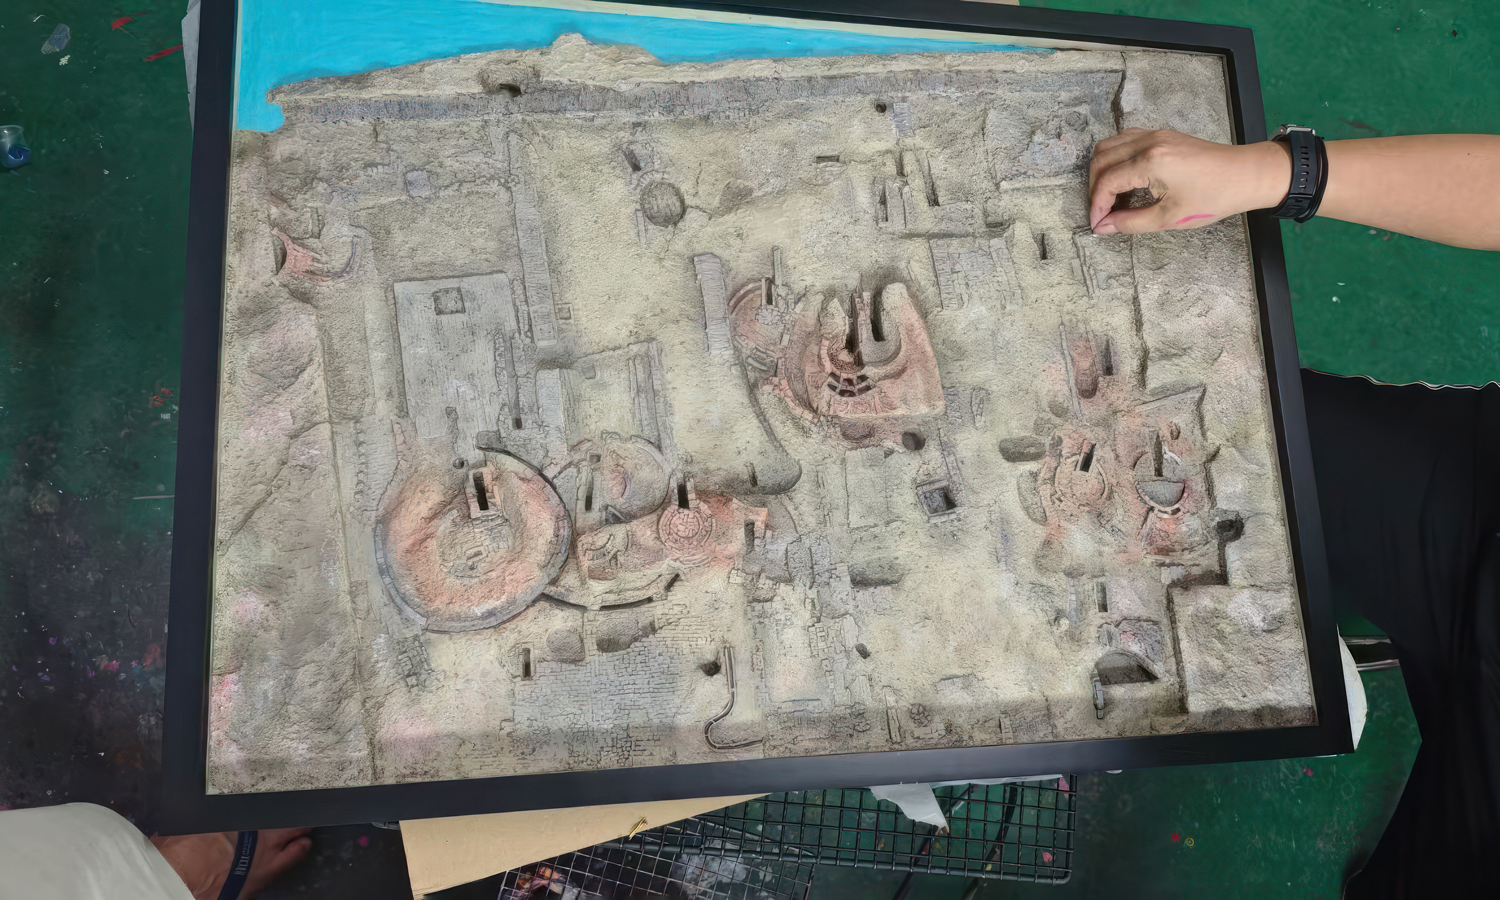
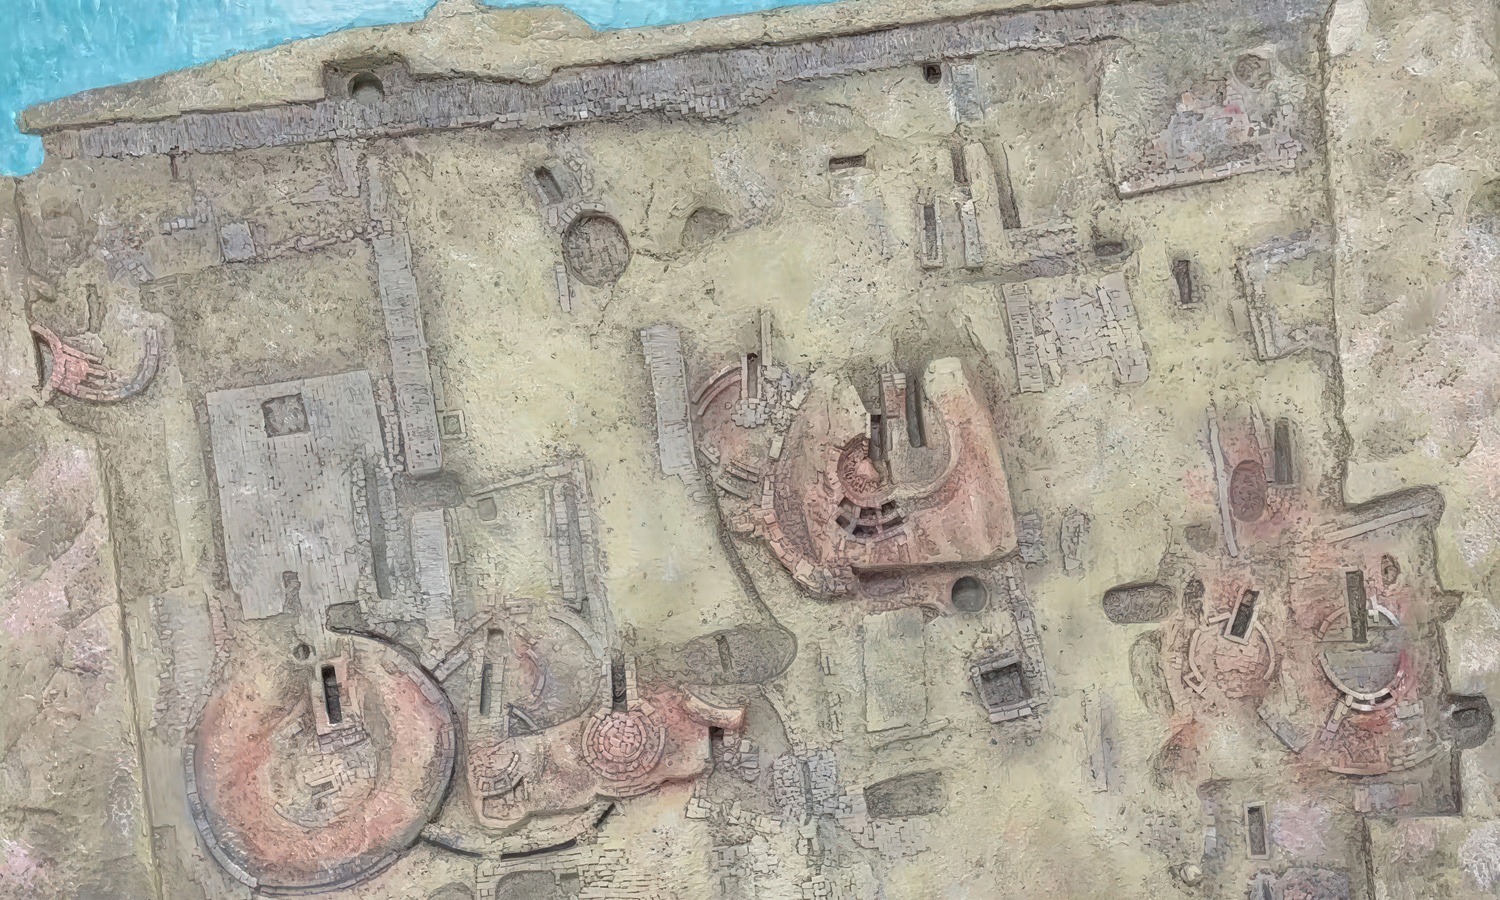
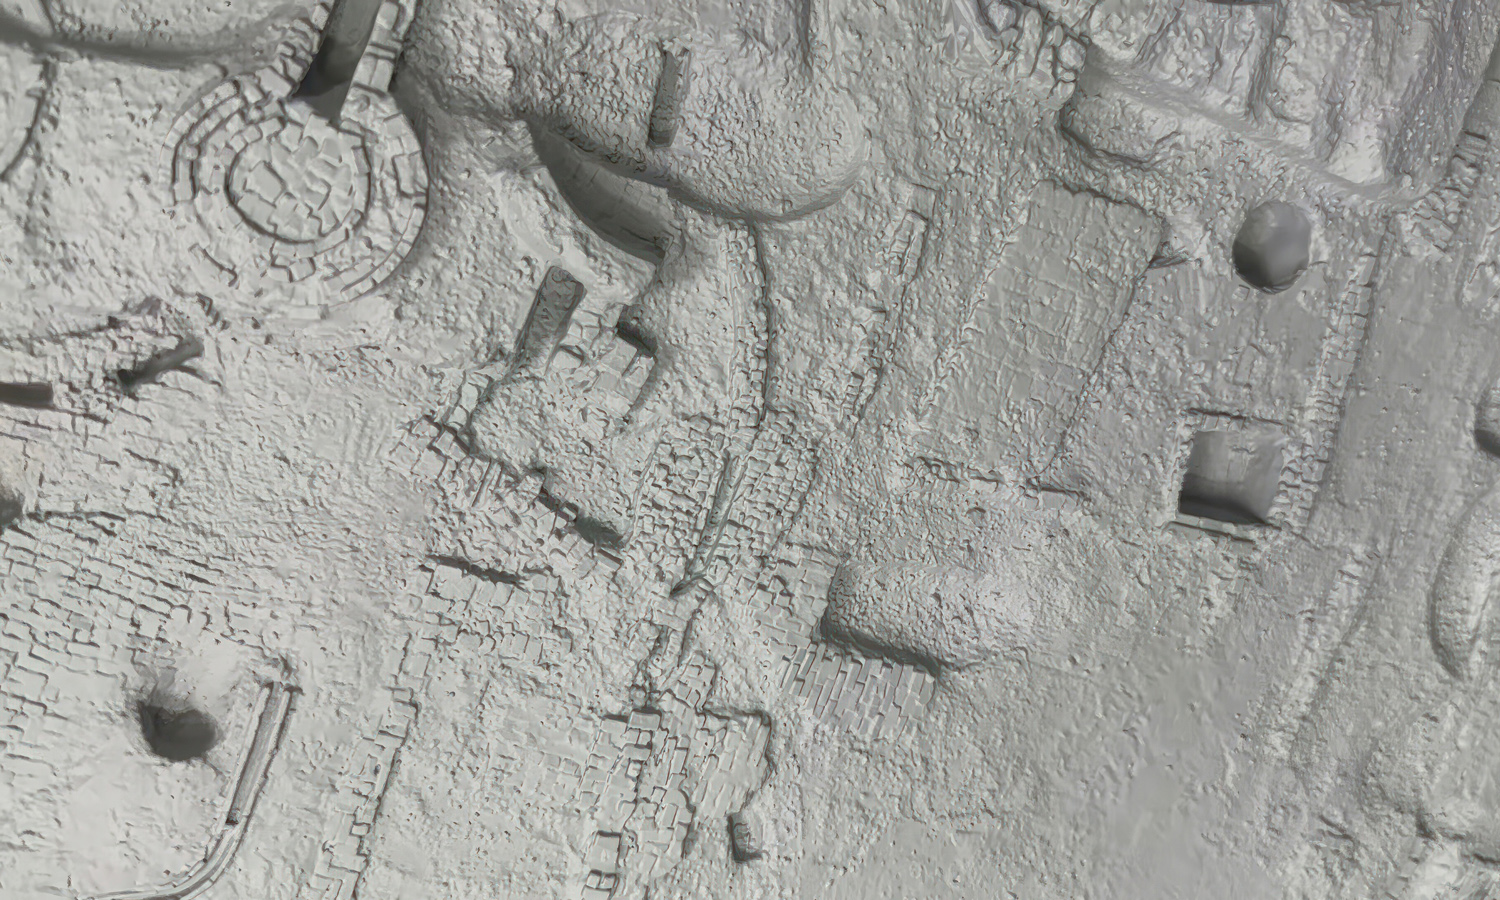
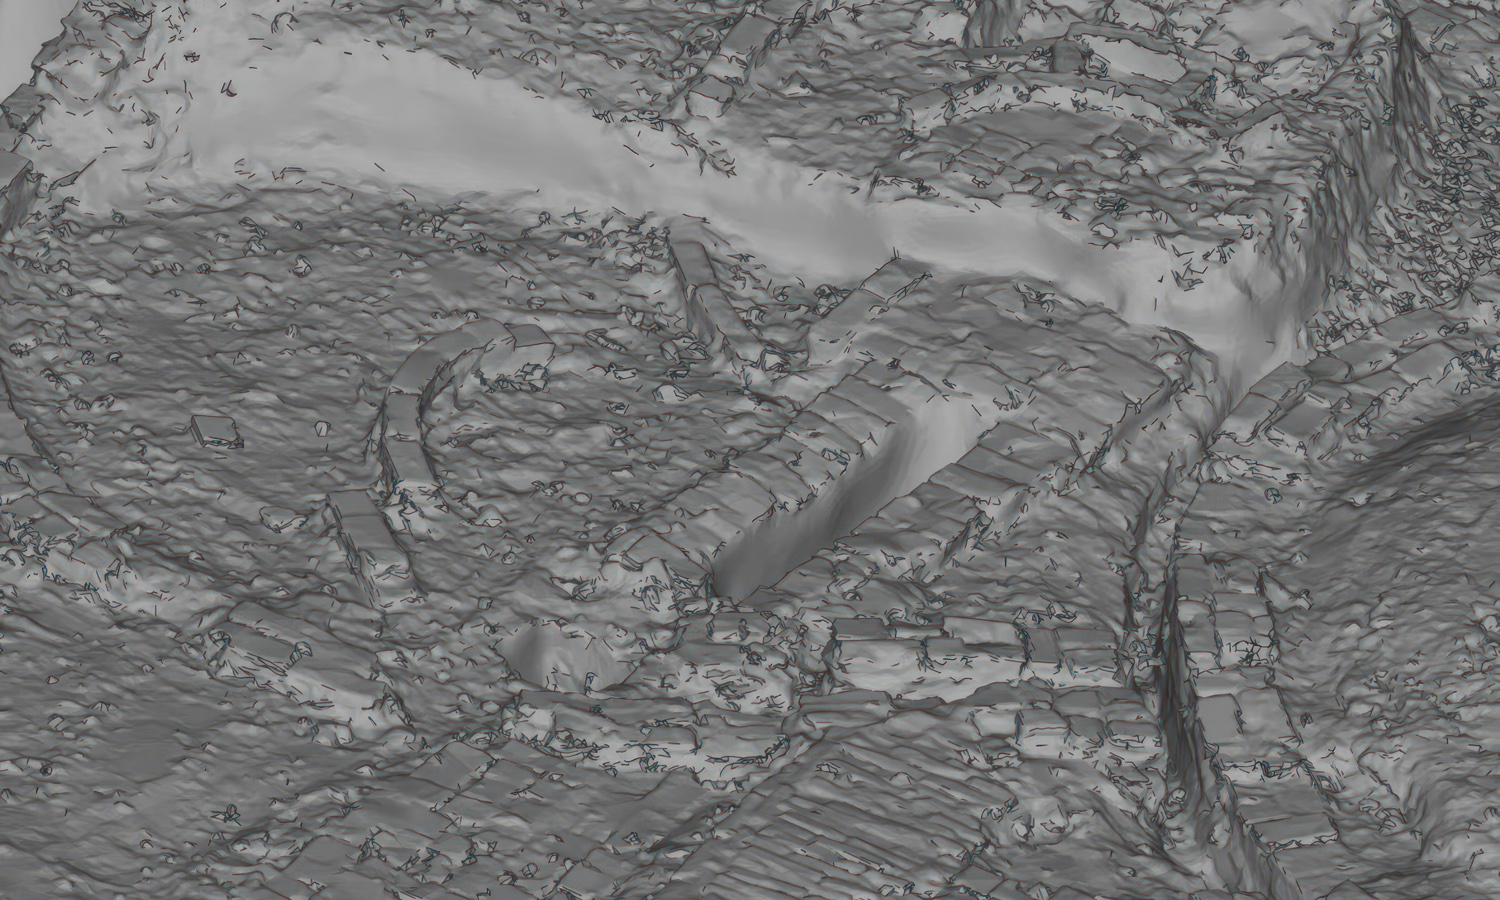
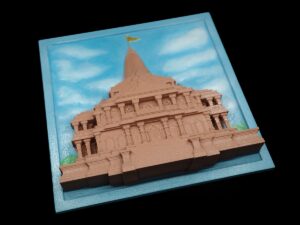
When history meets innovation, preservation takes on a new form. In this project, archaeologists used 3D scanning and 3D printing to reproduce an ancient site with incredible accuracy.
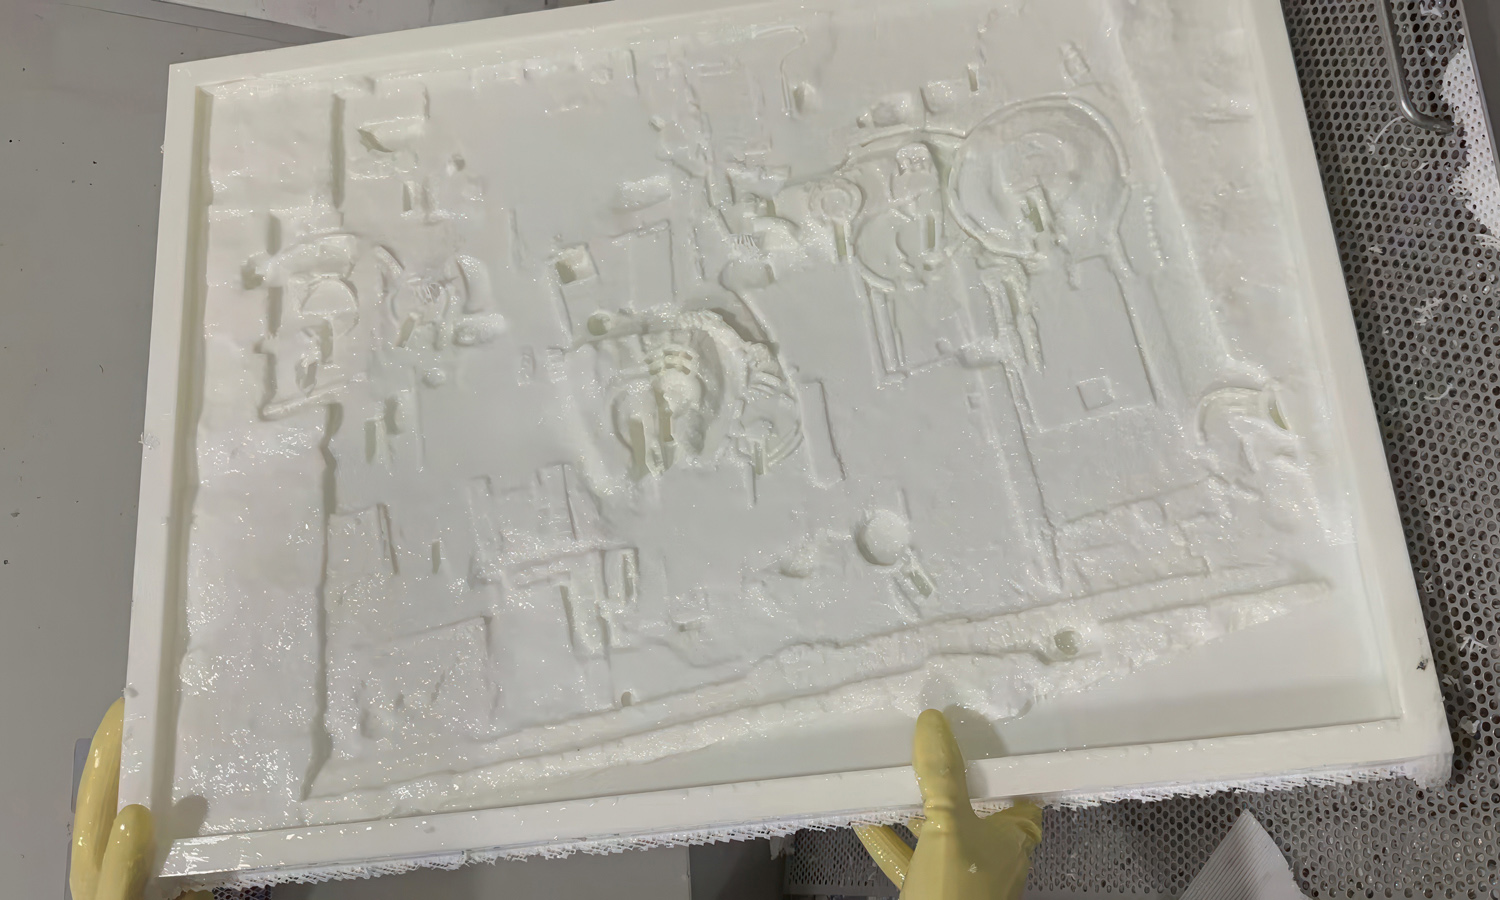
By digitally scanning the relic, every crack, curve, and texture of the excavation was preserved in a detailed 3D model. The data was then transformed into a tangible replica through high-precision 3D printing. After careful post-processing and artistic painting, the result was a lifelike archaeological model that captures the essence of the original site.
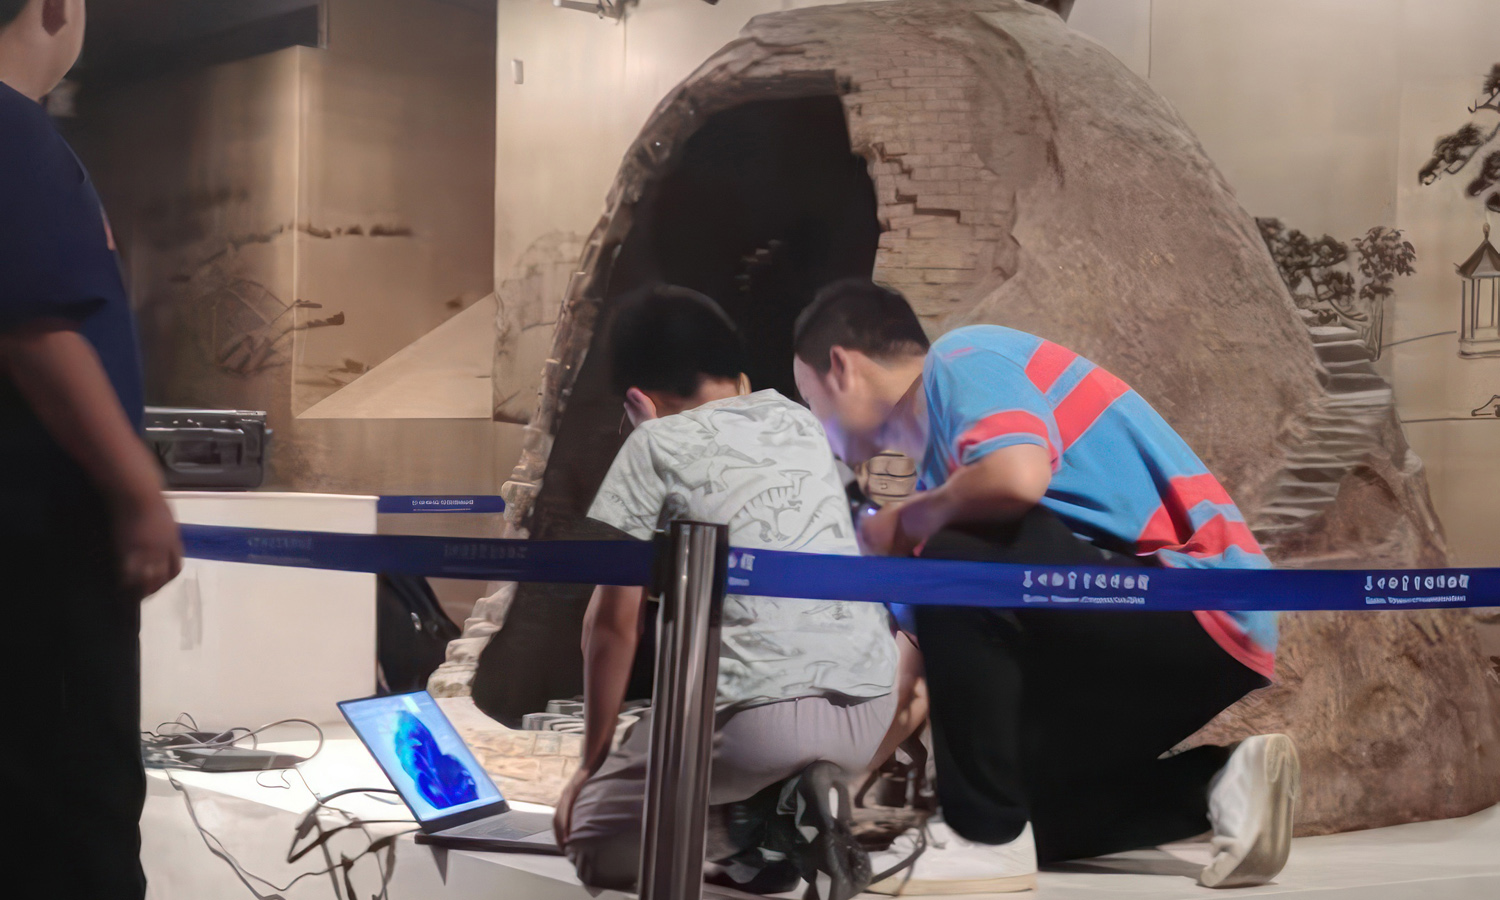
This reproduction not only protects fragile relics from further damage but also makes cultural heritage more accessible. Museums can display the models to visitors, educators can use them as teaching tools, and researchers can study them without disturbing the originals.
At FacFox, we are proud to empower cultural preservation with our advanced 3D printing services. From scanning to modeling, from printing to finishing, we help transform valuable heritage into enduring, shareable, and touchable experiences.
¤æē Partner with FacFox to bring history to life through cutting-edge 3D technology.
Solution
- Step 1: The relic site was scanned with a handheld 3D scanner. Surface geometry and textures were captured from multiple angles.
- Step 2: The scan data was processed into a 3D model. Point clouds were aligned, merged, and converted into a watertight digital mesh.
- Step 3: The model was optimized for 3D printing. Scale, orientation, and bas-relief depth were adjusted to ensure clarity and stability.
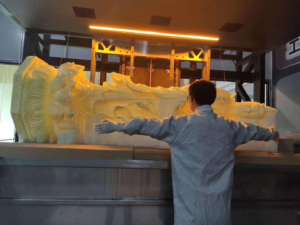
- Step 4: The model was 3D printed in one piece. A high-resolution industrial printer was used to reproduce the fine details of the excavation.
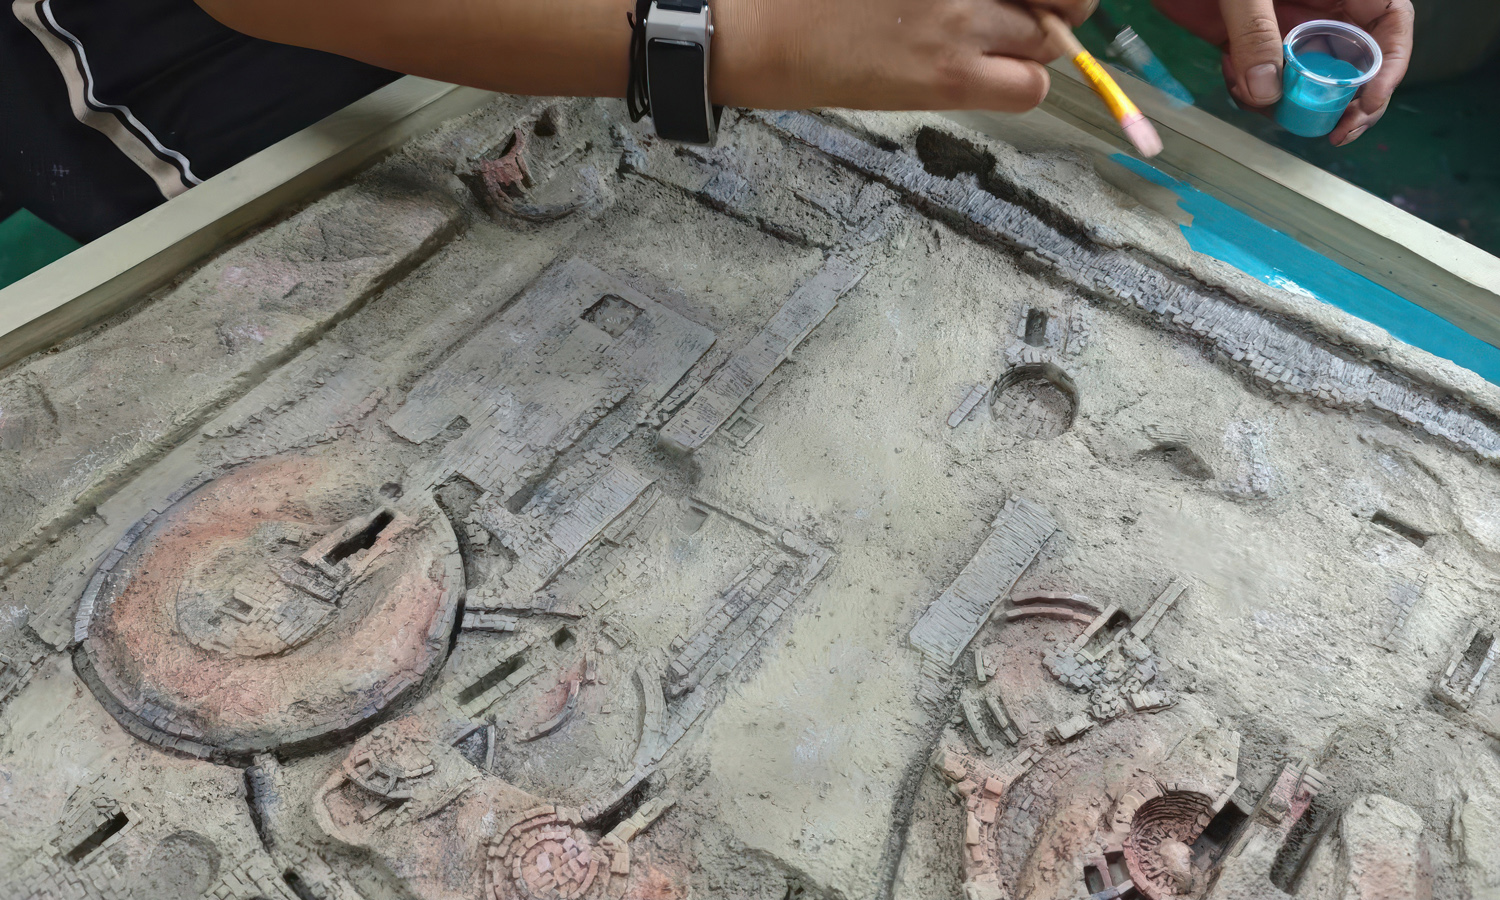
- Step 5: Post-processing was carried out. Supports were removed, surfaces were cleaned, and a primer coat was applied.
- Step 6: Hand painting was completed. Base colors, shading, and weathering effects were applied to enhance realism.
- Step 7: The finished sand table model was coated and mounted. A protective finish was added, and the piece was prepared for museum display and educational use.

