- SLA 3D Printed Round Bumper Boat Scaled-down Resin Prototype
- DLP 3D Printed Ultra Detail Shoe Sole Resin Prototypes
Material Resin
Quantity 1 pcs
Price Range $1,000-5,000
Lead Time 15 workdays
Gallery
About Project
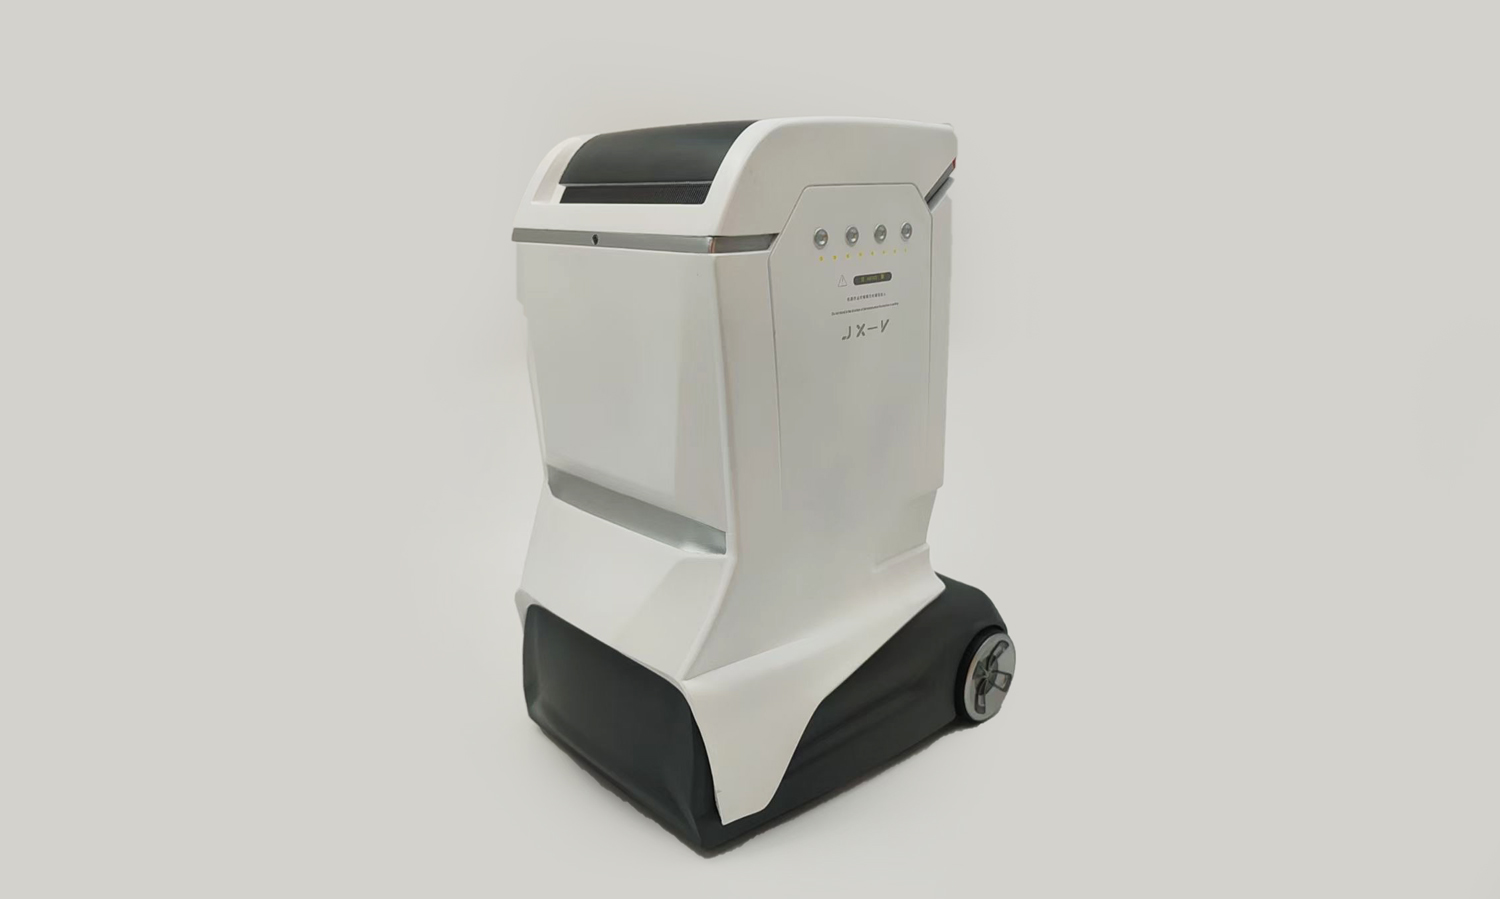
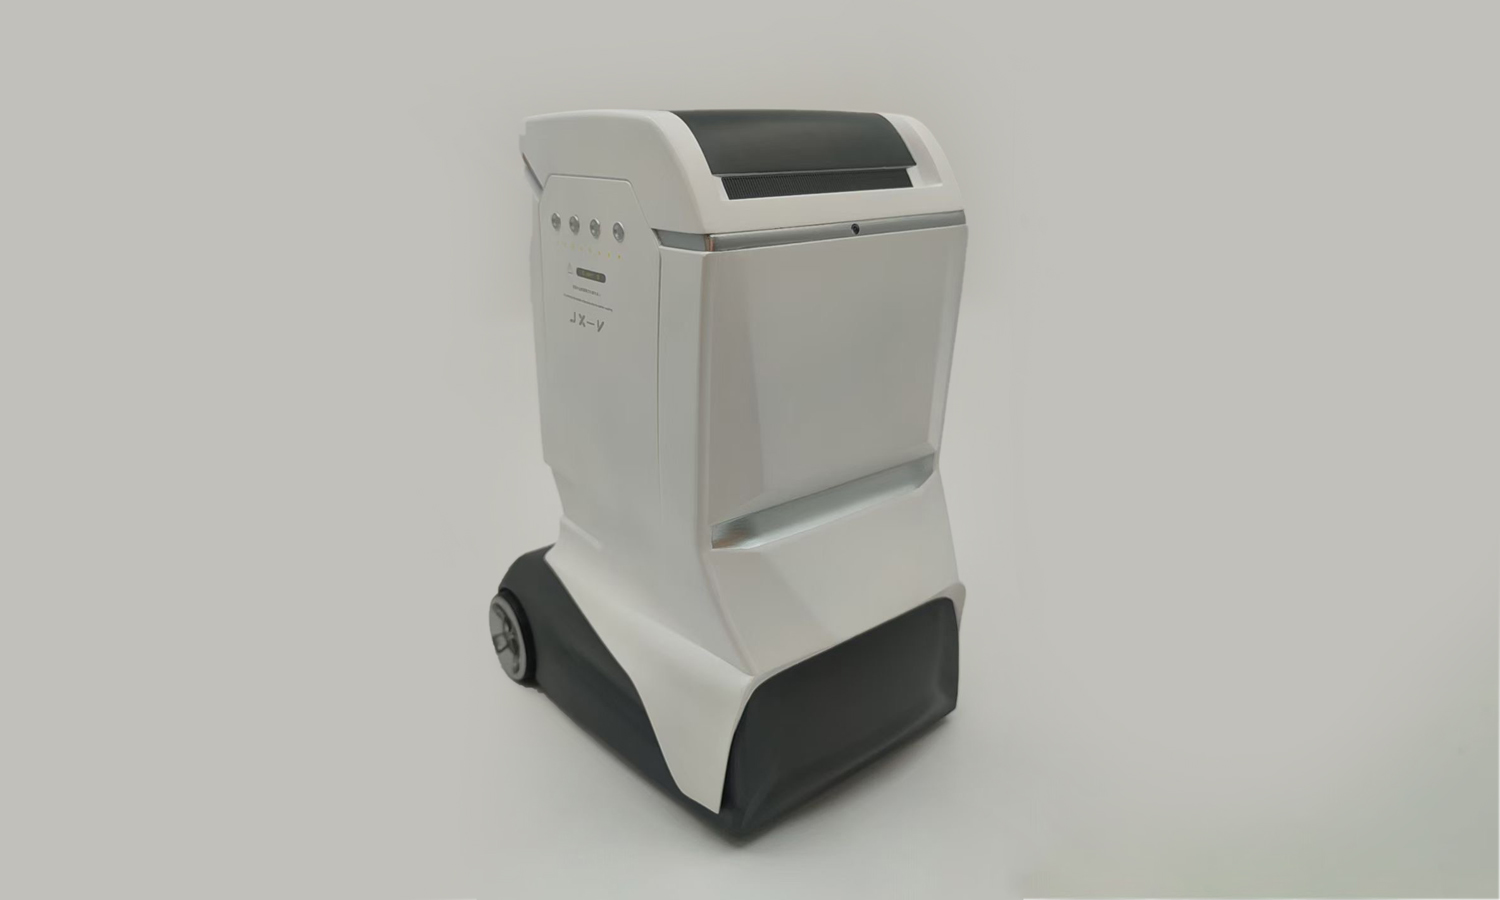
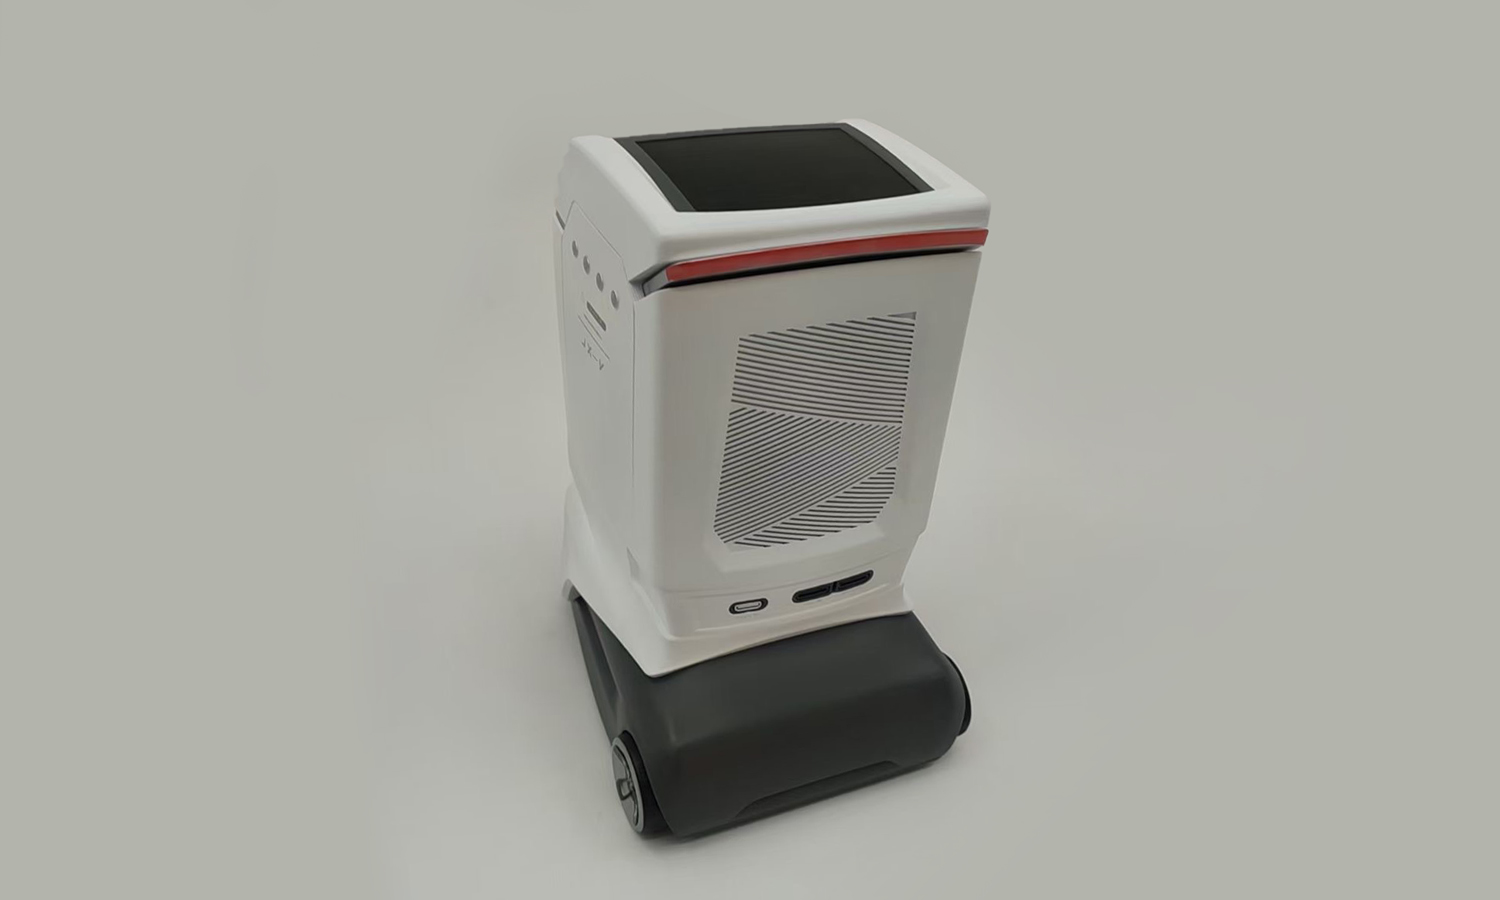
Imagine a world where medical equipment is not only sleek and modern but also precise, efficient, and readily available. FacFox’s 3D printing expertise makes this vision a reality, as showcased in this stunning, SLA 3D-printed prototype of the JX-V system.
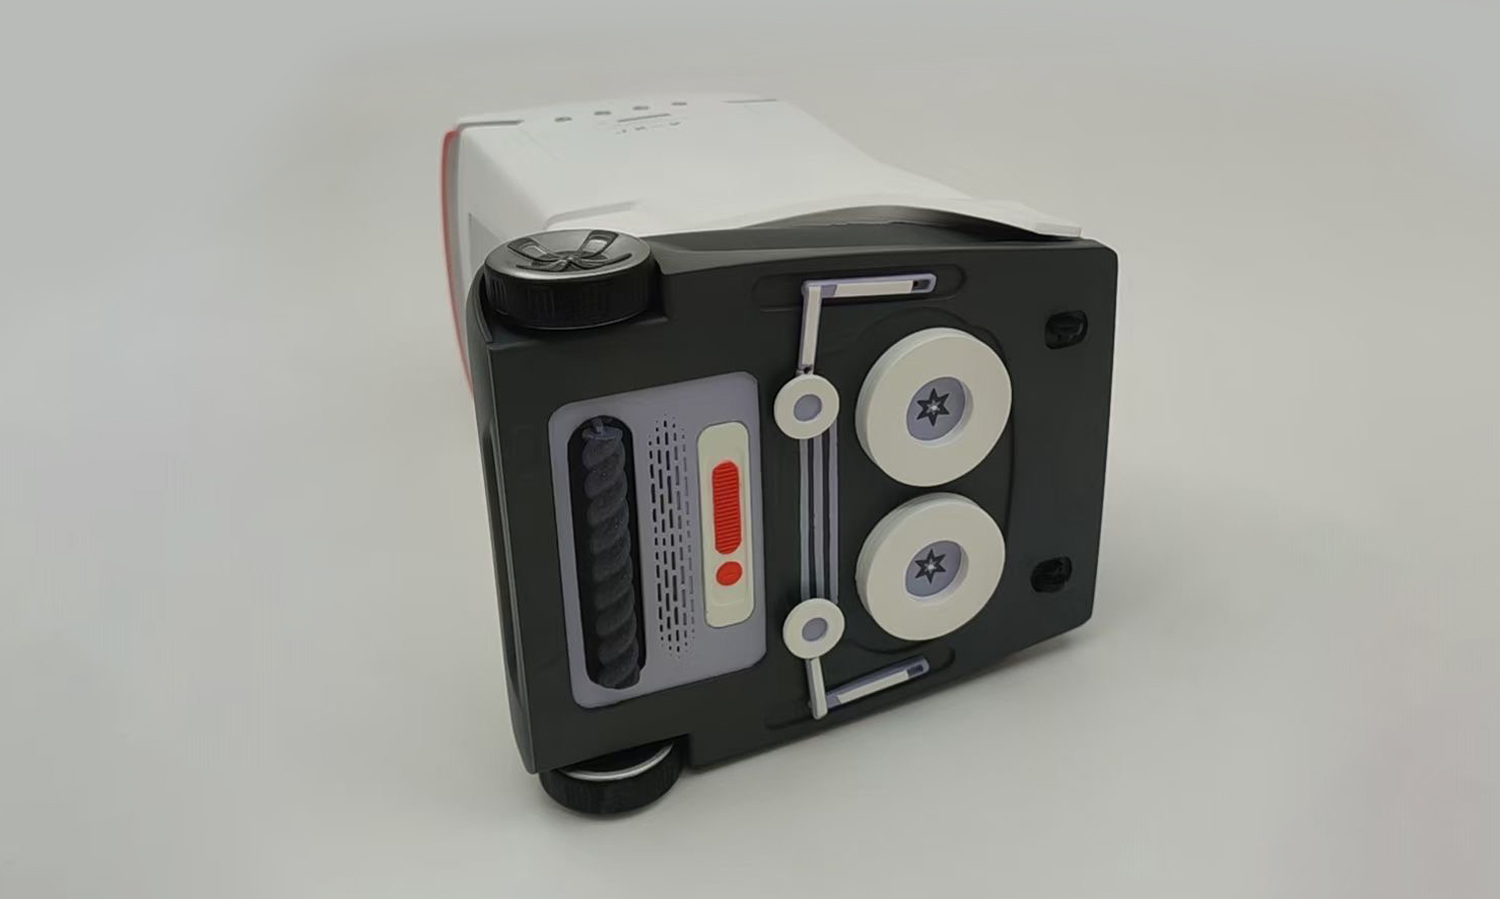
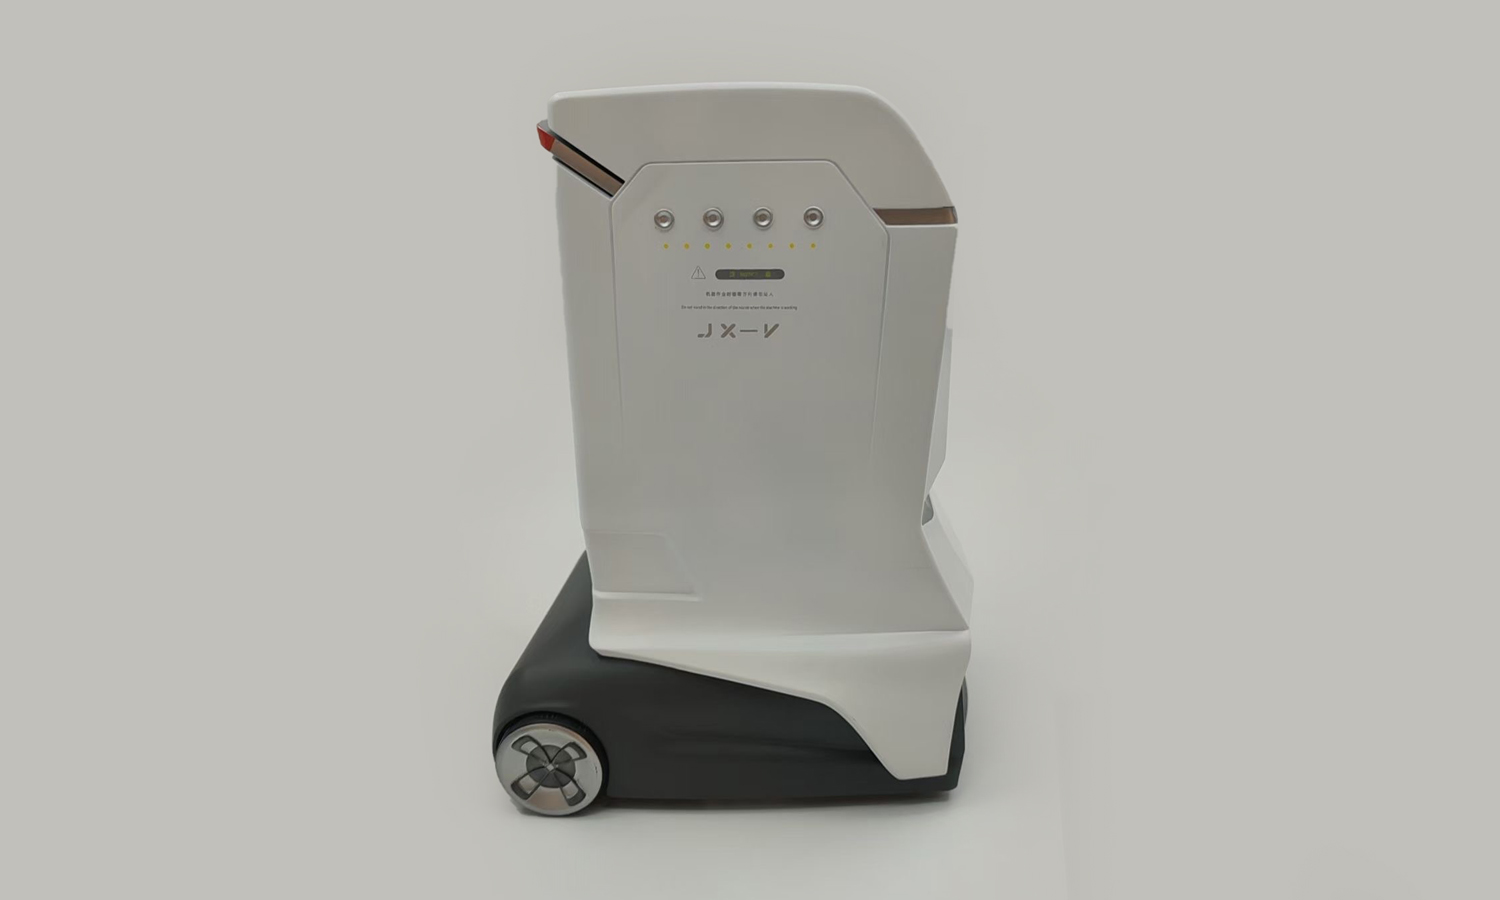
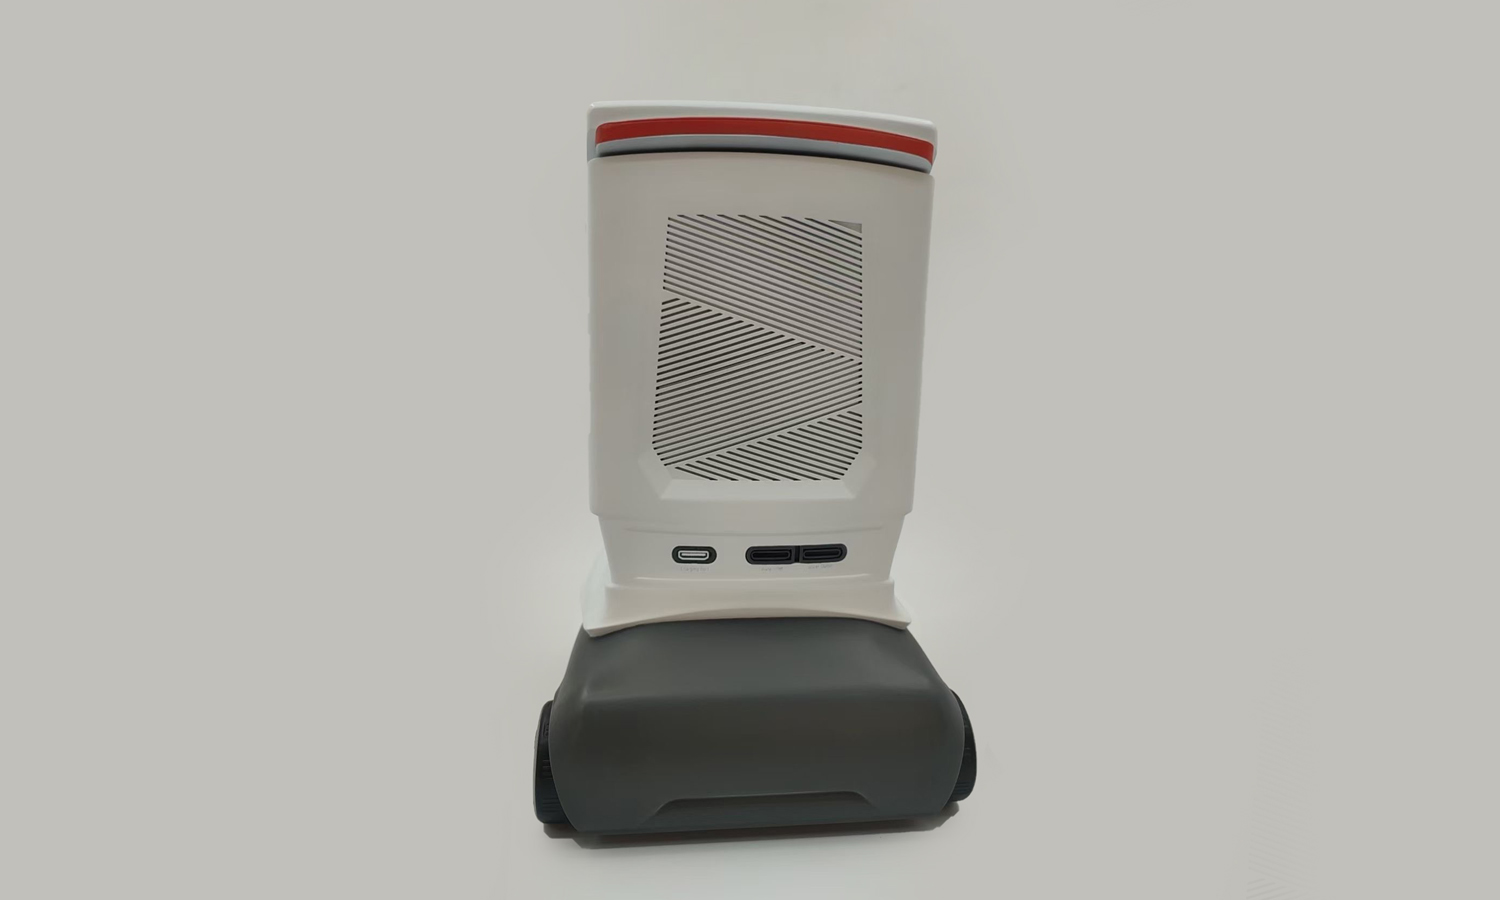
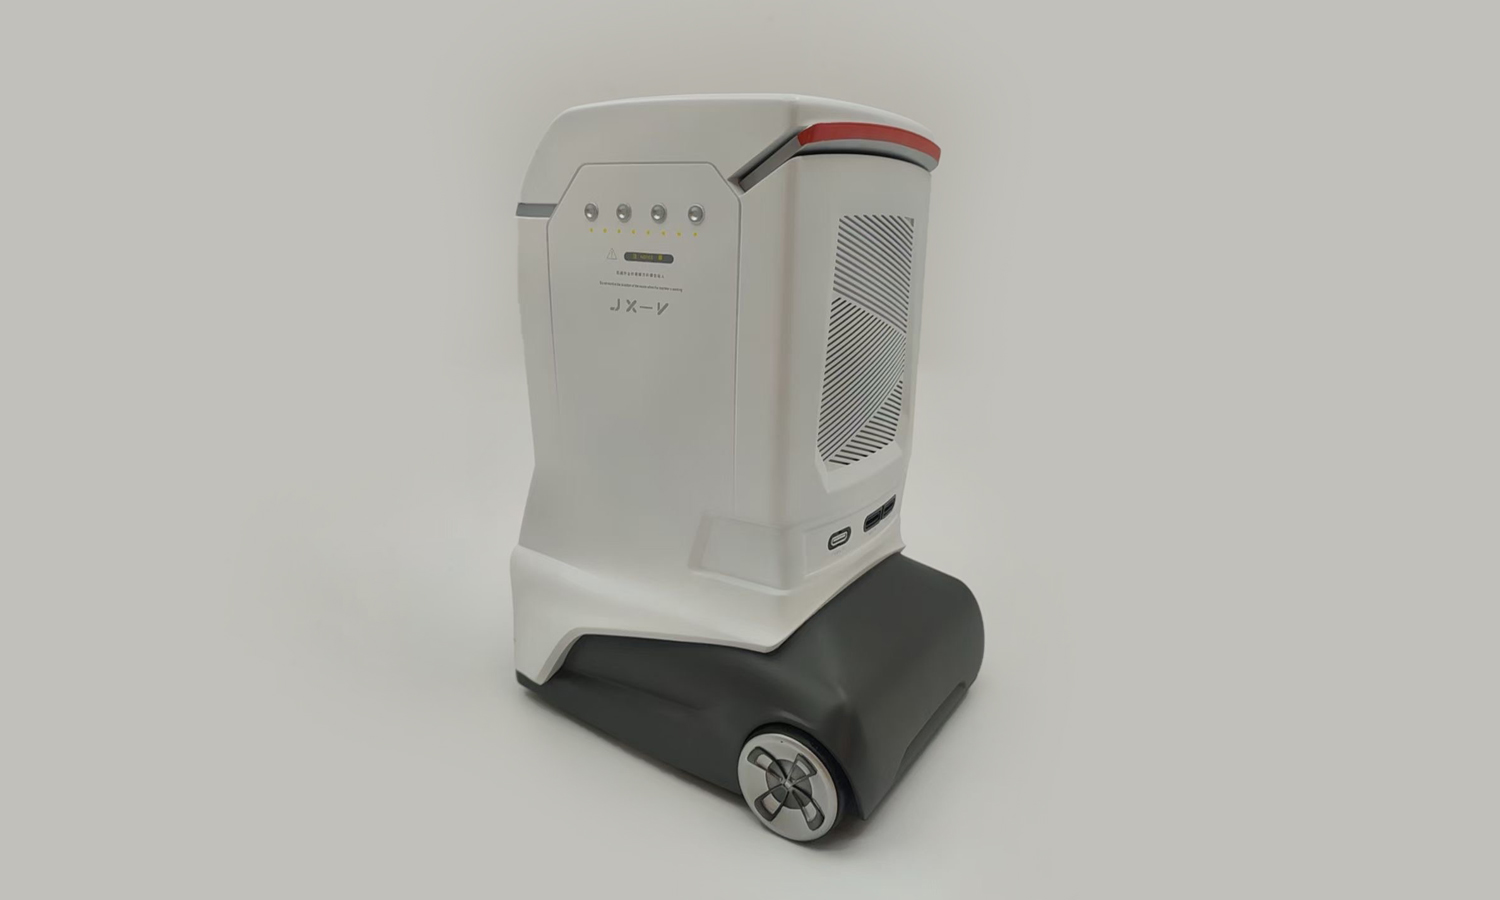
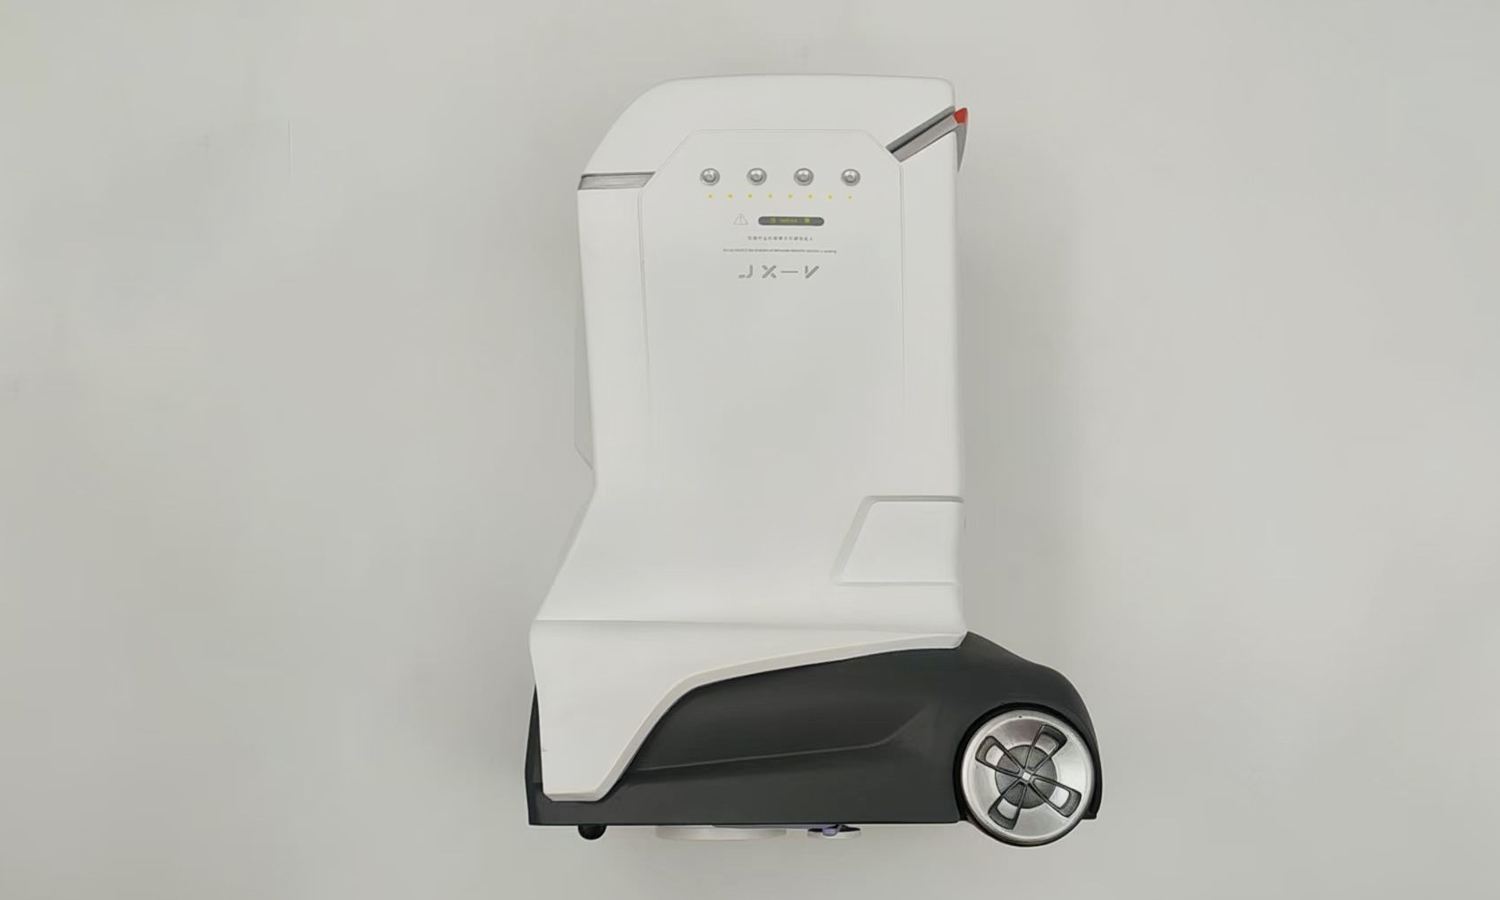
This miniature marvel boasts an impressive level of detail. The predominantly white machine, accented with a black base and two silver wheels, perfectly replicates a real-life JX-V in a compact size. The sleek design, marked with “JX-V,” embodies the future of medical automation.
The JX-V system is crafted with functionality at its core. The client behind this innovation envisions it to revolutionize intravenous medication preparation and delivery, prioritizing safety, accuracy, and efficiency.
Here’s a closer look at the JX-V’s impressive features:
- Compact and Streamlined: The design ensures the JX-V seamlessly integrates into various medical settings.
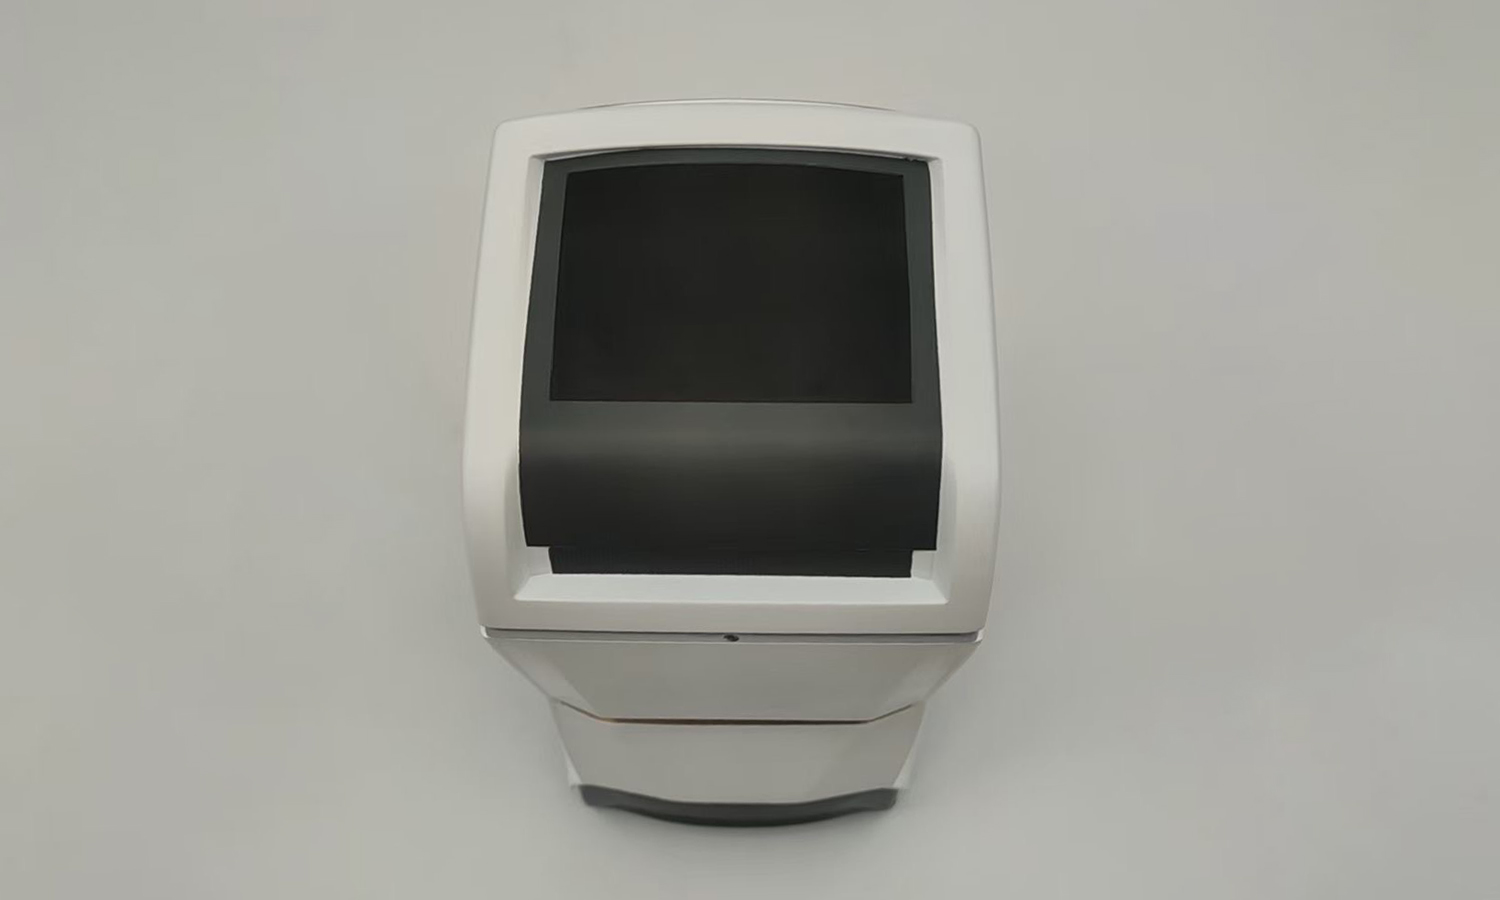
- Intuitive User Interface: A user-friendly display panel on top facilitates interaction.
- Articulated Parts: The upper cap’s mobility reflects the functionality of the real machine.
- Easy Mobility: Two wheels on the front allow for effortless movement within healthcare environments.
- Emphasis on Usability: Every detail, from the charging port (non-functional in this prototype) to the tilting mechanism, prioritizes ease of use for medical professionals.
This scaled-down prototype exemplifies the power of SLA 3D printing in bringing healthcare innovations to life. FacFox’s expertise in 3D printing empowers businesses like the JX-V’s creators to develop and refine their medical automation solutions.
FacFox offers a comprehensive range of 3D printing services, perfect for prototyping and developing groundbreaking medical equipment like the JX-V. Contact FacFox today and unlock the potential of 3D printing for your healthcare automation endeavors!
Solution
- Step 1: Design Finalization. The intricate design of the model was finalized using CAD software, ensuring all components were optimized for assembly.
- Step 2: Material Selection. SLA Tough Resin was selected for its fine resolution, ideal for capturing the complex details of the model.
- Step 3: 3D Printing. The various parts of the model were printed using an SLA 3D printer. The layers of resin were cured by a UV laser, forming the delicate features.
- Step 4: Component Removal. After printing, each component was gently removed from the build platform.
- Step 5: Cleaning. The components were washed in isopropyl alcohol to eliminate any uncured resin.
- Step 6: Post-Curing. The parts were exposed to UV light in a curing chamber to ensure complete solidification of the resin.
- Step 7: Support Removal. Support structures, which were necessary during the printing process, were carefully detached from the components.
- Step 8: Sanding. Each piece was sanded down to remove any rough edges or imperfections, preparing the surface for further finishing.
- Step 9: Filling. Any gaps or seams in the components were filled to create a smooth, uniform surface.
- Step 10: Polishing. The filled components were polished to achieve a high-quality finish, resembling the texture of the actual medical equipment.
- Step 11: Partition Painting. The components were painted in partitions, with different sections receiving specific colors and finishes to match the prototypeŌĆÖs design.
- Step 12: Assembly. The painted parts were assembled meticulously, ensuring that the final prototype resembled a scaled-down version of the actual machine.
- Step 13: Quality Inspection. The assembled prototype underwent a thorough quality check to confirm that all details were accurate and the assembly was flawless.
- Step 14: Client Presentation.┬ĀThe completed prototype was then presented to the client, showcasing the precision and realism achievable with SLA 3D printing.
