- FDM 3D Printed Bambu Lab Multi-color Mandrill Model
- PolyJet 3D Printed Clear Resin Klein Bottle Miniature
Material Resin
Quantity 2 pcs
Price Range $1-100
Lead Time 2 workdays
Gallery
About Project
At FacFox, we’re passionate about transforming your ideas into reality – with a focus on quality, efficiency, and exceeding expectations. Today’s spotlight shines on how our SLA 3D printing with frosted clear resin takes prototyping for injection molding projects to the next level.
A Crystal-Clear View of Success
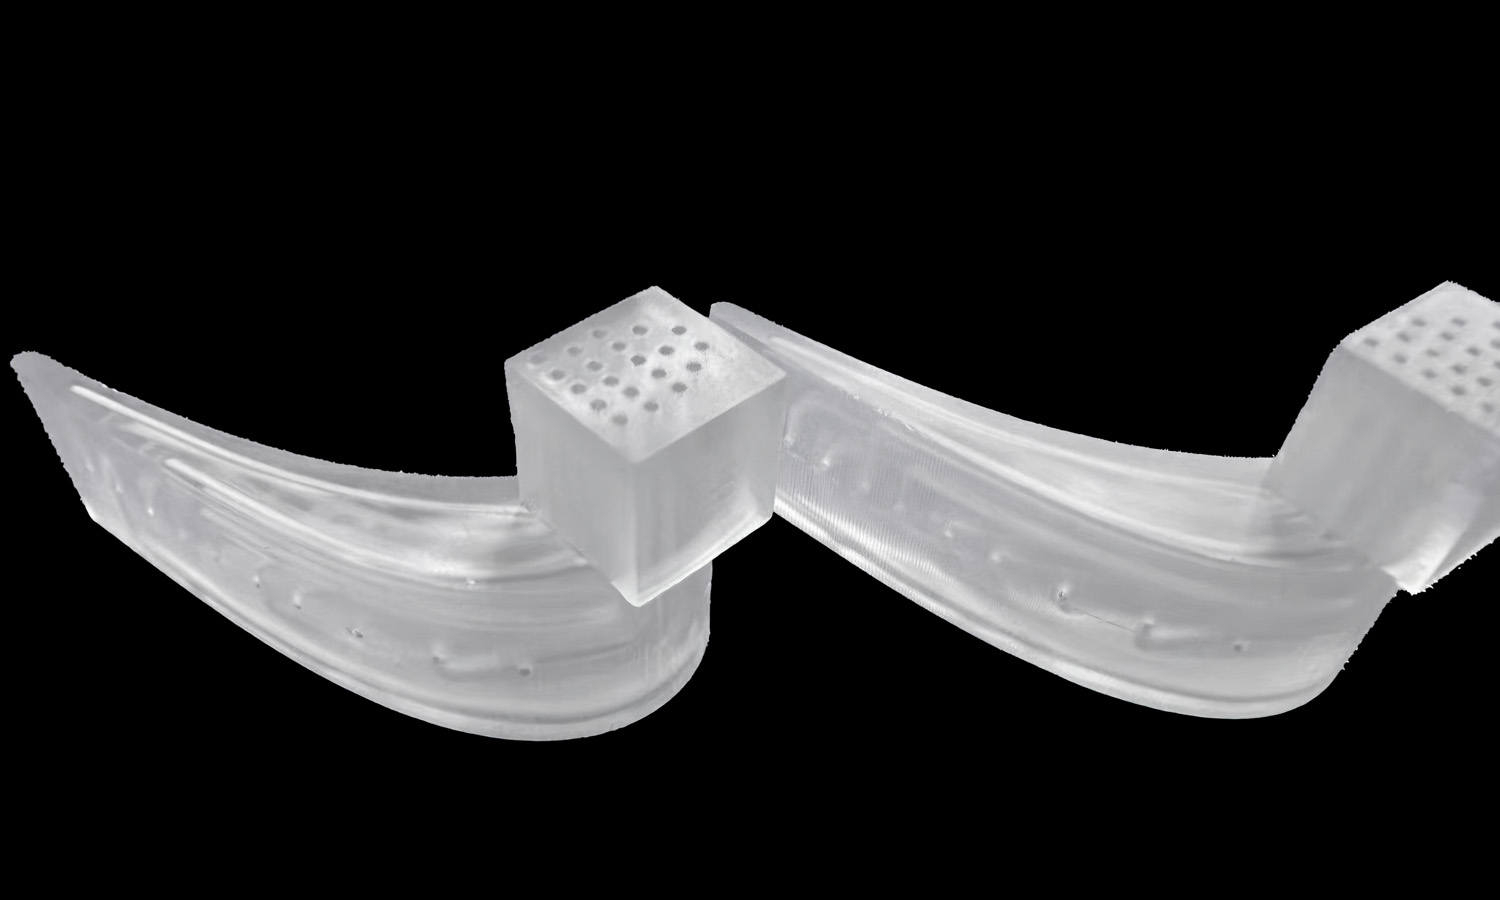
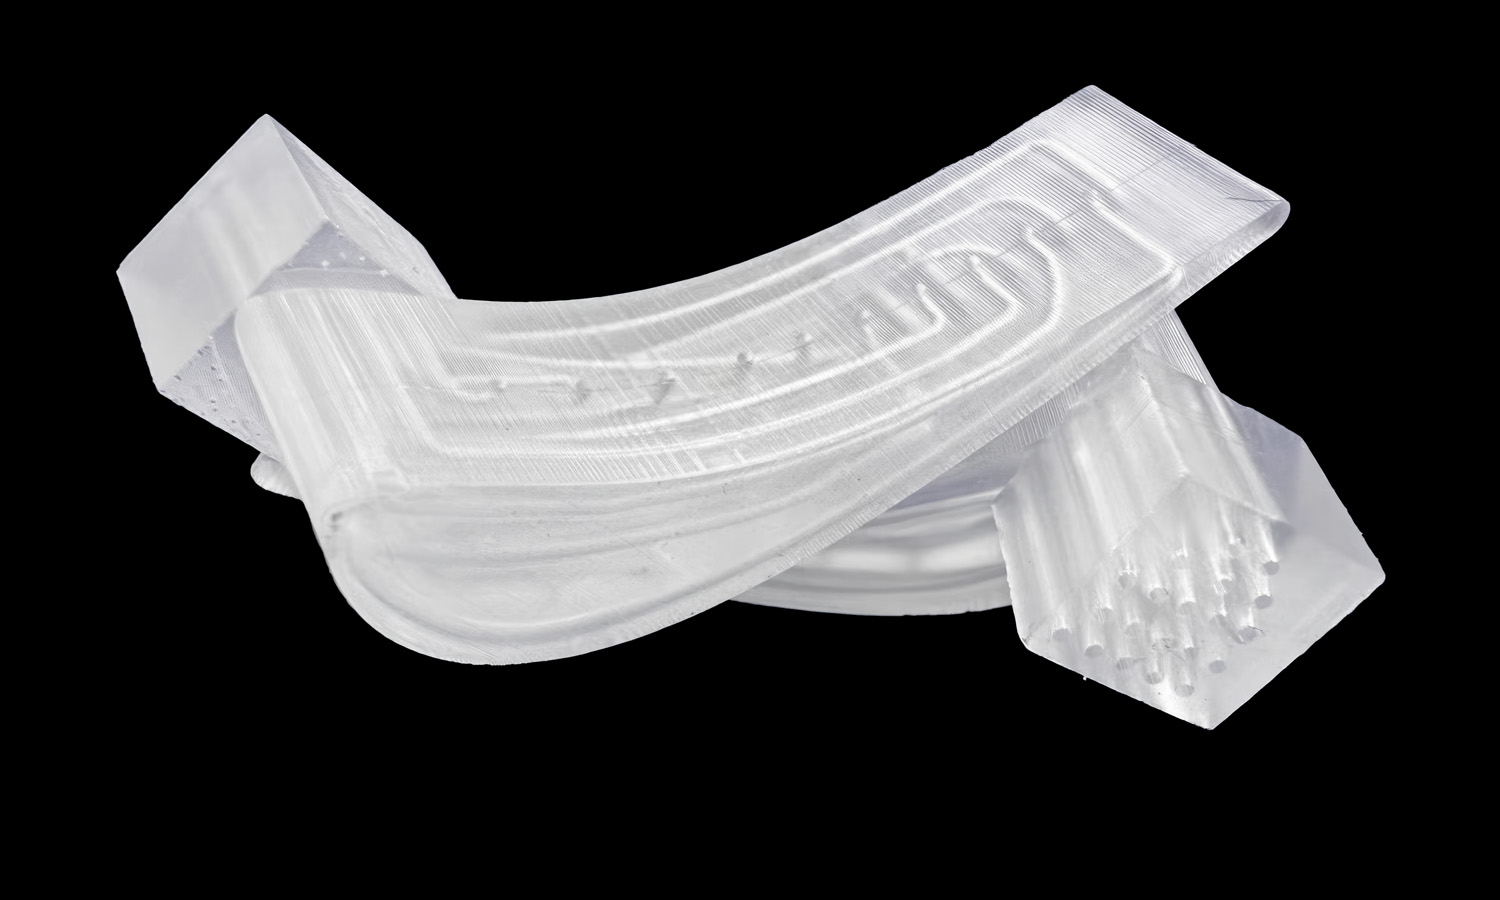
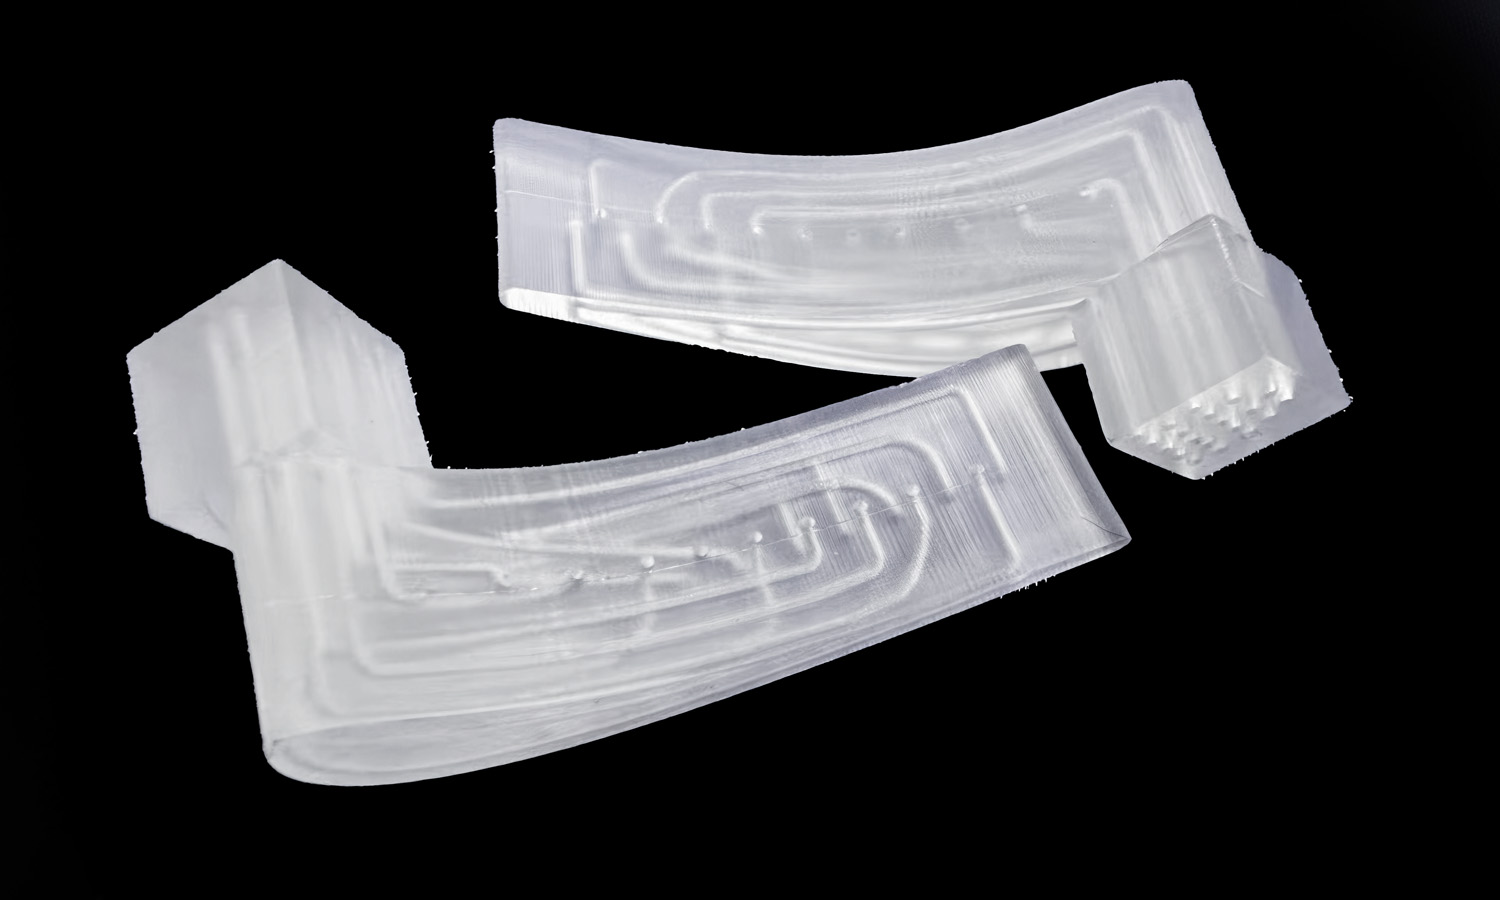
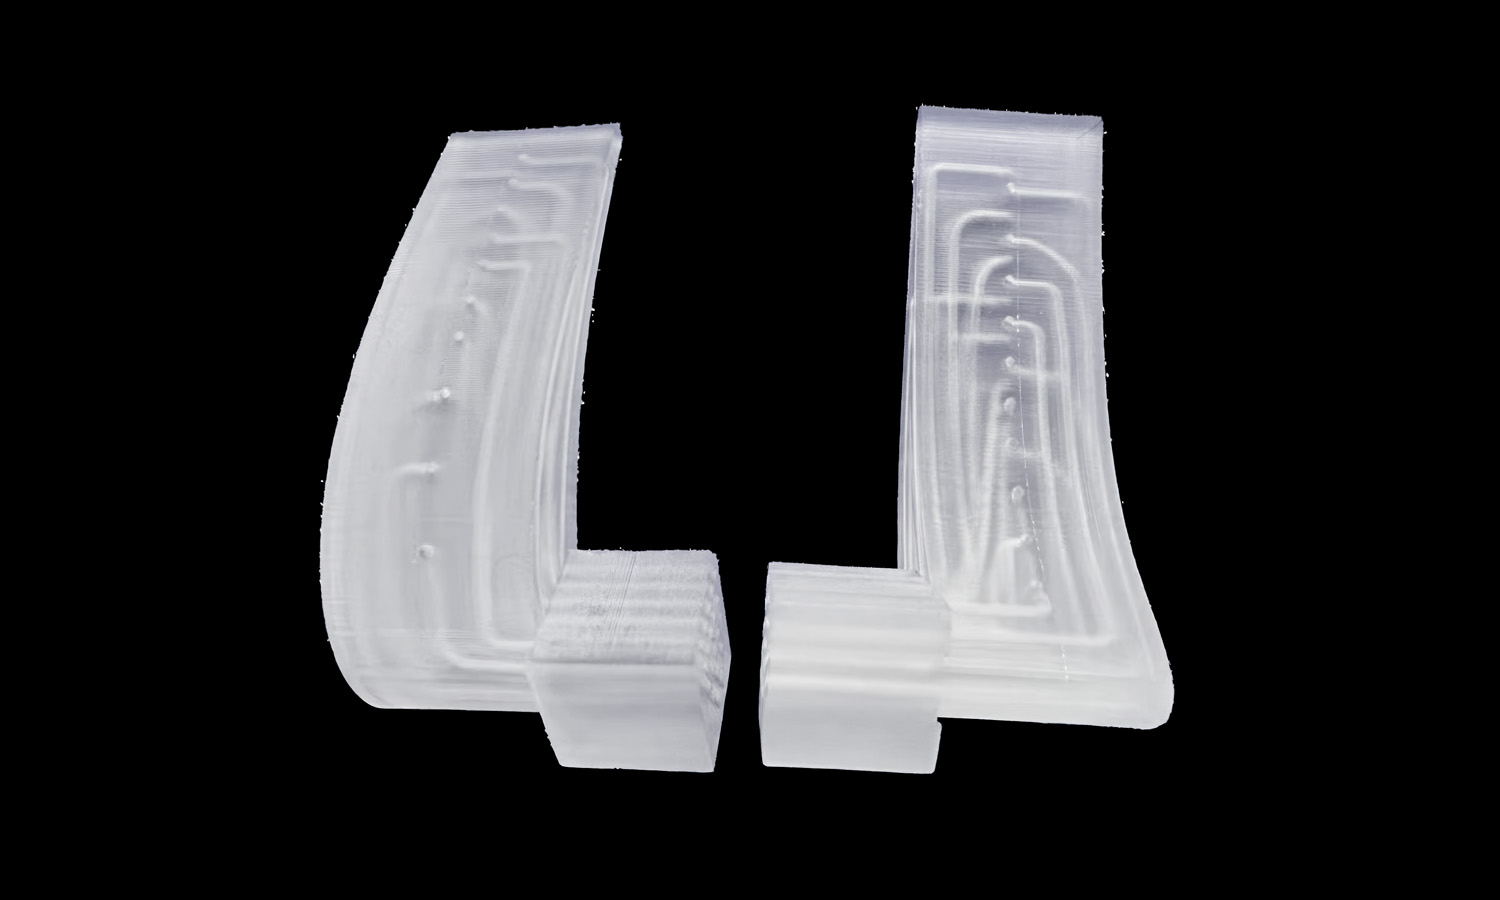
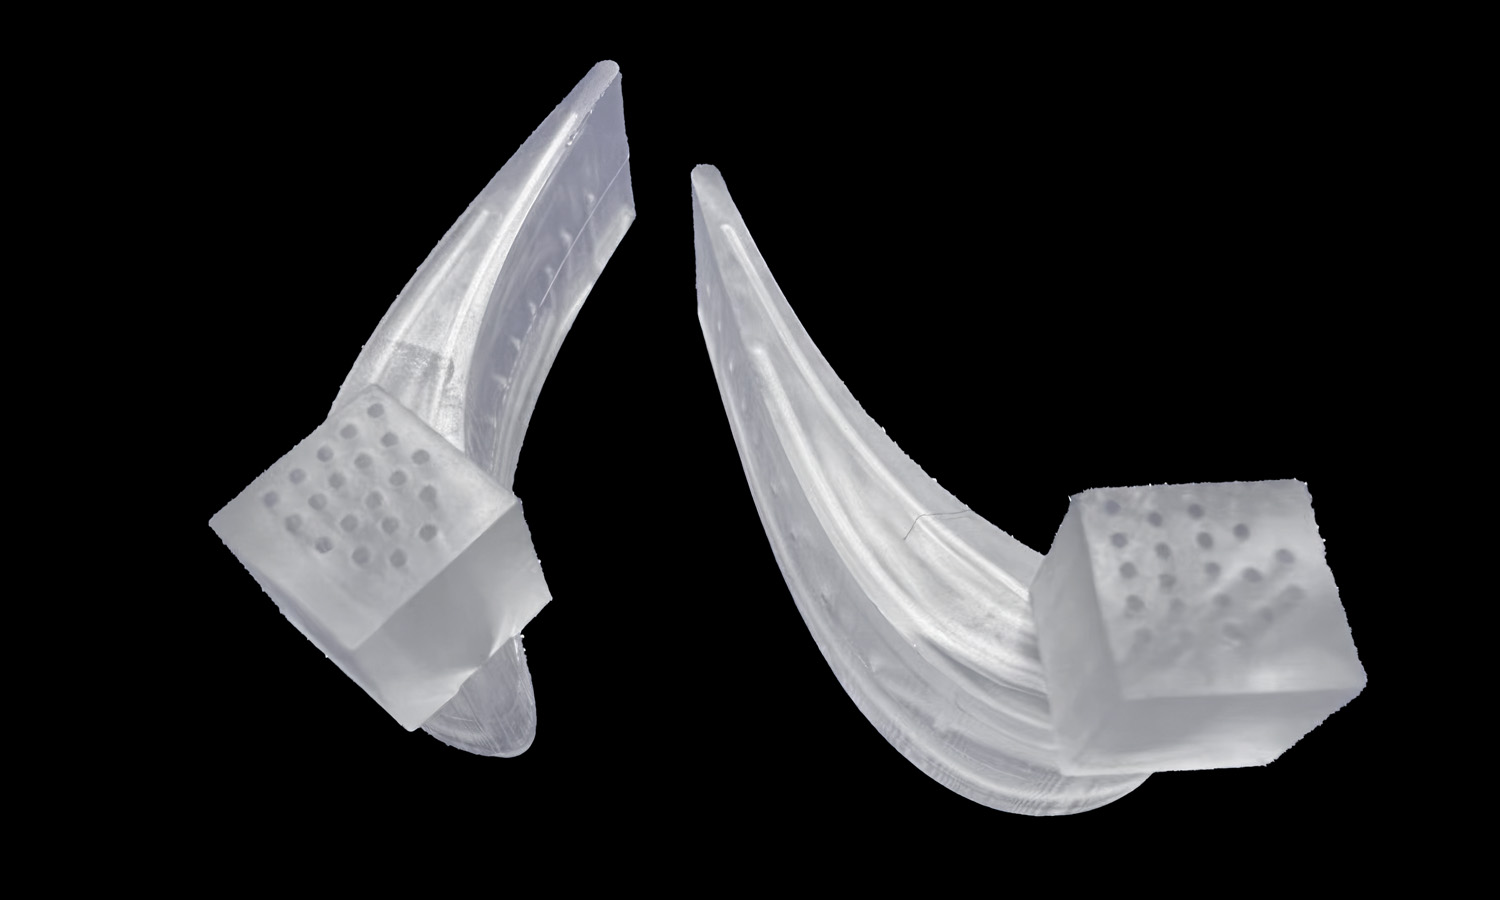
Behold this impressive prototype – a scaled-down version of a critical runner system for injection molding. The beauty of SLA printing takes center stage with the frosted clear resin, allowing for a meticulous examination of the entire system in one go.
Delving into the Details
Let’s explore the magic of this model:
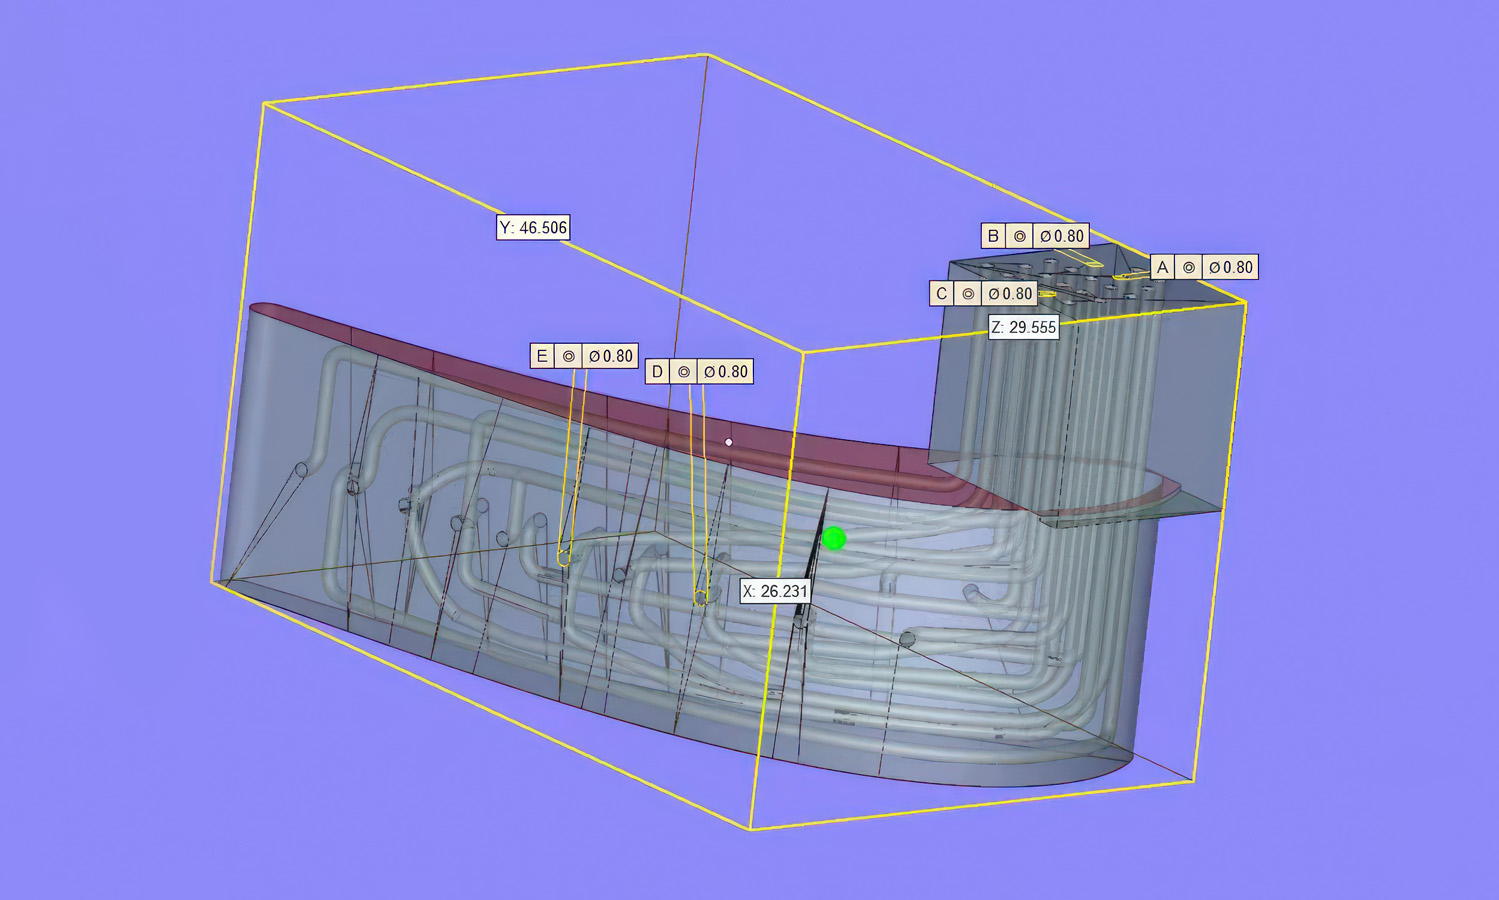
- Cubic Core: Those tiny holes on the cubic part? These are the sprues, the injection point for molten plastic.
- Branching Network: Flip the model, and the intricate web of channels – the runners – emerges, efficiently delivering molten plastic throughout the mold.
- Clear View of Gates: Tiny round holes on the sides are the gates, the final point of entry before the plastic fills the mold. The frosted resin allows for a clear view of these crucial features, ensuring any potential issues are identified early.
Beyond Visual Appeal: Expertise You Can Trust
This prototype isn’t just a pretty face; it exemplifies FacFox’s commitment to precision and functionality for our injection molding clients. Our expertise goes beyond printing:
- Design for Manufacturability (DFM) Analysis: We’ll optimize your design for the injection molding process, saving you time and money.
- Material Matchmaking: We offer a wide range of materials to perfectly suit your project’s needs.
- Rapid Turnaround Times: Get your prototypes quickly to accelerate your development cycle.
Ready to revolutionize your injection molding project? Contact FacFox today and see how our SLA 3D printing and prototyping services can deliver crystal clear success!
Solution
- Step 1: Design and Preparation. Begin with a detailed 3D model of the runner system, ensuring all dimensions and pathways (sprues, runners, and gates) are accurately represented. Prepare the 3D model file for printing, typically in STL format, and upload it to the SLA printer’s software.
- Step 2: Printer Setup. Select the appropriate SLA Frosted Clear Resin material in the printer settings. Configure the print parameters, such as layer height and orientation, for optimal surface quality and structural integrity.
- Step 3: Printing Process. The SLA printer uses a laser to cure the resin, layer by layer, building the runner system from the bottom up. The laser traces the cross-section of the model onto the surface of the liquid resin, hardening it before moving on to the next layer.
- Step 4: Post-Processing. After printing, remove the prototype from the build platform. Wash the prototype in isopropyl alcohol (IPA) to remove any uncured resin. Post-cure the model under UV light to ensure complete curing and strength.
- Step 5: Finishing Touches. If necessary, sand the prototype to smooth out any imperfections and achieve the desired frosted appearance. Inspect the sprues, runners, and gates for accuracy and clear any blockages.
- Step 6: Quality Check. Perform a final inspection of the prototype to ensure it meets all specifications and design requirements.
