Team Miracle is an indie animation and game design studio. They shared a lot of free tutorials, assets, and BTS videos on their Youtube channel to grow both the 2D and 3D animation pipelines.
They published a series of step-by-step tutorials about how to build a 3D model of a villager in Animal Crossing New Horizons. This series covers how to design, model, texture, and rig your own character.
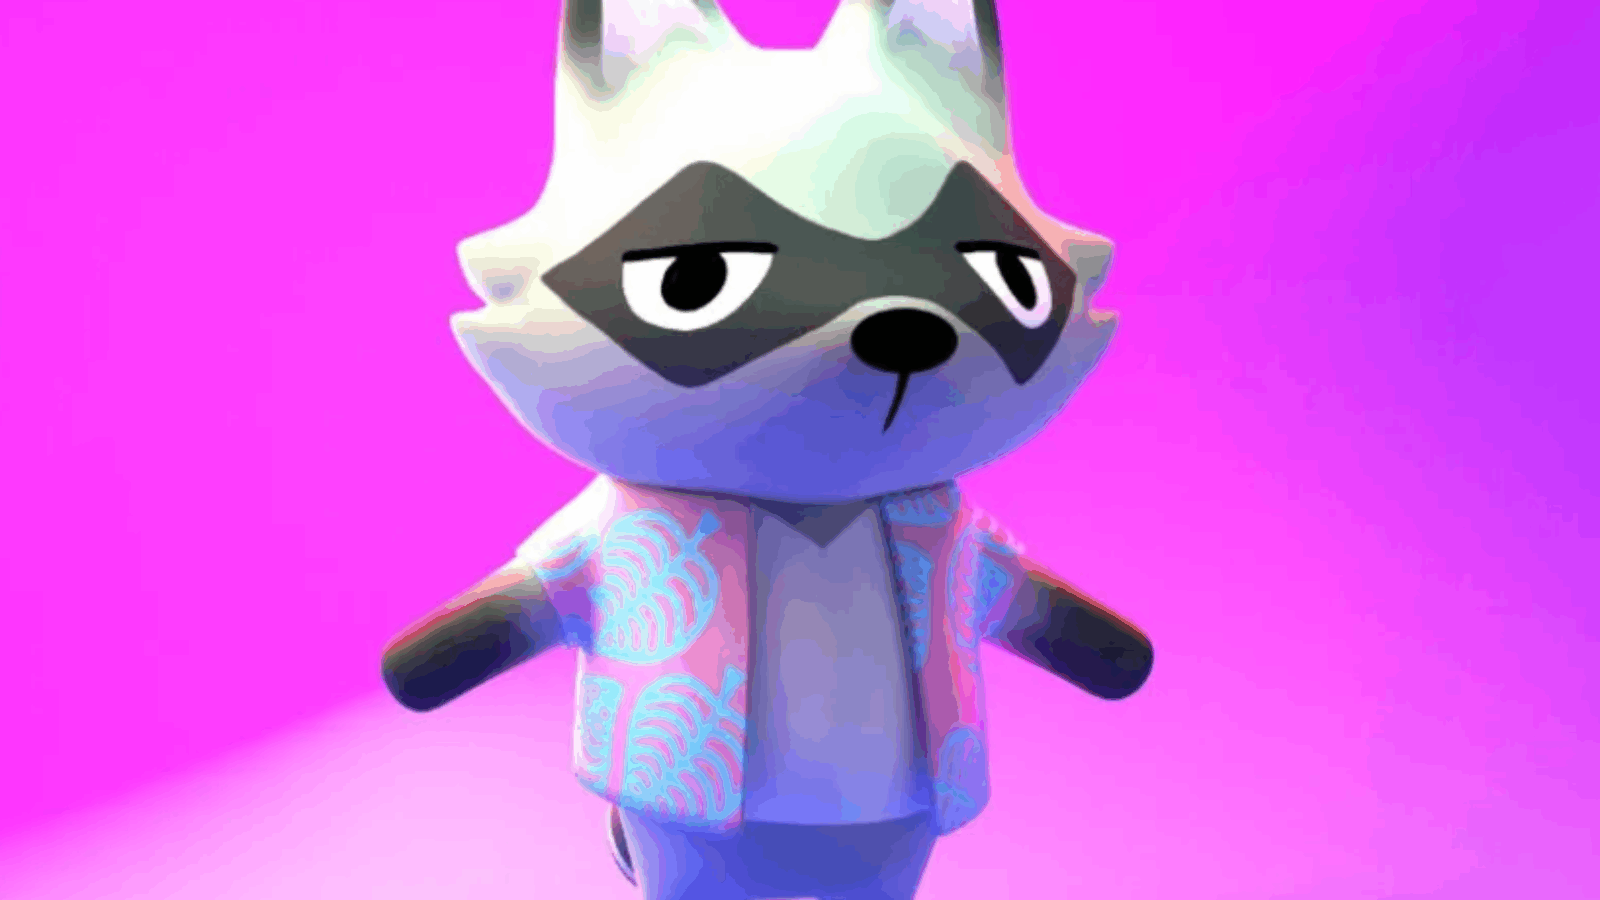
In the first video, Team Miracle shows us how to create an original character using Photoshop. They use pictures of the villagers as well as some photos of the red panda, racoon, and husky as references, and design the Animal Crossing style figurines. Then they choose the raccoon and draw some concept pictures of its side view and back view.
If you just want to build the 3D model of an existing villager, you can skip the first video and just take screenshots of the villager from the front, side, and back view.
In the second tutorial, we can import the concept arts into Blender. The positioning step of the image planes is convenient for you to match the drawings.
As the villagers are quite symmetrical in the game, we can apply the mirror modifier. Some guidelines are also helpful when shaping the cubes.
Then comes the texturing part. They share some tips for unwrapping and painting, like pack the UV islands to get the maximum texture space, make a palette of colors from the concepts, mark the rough intervals and then draw them in Photoshop, etc.
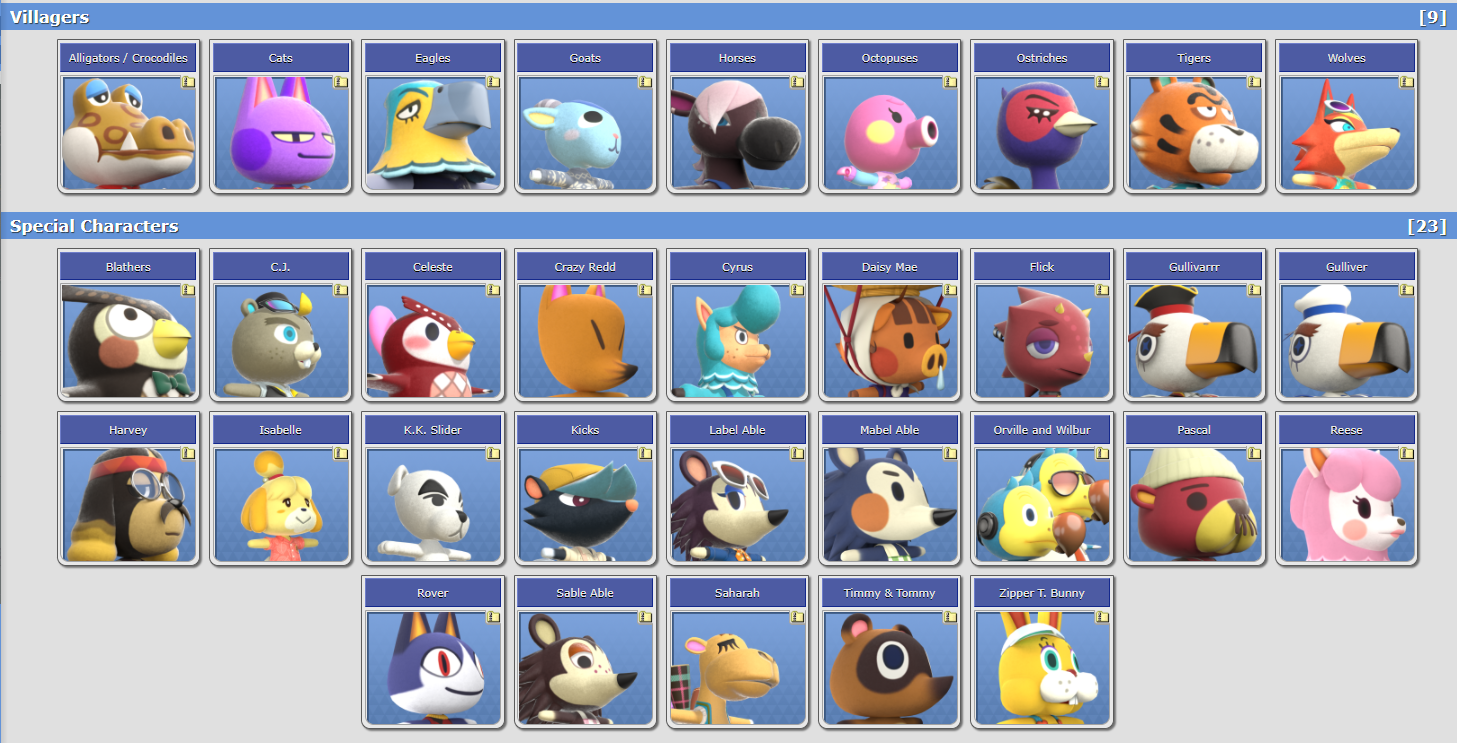
When the model is built, export the file along with the texture in .obj and .png format, then FacFox can print it with PolyJet Full-color 3D printer. The Model Resource also shares some 3D model of popular villagers in ACNH, but you need to transfer the format from SMD to OBJ.
The last tutorial is about how to add bones and make the character move. It’s not relevant with 3D printing but you can also learn it.


I am learning about 3d modeling in blender