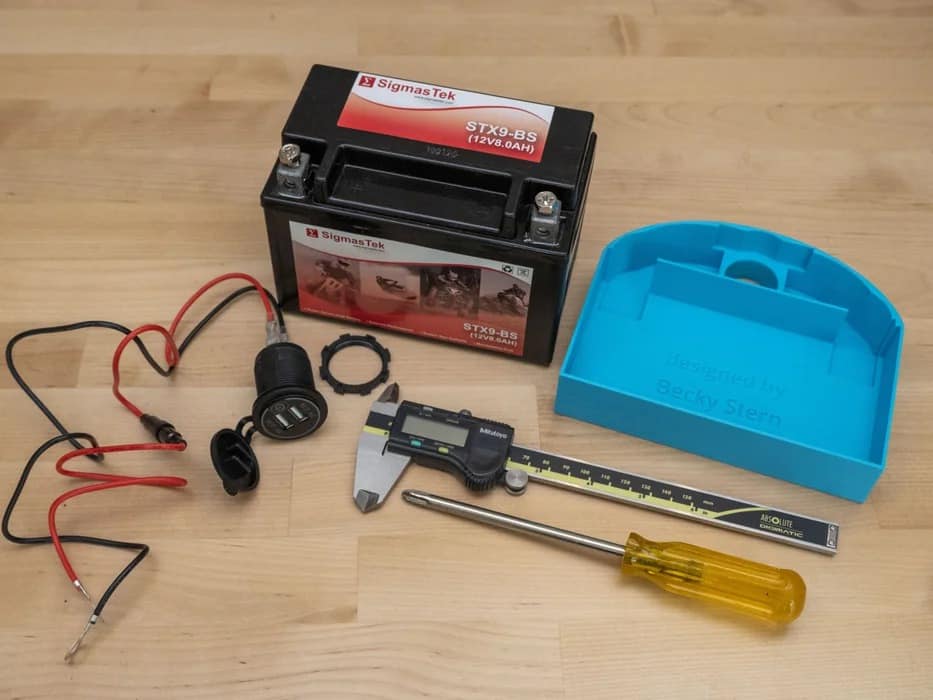
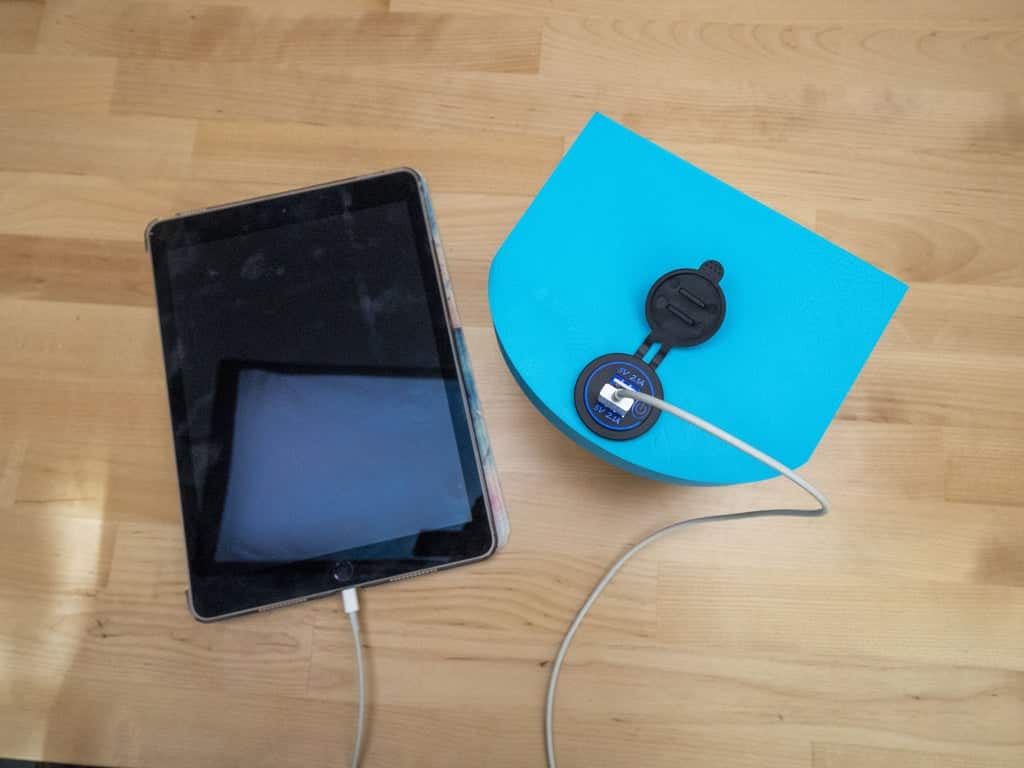
This project makes use of a 12V battery, like you would use for a vehicle, for charging USB devices in case of a power outage or camping trip. It’s as simple as affixing a USB car charger to the battery. After Hurricane Sandy, Betty Stern was without power and used an inverter/battery setup at home, but it was huge and heavy. This project revisits the concept with a smaller battery (meant for motorcycles/ATVs) and DC-only charging.
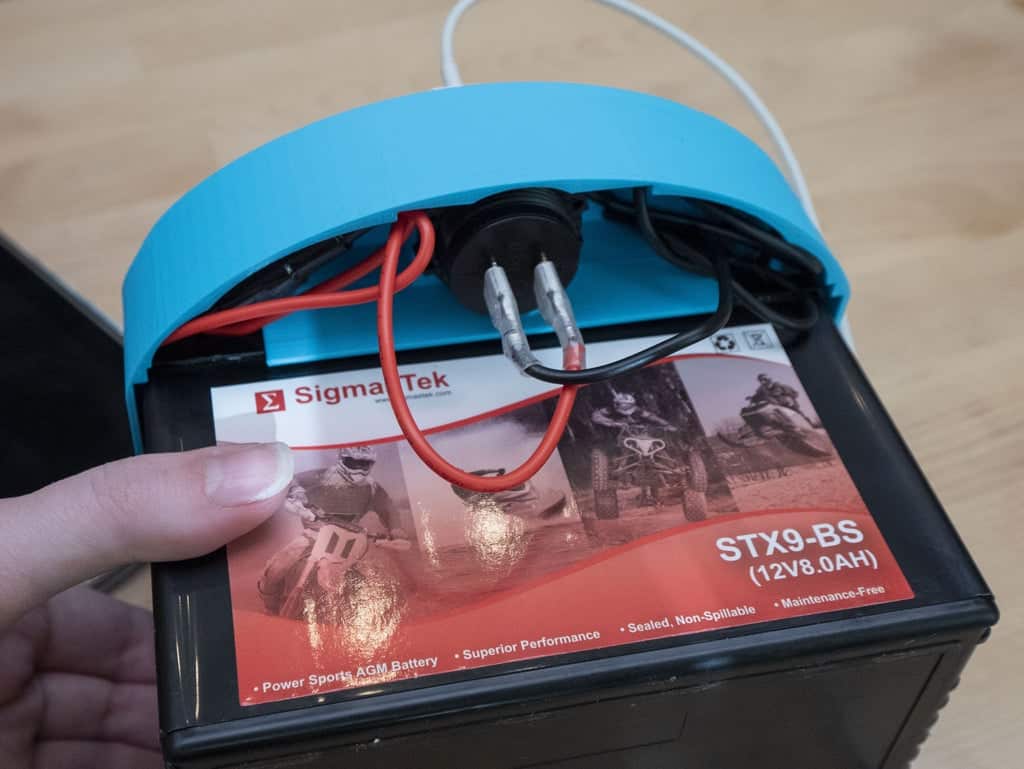
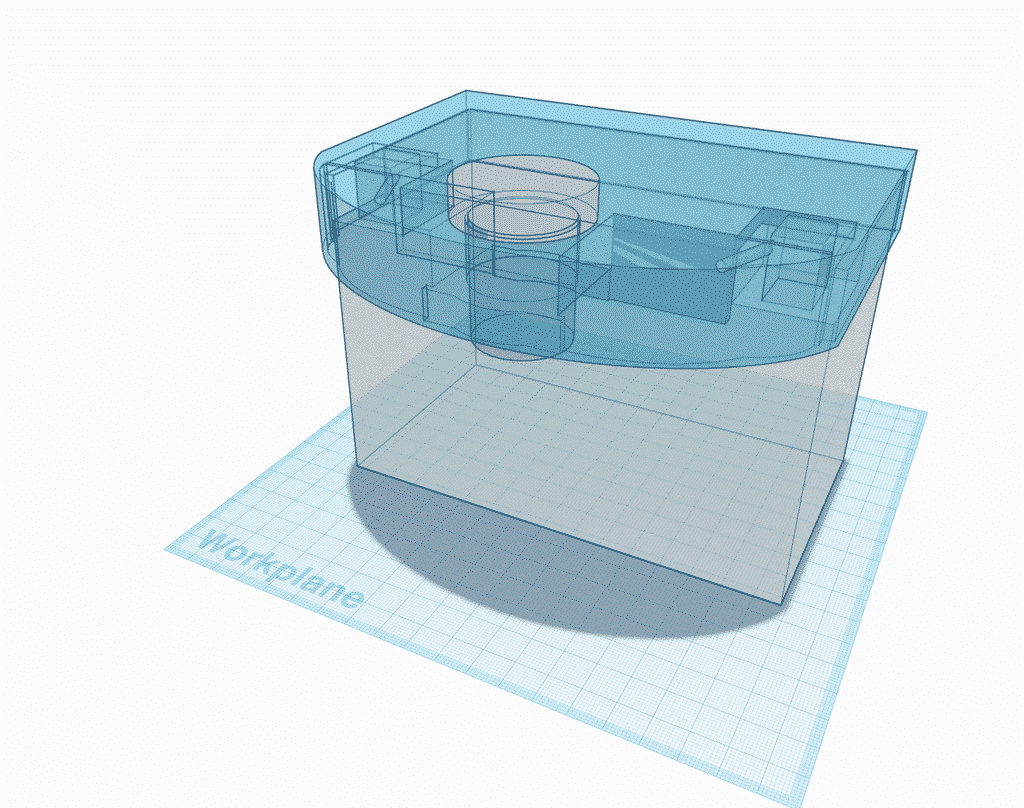
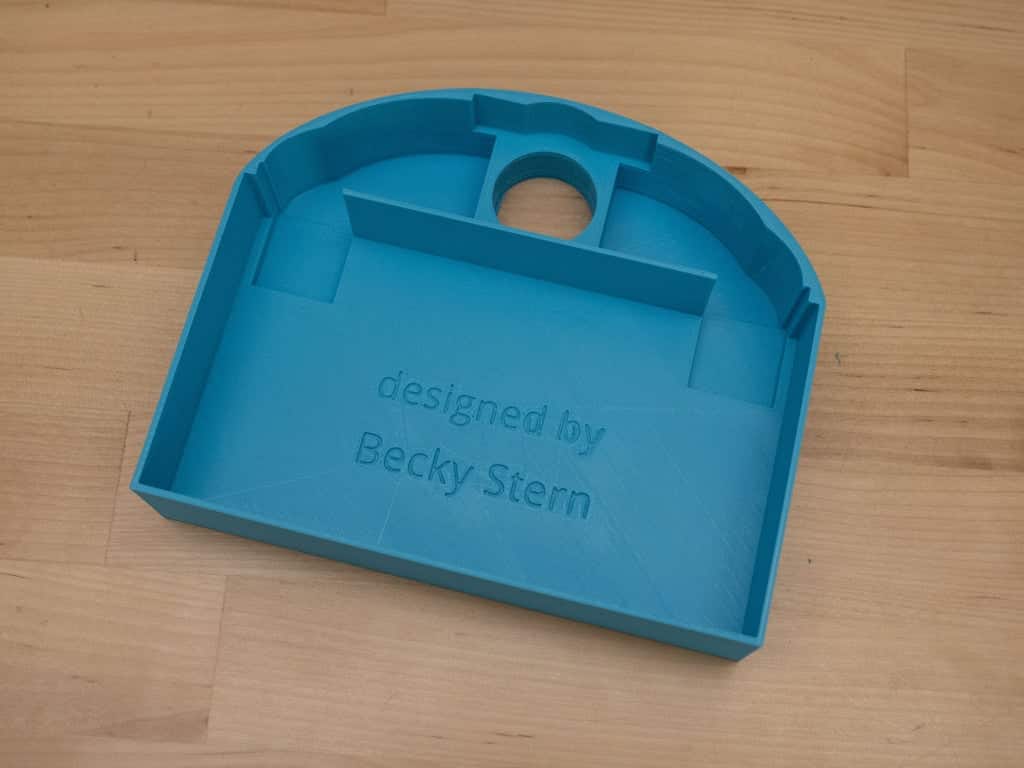
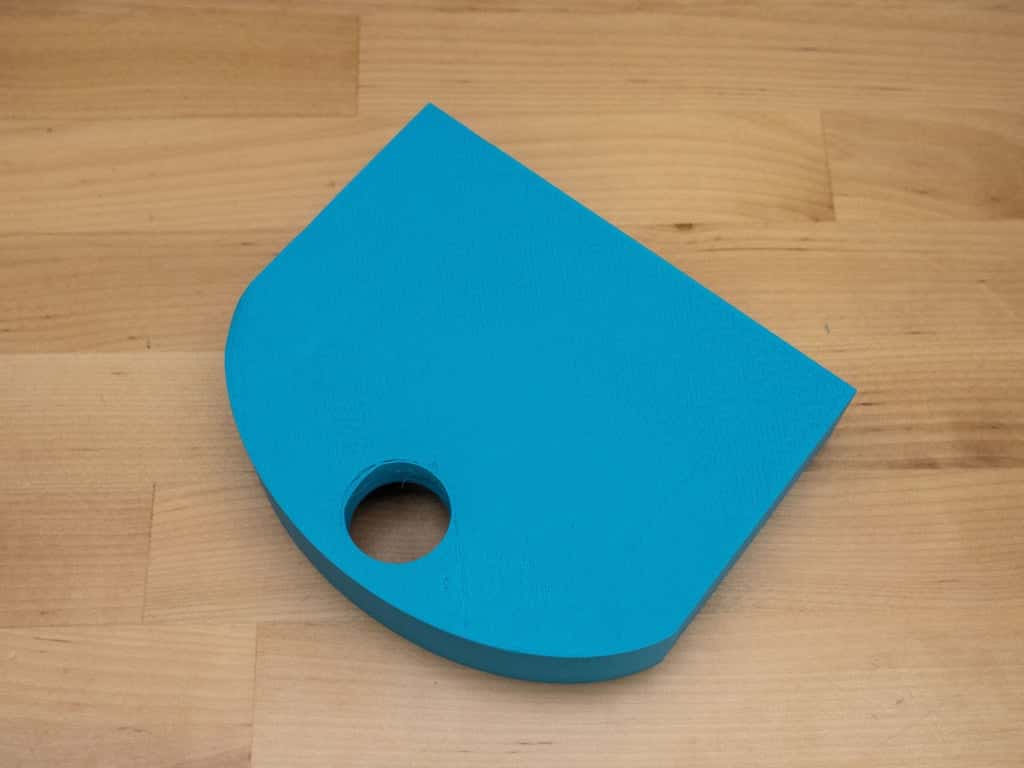
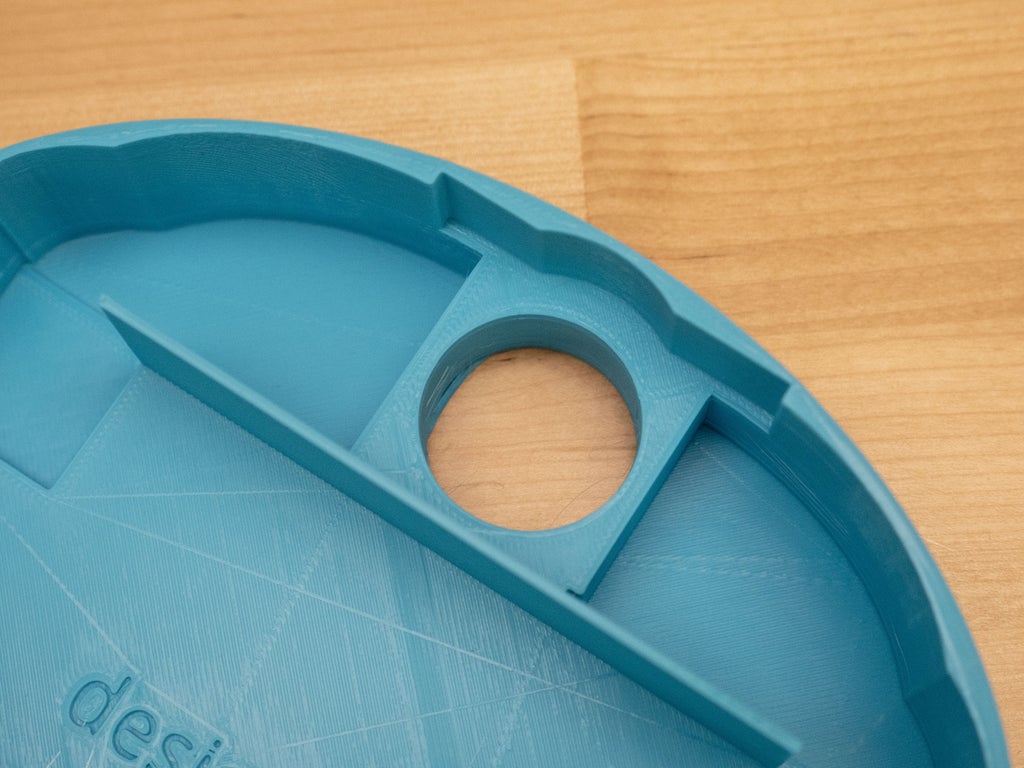
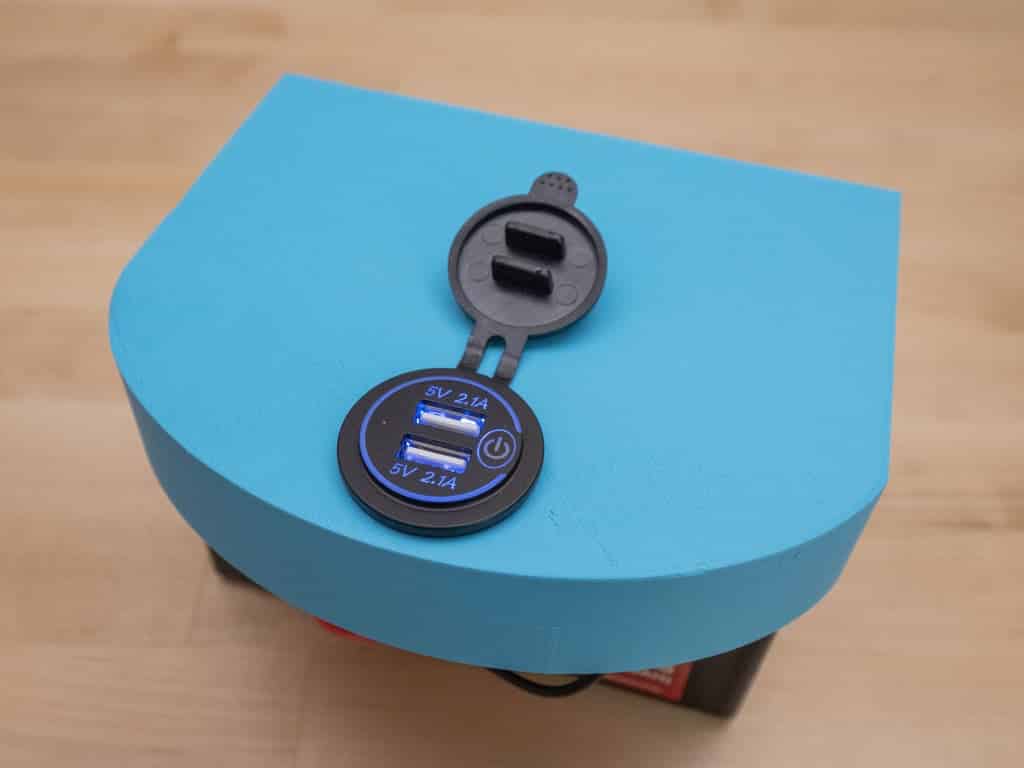
She also created an optional 3D printed battery topper to cover the battery contacts and hold the USB ports. The design is available on Tinkercad so that you may modify it to fit your specific battery and USB charger.
The compact design makes it easier to transport and store. There are many situations where this device could be useful:
- Power outage
- Camping
- Off-grid living
Supplies:
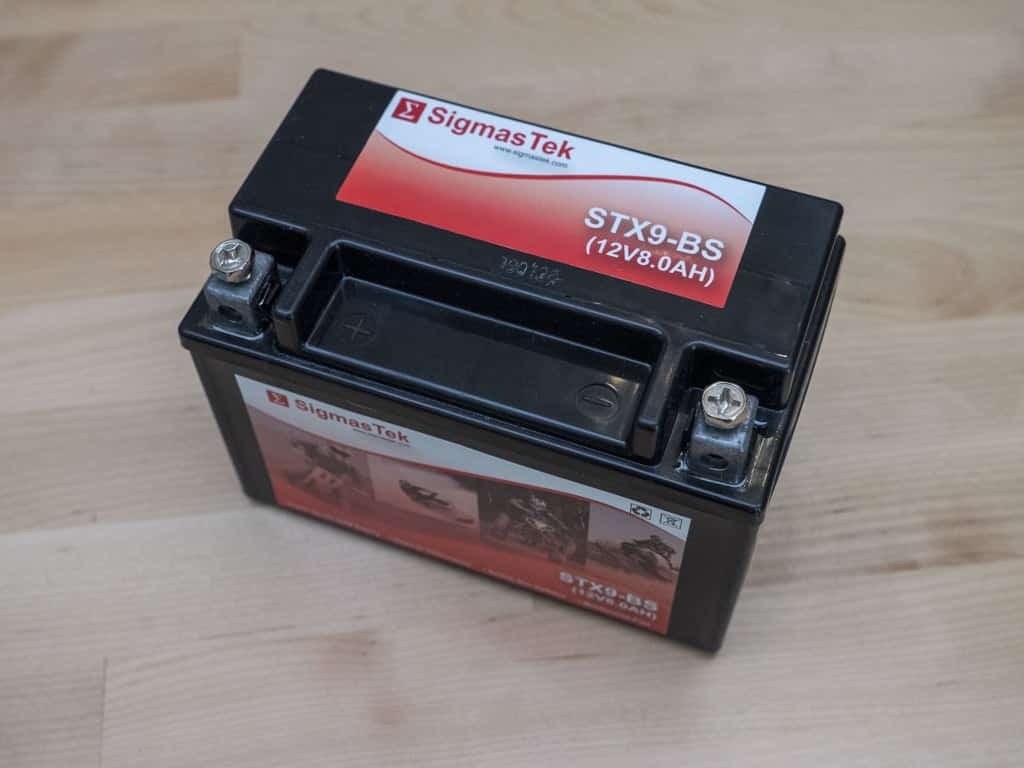
- 12V vehicle battery (I used one intended for a motorcycle/ATV) such as this one
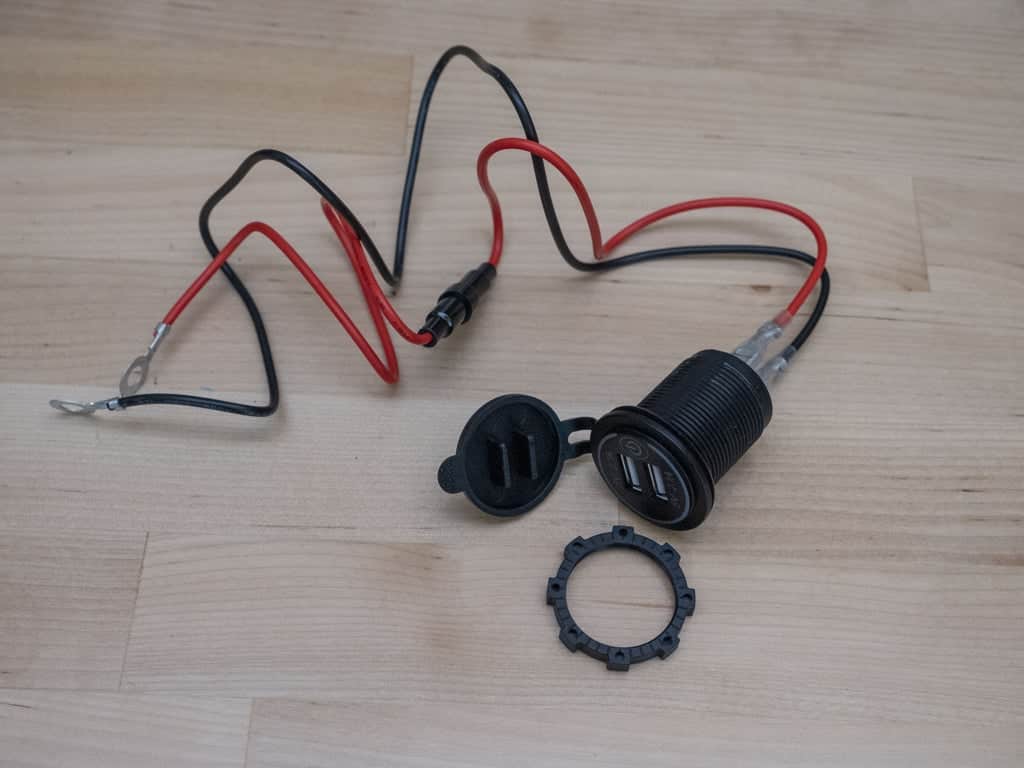
- USB car charger with on/off switch
- 3D printer (I have a Creality CR-10s Pro)
- 3D filament
- Ruler and/or Calipers
- Battery charger to fill up between uses
In an emergency, you can use what you have. Those 7Ah AGM batteries used in UPS’s, emergency lighting, kids ride on toys, etc., are more common and are also good choices.
To cut down on the weight while raising durability and capacity, perhaps we can use 18650 lithium cells. These have their own challenges, but the energy density is quite high. Used lithium cells (18650s) may be harvested from older laptops, power tools, wrecked Teslas, or other e-waste. While this version requires skill in testing and dealing with lithium cells, it might significantly cut the cost of the project.
To keep up with what she’s working on, follow her on YouTube, Instagram, Twitter, Pinterest, and subscribe to her newsletter.
Step 1: Hook up all the wires
First I connected the USB charger to the battery to be sure it works, and take some measurements. The red wire connects to the positive terminal, and the black wire connects to the negative terminal. My charger also has a fuse. The USB charger can be used like this without the need for any 3D printed parts. It can be installed in a motorcycle dashboard or tucked away with your other emergency supplies.
The 8Ah battery at 12V gives me 96 Watt-hours. Divided by my phones 11.2 Watt-hours and factoring in a 90% efficiency of the USB charger, I can get about seven and a half-full phone charges from this battery, or half that if I want to still use it to start a vehicle.
Formula:
(8Ah * 12V) battery / (11.2Wh phone / .9 charger efficiency) = 7.7 charges to depletion
Step 2: Measure and build the 3D model
Use a ruler and/or calipers to measure your battery and USB charger and adjust the Tinkercad model to fit its dimensions with some tolerance (about half a millimeter of extra space should do), if needed. Definitely double-check the measurements of your components before printing—I used an old battery that I can’t find online and so yours is bound to be a little different.
My battery dimensions: 151.33mm wide x 84.40mm deep x 106.00mm tall
My USB charger dimensions:
- 27.23mm diameter of the threaded stem
- 37.36mm nut outer diameter
Step 3: 3D Print the housing
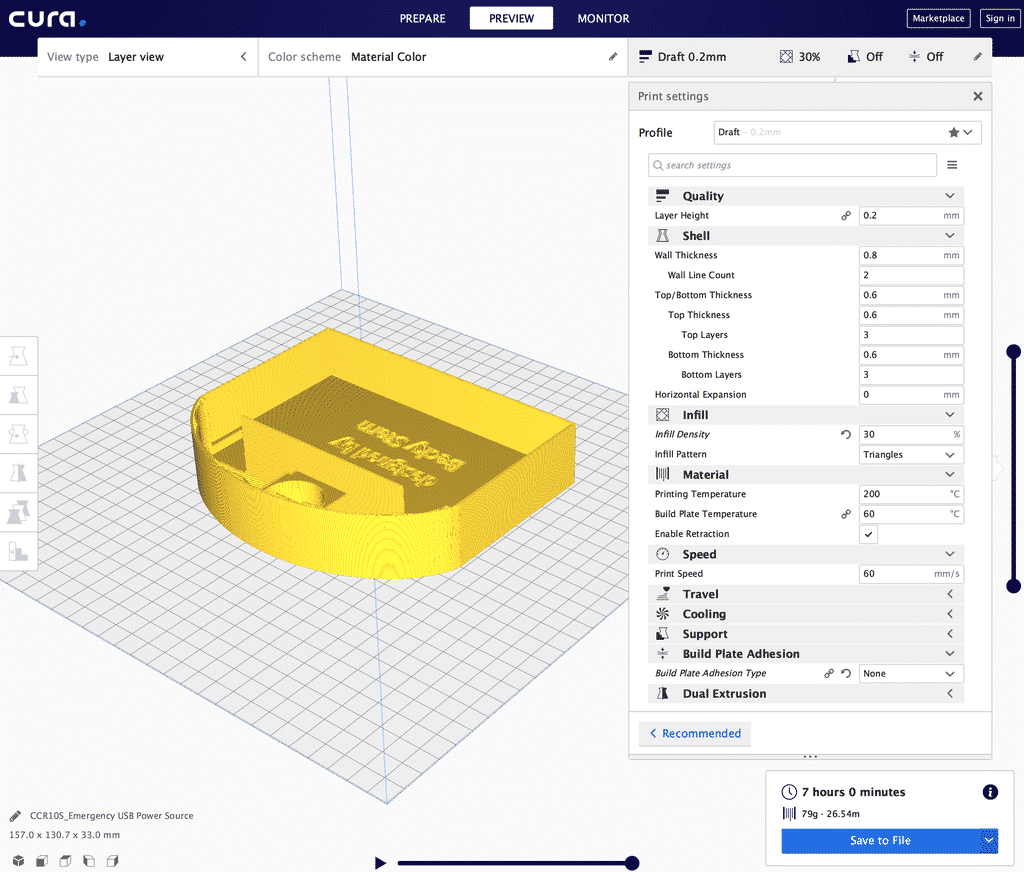
After downloading the STL file from Tinkercad, I used Cura software to prepare the model for printing. I flipped it upside down so it will print its flat surface first. Here are my print settings:
- Layer height: .2mm
- Wall thickness: .8mm
- Wall Line Count: 2
- Infill density: 30%
- No support
- Printed using 3D Solutech 1.75mm PLA filament in teal blue on my Creality CR-10s Pro printer
- Print time: 7 hours
Step 4: Try to use your power source!
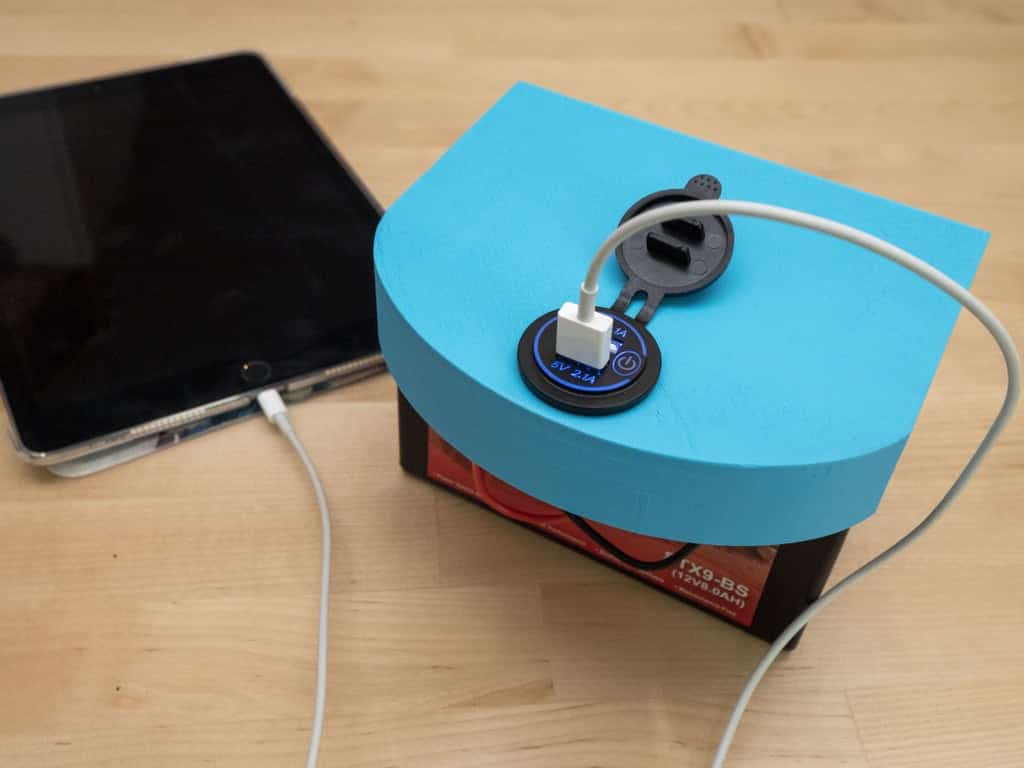
Unplug the USB charger and install it into the hole on the 3D printed topper using its included nut. Wire up the circuit (red to + and black to -) and set the topper on battery. Tidy up the wires by tucking them up into the empty space remaining in the front of the topper.
Turn on the USB ports with the included switch before using, and turn off when not in use.


