Prior to this, there were no comprehensive testing methods for additive-manufactured parts. Metal-printed parts often used nondestructive testing (such as dye penetration testing, X-rays, and computed tomography, etc.) to check for internal defects. These traditional testing methods were once effective methods for certifying components, but they are often very expensive and there are very few organizations that can provide services. In this case, the cost of quality assurance may be many times higher than the cost of production .
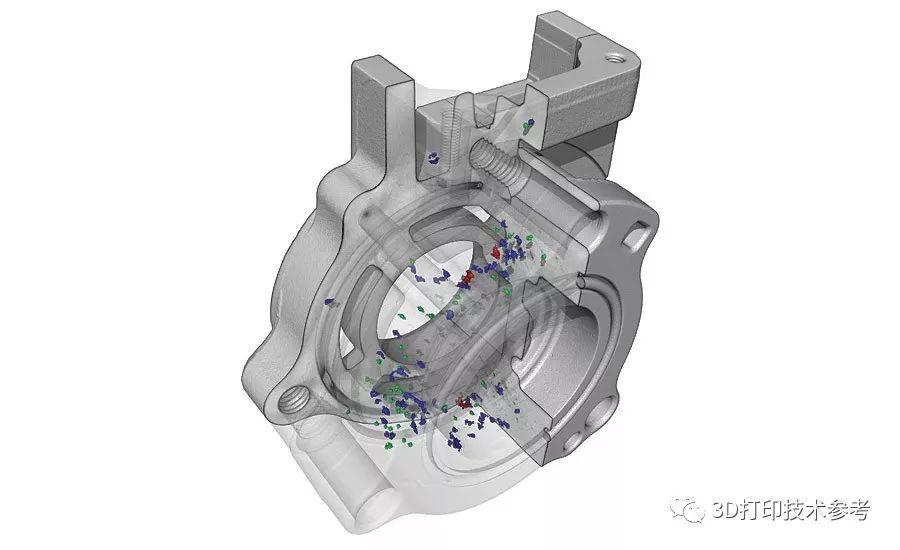
Computer tomography inspection of metal printing
However, production of components for the aerospace industry must meet strict quality standards, especially in mass production, where process stability and repeatability requirements are high.
At the air show forum last week, the responsible person of the aerospace sea eagle mentioned that during the 3D printing manufacturing process, the first printed part defects appeared at this location, and they were found through destructive means; they were dealt with through some means After that, the previous defect was avoided in the second printing process, but new defects appeared in other locations. The manufacturing cost caused by this is quite high, so whether to make the third manufacturing, even if it is printed again, can it be guaranteed that this time there will be no defects? This is the issue of manufacturing stability and repeatability, and is an important issue facing metal printing. He also mentioned that the cost of using non-destructive testing is quite high.
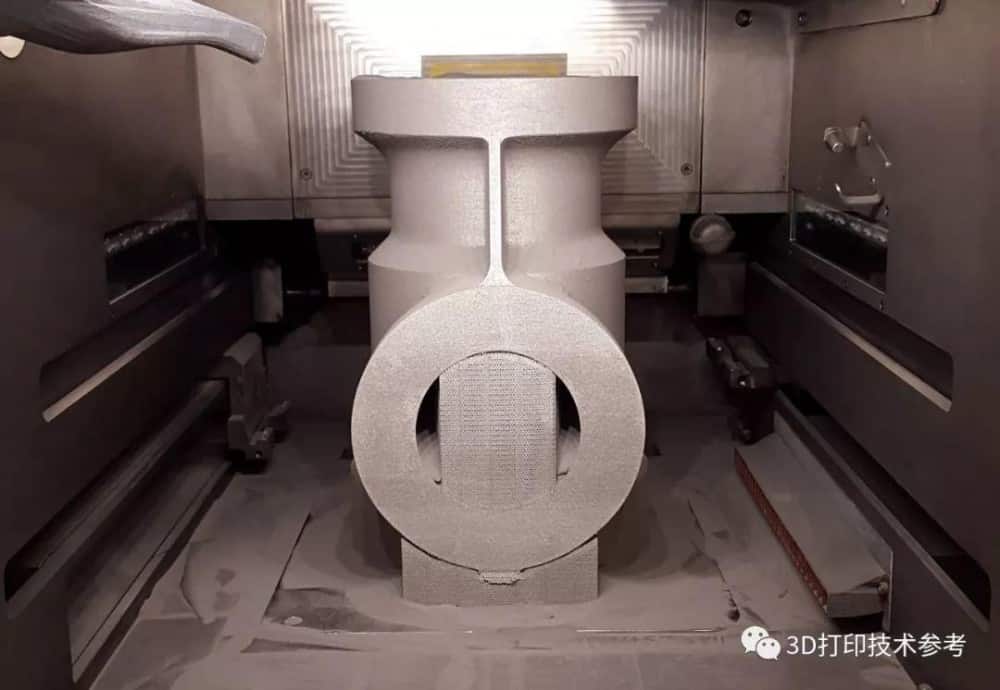
The manufacturing cost of metal printing titanium alloy aerospace valve body is also very high
So is there a low-cost non-destructive testing method ? What we want to introduce in this issue is the use of online monitoring to ensure the effectiveness of the quality of metal printing products, as well as the important changes in the quality inspection methods it brings .
▌End -to-end monitoring during mass production
Due to the extremely strict requirements for safety certification, the new additive manufacturing process faces major challenges in the field of engine manufacturing. From the raw material to the final product, any parts that are scheduled to fly must be continuously monitored to ensure that they are completely fault-free. This means that the quality assurance of industrial 3D printing-test technology, process control and documentation-requires new methods and economic concepts.
MTU, the world's fifth largest aero engine manufacturer, has been committed to using additive manufacturing to develop quality assurance measures for metal engine components. The company began developing optical tomography technology in 2013 with a view to providing 100% monitoring and recording for the additive manufacturing process. Many years ago, MTU and EOS have signed a framework agreement to jointly develop their technology strategies.
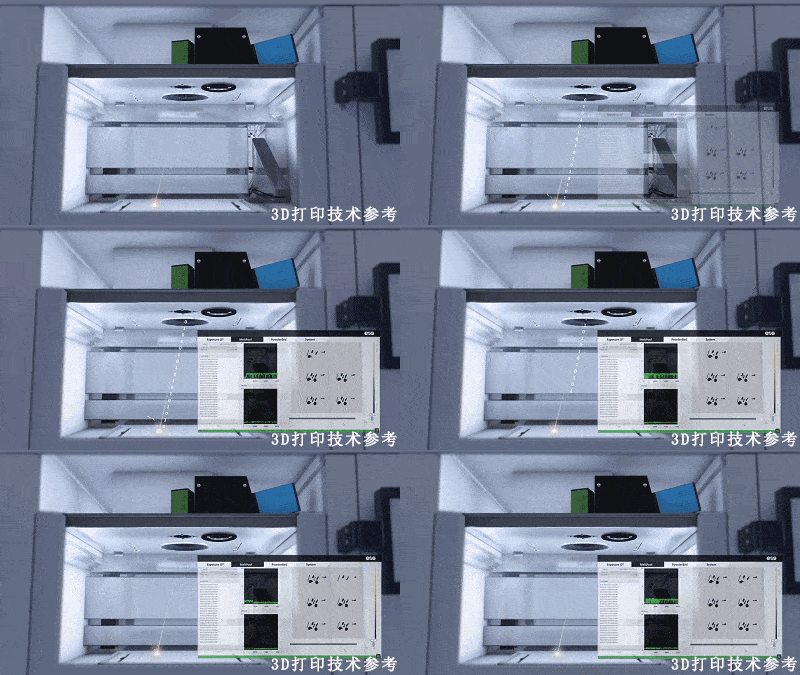
eos molten pool quality monitoring
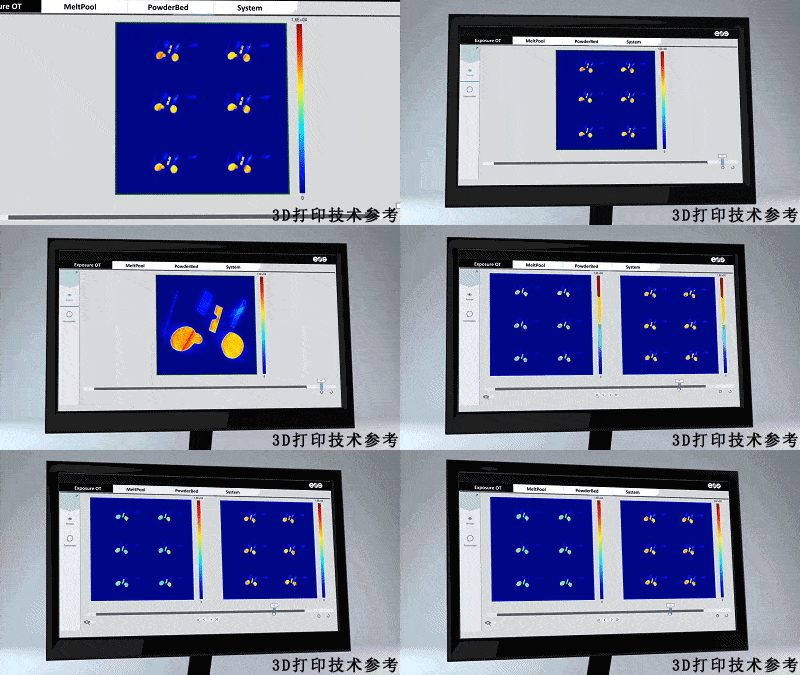
Optical tomography (OT) developed by MTU is a powerful complement to EOS modular monitoring product EOSTATE ExposureOT. In addition to the multiple sensors that monitor the general system status, OT technology uses sCMOS industrial cameras to monitor the entire manufacturing environment and measures the heat emission of the melting process with high resolution, always controlling the scanning process and melting characteristics of the material to ensure optimal delivery Powder and molding quality. At the same time, the configurable software will record detailed information on the print quality of each layer.
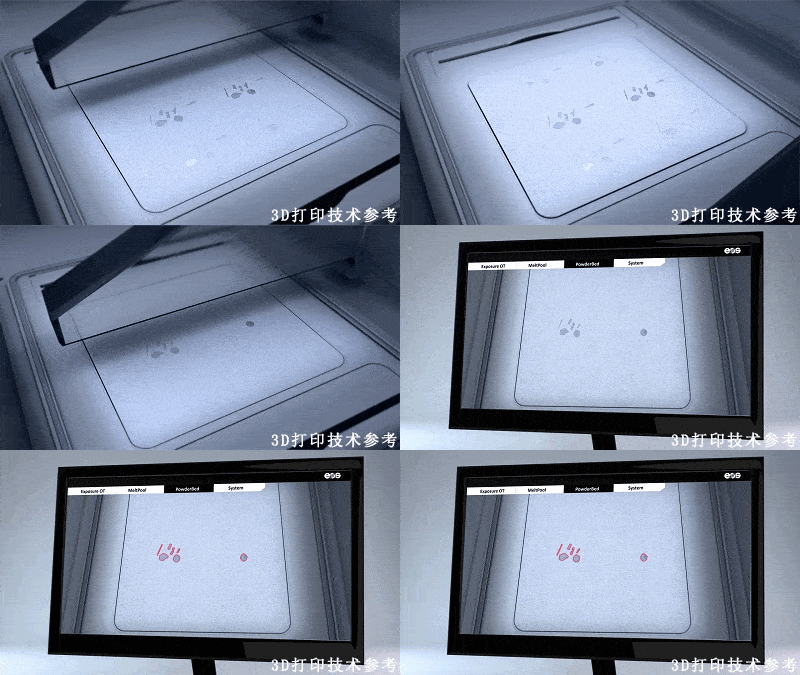
Spreading powder quality
MTU optical tomography can reproduce the monitoring process and provide a quality analysis method for the entire manufacturing process , thereby enabling a more comprehensive quality control of the metal additive manufacturing process layer by layer and individually. A large part of the quality control process previously performed downstream (non-destructive testing) can now be performed during the manufacturing process, thereby significantly reducing the costs associated with quality assurance . At the same time, it can meet the requirements of customers in mass production.
▌Comparison of the effectiveness of optical online inspection and traditional nondestructive inspection
For many years, MTU has been using the EOSTATE Exposureot monitoring module in additive manufacturing to guarantee the process development and manufacturing of the components of the latest generation Airbus A320neo turbofan engine. The company gained extensive experience in the process of quality assurance and compared with other non-destructive technologies on this basis.
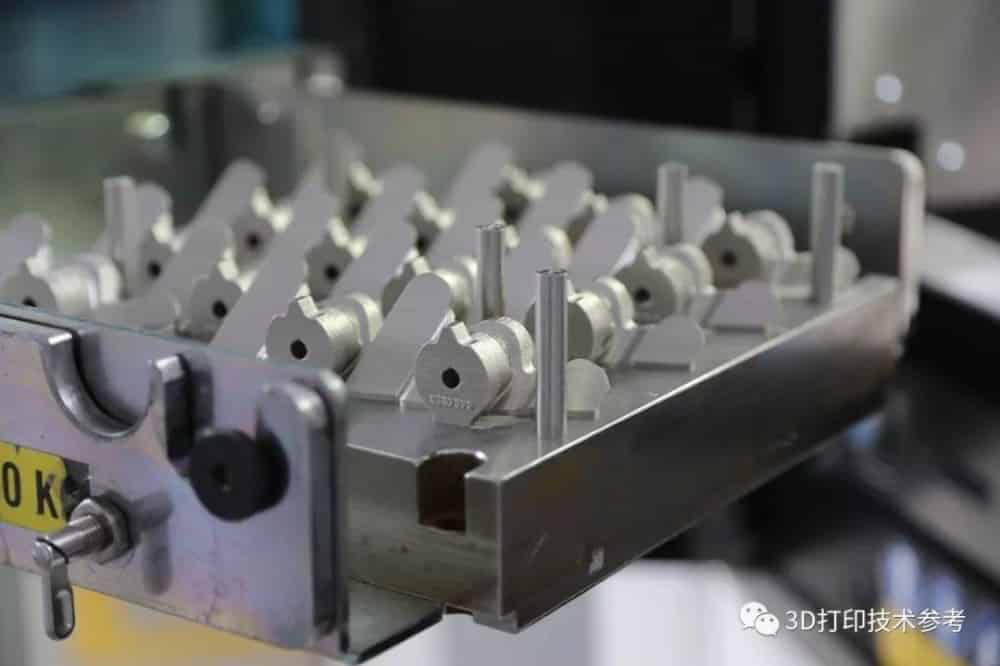
Additive manufacturing of bore mirror boss for geared turbofan engine of Airbus A320neo
Comparison 1: Comparison of the effectiveness of online testing and non-destructive testing
MTU uses conventional ray and optical tomography technology to detect metal printed parts, and systematically compares with optical tomography technology. The basis for the comparison is whether EOSTATE ExposureOT can reliably detect every possible defect type like traditional test methods, including holes, pores, solid inclusions or incomplete fusion; and whether online monitoring can achieve a higher detection probability.
Comparison 2: Effectiveness comparison between online detection and destructive detection
MTU also systematically compared with destructive tests, such as microscopic examination of the sample cross section.
result
Compared with conventional X-ray inspection, CT tomography and destructive testing, online monitoring technology can achieve a higher probability of defect detection, especially for incompletely fused defects. This means that any defects found using conventional inspection methods are clearly visible with the help of optical tomography monitoring.
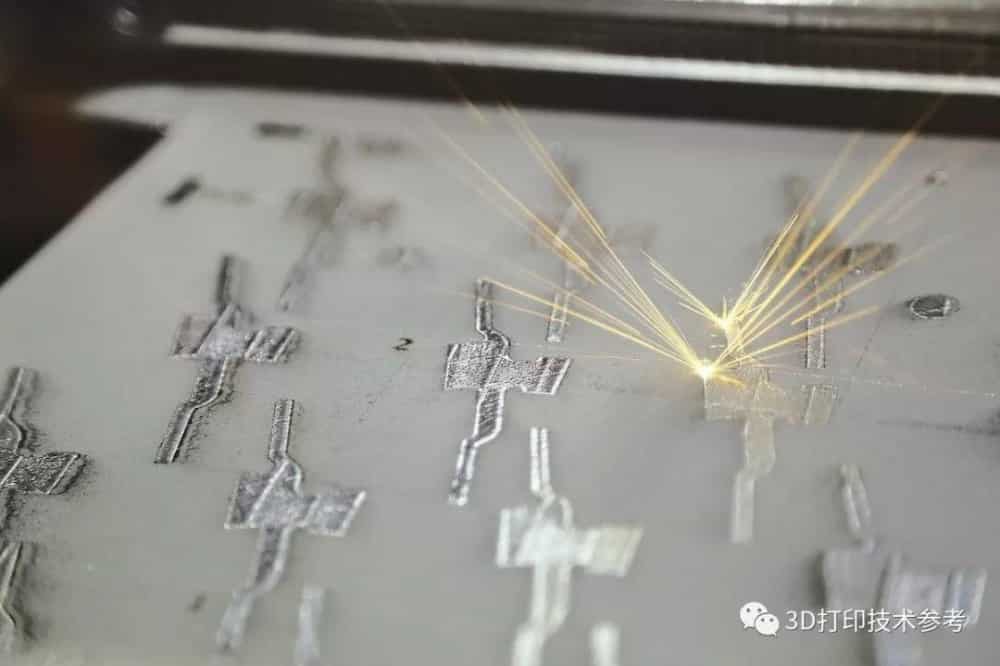
Melting process reappears
According to MTU's additive manufacturing technology director, EOSTATE ExposureOT can reliably detect when and where parts have defects. This allows them to eliminate the need for X-ray and CT inspections in the production of borescope boss series, which saves huge costs. In the future, MTU will upgrade EOSTATE ExposureOT from a simple process monitoring technology to an official test method.
Printed endoscope boss
The statistics of process control can greatly simplify the evaluation results. The analysis software will set the reliability curve of the allowable deviation according to several qualitative defect-free manufacturing work. Only when the deviation is observed, further testing is required.
END
The results of the research show that the reliability has gradually increased people's confidence in the new technology and led to the transformation of MTU quality assurance methods. Using optical tomography to monitor the manufacturing process layer by layer in real time is the preferred method for quality assurance of additive manufacturing components.
In past articles, I have also introduced Renishaw's online monitoring capabilities. With the help of LaserVIEW and MeltVIEW modules, engineers can compare the data of each sensor and find any possible changes, so as to analyze the causes of defects.
For domestic printers, there are few manufacturers that have developed online monitoring and have data analysis capabilities, but having this capability will undoubtedly be an important reflection of the company's research level.
The detailed functions of the monitoring system have been uploaded to the QQ group.

