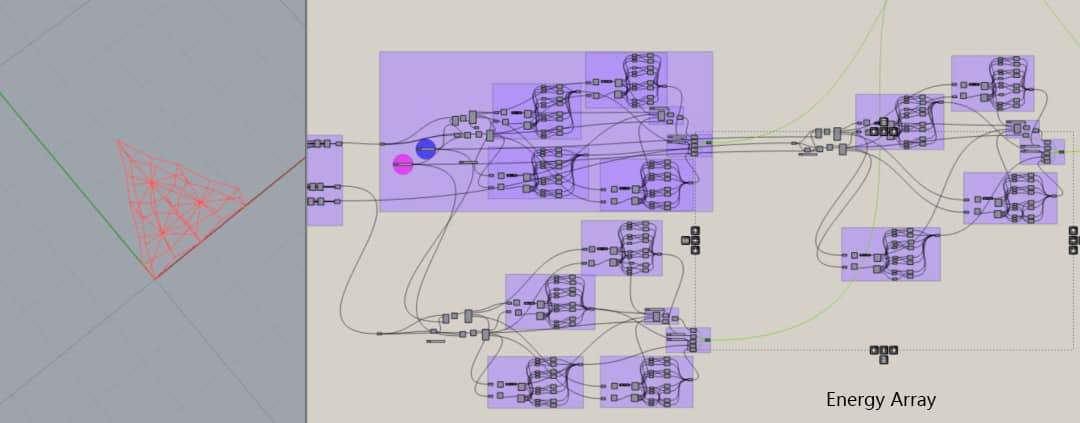
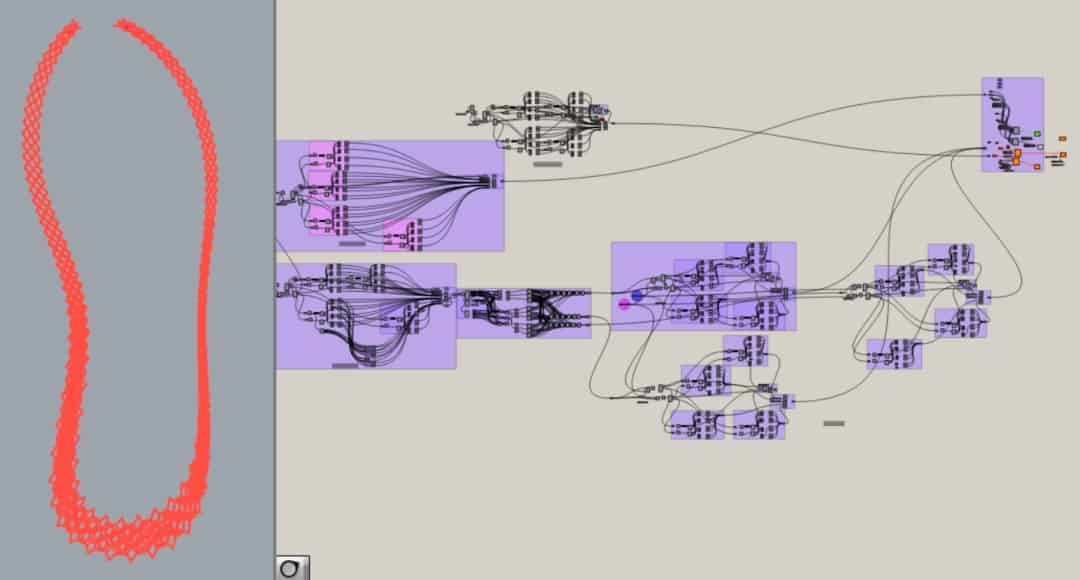
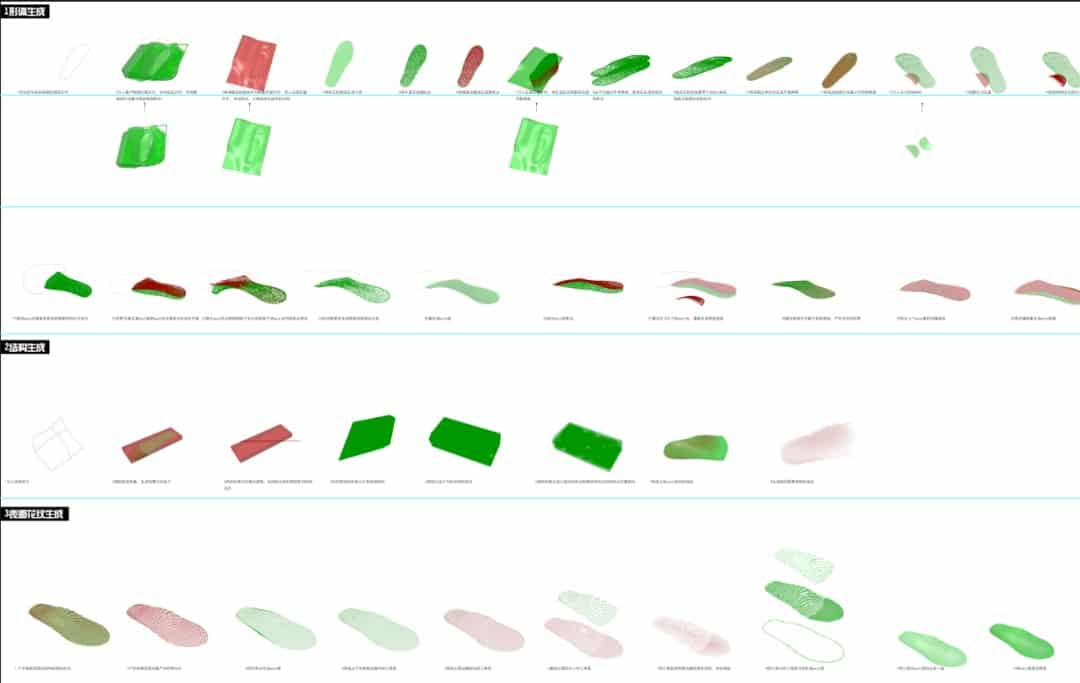
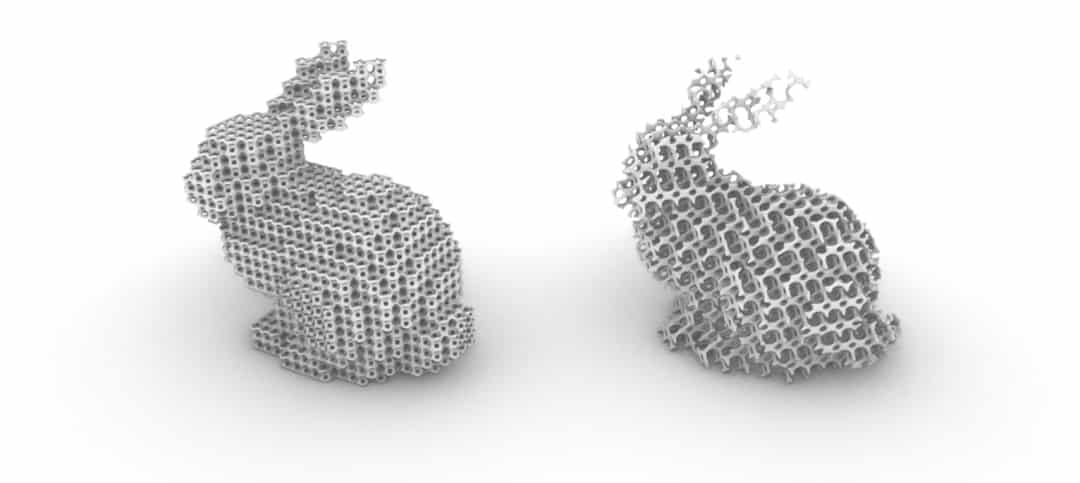
As an architect and a 3D printing designer, I found that the stress levels of the internal structure of the shoe have different density requirements. For this reason, I divided the shoe model into different levels, and make adjustments to meet different needs of the density and convergence transition in the locations of the unit structure.
The design of the cell structure can actually be more variable. Designers just need to use imagination in the restricted rectangular space of the cell, and consider the docking problem of adjacent cells.

Step 1
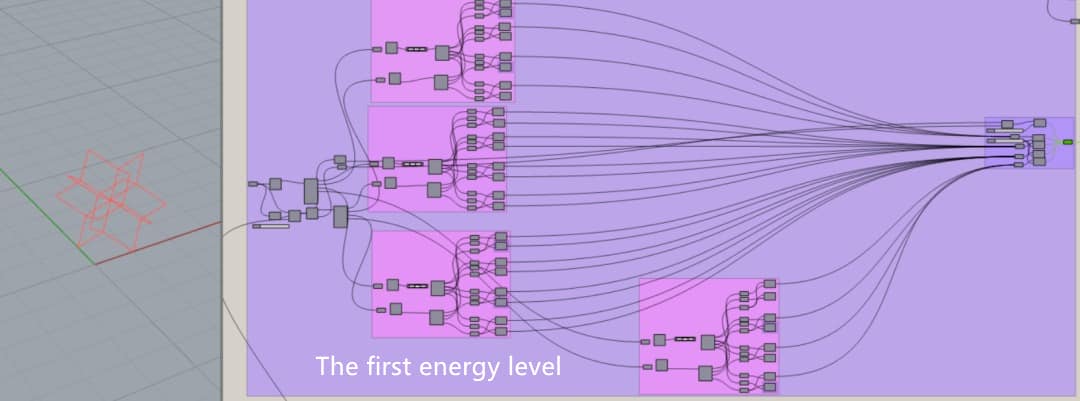
The overall structure of the shoe can be seen as a pile of cubes, and a cube has a supporting structure, as shown in the above picture. I named it “the first energy level”.
Step 2
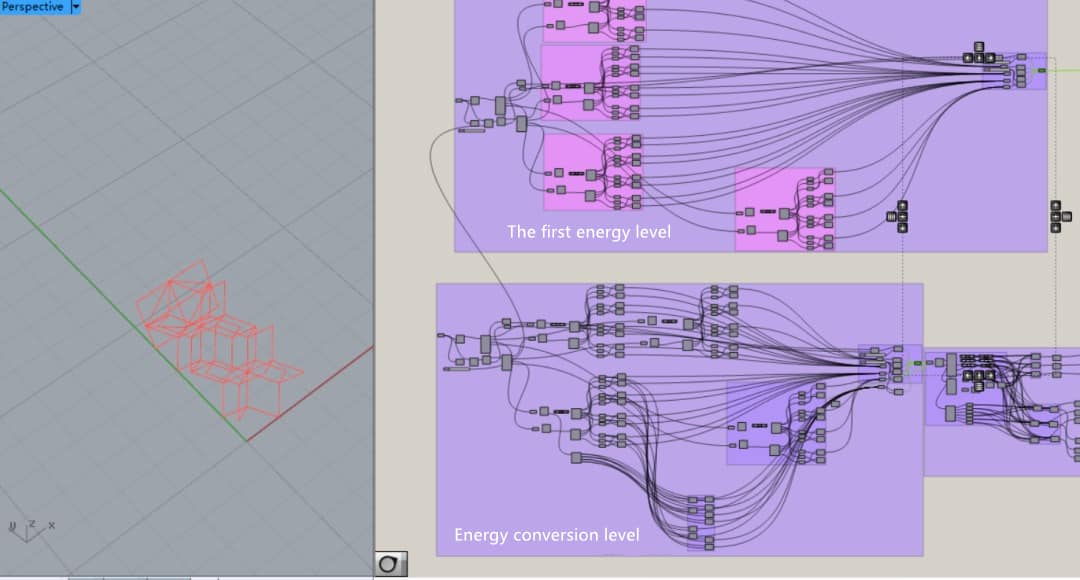
The connecting line on the overlapping surfaces in the first structures should be removed.
the structure needs to be removed from the inner side of the first structure, to remove the repeated surface connecting rods (while the structure of the shoe edge is retained). I named it “energy conversion level”.
Step 3
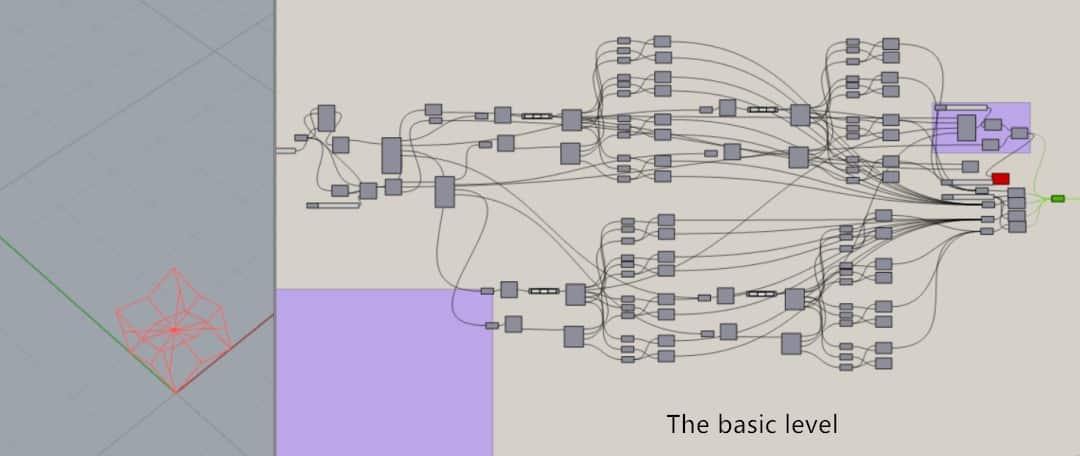
Design a firmer structure for the locations where the stress is more concentrated inside the shoe. I named it ” the basic level”.
Step 4
The distributed triangles need to be connected together.
Step 5
We make the third level of encryption and combine all the structures together.
Step 6
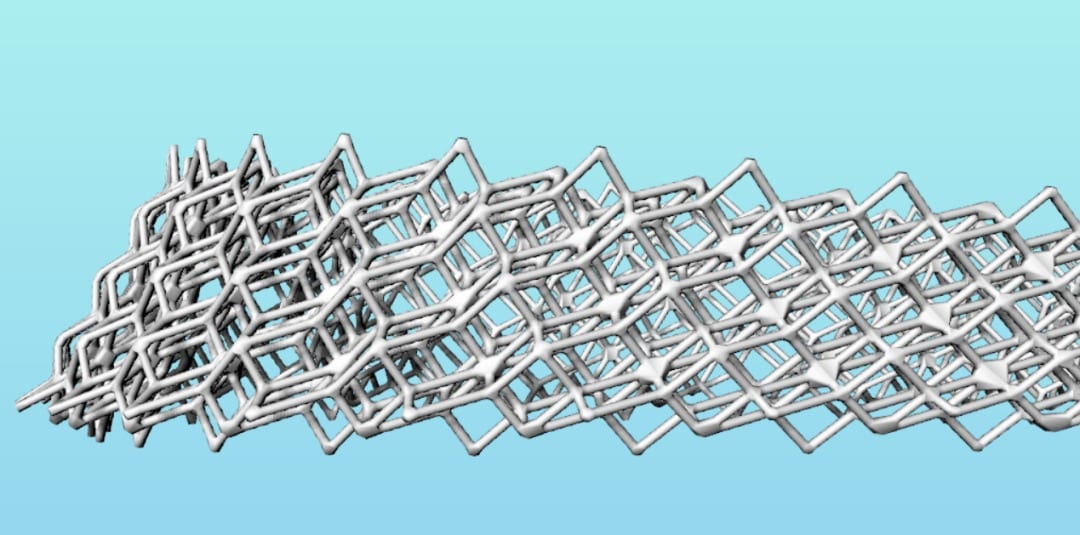
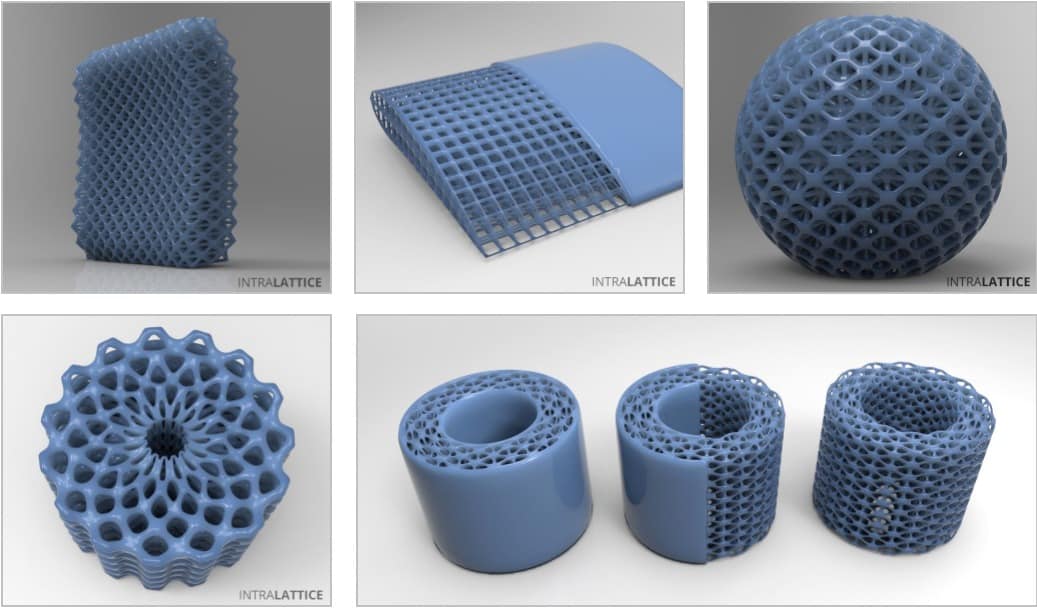
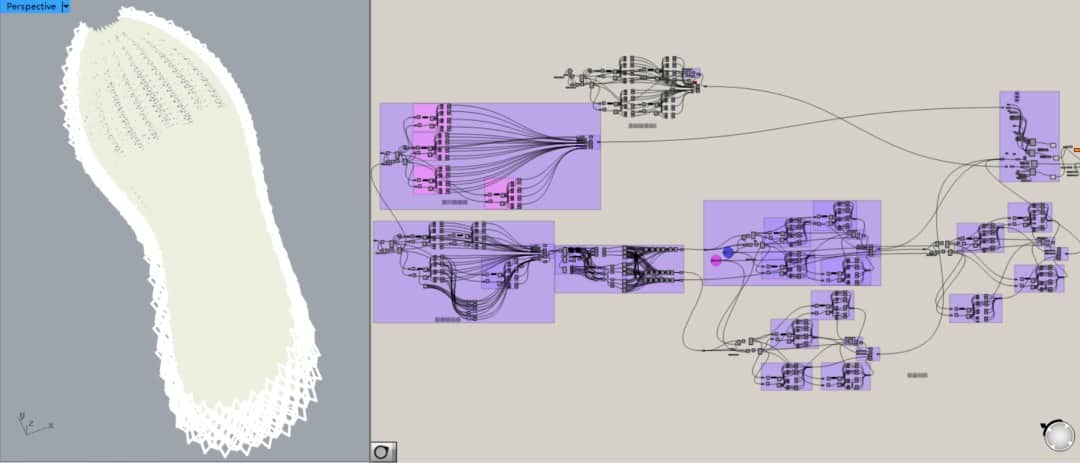
Finally, use IntraLattice to fill the above structure between the top and bottom of the shoe.
Step 7
Adjust the thickness of the structured tubes and check the connection between levels.
On the basis, we can use the 3D printing plug-in to check the sealing problem of the single unit and the overall model unit.
The whole procedure
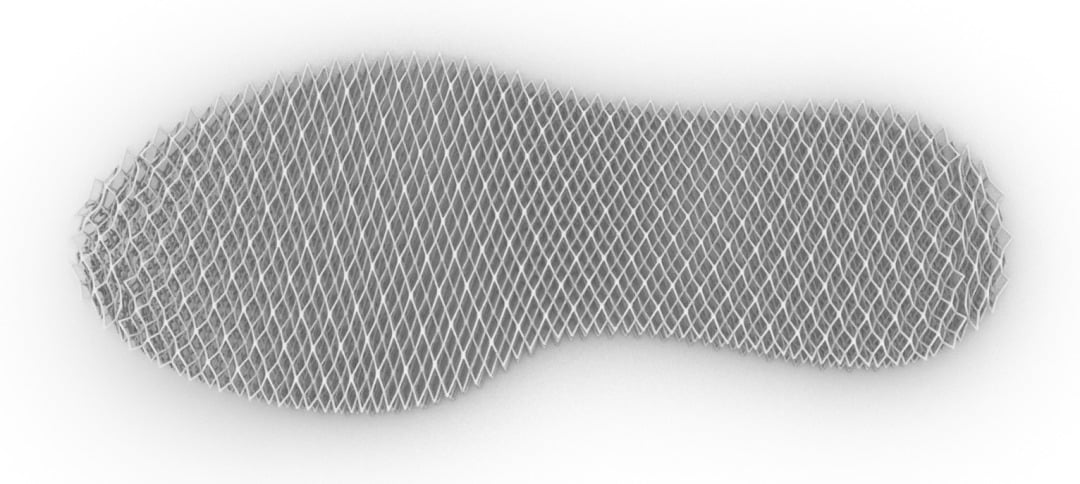
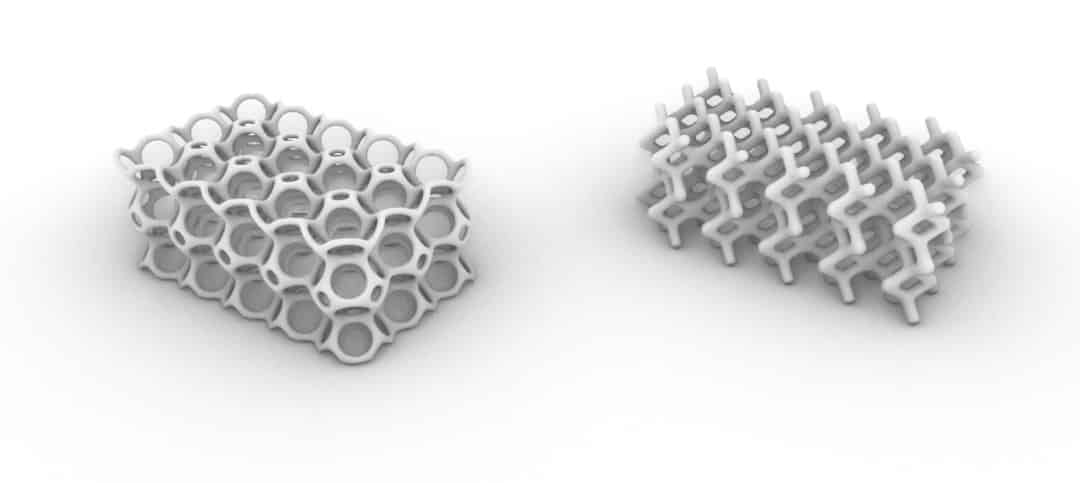
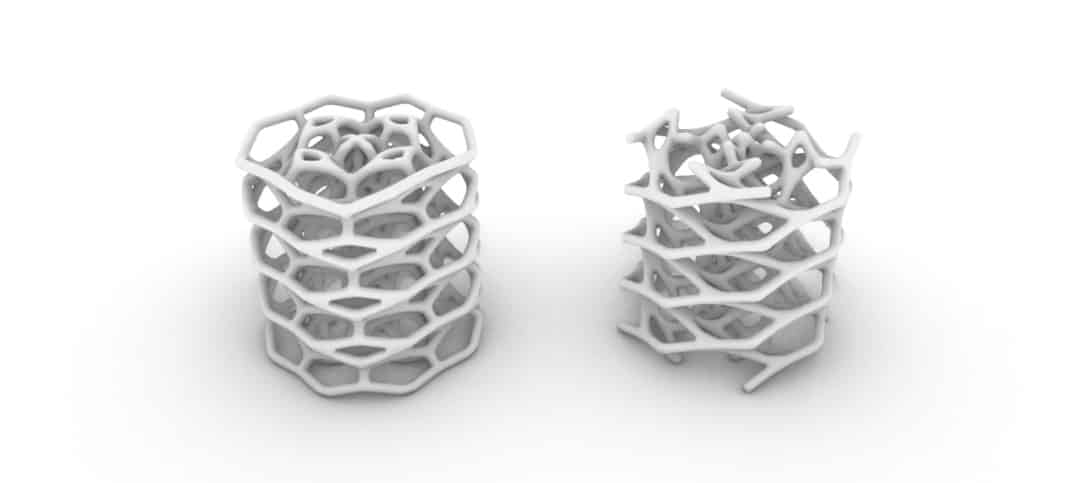
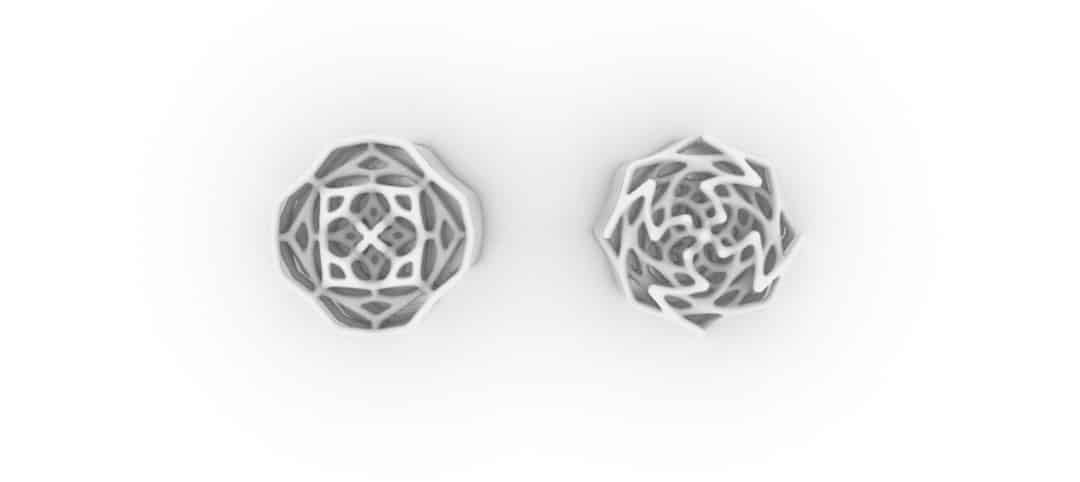
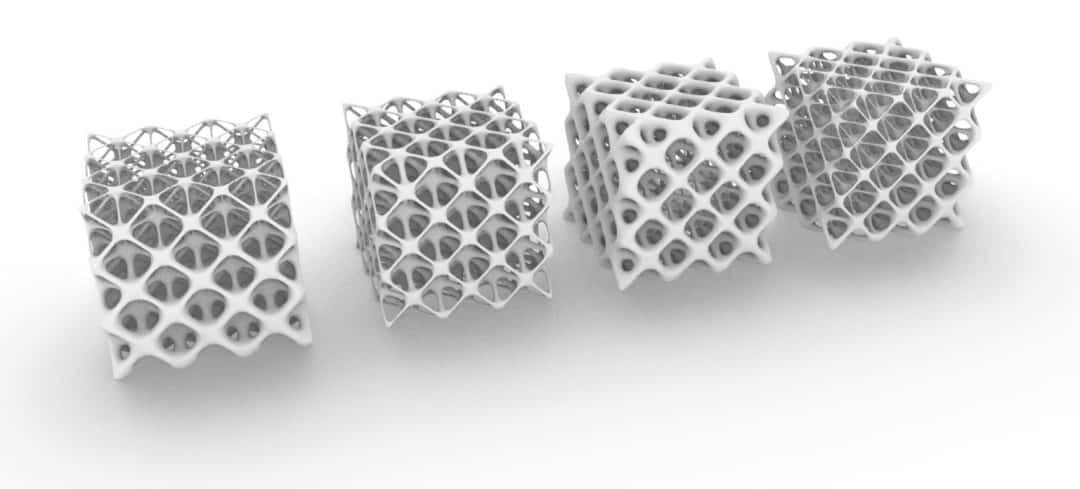
Besides Intralattice, there is, of course, more than one way to achieve such modeling. The main idea is to design the unit structure first, then extend the unit to the grid in the formed body, and finally use the grid to generate the mesh. Below are some examples.

.jpg)
