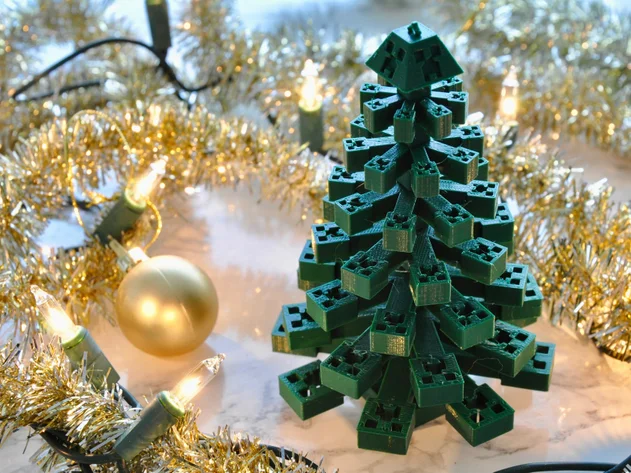
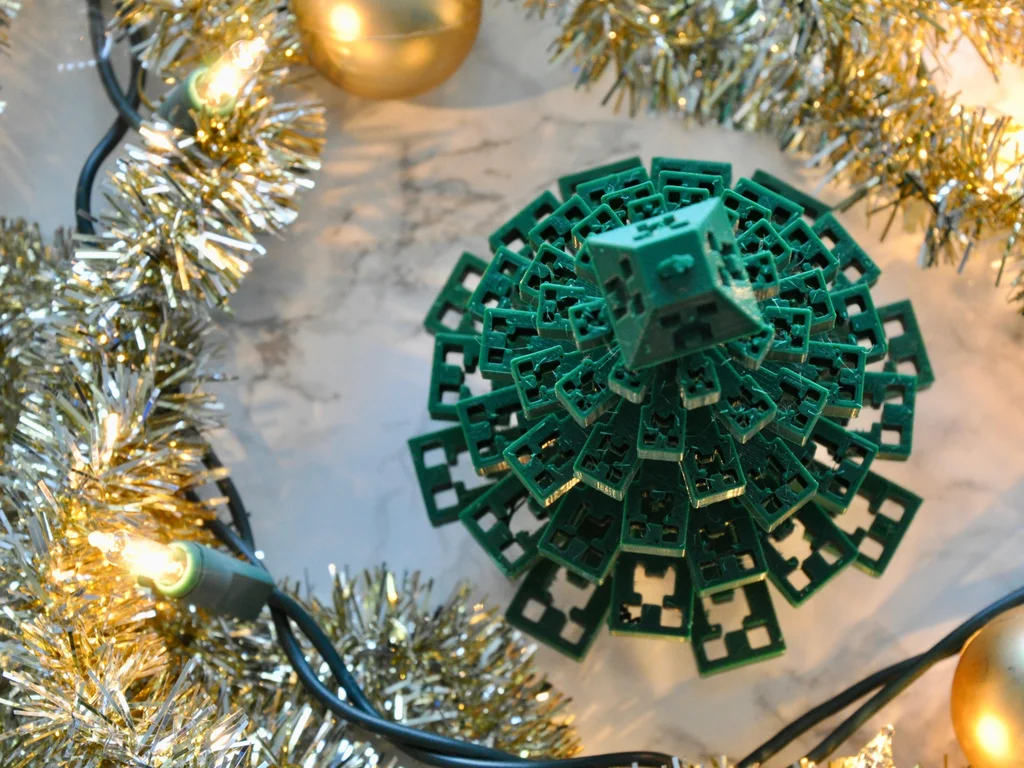
I was trying to think of something fun to design and make with 3D printing when I thought about a Christmas tree made up of snowflakes, but that was too obvious. Like my other projects, I decided to make this with some assembly required to avoid support material (there is a little, tiny bit of support material needed for the top of the tree, but that’s it!).
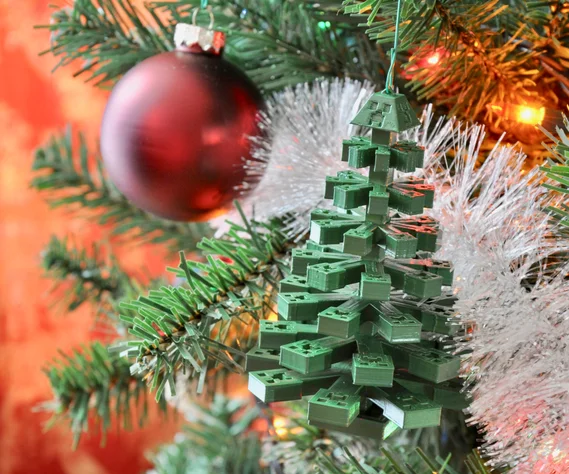
It is set up to be an ornament with a little diamond loop at the top, but it can also stand just fine on its own.
I’m still new to 3D design and printing. Having made this, if I were to print this project again, I would want to add another layer between each layer to make the tree look fuller, but I’m still happy with it the way it is 🙂
Step 1: Supplies
Supplies:
- Creality CR-10 3D Printer – use whatever printer you want, this is the one my husband has for me to use
- PLA Filament – make sure whatever you get will work with your printer – I used white because it was what I had, and it actually looked nice while white (even though I ended up painting it) or you can use green filament.
- Ornament Hooks or String – for hanging
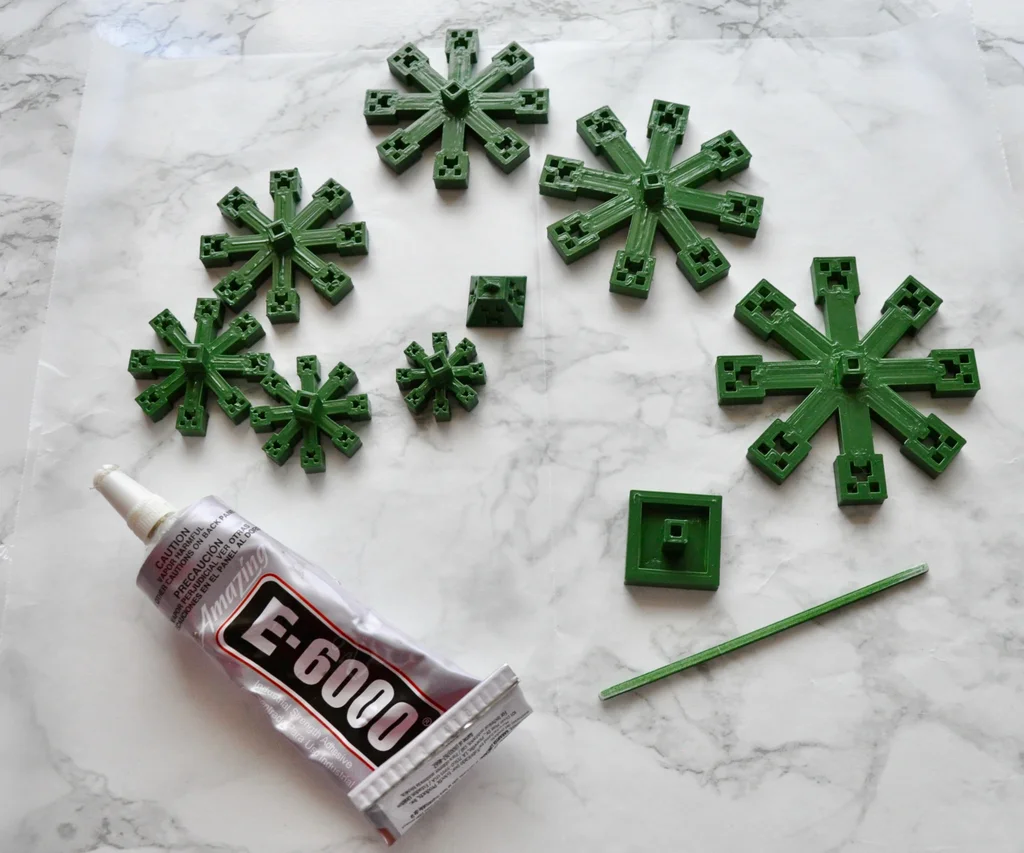
- Glue
Optional Supplies:
- Green Primer + Paint spray paint – whatever you use, make sure it can be used on plastic
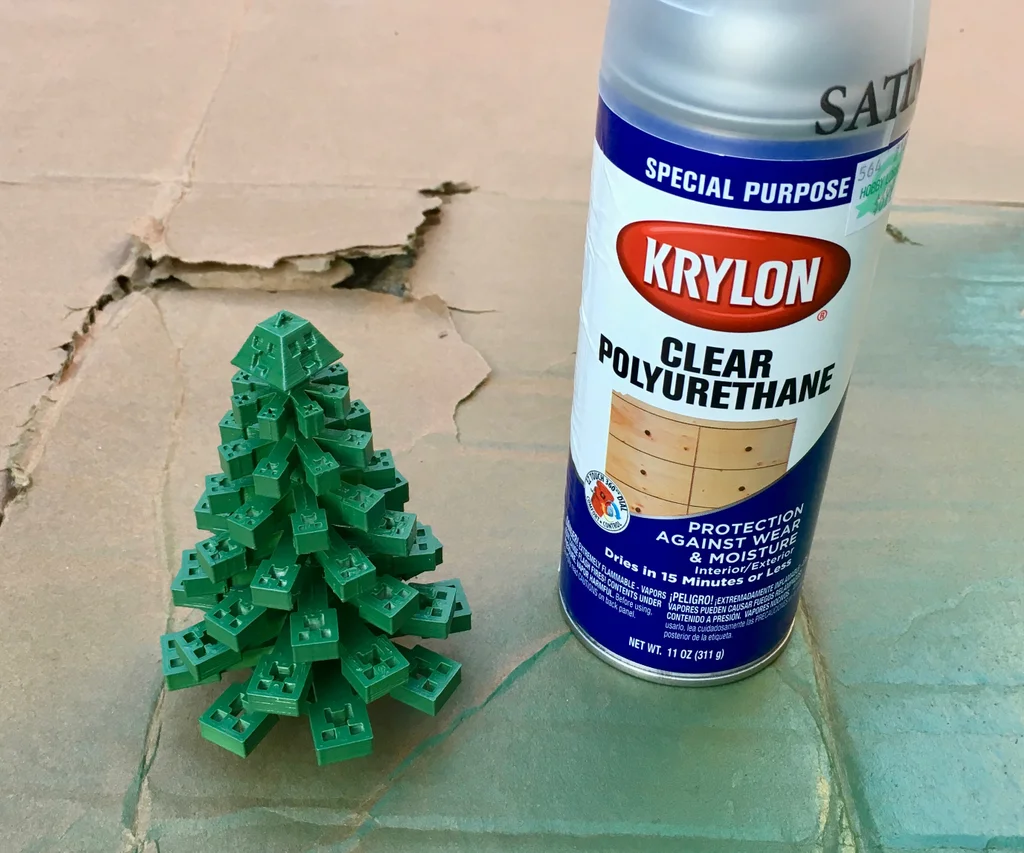
- Satin Finish – I didn’t want the glossy look and since I had this sitting around from my Popsicle Stick Playing Cards, I gave mine a quick spray after it was all done.
Step 2: Designing the Tree
My tree design is pretty basic. I have a lot of screenshots that I won’t bore you with, but I’ll give you a rundown of the parts and how I designed them.
Branch Layers:
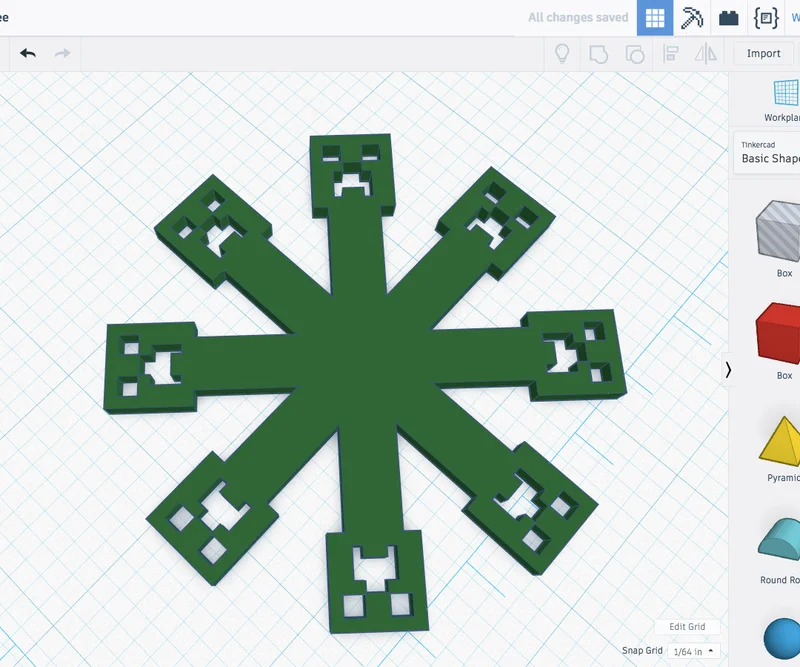
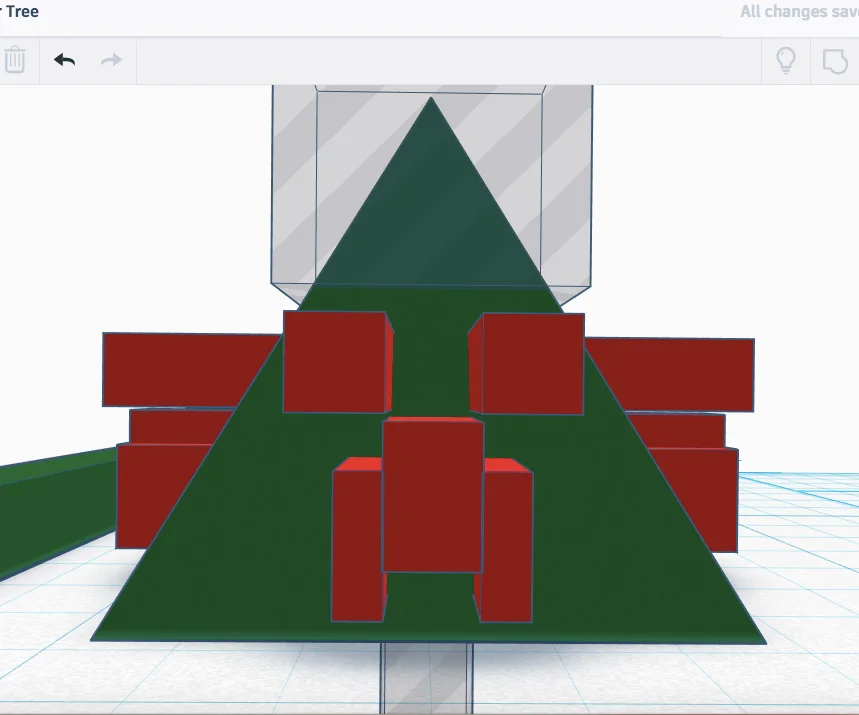
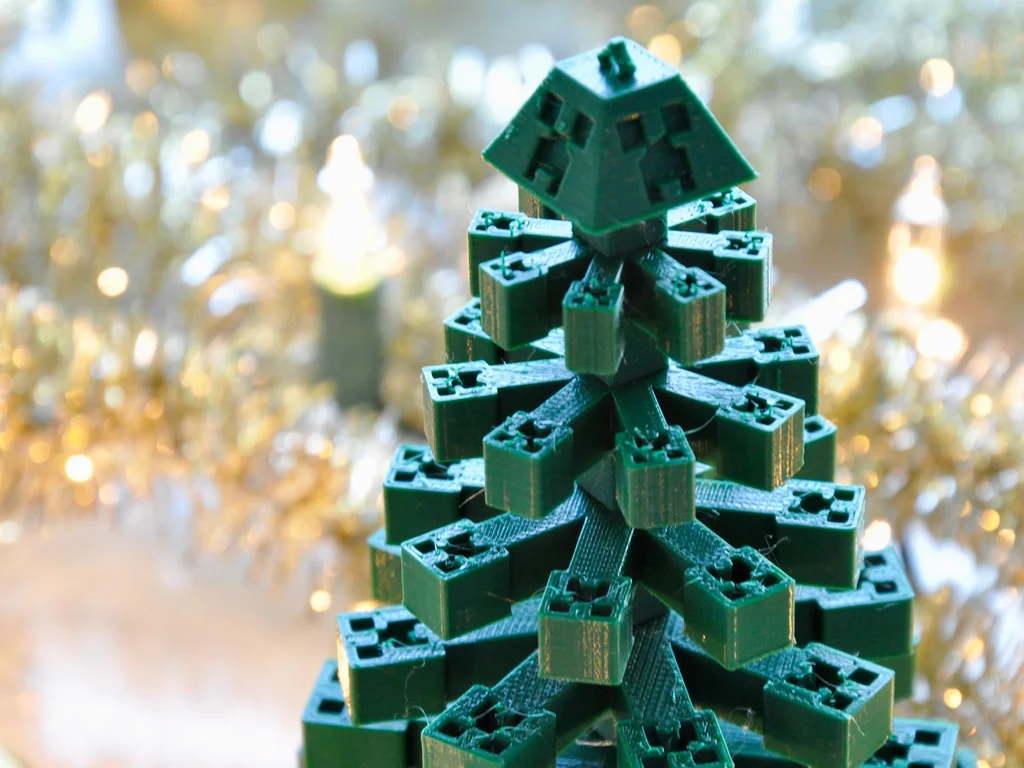
I started by creating a creeper head and then added a body to it. I took it, copied it, and rotated the copy and made it so I had 8 equally spaced creepers and then grouped them together.
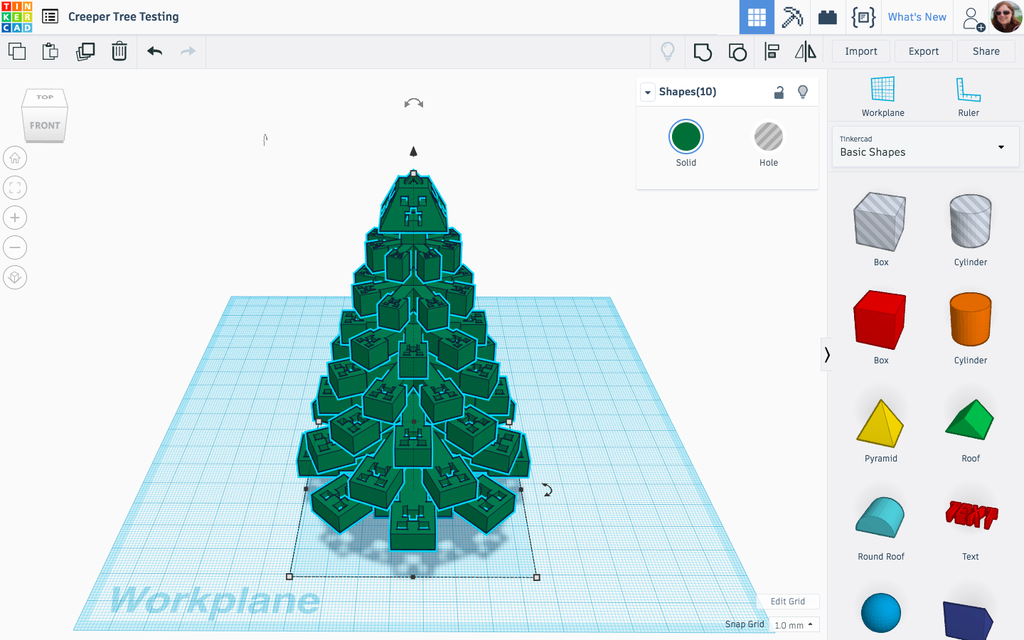
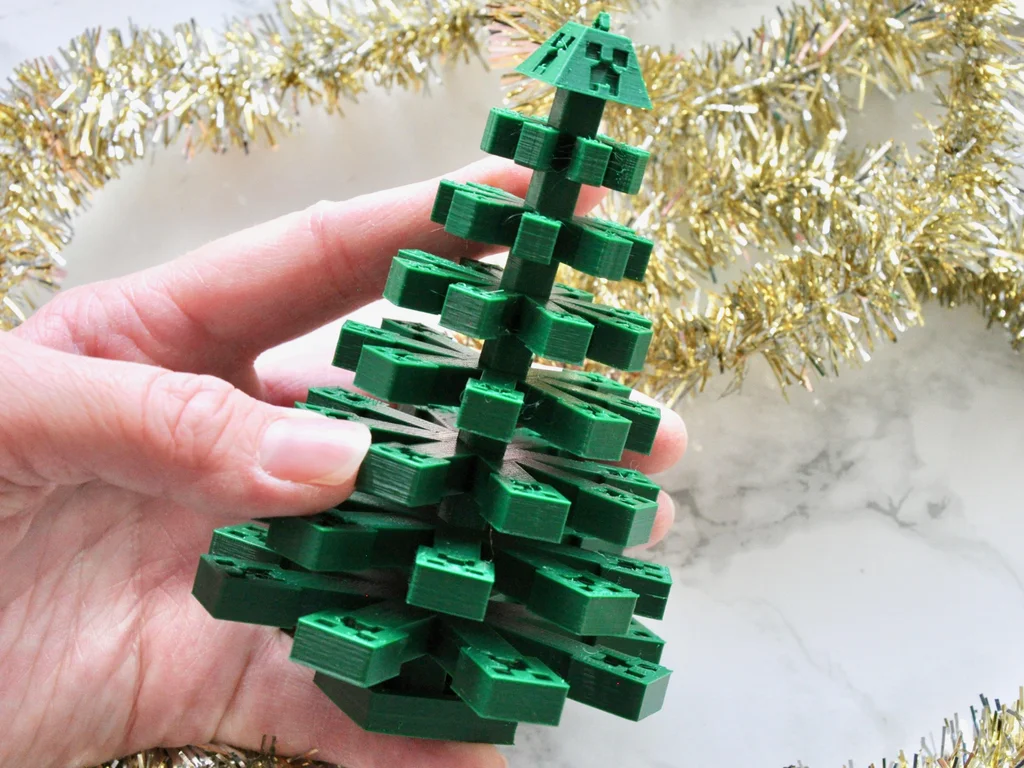
Once I had the branch layer, I had to decide on how big this tree was going to be. I did some rough copy, pasting, and got an idea of how it would look. In the end, after consulting with jessyratfink like I always do, I decided the tree would measure between 4″ and 5″ tall and the widest it would be is 3″. The widest part was the bottom branches so I made that 3″, then I decided the smallest the branches would go would be 1″ wide.
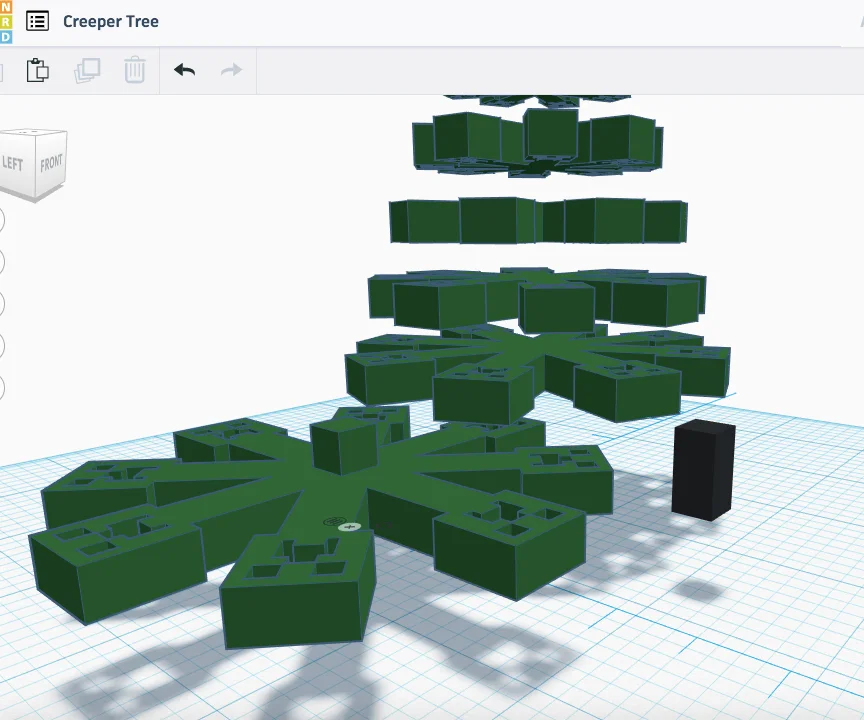
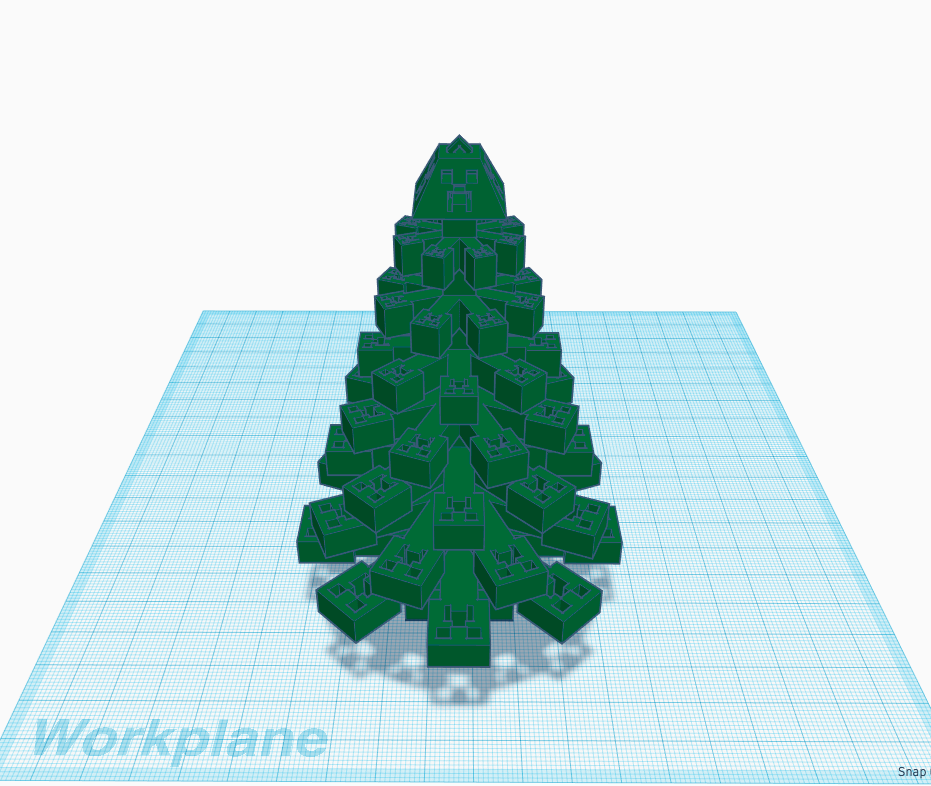
Now I had the top and bottom layers decided. Next was deciding on how many layers I would have and what the spacing would be. I ended up doing 7 total layers (counting top and bottom). After doing some math I decided the width of the layers would be 3″ – 2.67″ – 2.33″ – 2″ – 1.67″ – 1.33″ – 1″.
I decided each layer would be 1/4″ thick so it would have some heft to it (this was also the thickness of my snowflake ornaments and that worked out, so I did that thickness again).
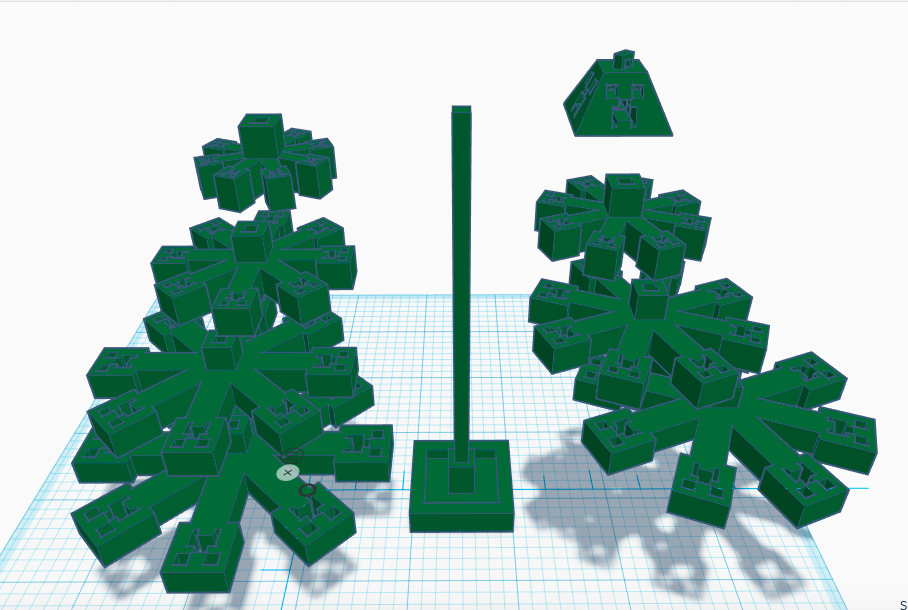
Now that I had the size of all the layers, I needed to add spaces so the layers could stack appropriately. I spaced out the layers so that the tree would be roughly the hight I wanted and made sure they were spaced evenly. Then I created a spacer that I could group with the layer and it would go right up to the layer above it. I copied this piece and added it to each layer evenly so they were all the same height.
Base:
The base was super simple. I created a square that was the dimensions I liked and then I cut a hole on the top of it so that it would have a ridge around it. Then I took the spacer from the branch layers and put that in the center.
Tree Topper:
I wanted something to be the center of focus at the top of the tree. Since it was a creeper tree, I just went with a creeper head. I decided a square wouldn’t look quite right so I started with a pyramid and then cut the top to make it a trapezoid. I cut a face into each side and then decided to put a smaller trapezoid inside so that the face was only inset a little bit into each side. If I left the face going all the way through, it would look kind of funny and require a bunch of support material to print.
Post:
Now, it is going to need a post to put it all together. I didn’t want it to go through the top or bottom so I created a small rectangle and then made it so it wouldn’t reach top or bottom.
Cutting out the center of all the pieces:
Take your post and make it slightly bigger on the x and y-axis but don’t make it taller. Use this to cut out the exact center of each branch layer.
Doing the top and bottom will be a little different. Line up your post with all the pieces so you know exactly where you want it to go within the tree when it’s assembled. Now you need to line up the top with the cutout post and the bottom with a cut-out post and group them to create a hole in each. I recommend cutting a little more into the top if you have the space to make sure the pieces all sit flush on top of each other in the end. If the post ends up being too long, it won’t assemble right, so cutting a little extra ensures it will fit.
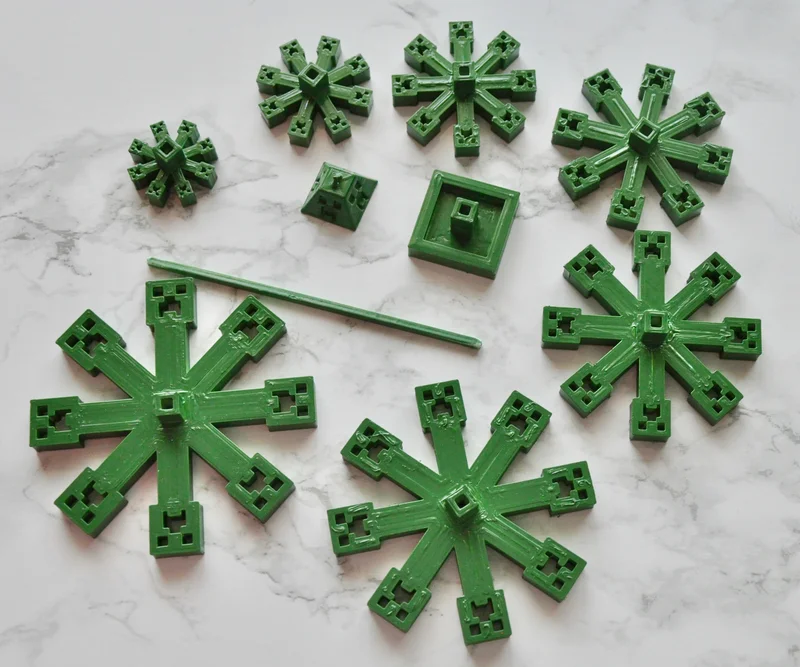
Now you should have all the pieces with the holes cut appropriately.
Step 3: Print
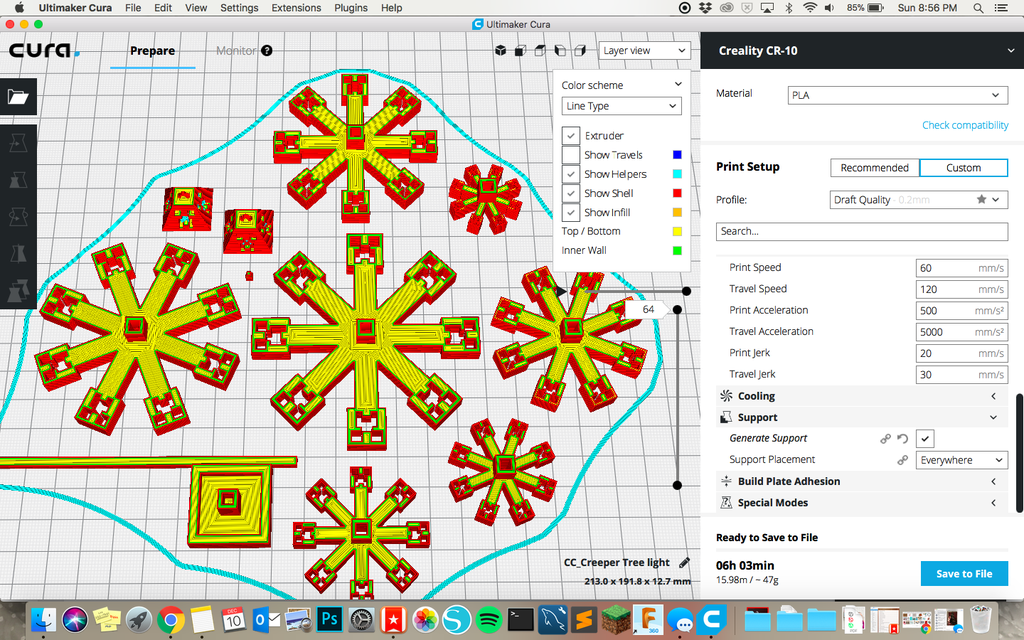
Now, you can either upload the full tree into your slicer of choice, or do them individually and have the program arrange the parts.
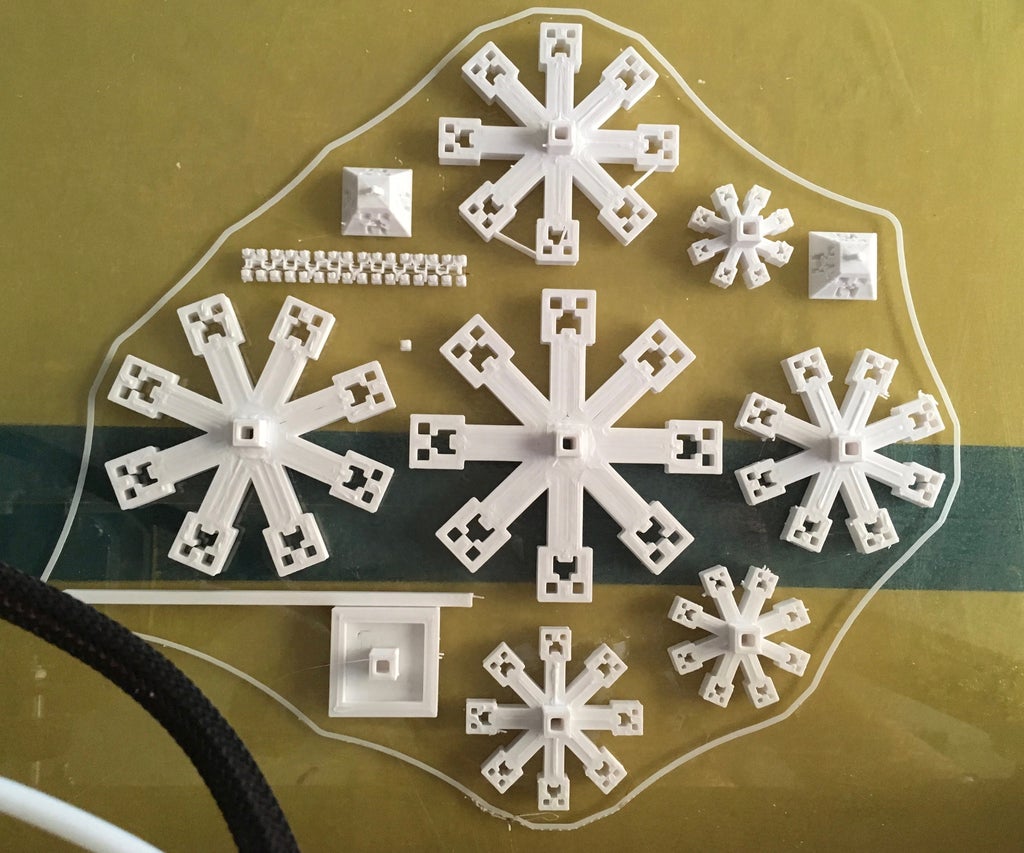
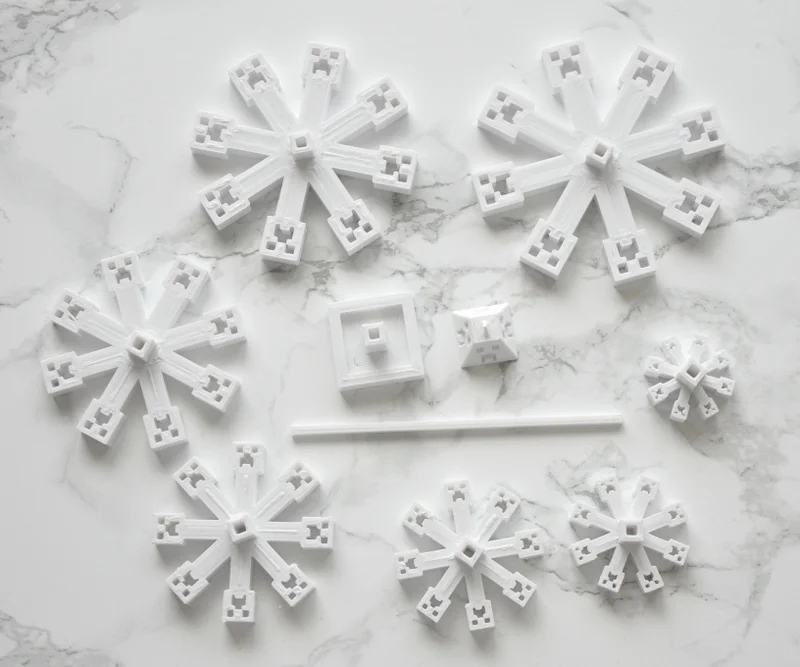
Print everything out. (I experiment with some tiny lights I wasn’t happy with, so that is the extra pieces you see, but you can ignore them).
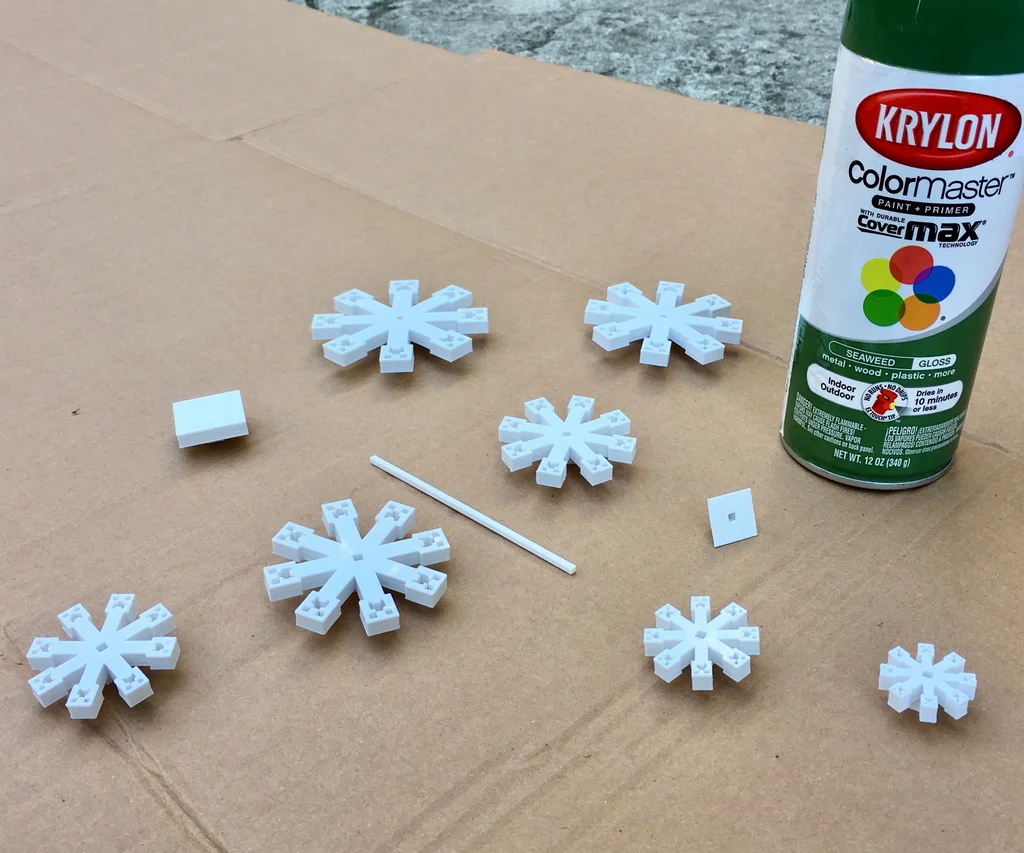
Step 4: Paint (optional)
First, make sure all the pieces can be assembled. If there are any issues, it is going to be the post being too big or small. (I found out my printer isn’t printing as tall as the models, so I can’t guarantee this print will work for you BUT, the only thing that needs to change is the post. Everything should work proportionately even if the post doesn’t. You can upload the post into a 3D design program like Tinkercad and change it, or let me know the issue and I can make slight changes to the file for you so it works. Also, if the post is just slightly too big, which can happen anyway depending on your printer, you can just use sandpaper to file the sides/ends. I did some sanding on the ends where they had warped a little during printing and got it to fit just fine.
Once you have all your pieces and remove the support from the top, it is time to paint them if you are going to do that.
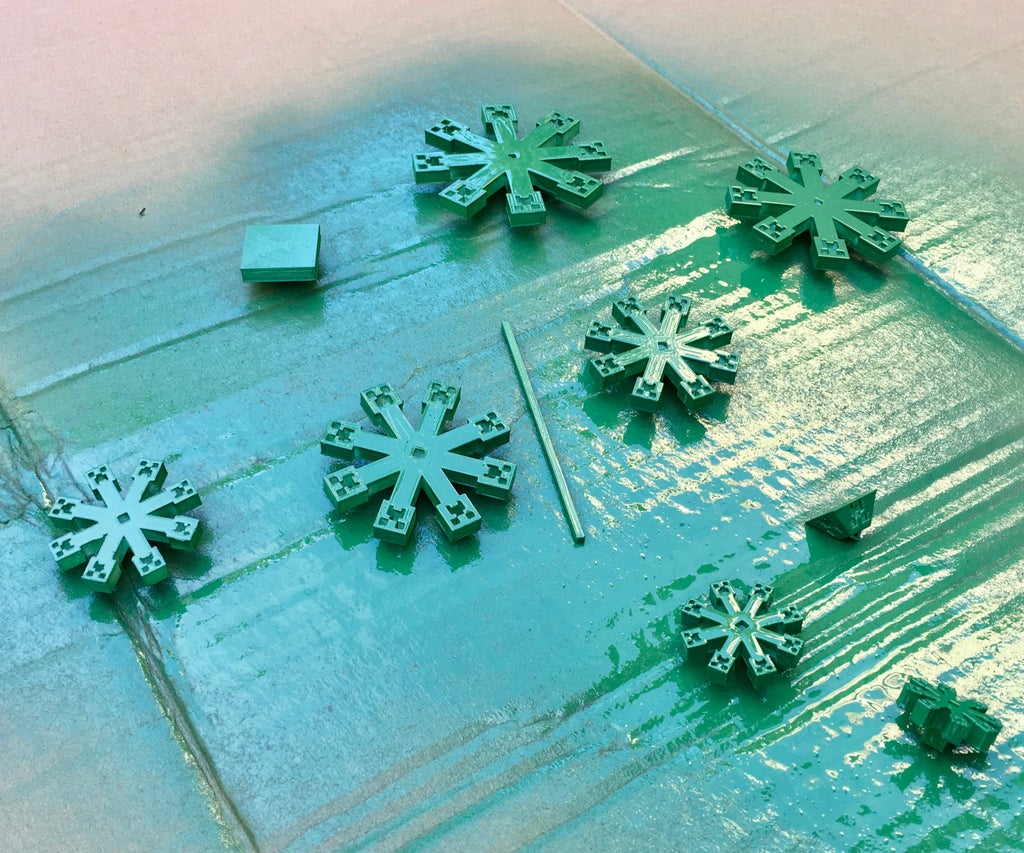
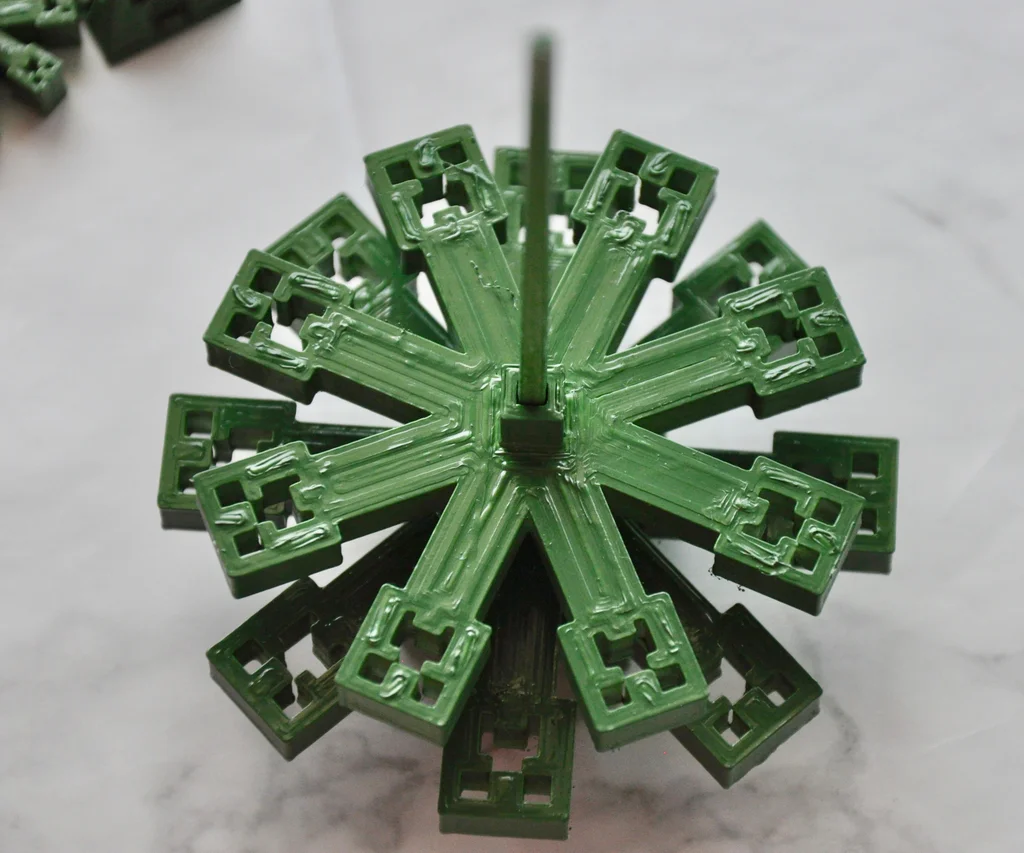
Don’t spray the post. I know, I know, you can see mine above, but I started to paint it and then realized that was unnecessary and could add extra layers to it I didn’t want so I took it out.
Try your best to get inside the faces, but that is going to be a bit difficult with the spray.
Be careful about filling in the loop on top of the head with spray paint as you’ll need it open to hang it.
Let them dry.
Step 5: Assemble
Time to put the tree together!
To try to get the tree as straight up and down as possible. I glued all the pieces on as it helped keep it straight.
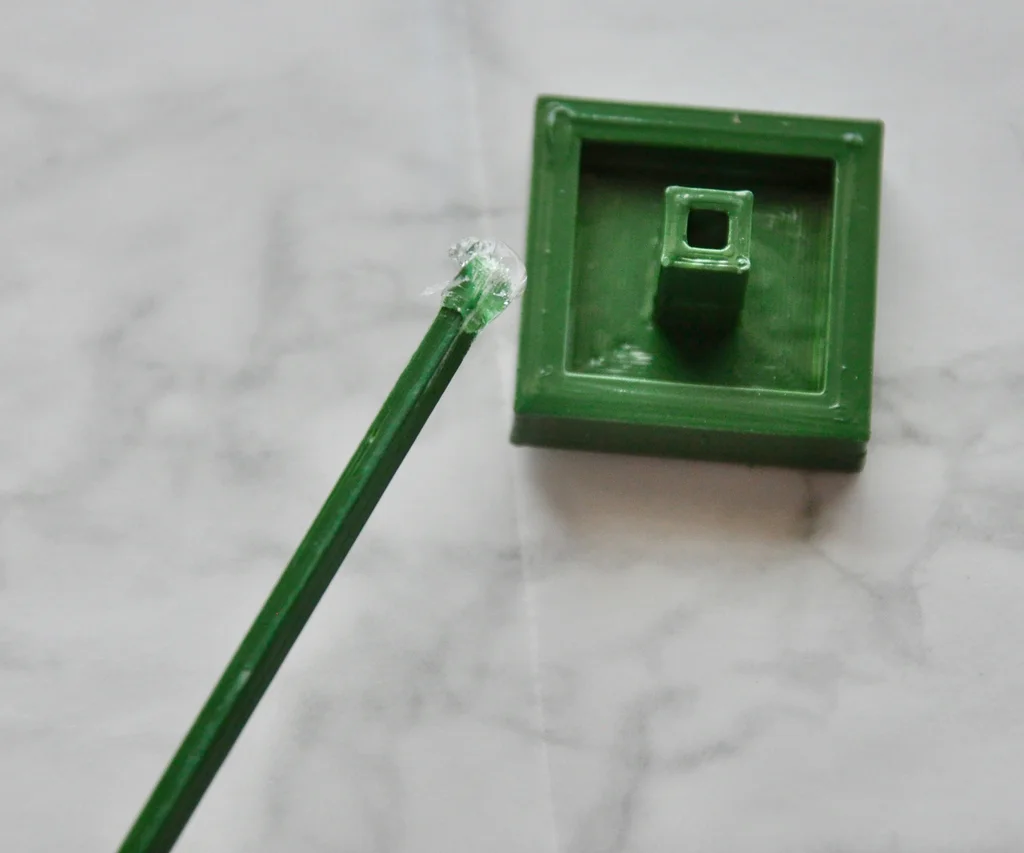
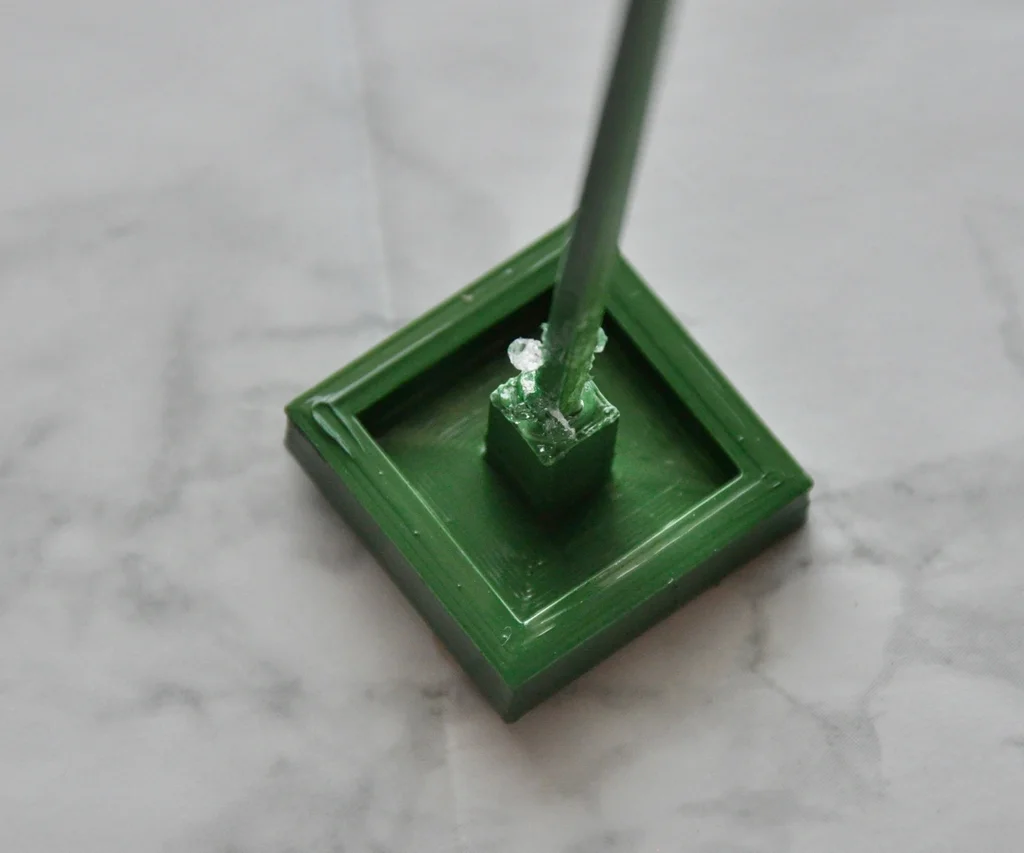
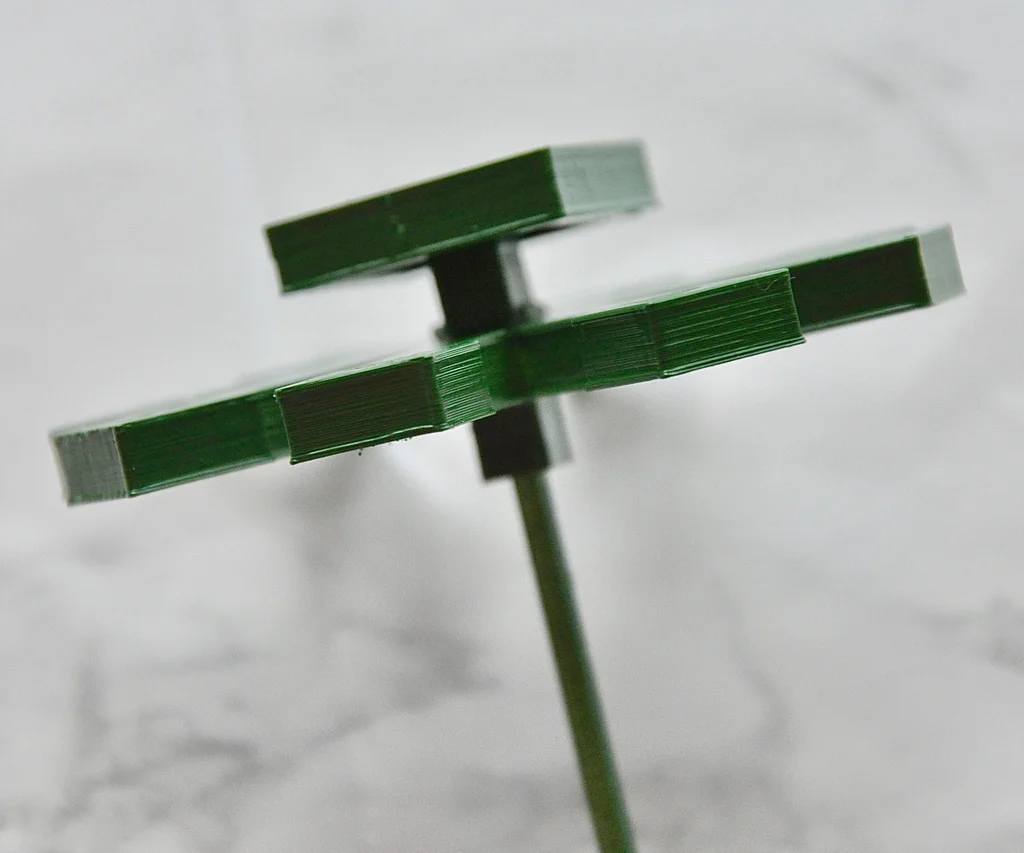
Start by gluing the post into the base. Now add a bit of glue on the post and add the first/largest layer. Continue gluing and adding pieces. Don’t add too much glue as your pieces will just push it all down so only add as much as you need for the piece you are putting on.
Finish it off by putting glue in the topper/head and sticking it on!
Step 6: Finishing It (optional)
After it was all together, I decided to spray a finish on it that was Satin. I like it better than glossy.
Give it time to dry and you are done!
You need to add a string or ornament hook to hang it.
And you’re done!
Step 7: More Colors
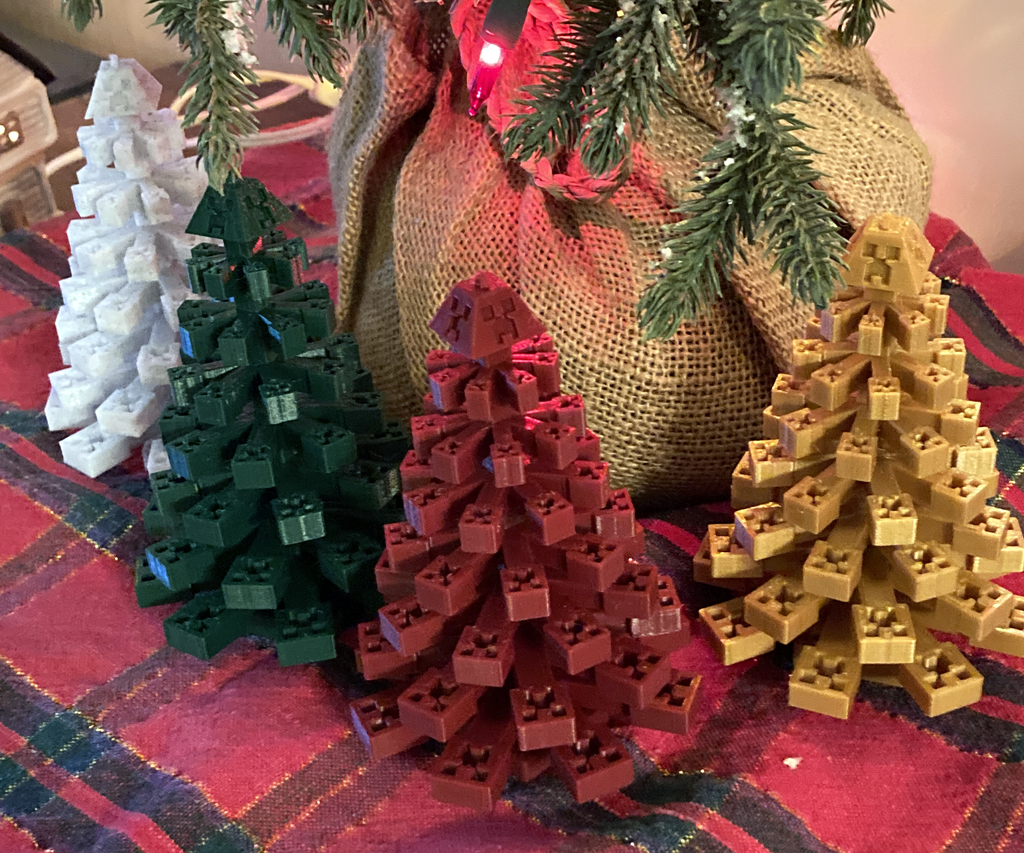
Just a look at some I’ve done in Marble, Red, and Gold.
Source: Penolopy Bulnick

Leave A Comment