I’ll mostly cover very simple things that we don’t necessarily offer in our processes, but that can easily be done at home. No need to be a superhero or even a super-skilled maker. Follow my tutorials and you’ll do it with your eyes closed. Today, we start with a tutorial to see how to polish your translucent resin 3D prints.
How to get a translucent 3D print?
To achieve translucent and transparent prints, we use PolyJet Technology and PolyJet Clear resin. The printing resolution is 14 microns, using a transparent resin. 3D printing is an additive process, building the parts with successive layers. Consequently, the layers can be observed on the surface giving a translucent effect as if you used a 3D printing clear material. However, some post-processing can help you to get the best appearance close to a transparent aspect.
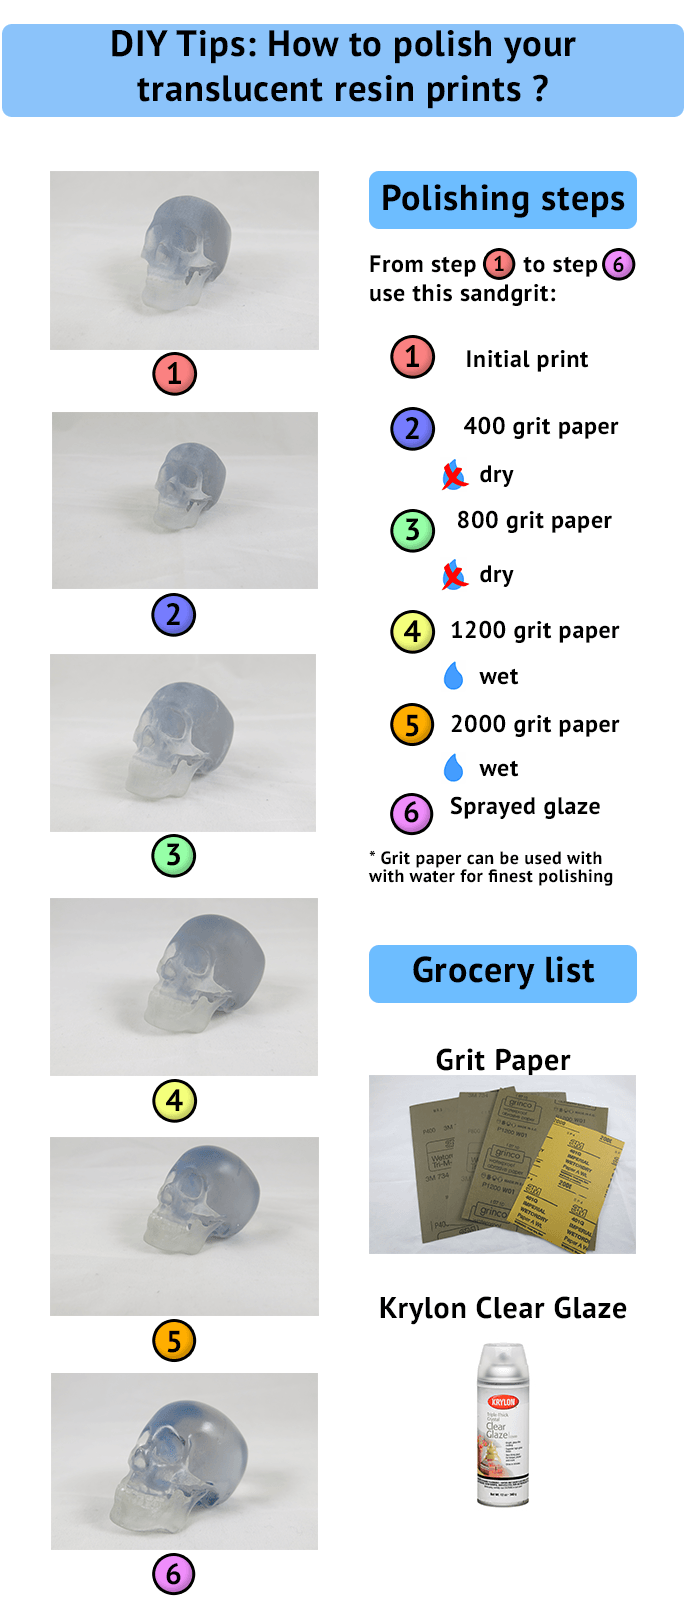
To improve the surface of your part, you will need a selection of wet & dry sandpaper, which will be used wet in a circular motion. We recommend grits ranging from 400 through 2000. You can go farther if need be. However, it is very important not to over-sand the object to keep its details and geometry.
How to polish your transparent resin prints?
The first step is to sand using a 400 wet grit until the layers have disappeared. Sanding can make the part turning white, but the translucent resin look will come back later using more important grits.
When the layers of production have disappeared, change to the 800 wet grit paper until the abrasion marks created with the 400 wet grit paper have disappeared. For all the polishing steps, the objective is to erase the abrasion marks of the previous sandpaper used, then polish the resin with the next grit.
It’s not necessarily obligatory to use wet grit paper at the beginning of the process. However, if you have time to do it, the surface will be smoother and better looking. It’s really up to you and the time you have.
Once the sanding process is done, the part has to be rinsed and dried. It is really important to make sure there is no more dust on the object before the final step.
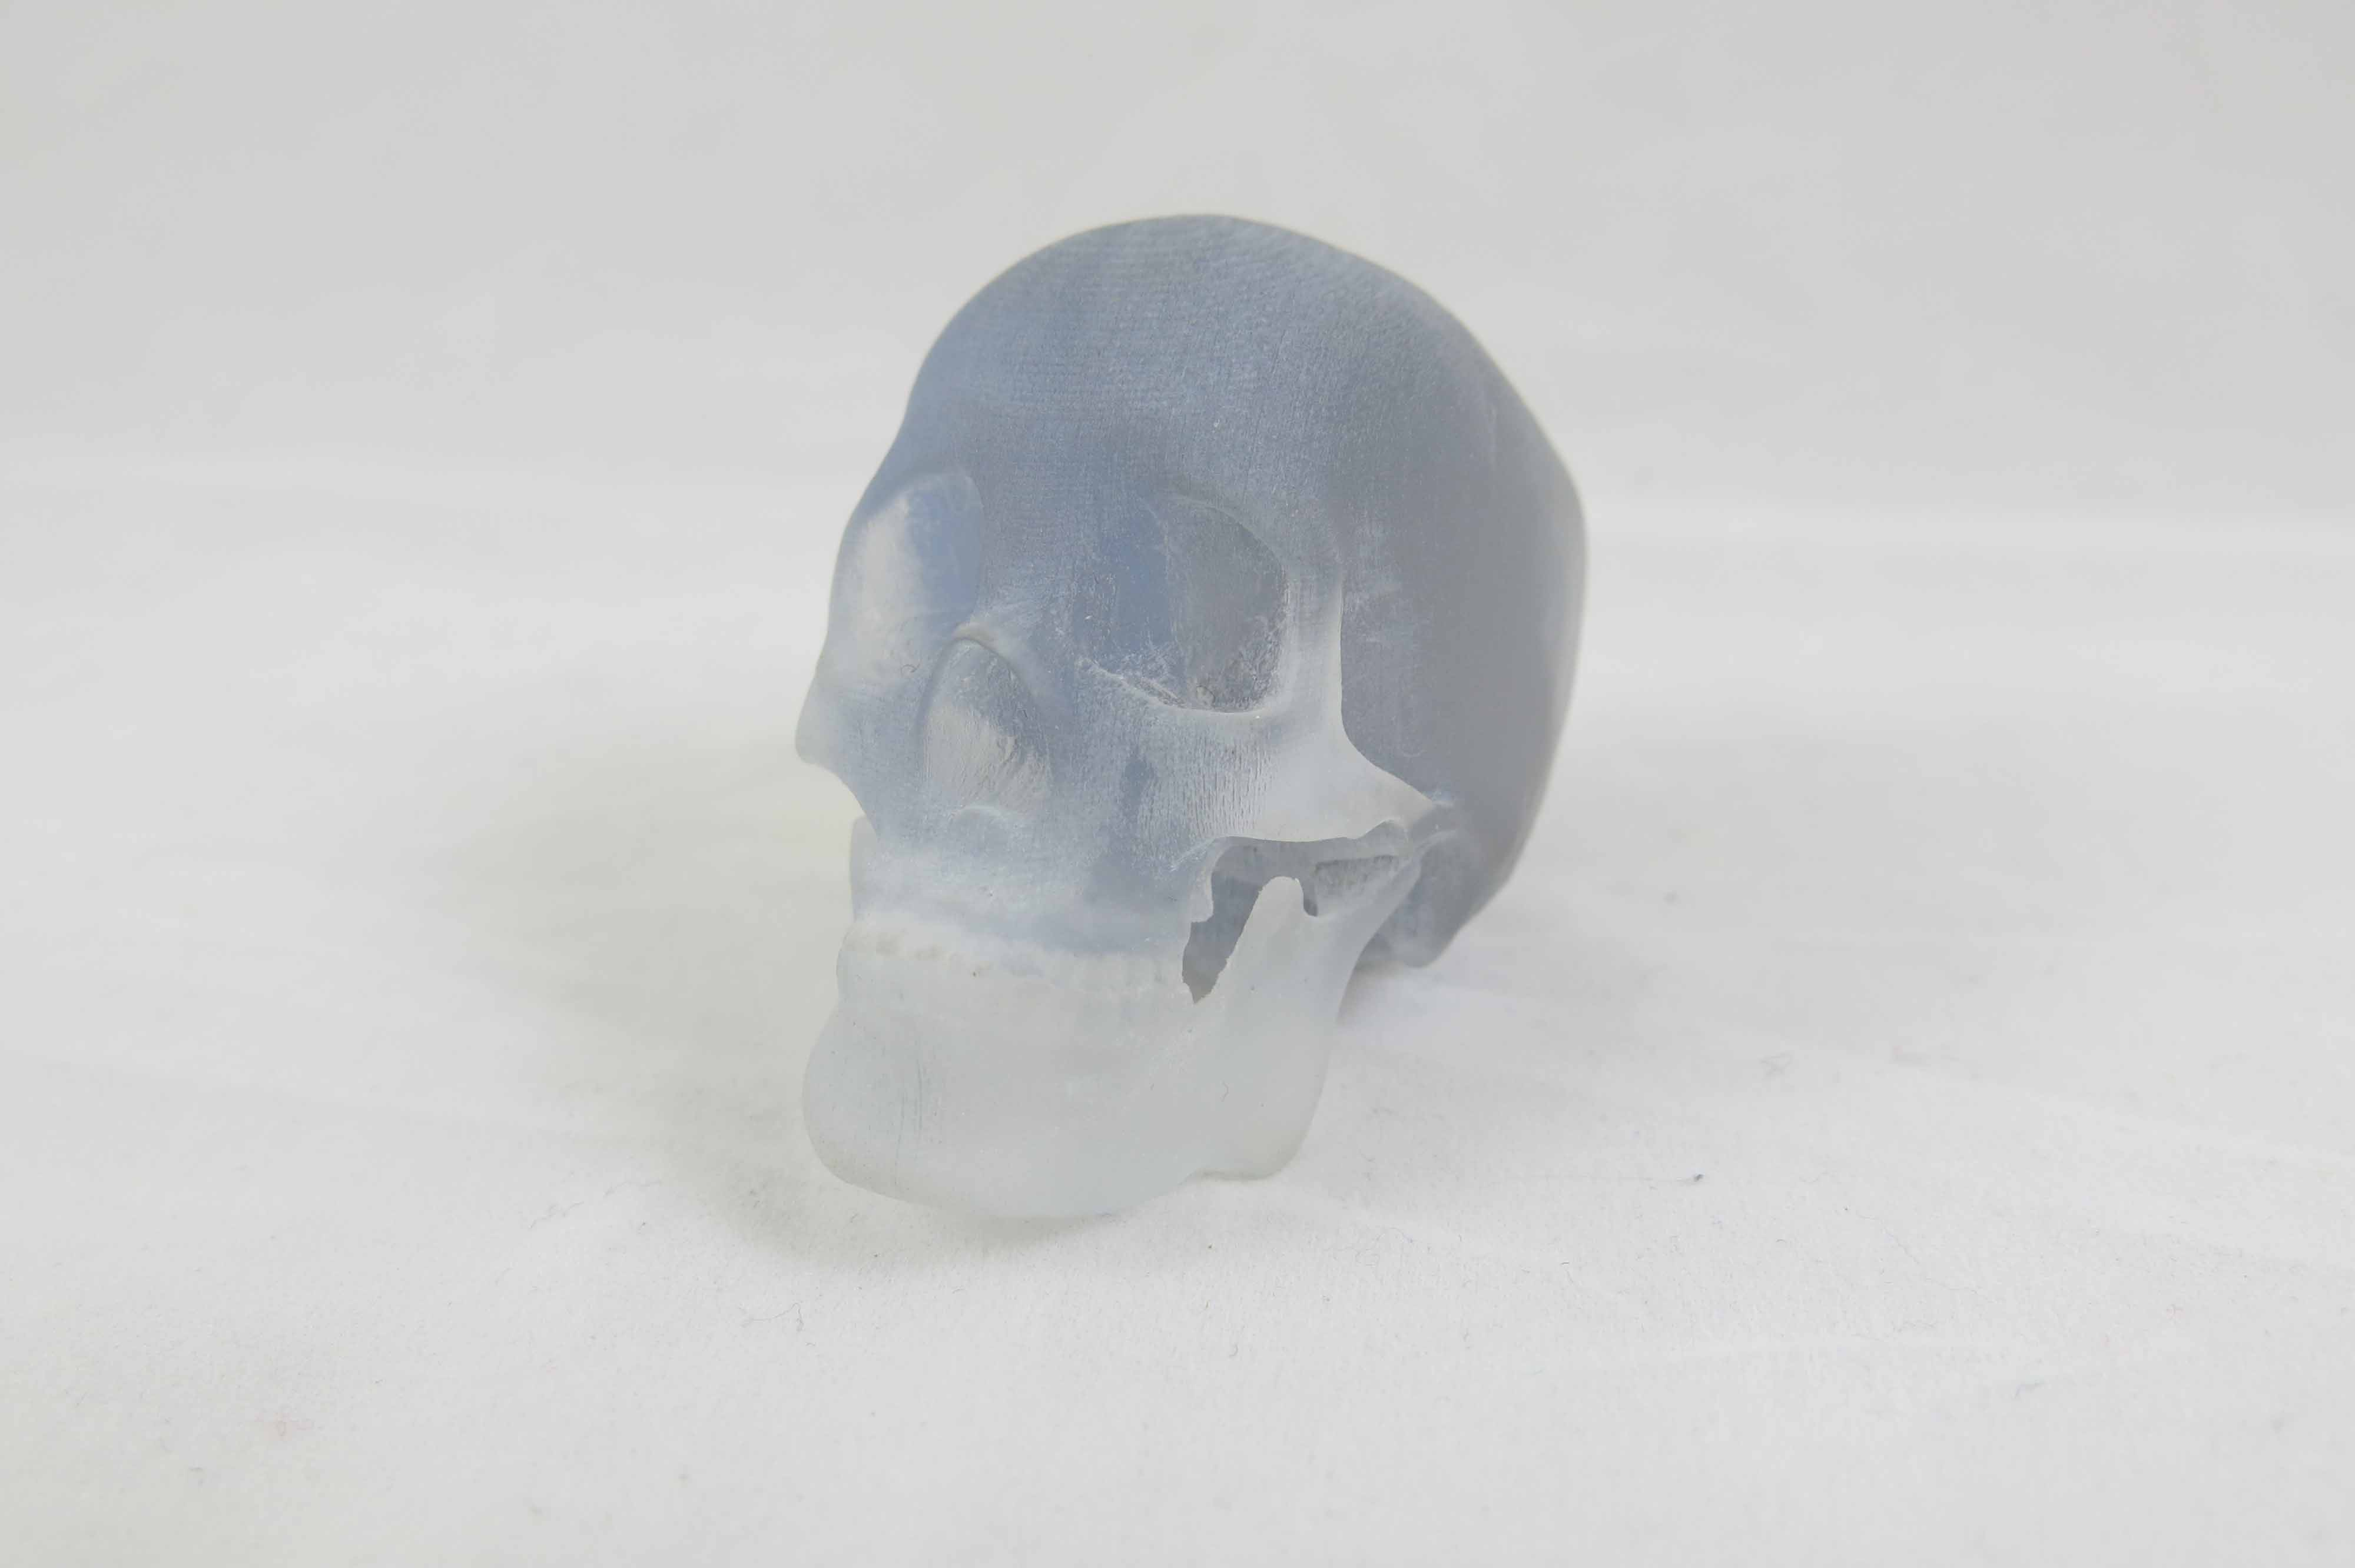
If the object is fully dry and clean, you can apply one to three light coats of gloss clear paint on the surface, the number of gloss depending on the spray. Wait the recommended time between the coats to avoid drips, and let your part dry completely to avoid fingerprints. This is how your print should look like before and after the process.

In order to polish this resin part, it took me about full hours. But the result is definitely worth it.
I hope this tutorial can help the ones who’re looking for some DIY tips to make the most out of their transparent 3D prints. Remember, that you can ask FacFox for a quote if you want us to polish your part.


Leave A Comment