Saroj Manandhar, an Engineering Manager at The Toro Company, first learned about 3D printing when he attended a tradeshow in 1999, where he set his eyes on a Stratasys FDM 3000. Right then and there, he knew he had to have one.
He set out to procure one for his company as soon as possible. “My goal was to integrate 3D printing in our development process in hopes of saving time and money,” said Manandhar, adding that “in less than a month, we were using the FDM 3000 around the clock to print our prototypes in a matter of hours rather than the traditional method of making molds that would have taken us several weeks and cost fifty times more.”
Since then, Manandhar’s company has procured several other large FDM printers, and they haven’t looked back since: “we develop our products entirely utilizing 3D printed parts. It also helps that 95% of our components are plastic. We continue to save well over $250,000 in tooling every year and cut down on development time by 10 – 6 weeks per project.”
Entranced by what 3D printing could accomplish, Manandhar waited for the day when 3D printers became more affordable so he could begin to work on some personal projects. “I have always wanted my own 3D printer for a long time,” states Manandhar, “and with the 3D printers now being more affordable, I finally procured two Airwolf HD printers in 2014.”
With plenty of practice using Solidworks, Manandhar began designing his first print for pleasure: Ironman. “I considered it a personal challenge to model the entire Ironman suit,” claims Manandhar, “it took me several weeks to complete the model and a few more weeks to print the parts in the Airwolf and FDM printers.”
With results like this, we’d say it was definitely worth the wait.
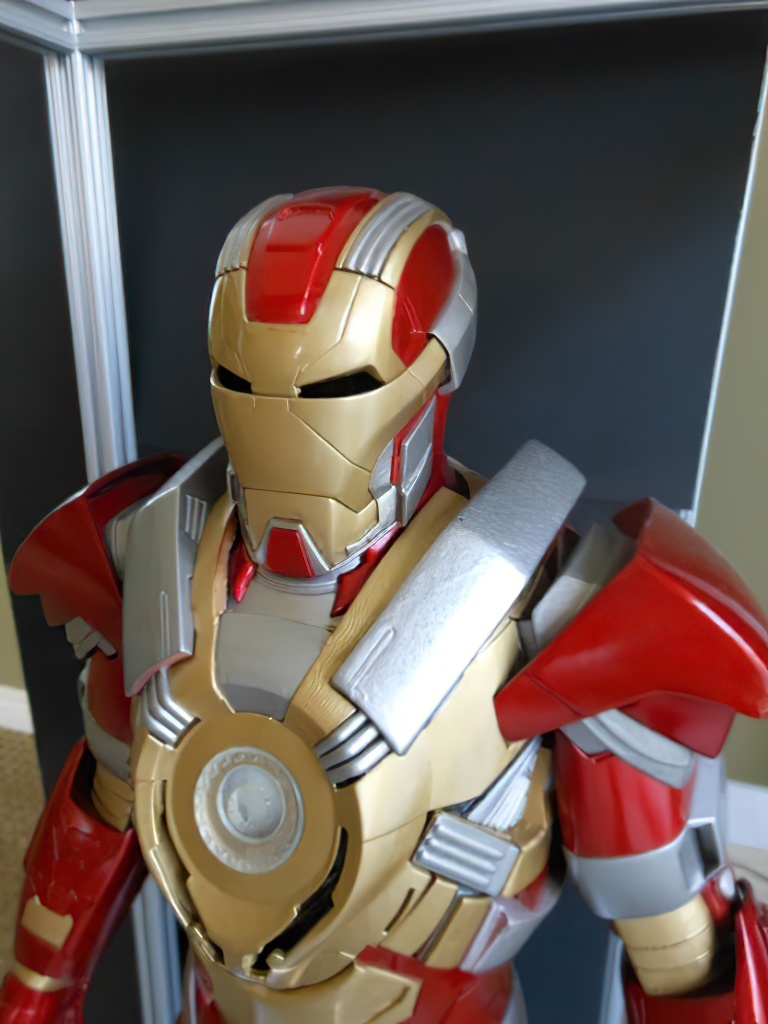
So, what’s his secret to generating prints that look like they’ve been cast?
Step 1: Use an automotive filler/primer to coat the prints. Manandhar uses Dupli-color automotive primer.
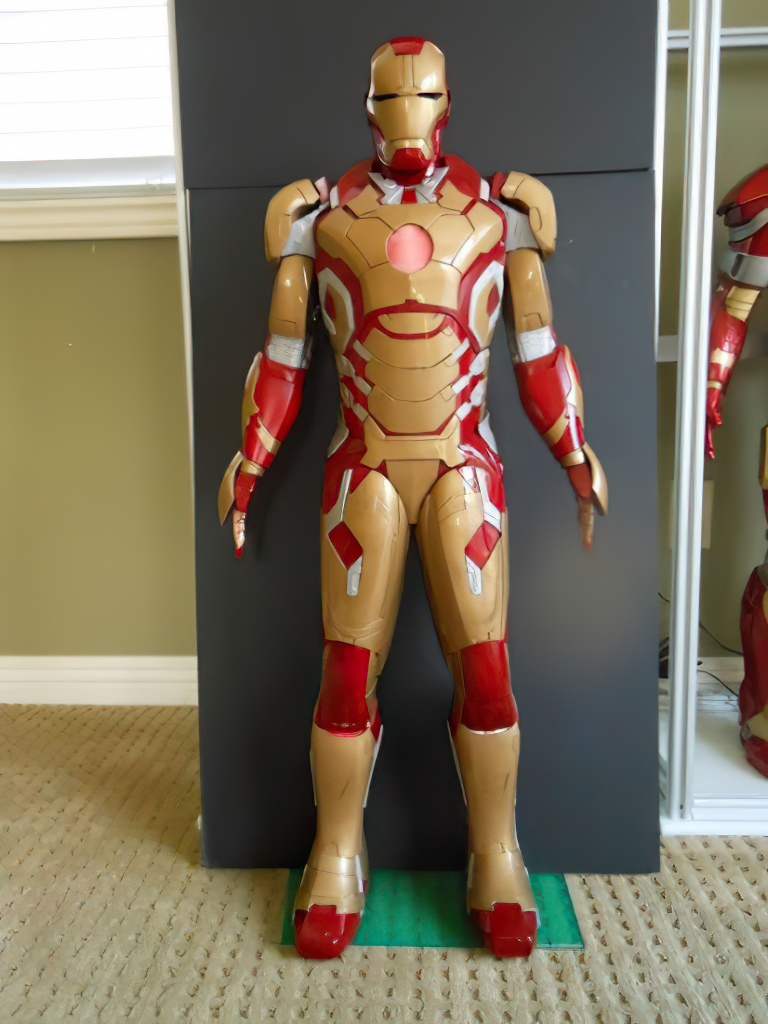
Step 2: Sand the surfaces. 200 – 300 grit sandpaper is recommended.
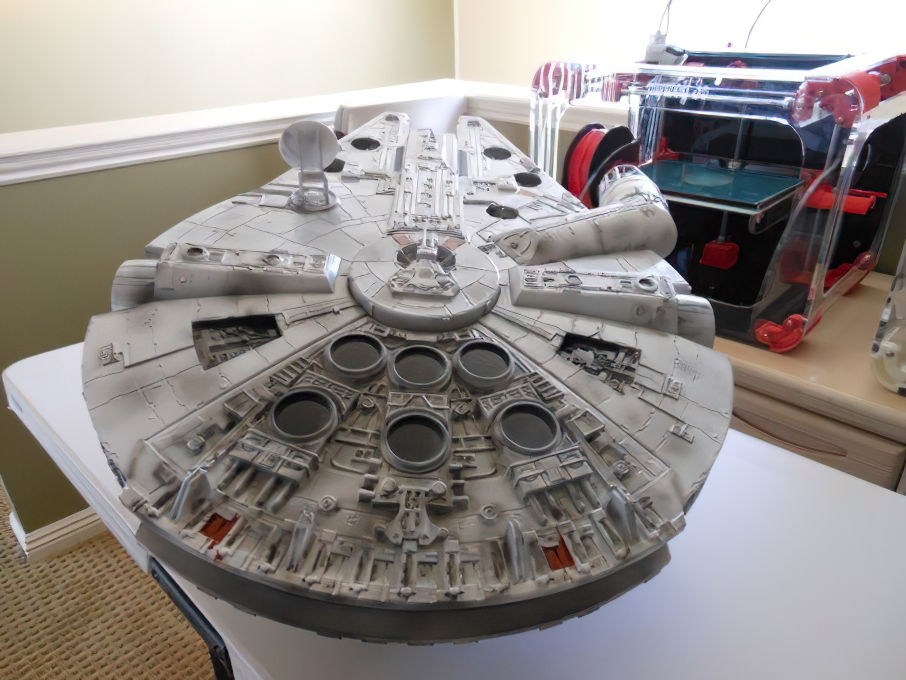
Step 3: Paint the parts in your desired color. Dupli-Color and Rust-Oleum paint works well.
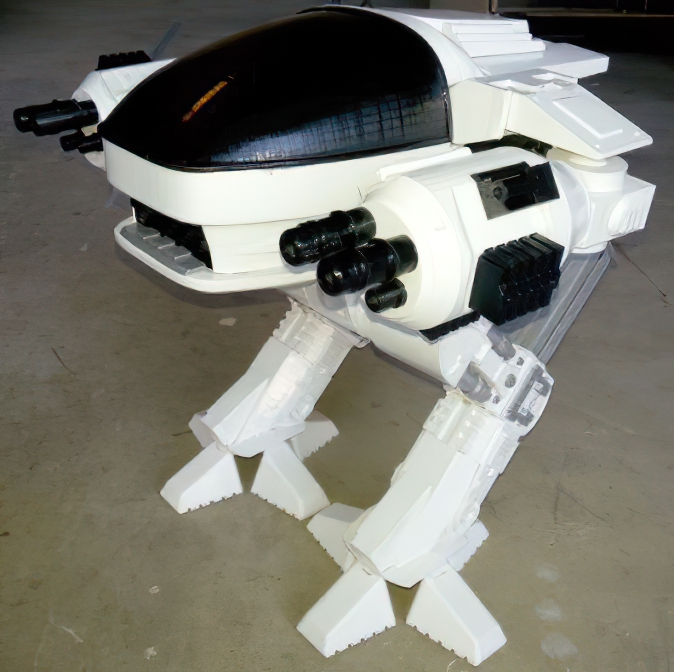
Step 4: Coat the print in 2-3 layers of clear polyurethane. Manandhar uses Rust-Oleum clear coat.
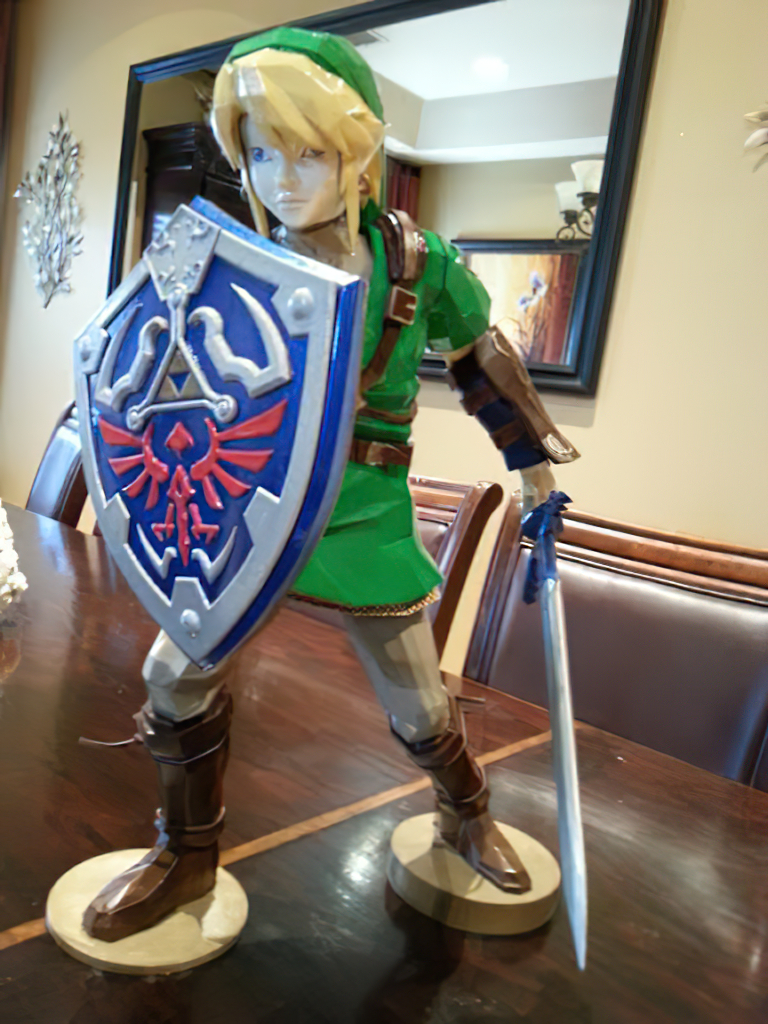
Manandhar has printed plenty of successful models using the above steps, at both his home and at work. Due in part to his excellent prints, he hopes that 3D printing will continue to grow into more areas and become more accessible: “I believe that our generation has the responsibility to prepare the next generation in 3D printing – every school and college should tailor courses in ‘Rapid Fabrication’ and provide funding to sustain the program.”
“With the rapid advances in 3D printing of not only plastic, but other materials such as metal, carbon fiber, food, biological, and even construction materials,” confirms Manandhar, “there is no doubt that 3D printing will impact the way we live in the future.”
We couldn’t agree more.

Leave A Comment