ABS is notorious for its tendency to warp. Check out 5 simple tips on how to prevent your 3D prints from being ruined by ABS warping.
What Is Warping?
Warping is a common FDM 3D printing phenomenon where the edges and corners of 3D prints begin curling off the print surface. Warping can singlehandedly ruin otherwise perfect prints, rendering them deformed and dimensionally inaccurate.
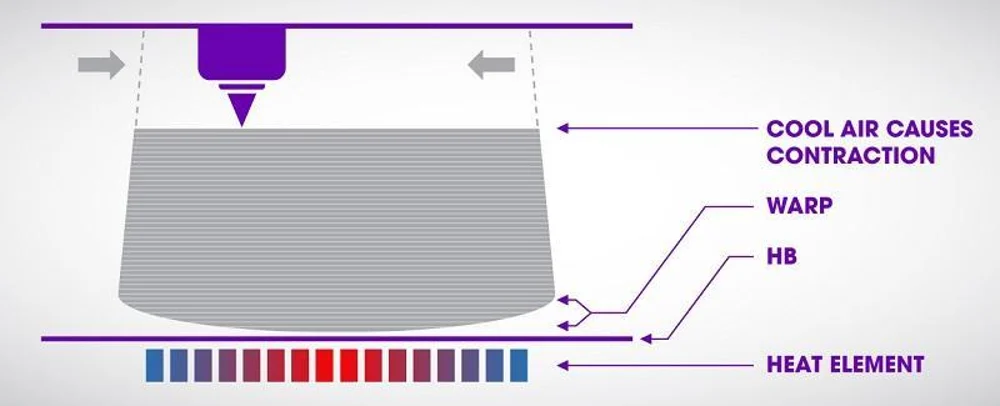
The problem is caused by thermal contraction, as demonstrated in the diagram above. As the extruded plastic cools, it contracts. The first layer of the 3D print, however, is adhered to the build surface, which doesn’t allow it to contract with the rest of the model. Instead, the forces begin to bend the bottom of the print upwards.
ABS suffers heavily from this, as it remains solid up to around 100 °C. This means that the extruded plastic quickly solidifies, leaving it vulnerable to warping forces (as opposed to being malleable).
To combat ABS warping, you will need to reduce these contracting forces and keep the first layer firmly stuck to the print surface. In our general warping guide, we cover basic tips that can be used for a variety of filaments. Here, however, we’ll focus on ABS.
Tip #1: Clean the Print Surface
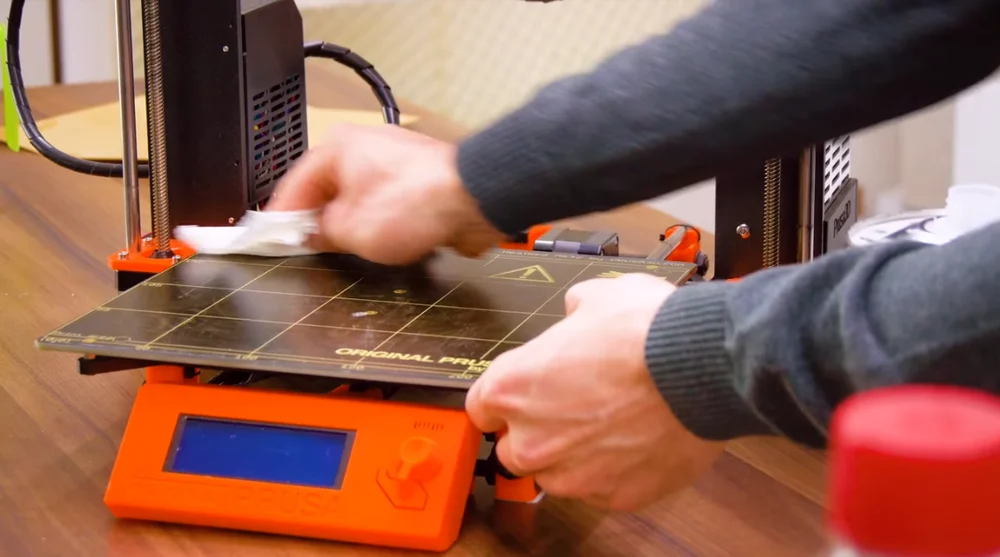
Whether from dust, greasy fingers, or adhesive residue, your print surface will likely collect a layer of grime over time. This will prevent the first layer of your 3D print from adhering properly, increasing chances of warping.
Remember to clean your print surface regularly. A quick wipe-down with a paper towel and some isopropyl alcohol (IPA) will do the trick.
With that, the print surface will do a better job of holding down the first layer.
Tip #2: Tune Your First Layer Settings
Another explanation for warping is that your first layer print settings are not properly tuned. This includes the temperatures, layer height, line thickness, and more. For a general overview of these settings, check out our first layer problems guide.
With ABS specifically, try starting with these reference settings:
- Nozzle Temperature: 230 °C
- Bed Temperature: 110 °C
One specific concern with ABS is that your bed temperature isn’t high enough to keep the first layer held down. This is due to ABS’s incredibly high-temperature resistance, which prevents anything below 100 °C from having much of an effect on it.
In general, you want a high bed temperature to keep the material warm and adhered to the bed while keeping the nozzle temperature as low as possible. A sufficiently high nozzle temperature is necessary for proper layer adhesion and strong prints, but shooting too high may exacerbate the effects of thermal contraction. This is due to the increased temperature difference between the nozzle and the bed.
Based on how your prints turn out, tweak the nozzle and bed temperatures by 5-°C increments to find the balance between print strength and warping.
Tip #3: Print in an Enclosure

As mentioned previously, ABS’s resistance to temperature makes it extremely prone to warping. To mitigate these effects, try printing in an enclosure to raise the ambient temperature. This decreases the forces created by thermal contraction.
Options include DIY enclosures as well as commercial solutions. Some of the latter even actively heat the air in the chamber, but this is often unnecessary. Usually, the heat from the heated bed is enough to maintain a toasty temperature.
In both cases, test out the enclosure beforehand to ensure that the electronics and printed components of your printer are not damaged.
Tip #4: Use an Adhesive
If an enclosure doesn’t help, or if you simply don’t want to bother with one, it may be that you need a little help from an adhesive. This will give the first print layer a little more to grab onto, preventing it from curling up.
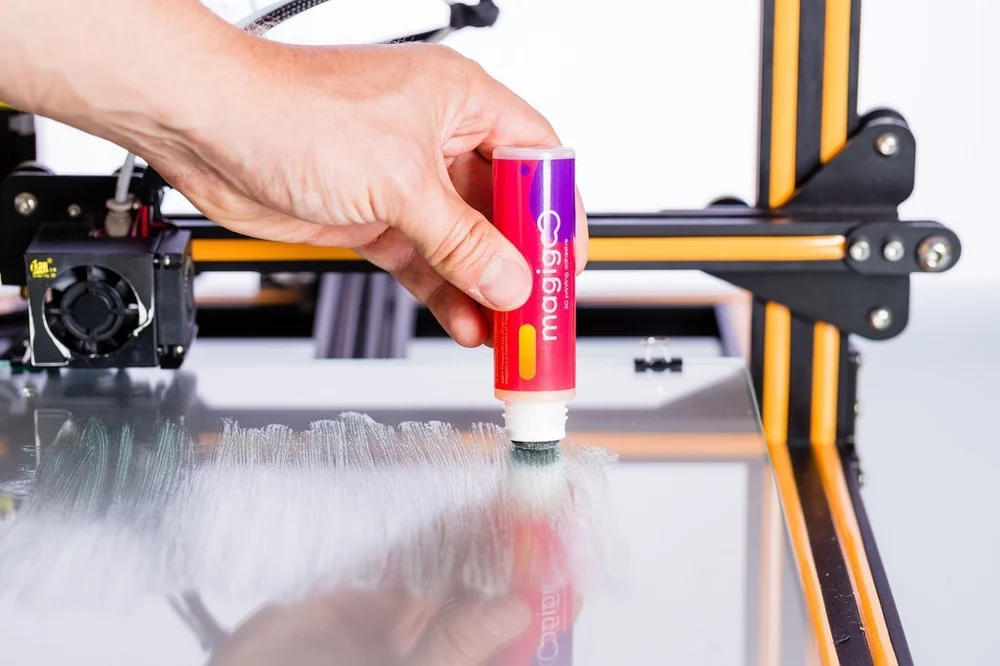
Common adhesives include regular household hairspray and gluestick, as well as commercial solutions, like Magigoo (depicted above). For ABS specifically, ABS juice, a solution of ABS and acetone, is also common.
Regardless of the adhesive you use, make sure to apply only a thin layer at a time and reapply as necessary. If you use this solution, you’ll definitely need to clean your print surface from time to time. (See Tip #1.)
Tip #5: Use a Brim or Raft
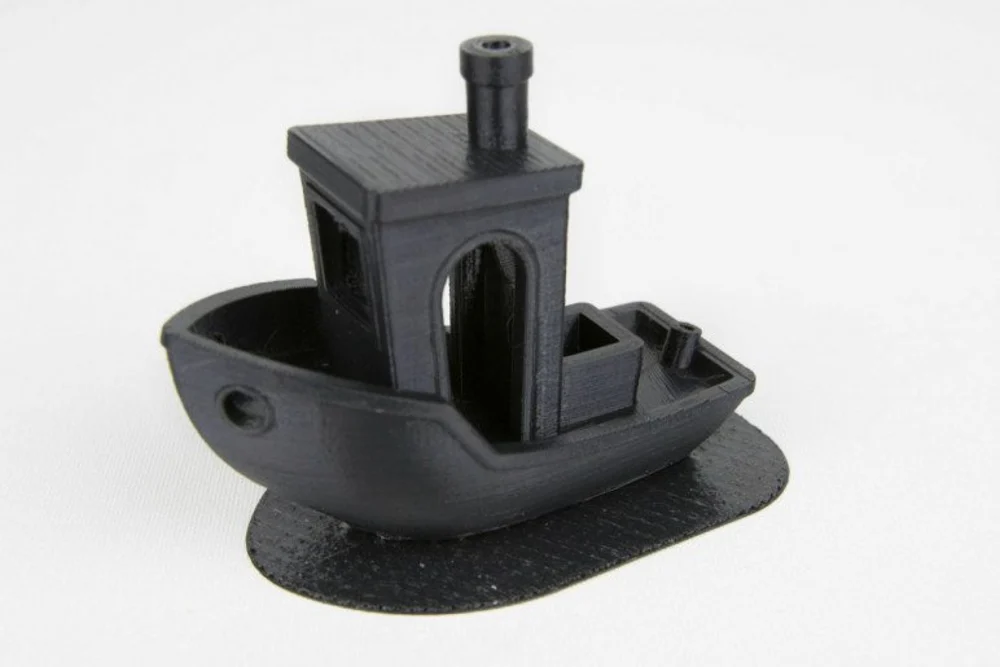
As a last resort, you may have to use a brim or raft. Brims expand the first layer with extra perimeters (as with the image above), while rafts add extra layers onto which models are then printed. These will aid print adhesion by increasing the surface area in contact with the print bed. Rafts can also compensate for poor bed leveling.
Try the other tips before turning to these, as brims and rafts will increase print times, consume more plastic, and make post-processing 3D prints more tedious. If your model has many small features in contact with the print surface, however, these may be necessary to prevent them from dislodging.
There You Go!
With these tips, you should be good to go! Hopefully, you’ll sort out any warping issues you had with ABS. With that, you’re ready to take advantage of the amazing properties of this material!
For more tips, check out our ABS printing guide. We also have more tips for nailing your first layer and general troubleshooting.
Happy printing!