ABS slurry, glue, and juice are invaluable tools for printing the notoriously-troublesome ABS. Learn what they are and how to make them!
Post-Processing with Solvents
ABS juice, glue, and slurry are all about using solvents to post-process ABS plastic. Solvents are chemicals that can dissolve other substances; as such, they are often used for “melting” surfaces together to form strong chemical bonds. Products such as PVC cement and Weld-On use this approach (for example in plumbing and model-making applications): they solvent-weld plastic pipes and pieces for strong, watertight connections.
In 3D printing, similar uses of solvents can be very handy. This is where ABS juice, glue, and slurry fit into the picture: They use solvents, in conjunction with dissolved plastic, to provide various methods of working with ABS parts. Whether to improve bed adhesion, act as a strong glue, or smooth out layer lines, ABS juice, glue, and slurry are essential solvent-based tools for your 3D printing experience.
Let’s dive into what these versatile materials are, how to use them, and how you can make your own!
What Are ABS Juice, Glue, & Slurry?
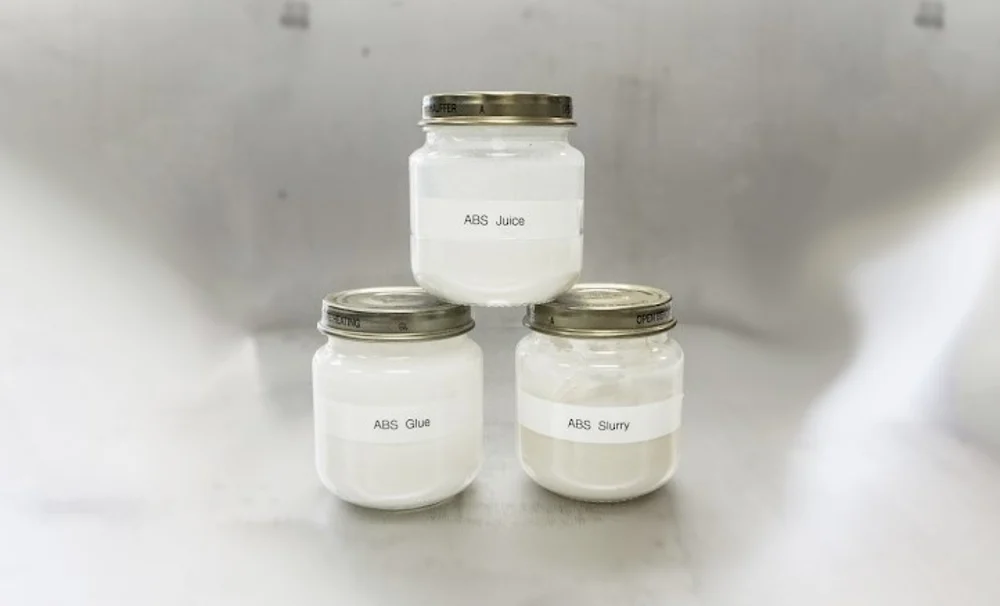
In essence, ABS juice, glue, and slurry are all the same substance, just at varying concentrations. They’re all solutions comprised of two components: acetone as the solvent and ABS plastic as the solute (i.e. the thing that’s dissolved). Based on the amounts of ABS, the consistency of the solution changes, resulting in the different categorizations of juice, glue, and slurry. Based on this consistency, the solutions’ uses are distinct:
- ABS juice is the thinnest of the three variants and is often used for improving bed adhesion. Its watery consistency helps it to be spread thinly across the print bed; this can help reduce warping, which ABS is notorious for.
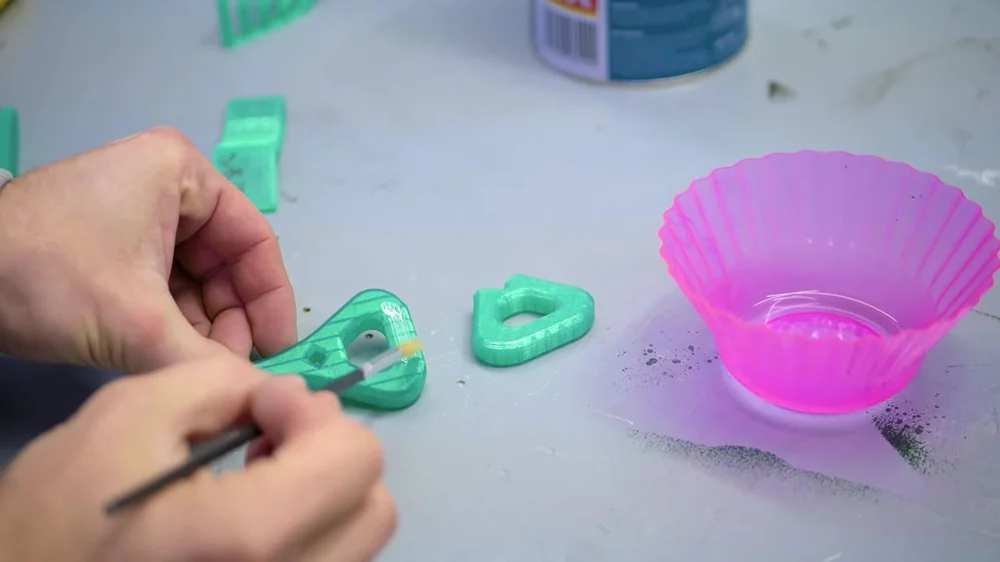
- ABS glue, by contrast, is slightly thicker than ABS juice and is used for binding ABS parts. Whether to repair broken models or create multi-part assemblies, this solvent-based solution fuses your parts into a single strong piece. The consistency of ABS glue can vary based on your preferences, just as how other types of glue can come in thin and thick variants. Experiment on your own to find your preferred consistency.
- ABS slurry is the thickest of the three, used as a filler material. This can be to close gaps, strengthen glued seams, or add material to certain areas of your prints. This is often useful as a precursor step to sanding.
The benefit of these solutions is that they don’t introduce a new type of material: The solvent eventually evaporates, leaving behind what is essentially a solid ABS piece. From there, you’re free to sand and post-process as you would any other ABS part.
Okay, we now have an idea of what ABS juice, glue, and slurry are, as well as what each is useful for. Next, let’s explore how to make some of these solutions and tailor them to specific needs.
Making Your Own
Making your own ABS juice, glue, and slurry is largely a matter of dissolving some scrap ABS into some acetone – a relatively straightforward process. The main differentiator between the three variants is, as we mentioned, ABS concentration: differing concentrations create differing consistencies, resulting in the different uses we previously highlighted. As such, there is no “right” way to make ABS juice, glue, and slurry, it really comes down to personal preference.
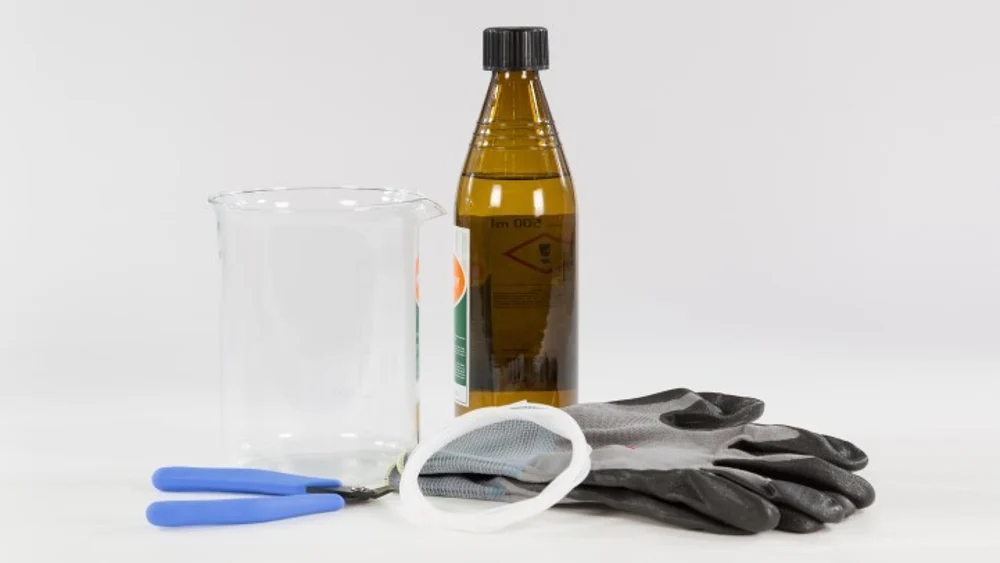
To get you started, here’s a general recipe to try. You’ll need the following:
- Scrap ABS (like filament or old prints)
- Snips / wire cutters
- Acetone
- Metal, glass, or PP container with a lid
- Digital scale (optional)
- Personal protection (including gloves and safety glasses)
Keep in mind that the color of your scraps will determine the color of your ABS solution, so choose something that matches the prints you intend to work with. In addition, acetone is flammable and releases dangerous fumes, so make sure to work in a well-ventilated area, away from open fires, sparks, or heat sources.
With that, you’re ready to start making your juice, glue, or slurry!
Steps
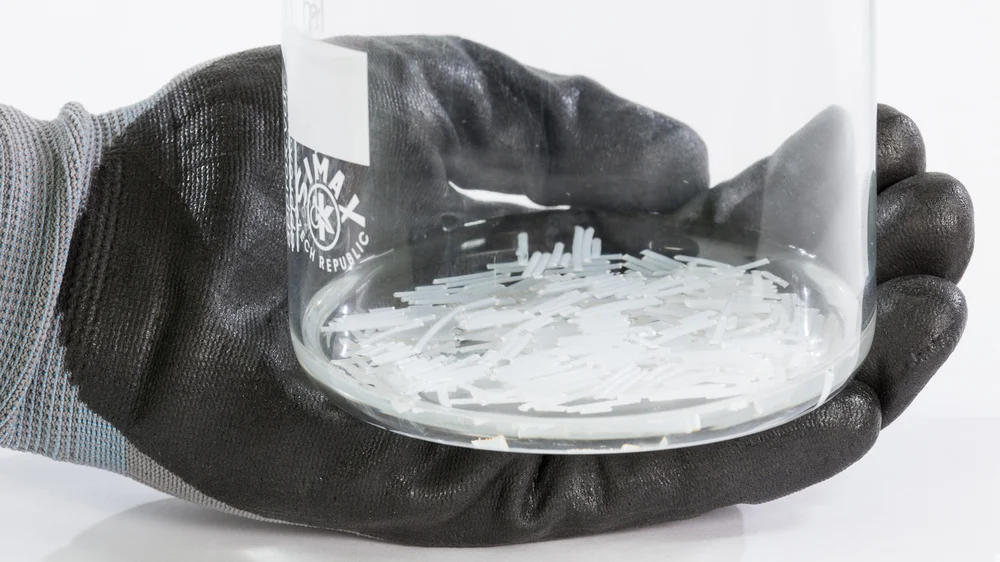
- With the snips or wire cutters, cut your ABS into small pieces (pictured above).
- Pour the acetone into your container, based on however much ABS solution you need.
- Measure out your scrap ABS relative to the amount of acetone:
- ~1 g/10 mL for juice
- ~2 g/10 mL for glue
- ~5 g/10 mL for slurry
- If you don’t have a scale, start with just a pinch: You can always add more later.
- Add the ABS to your acetone.
- Stir the solution or cap it and swirl.
- Cap the container and let it sit for ~8 hours. (Tip: Occasionally loosening the lid can help relieve pressure buildup from the acetone vapor.)
After eight hours, your juice should be watery, your glue slightly thicker, and your slurry a thick sludge. If your solution isn’t as thick as you’d like, simply add more ABS and repeat steps 5 and 6 until you find your sweet spot. Again, much of this process comes down to personal preference, so experiment until you find what works best for you!
Buying
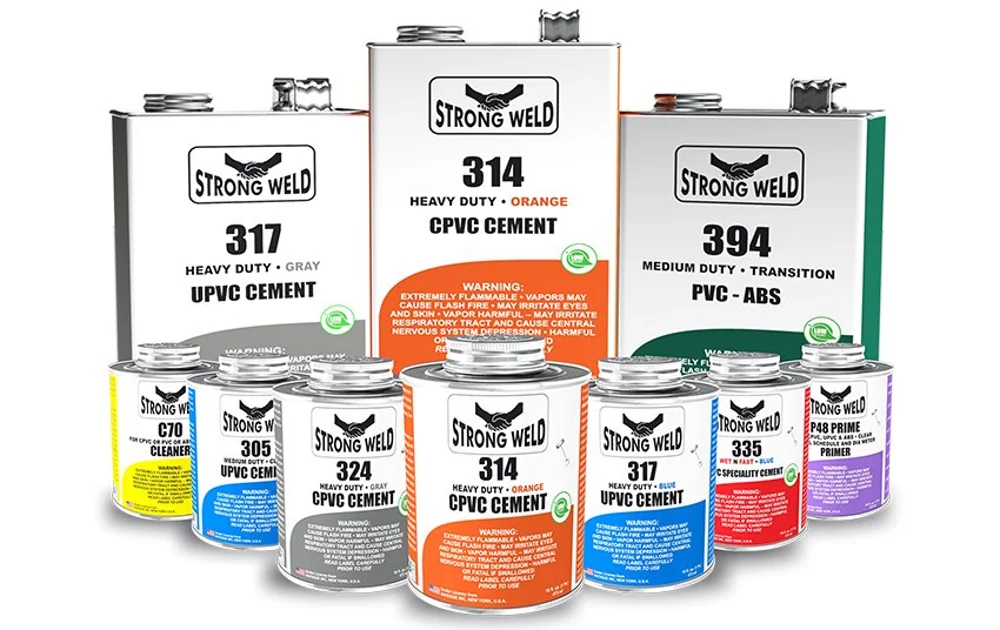
If you’d rather buy your ABS juice, glue, or slurry, you also have a few options. Most notable is ABS cement, frequently used in plumbing applications, which also operates on the same principles of solvent welding. Before buying, just note that such products aren’t made for 3D printing specifically and are instead designed to create watertight pipe joins. As such, cement consistency and color may not be ideal for your applications.
Alternatively, Prusa Research also sells an ABS juice spray bottle, which comes pre-prepared with the right amount of ABS pellets. Just note that, due to shipping restrictions, you’ll have to add your own acetone.
With that, you have our run-down of ABS juice, glue, and slurry. We hope that it’s helpful for your next ABS projects. Happy printing!
Source: https://all3dp.com/2/abs-glue-slurry-juice-tutorial/