The best print temperature for ABS isn’t as elusive as you may think. Read on to learn all about ABS print and bed temperature settings!
Acrylonitrile butadiene styrene, abbreviated as ABS, is a common plastic that’s found all around us, with one of the most well-known uses being Lego bricks. Its properties, such as high strength and good temperature resistance, make it a good choice for many applications.
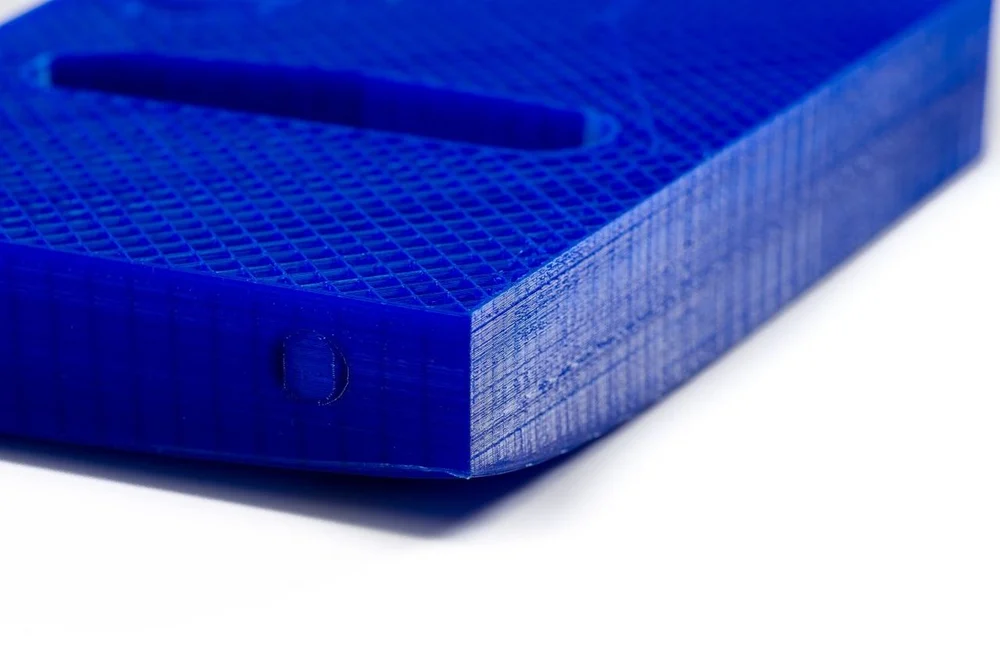
The material also offers the possibility of a good surface finish. ABS reacts to acetone, which tends to smooth and polish the surface. It’s also a material that’s easy to sand, so there’s quite a few options for post-processing it.
Unfortunately, it can be a little tricky to print with. One issue you may face while printing ABS is that it’s hard to get it to stick to the bed. Printed parts tend to warp at the sides and corners, and the fumes generated can be unpleasant. But we’ll get to all of that soon enough!
In this article, we’ll cover the most important aspects you need to be aware of when opting to print with ABS, paying special attention to the temperatures that help yield the best results. While we’ll be going over general settings, note that it’s always useful to check the manufacturer’s guidelines.
Let’s get started!
Warping Is the Devil
Before we jump into the “how-to”, we should establish what the term “warping” actually means.
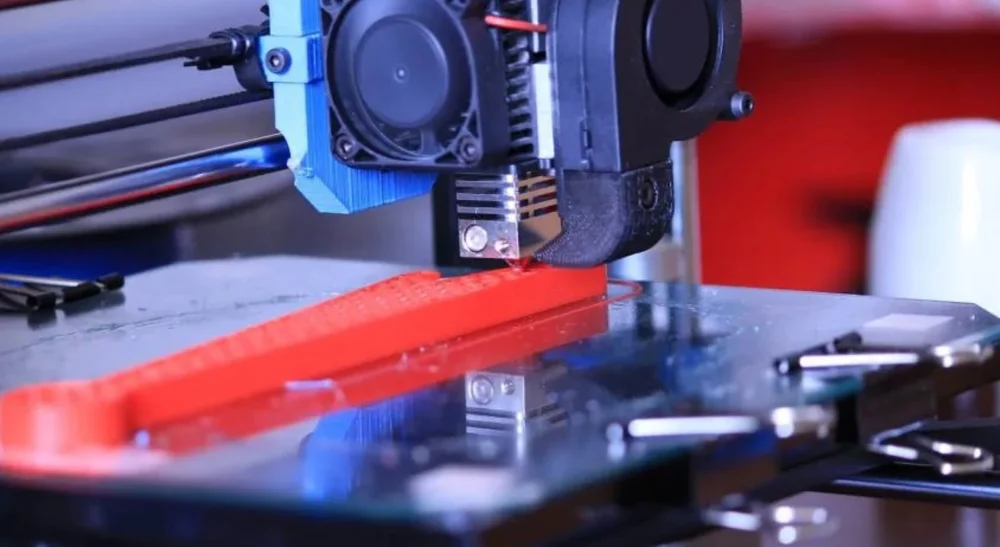
When a filament is heated in the hot end, it tends to expand. Once in a molten state, the plastic is deposited onto the build platform layer by layer. Then, it solidifies and contracts as it cools. Some plastics expand and contract a lot more than others.
Except for the most recently deposited layer, the rest will be cooler than those nearest the build surface, which are typically kept warm to maintain bed adhesion. It’s the difference between the cooler, contracting layers above the surface and the still warm, expanded layers against the surface that can cause a print to peel off the plate. It’s a bit like setting a sponge on a table and pinching it at the top: The bottom edges will rise up towards the point of the pinch.
Warping is common among ABS and nylon filaments, as they have a greater tendency to expand and contract than your regular PLA.
Heater Settings
Printing with ABS can be a bit hard, but with the right settings, it can be quite simple. Let’s take a look at how to tune your heaters for ABS.
Hot End
ABS melts somewhere between 210 and 250 °C. If nothing specific is indicated by the manufacturer, you should be able to play around with temperature settings in this range. We find, for example, that 235 °C does a pretty good job.
If you set the nozzle too hot, you’ll notice a lot of strings created between the walls of your part. If you go too cold, you might run into under-extrusion. Regardless, it’s always useful to run a few test prints to try different temperature settings.
Heated Bed
The purpose of a heated bed is to aid with print-plate adhesion. Yet, there’s a balance between setting the temperature high enough for a print to stick and keeping it low enough so as not to warp.
The temperature at which a plastic changes phase from a solid to a more rubbery state (but not yet a liquid) is known as the glass transition temperature (scientifically notated as Tg). You’ll want to set the heated bed temperature just above that point.
For ABS, the glass transition temperature is 105 °C, so a bed temperature of 110 °C should suffice.
Other Settings
Slicers, like Cura or PrusaSlicer, have a number of other settings that can be tweaked to your advantage:
- Brim and raft: The brim and raft options in the slicer settings give additional and more controlled surface contact between the part and the build plate. In the case of warping, a brim or raft can eliminate the forces or heat differences affecting the part and causing it to warp.
- Line width: Having a thicker first layer can be beneficial, as it increases surface contact, which in turn holds the print firmly in place. A standard rule of thumb is to set line width to between 100% and 150% of the nozzle diameter.
- Print speed: Most slicer profiles will by default print slower for the first few layers, but it can sometimes help to bring this or the main print speed down. This is especially effective when your part has sharp corners, which tend to experience more “pulling” forces when the hot end moves at higher speeds.
- Cooling fans: Cooling fans are meant to generate airflow around the nozzle and quickly cool deposited plastic. Unfortunately, this can have a negative effect when printing the first few layers. Make sure to turn off the fans for the first 5 to 10 layers before turning them back on.
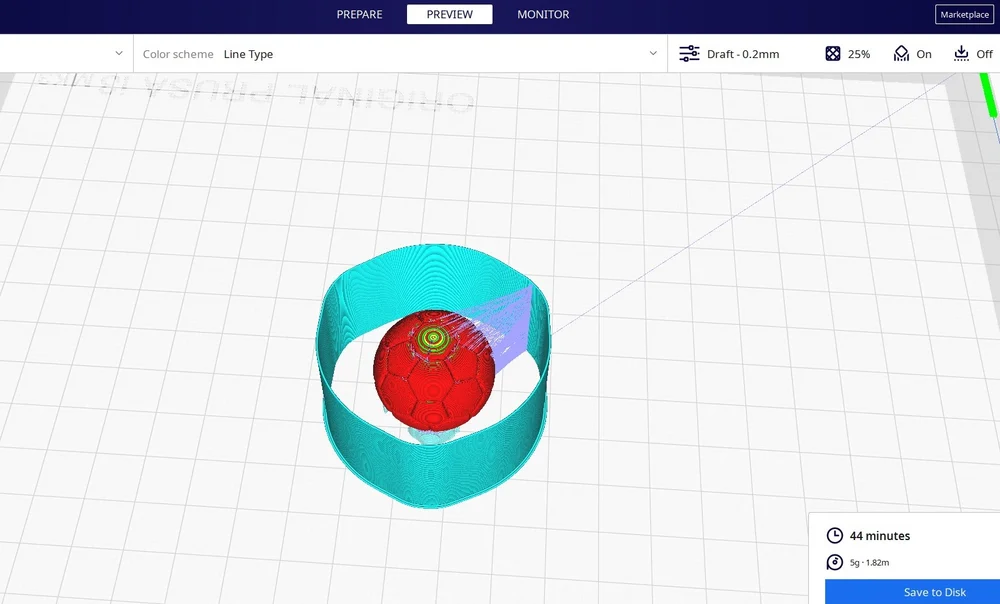
- Draft shield: A draft shield is a great Cura feature that’s hidden away in the experimental settings. It’s a single-layer-thick wall built around the part that prevents drafts from reaching your part and exacerbating temperature differences. The purpose is similar to that of a printer enclosure, which is always recommended for ABS. (See below.)
Additional Solutions

While the above settings should work in general, it’s always useful to know what further steps you can take should they not suffice.
PRINTER ENCLOSURES
An enclosure for your machine ensures a controlled and stable environment around your part while it’s printing. From experience, we’ve had parts warp even with all the right heat settings due to an open frame in a well-ventilated room. The good thing is, there are plenty of options for you to pick from.
ADHESIVES FOR THE BED
Another option that can be quite effective in fighting warping is the use of adhesives. Glue sticks can be directly rubbed onto the build platform, helping the print better adhere to the surface. Hair spray is another good option.
DESIGN CHANGES
It does help to know that sharp corners in the design can aggravate warping, as stress from warping is concentrated at a single point. Rounded corners help to distribute the stress over a curved path and hence reduce stress concentration, so consider what you’re going to print and whether it needs to have sharp edges if you’re interested in using ABS.
Practice Makes Perfect
With a little bit of practice and the right settings, you’ll soon master the art of printing with ABS! And it’s a handy material to master, given its usefulness in functional parts and harsh environments. This is definitely a great skill to have in your toolbox.
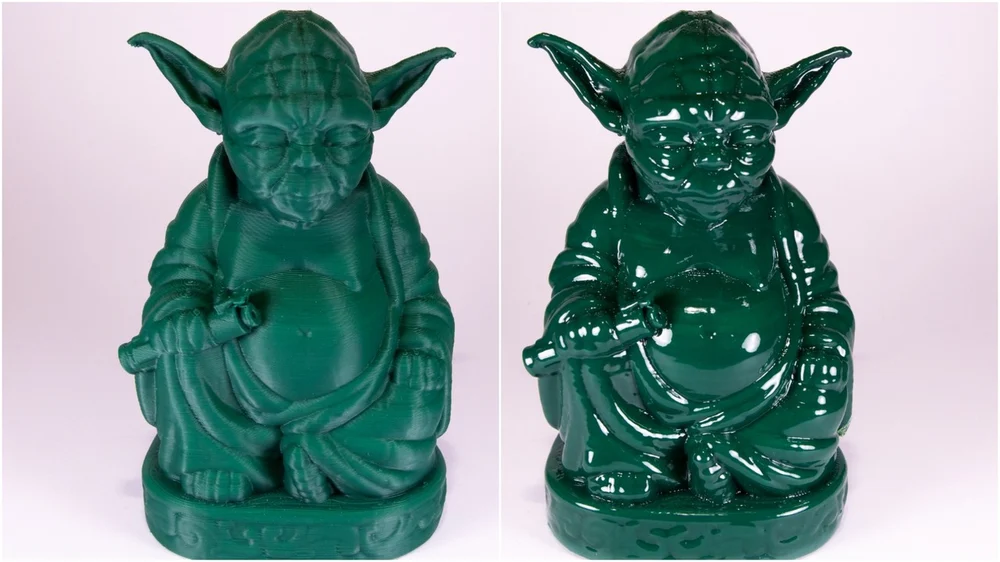
To get even better results you can post-process your parts and achieve incredible finishes.
Source: https://all3dp.com/2/abs-print-bed-temperature-all-you-need-to-know/