Although 3D printing technology offers many advantages, one of the main concerns in using it, is the cost. Right from the design to manufacturing and post-processing, a few tricks can have a significant impact on the costs. This article highlights helpful tips to save on the cost of 3D printing.
Tips for cost reduction at each phase in 3D printing
This segment is divided into three different parts based on different phases of the 3D printing process and the tips for making the process as affordable as possible. Here we go.
Reduce cost through design
Hollowing your 3D model
A great way to use less material and reduce the cost is by hollowing a model. The hollowing removes the inner material of a part leaving a shell. It is also a good way to get a lightweight part. If you are planning to create your 3D printed object using Selective Laser Sintering or Multi Jet Fusion that uses powdered material, you should start to consider hollowing.
Let us compare the cost between a solid and a hollow part – the hollowed part is 3 times cheaper than the solid part.

Check the size of your 3D printed object
The size of your 3D printed object directly impacts the 3D printing price. If the size of your prototype is not important (visual prototype), you can scale down your model to greatly decrease the cost. It is the fact that the 3D Printing price is proportional to the volume occupied by your object in the machine’s tray. To reduce the cost, it is recommended to reconsider the size of your object in your CAD software.
Let us consider a model (a) and it’s scaled-down model (b) for cost comparison:
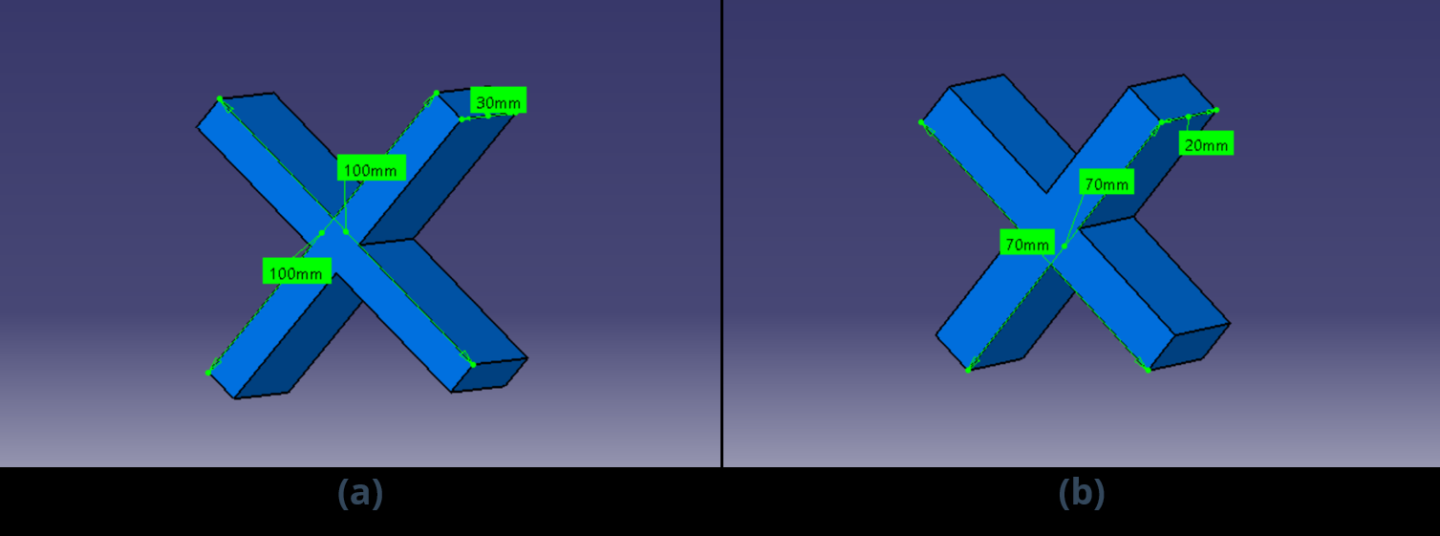
| Technology | Unit cost (€) | Unit cost per 100 pieces (€) | ||
| a | b | a | b | |
| FDM | 18.54 | 10.57 | 5.69 | 3.00 |
| MFJ | 26.75 | 24.30 | 16.36 | 7.68 |
The cost comparison clearly shows that the scaled-down model is cheaper.
Improve the design
Well-designed 3D printed parts allow for optimum usage of the material and thereby reduces the unwanted costs.
Here are a few tips:
- Use gradual transitions between adjoining surfaces.
- Avoid sharp corners that often create residual stress in finished workpieces.
- Make sure that thin unsupported walls don’t grow too tall, otherwise they may buckle or warp.
- Surfaces with shallow angles tend to leave ugly “stair-stepping” that makes them unsuitable for cosmetic features, followed by post processing to eliminate those which increases the costs.
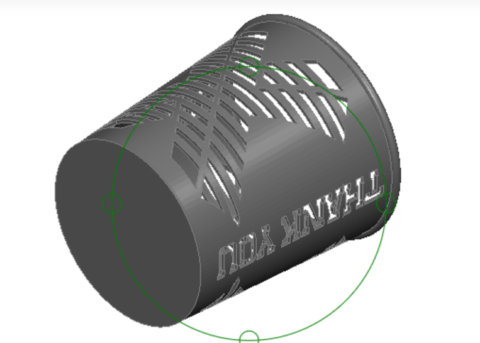
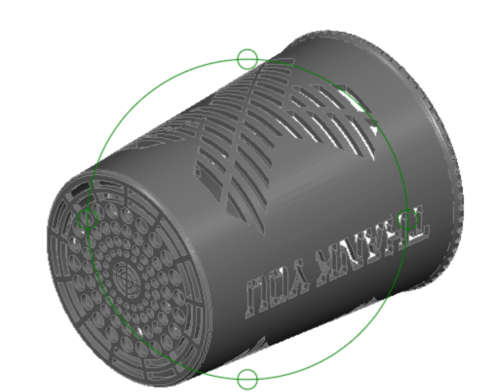
- Intelligent designing. For example, consider the below example of a pencil holder but didn’t want it to be too expensive.
Reduce cost through proper manufacturing options selection
Choosing the right material
The best way to cut down on material costs is to make sure you are choosing the right material as per requirement. If the part you are printing is just a visual model, chances are it does not need to be printed with expensive material like CLIP resins using DLS technology. High-performance materials (ULTEM, etc.) will always have a higher price tag than something like PA or PLA. So, selecting the material accordingly helps in price reduction.
Choosing the right process
Technologies like FDM and MJF are much cheaper compared to processes like SLS or Carbon DLS. The materials are also very easily available and cheap. It is always recommended to know the requirements properly. If you are using 3D printing for prototyping or a visual model, FDM, SLS or MJF serve the purpose very well. If you are very particular about the technology and want a high end print, go for processes like Carbon DLS, SLA, PolyJet or DMLS.
Check the volume of production
3D printing is the best option in terms of manufacturing single units or small batches (<100). For large batches, considering CNC machining of plastics or even Injection moulding is the better option. If the designs are complex and cannot be achieved with a traditional machining process, 3D printing is the way to go but if the design is simple and the batch size is more, try avoiding 3D printing from the cost point of view.
Reduce cost through on a finishing phase
Eliminating the support structures
Processes like MJF or SLS don’t need support structures to build the part whereas in FDM, support structures are needed. In the end during post processing, these support structures are to be removed and lead to wastage of material and additional expenses. So, in order to avoid expenses on the post-processing stage, check if your parts can be produced with powder-based technologies like SLS or MJF.
Selecting the finishing process
Finishing sometimes requires manual post-processes, which increases the 3D printing price. For example, dyeing is usually a less expensive way to colour your objects than painting, because it’s a faster technique. However, the colour will last longer and be of higher quality with painting. FDM and MJF offer colour 3D printing without the need to add colours additionally and can be considered in cost reduction. Processes like vapour polishing to smoothen the surface texture are also used that increase the cost. It’s up to you to choose which process is best depending on your requirements.
Conclusion
The cost of 3D printing can be reduced on all the stages: design, manufacturing and post-processing. By following our tips, you can assure that your 3D printing costs are at a reasonable level. Feel free to upload your design in Auto Quote to get instant quotes and compare your design iterations and possible manufacturing options.
