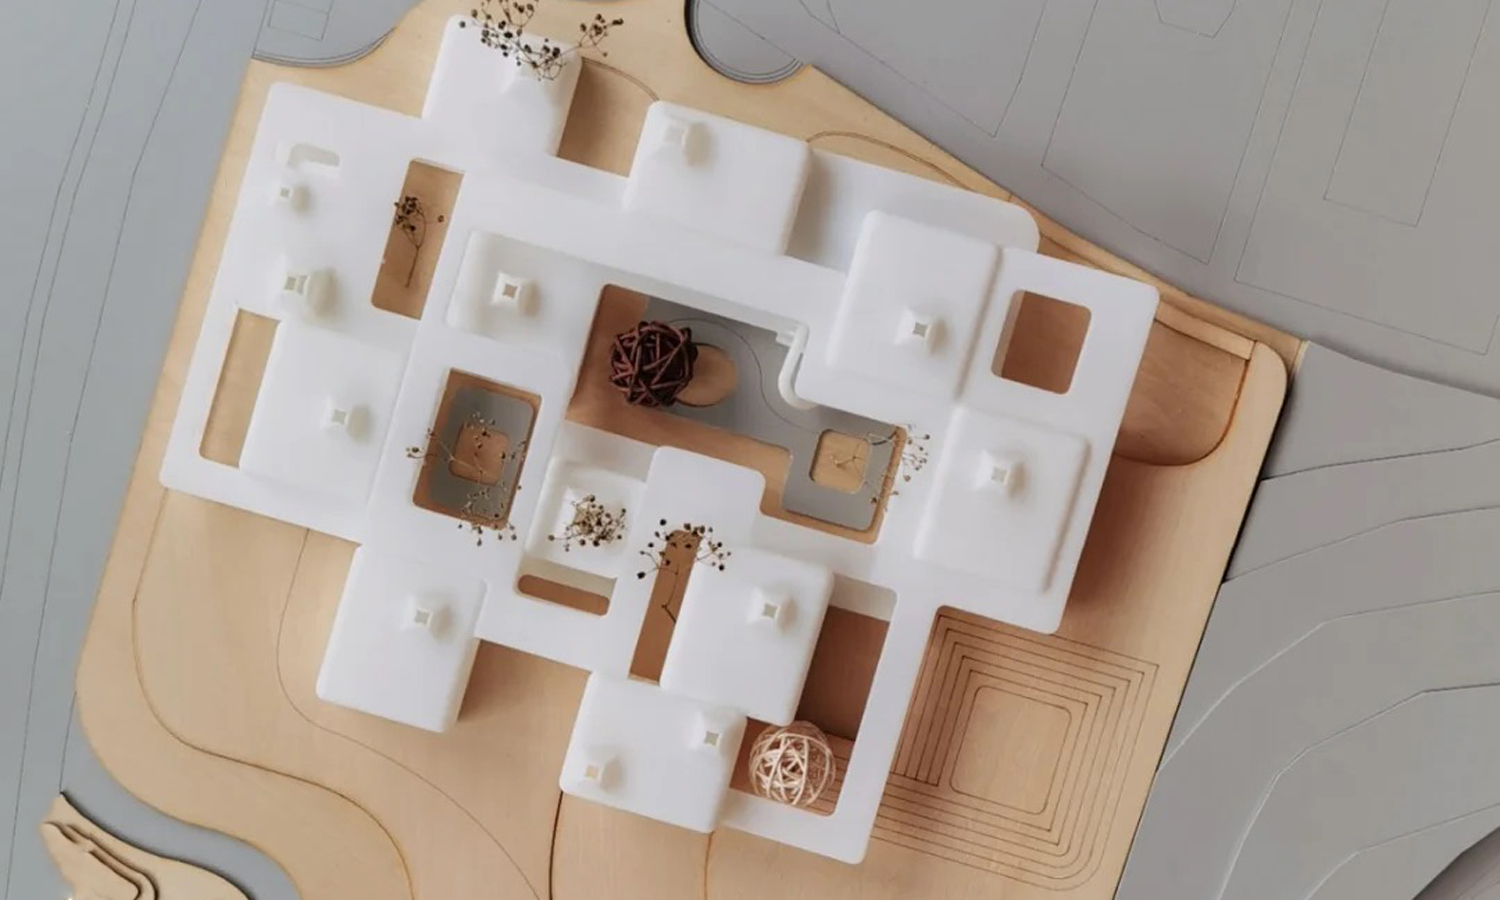
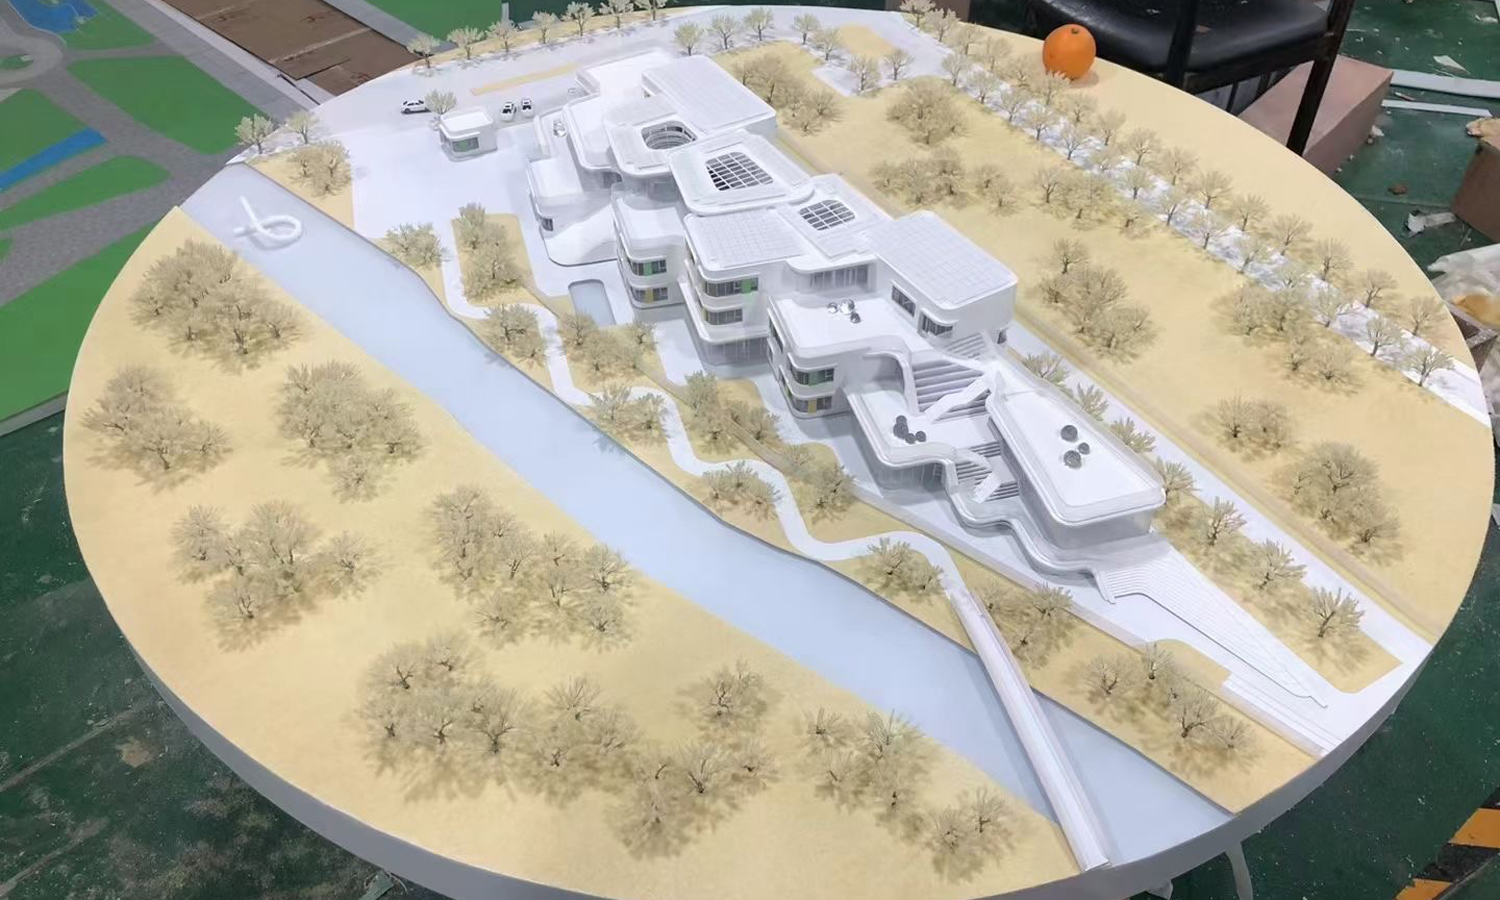
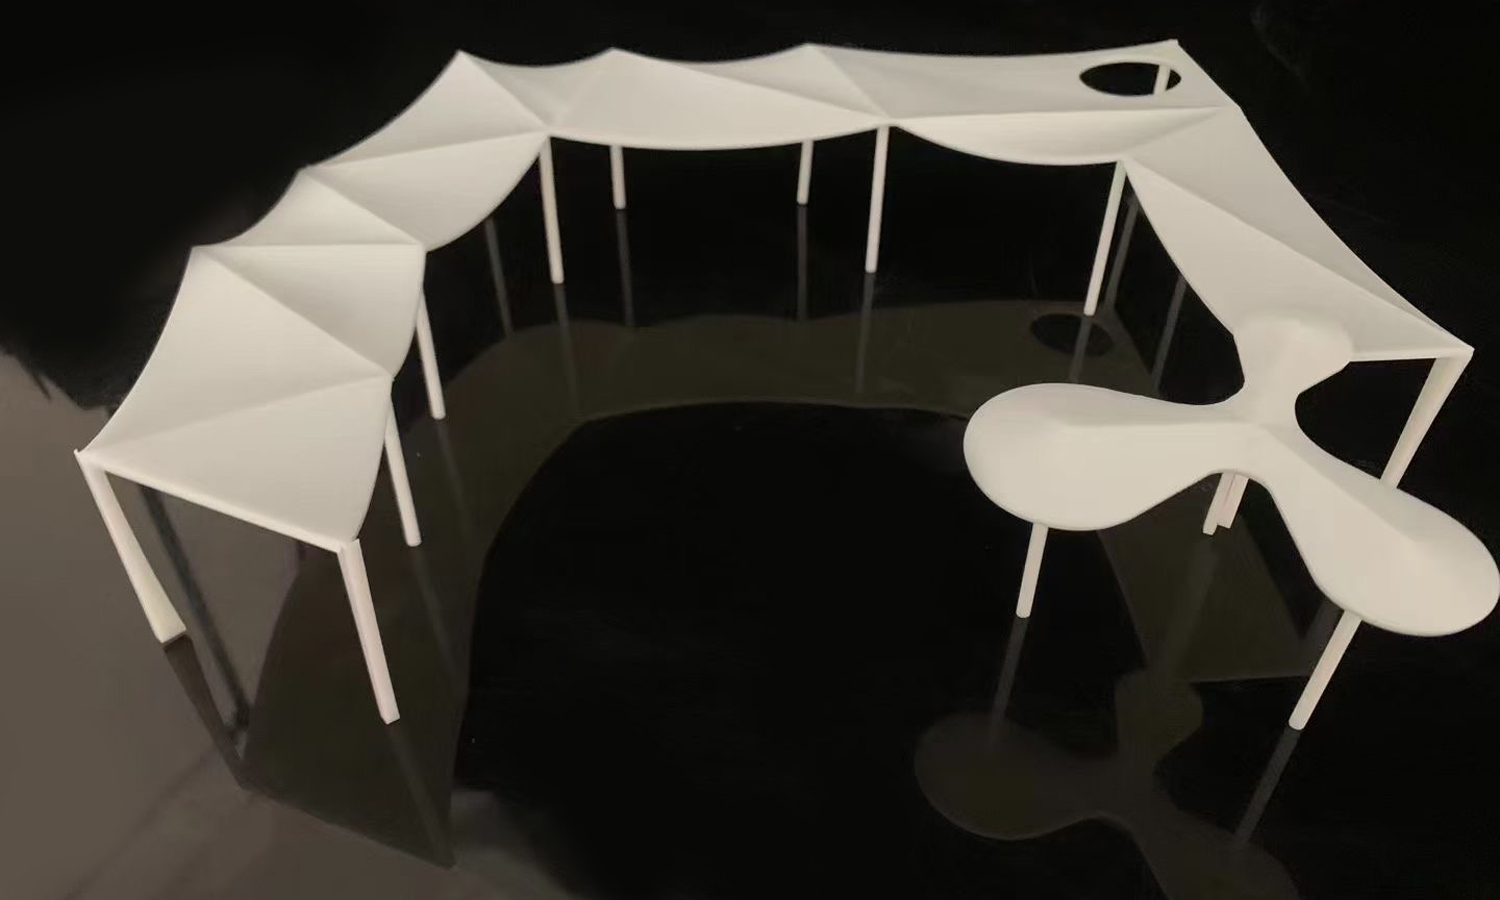
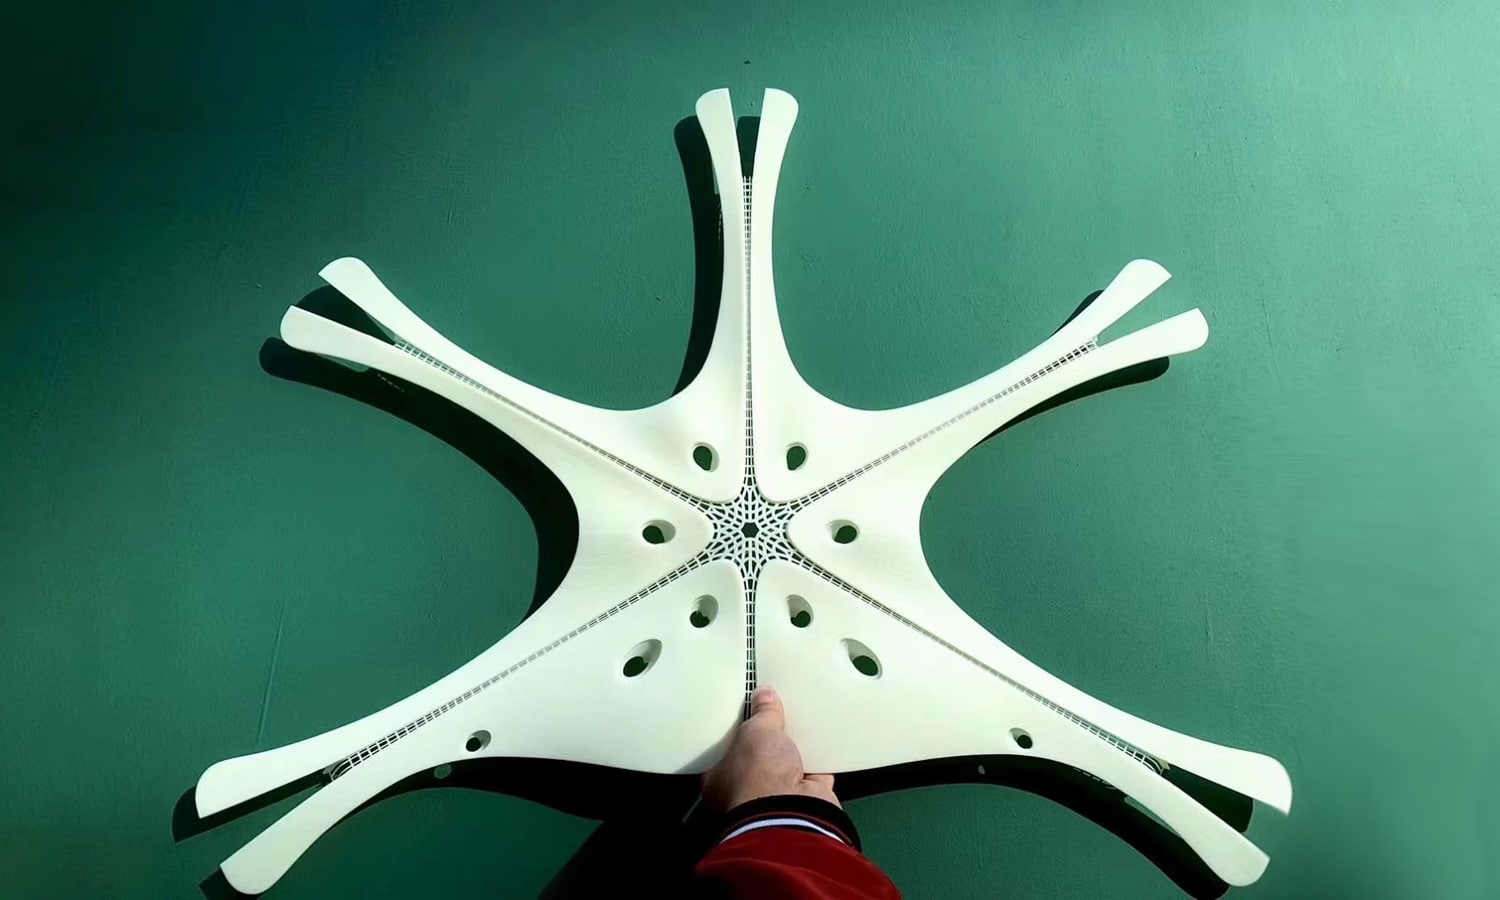
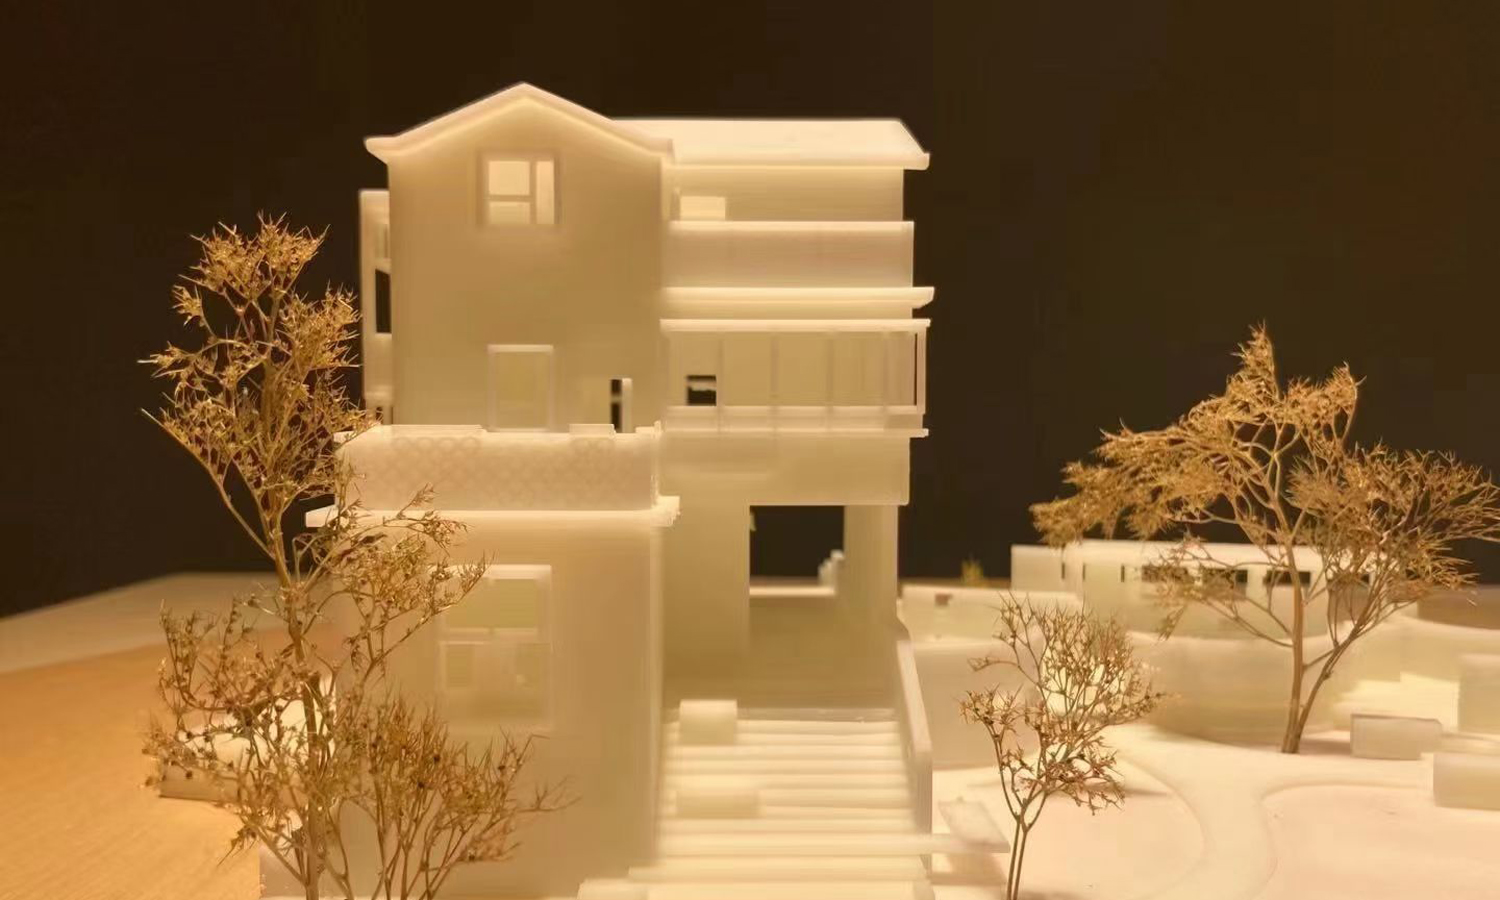
SLA 3D printing offers unparalleled detail and precision, making it ideal for creating stunning and functional architectural models. However, translating your digital designs into flawless 3D models requires some preparation. This guide equips you with the essential steps and considerations to ensure a smooth and successful SLA printing experience for your architectural masterpieces.
1. Model Geometry: Ensuring Watertight Perfection
SLA printing thrives on watertight models – imagine a solid object filled with water, with no leaks. This translates to a 3D model with completely closed surfaces and no holes or self-intersecting faces. Even tiny imperfections can lead to printing failures. Here’s what you can do:
- Utilize 3D modeling software tools: Most software offers features to identify and fix non-manifold geometry, a common culprit for leaks. Explore options like “check normals” or “repair mesh” functions.
- Double-check everything: Before exporting your model for printing, meticulously inspect it for closure and potential issues. Consider using a 360-degree view and zooming in on intricate details.
2. Wall Thickness Matters: Striking the Balance
The thickness of your model’s walls significantly impacts its printability and final form. Here’s how to find the sweet spot:
- Minimum Thickness Matters: Refer to your chosen resin’s recommended minimum wall thickness (check the manufacturer’s data sheet). Printing walls that are too thin can lead to warping and cracking.
- Prioritize Critical Areas: Focus on increasing wall thickness at the base of your model and other areas that might experience higher stress during printing.
- Optimize for Aesthetics and Functionality: Balance the need for structural integrity with the desired level of detail. For purely visual models, thinner walls might suffice. But for functional prototypes, prioritize strength with thicker walls.
3. The Art of Support Structures: A Balancing Act
Support structures are temporary scaffolds that hold up unsupported parts of your model during printing. However, removing them can leave blemishes. Here’s how to find the right balance:
- Minimize Contact Points: Design your model with minimal overhangs or areas requiring extensive support. Explore splitting the model into printable sections that can be assembled later.
- Strategic Support Placement: Utilize strategically placed, thin support structures. Experiment with different support types offered by your slicing software (e.g., light touch, rafts) to find the right balance between strength and ease of removal.
- Embrace Advanced Techniques (Optional): For complex models, consider angled supports for better overhang coverage or tree supports for delicate details and minimal contact area.
4. Orientation Optimization: Printing for Success
The way you orient your model on the print bed can significantly impact the final outcome. Here are some key considerations:
- Minimize Surface Area Exposure: Reorient your model to minimize the surface area directly facing the laser during each layer. Printing features flat on a support structure can help reduce warping.
- Balance Stability and Detail: While laying your model flat might seem ideal, consider if it compromises intricate details. Find a balance between stability and preserving those crucial design elements.
5. Choosing the Right Resin: Unveiling the Perfect Match
Resins come in a variety of properties, impacting factors like strength, flexibility, and surface finish. Selecting the right one is crucial:
- Match Properties to Needs: For architectural models focused on aesthetics, a rigid resin with a smooth finish might be ideal. For functional prototypes requiring specific strength or heat resistance, choose a resin with those properties.
- Consult the Experts: Don’t hesitate to consult the resin manufacturer or a 3D printing service provider for recommendations based on your specific project requirements.
Bonus Tips:
- Hollow Out Large Models: Consider hollowing out large models to save on resin and printing time. Design internal support structures for stability.
- Embrace Post-Processing Techniques: Techniques like sanding, polishing, or infiltration (depending on the resin) can minimize support removal marks and achieve a smooth finish.
- Collaboration is Key: For highly complex models, consider collaborating with a professional 3D printing service provider for their expertise in model preparation and advanced printing techniques.
By following these steps and considering the valuable tips, you’ll be well on your way to transforming your architectural designs into stunning and awe-inspiring SLA 3D printed models. Remember, successful SLA printing is a journey of exploration and refinement. Embrace the learning process, and witness the magic of your architectural vision come to life in breathtaking detail.

Ready to See Your Architectural Vision Take Shape?
FacFox, a leading 3D printing service provider, offers exceptional SLA printing solutions specifically tailored for architectural models. With a wide range of high-quality resins, expert support for model preparation, and advanced printing techniques, FacFox ensures your models come to life exactly as you envisioned them.