
Resin 3D printing can reproduce fine details and complex geometry, but a newly printed part is not automatically display-ready or product-like. Its final appearance depends not only on the printer and resin, but also on support removal, sanding, polishing, painting, coating, decorative treatment and assembly.
This guide introduces the resin post-processing options commonly available from FacFox, explains what each one is intended to achieve, and identifies the limitations customers should consider before ordering. For available printing technologies and materials, visit our SLA and DLP 3D Printing Service.
Quick Selection Guide
| Desired result | Recommended finishing | Main consideration |
|---|---|---|
| Engineering or fit-check prototype | Default finishing | Layer lines and support marks may remain |
| Uniform matte or frosted texture | Blasting | Fine edges may become slightly less sharp |
| Smoother opaque surface | Standard polishing | Recesses may be difficult to reach |
| Clearer transparent appearance | High-transparency polishing | Glass-like does not necessarily mean optical-grade |
| Uniform product color | Primer and spray painting | Coating thickness can affect fine features and fits |
| Detailed artistic color | Hand painting | Refinement depends on scope, budget and references |
| Transparent color or gradient | Dyeing or transparent painting | Wall thickness and lighting affect perceived color |
| Higher gloss or a sealed surface | Clear coating | Standard clear coat is not certified UV protection |
| Soft velvet-like surface | Flocking | Fibers add thickness and soften small details |
| Chrome-like metallic appearance | Vacuum metallization | Reflectivity emphasizes underlying defects |
| Aged metal appearance | Antique metal-effect finishing | Hand-applied tonal variation is intentional |
| Wrapped decorative patterns | Water transfer printing | Patterns may distort on extreme geometry |
| Logos, text and symbols | Screen printing, pad printing or decals | The method depends on geometry and artwork |
| Multi-color or multi-material construction | Separate finishing and assembly | Seams, adhesives and tolerances must be considered |
Presentation-quality parts often combine several processes. A painted enclosure may require sanding, primer, color paint, graphics and a clear coat, while a transparent model may combine polishing, dyeing, selective frosting and clear coating.
Basic Surface Preparation
Default Finishing
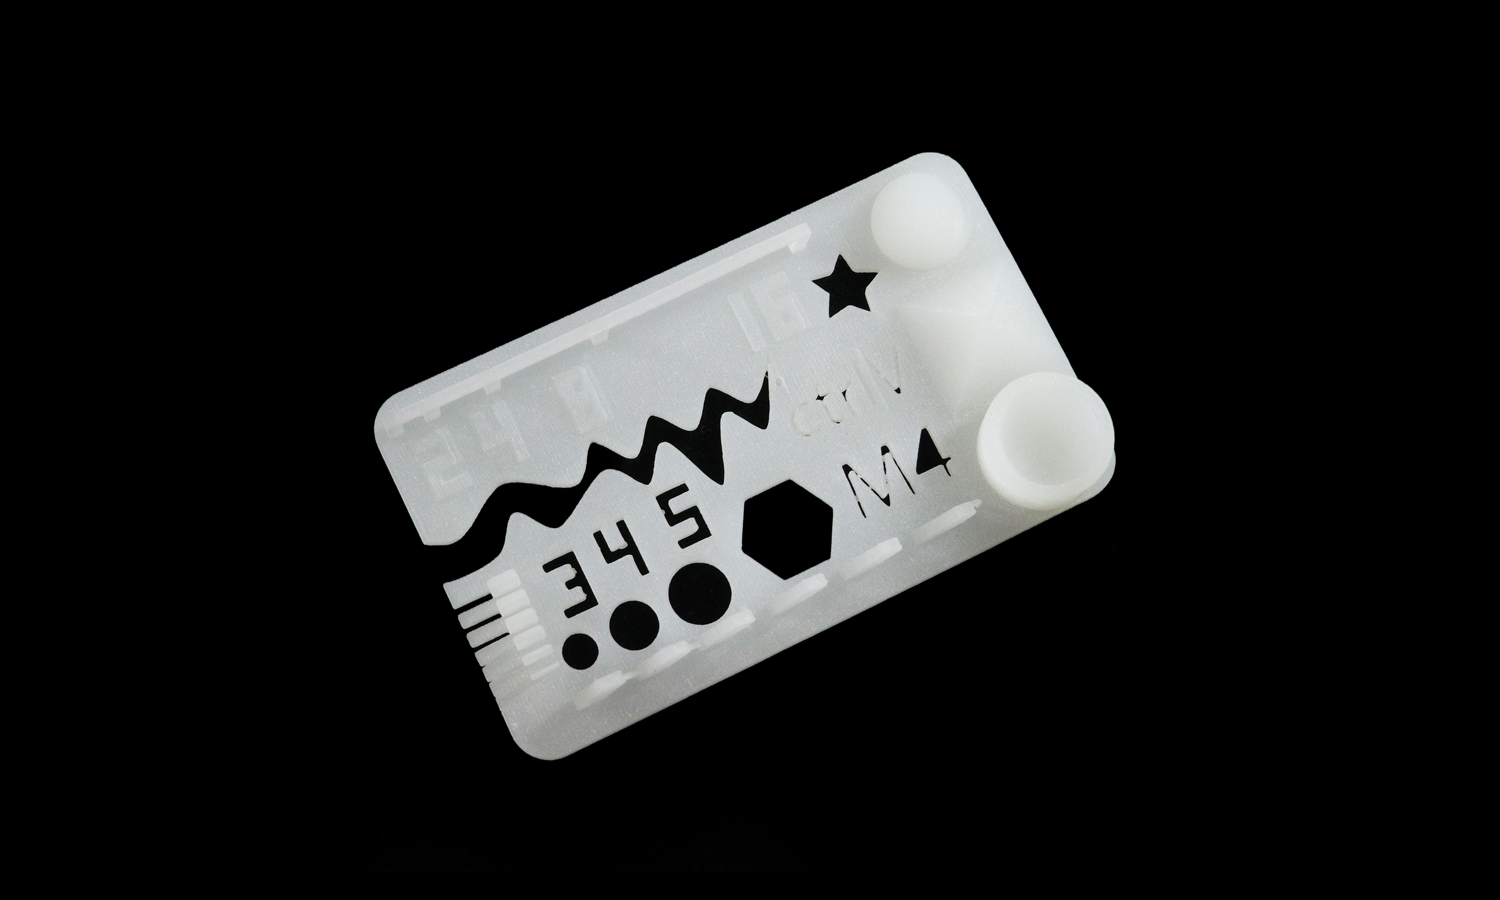
Default resin finishing generally includes cleaning, UV post-curing, support removal, basic sanding of accessible support contacts and inspection. The basic scope is consistent across FacFox resin materials, although the visible result still depends on the material and geometry.
Default finishing is intended for handling, engineering inspection, fit checks and further processing—not for a flawless cosmetic surface. Layer lines, support marks, sanding scratches, localized roughness and gloss variation may remain, particularly inside recesses and difficult-to-reach corners. See Default Resin 3D Print Finishing: What to Expect for a closer explanation.
Blasting
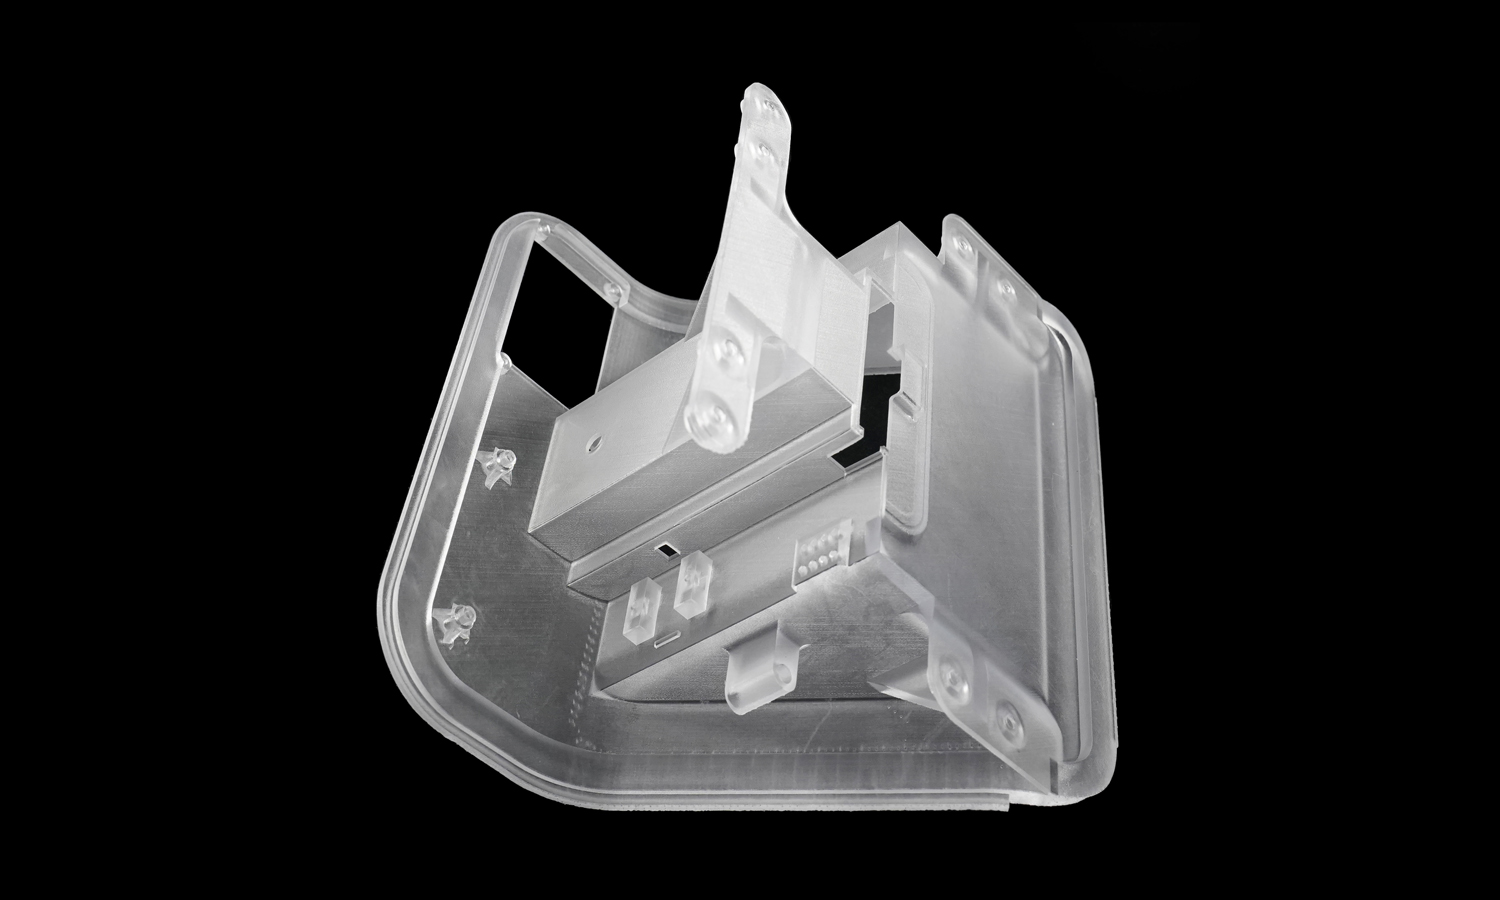
Blasting treats the surface with fine abrasive media to produce a more uniform matte or frosted texture. It can reduce the visual difference between locally sanded and untouched areas. On transparent resin, it creates a frosted-glass effect and diffuses transmitted light.
Blasting does not automatically erase deep support marks, strong layer lines or waviness, and very fine edges may become slightly softer.
Standard Polishing
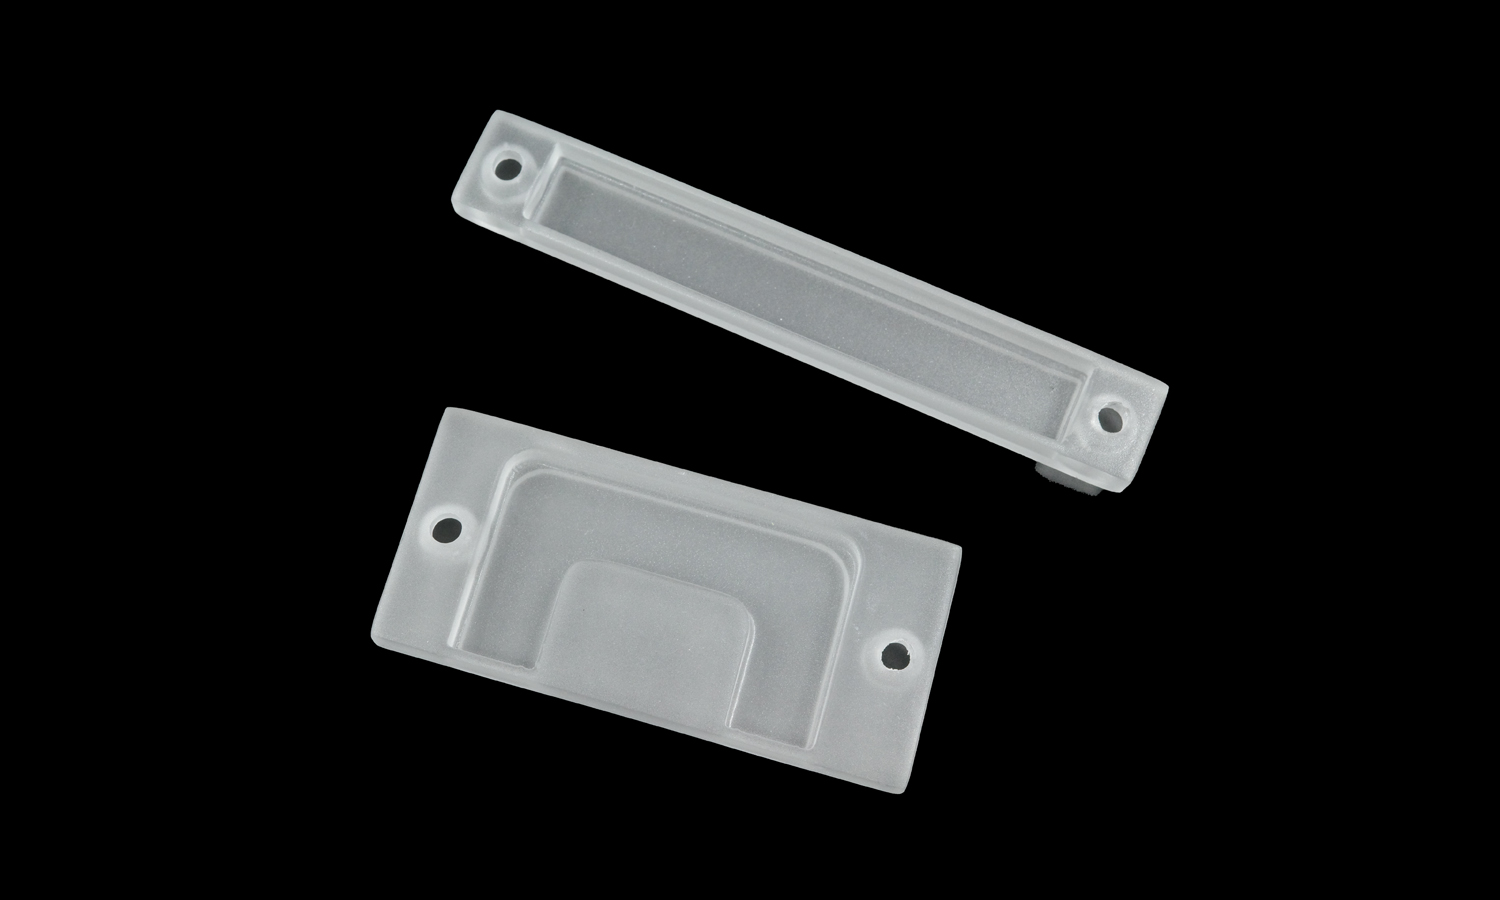
Standard polishing improves opaque or translucent resin surfaces by reducing accessible print lines, support marks and sanding transitions. It is suitable for appearance prototypes, housings and parts that will subsequently be painted or coated.
Because polishing removes material, it may slightly soften sharp edges, raised lettering and fine textures. Deep holes, narrow grooves, internal corners and lattice structures cannot always be polished to the same level as open surfaces.
High-Transparency Polishing
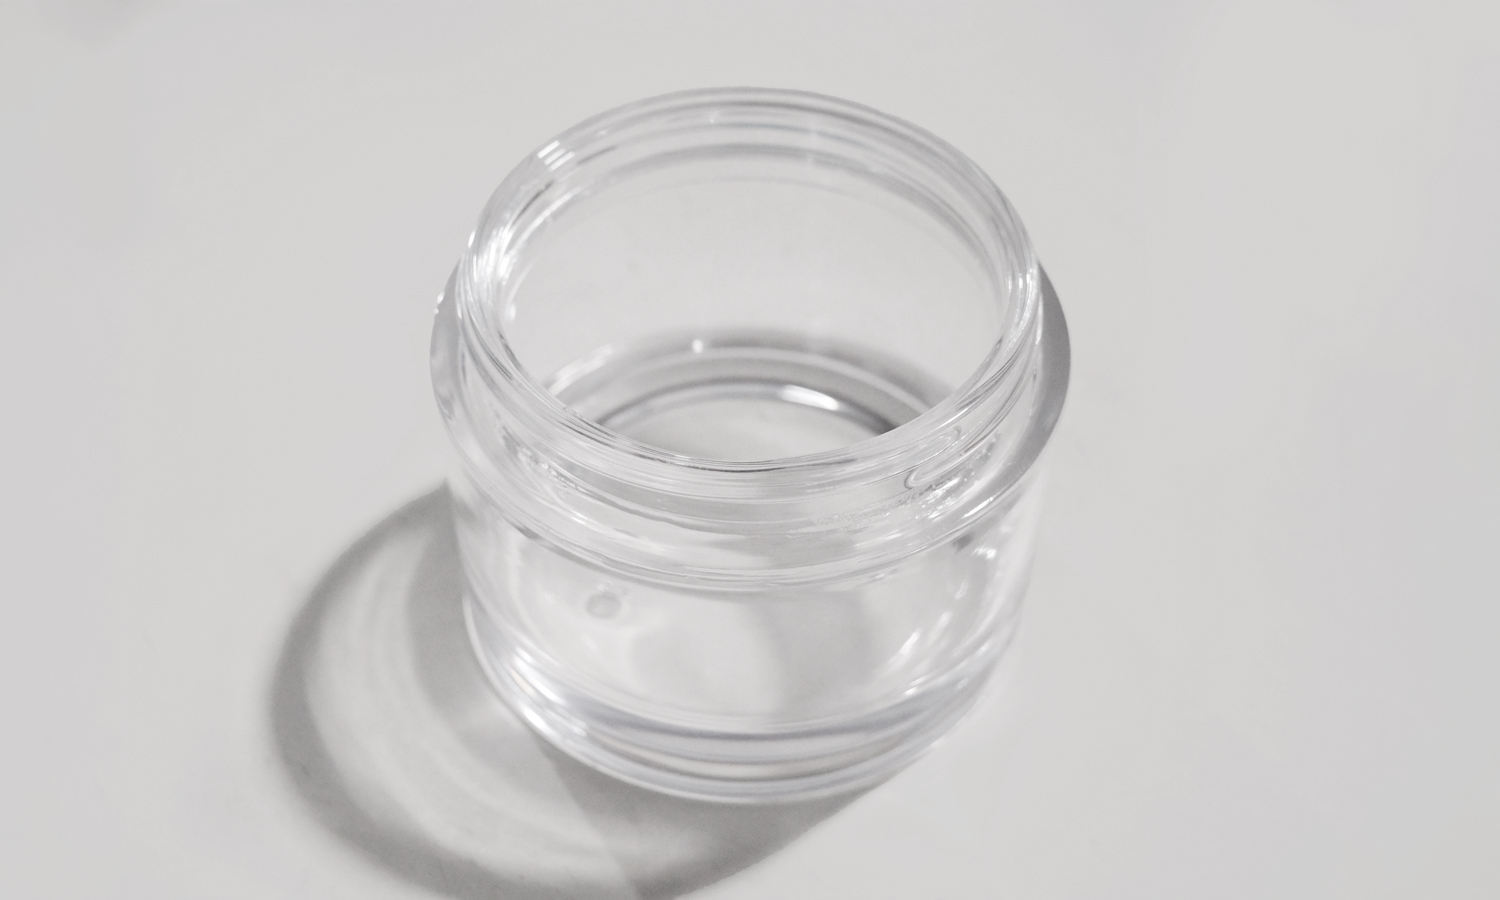
High-transparency polishing uses progressive sanding and polishing to reduce haze on clear resin. A compatible clear coating may then increase gloss and reduce the visibility of very fine scratches.
Open external surfaces are easier to finish than internal channels, recessed threads, narrow necks and enclosed cavities. Wall thickness, print orientation, internal marks and the resin’s natural tint also affect the result. A glass-like appearance for display should not automatically be interpreted as optical-grade performance.
Clear resin is not necessarily colorless. Some formulations, including SLA Clear High-Temp Resin–100°C, have a natural amber or orange tint. This is the material’s inherent color rather than a dyeing treatment; polishing changes surface clarity but does not remove the base hue.
Color and Clear Finishes
Primer and Spray Painting
Primer and spray painting give resin parts a uniform, product-like appearance. A typical workflow includes sanding, primer, inspection, corrective sanding, color application and an optional clear topcoat.
FacFox commonly works from a Pantone reference or a physical color sample supplied by the customer. The result can still be affected by the underlying resin, primer, gloss, texture, coating thickness and viewing light. A physical sample is more reliable than a photograph when matching is critical. Metallic paint remains a painted coating and should not be confused with vacuum metallization.
Hand Painting
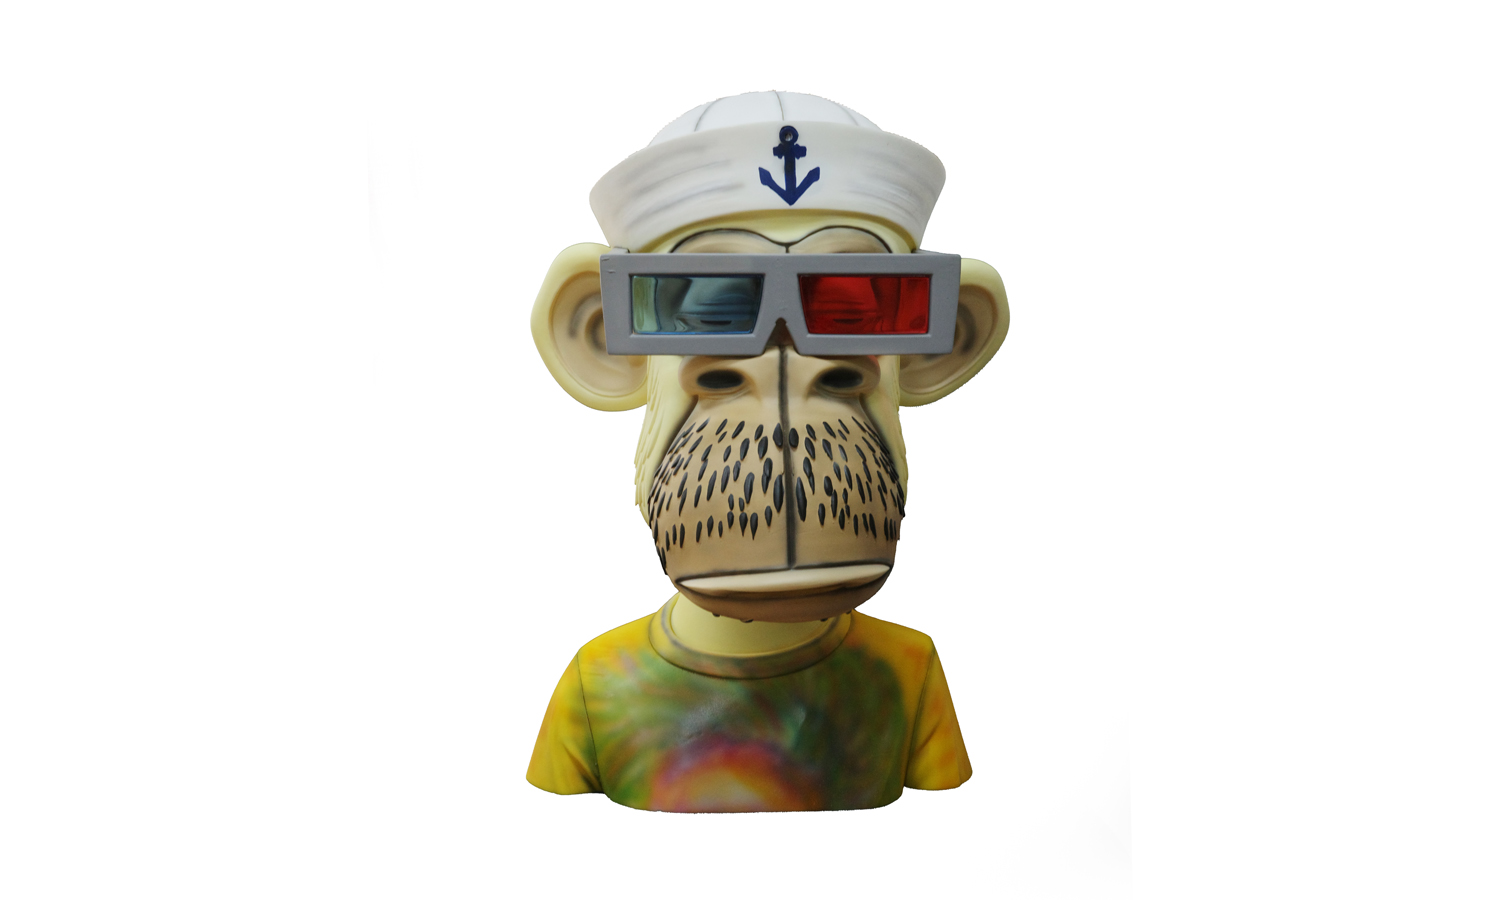
Hand painting is suited to characters, collectibles, sculptures and scale models requiring localized colors, shading, gradients or weathering. The scope can range from economical color blocking to detailed collector-grade work.
Paint quality should be specified together with the budget and intended viewing distance. Color count, masking complexity, preparation, painter time and sample approval all affect refinement. Minor variation between individually painted parts is normal.
Transparent Resin Dyeing and Transparent Painting
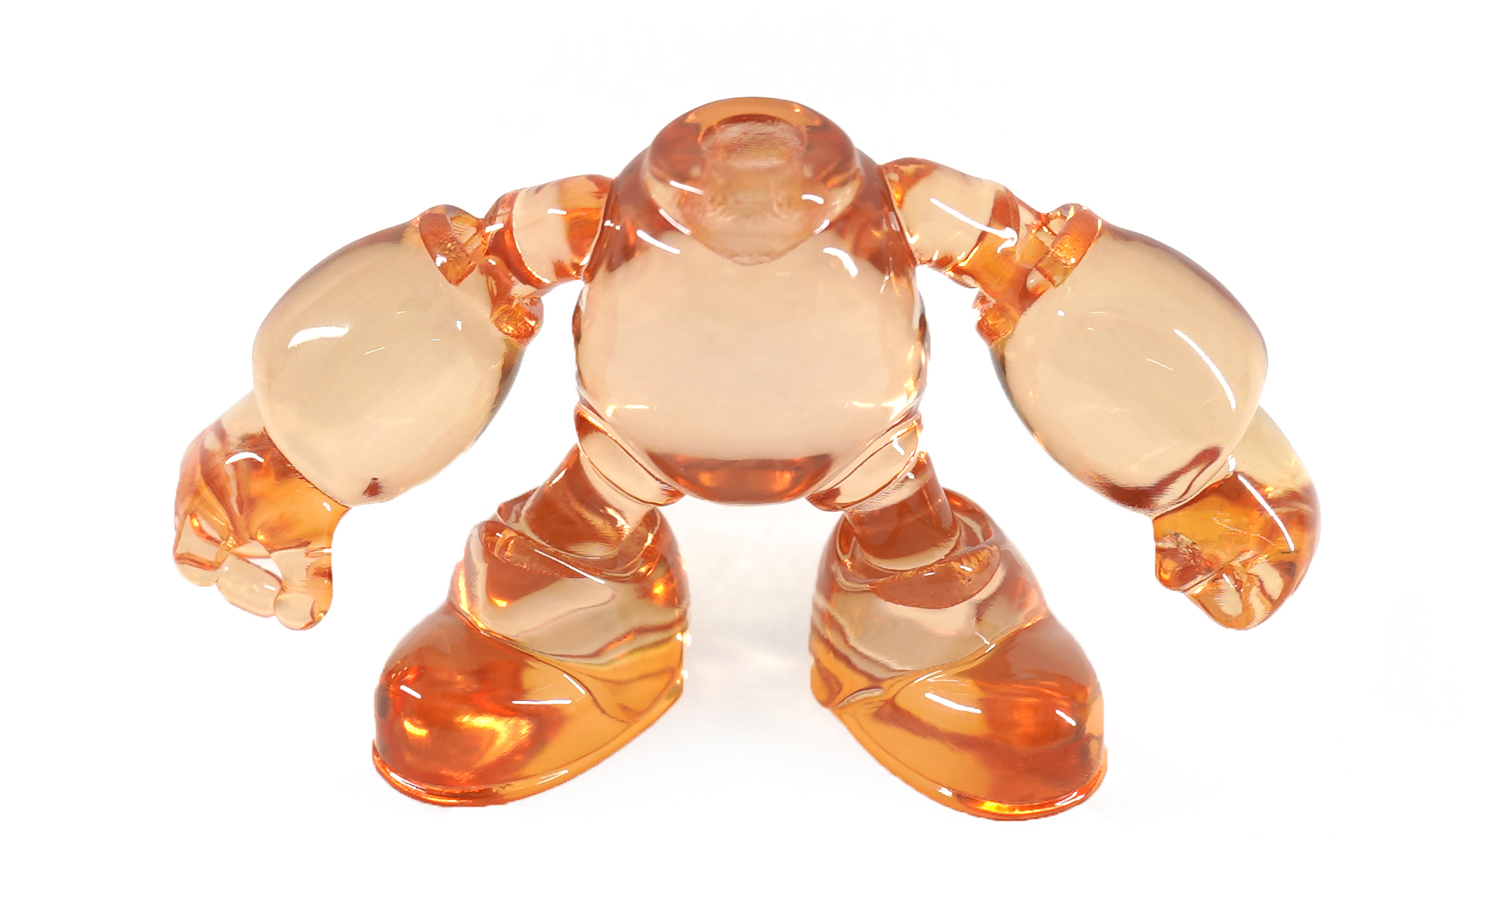
Transparent resin can be colored with a transparent dye or selectively with transparent paint. Dyeing is useful for uniform translucent colors and gradients; transparent paint is better suited to localized zones or designs combining transparent and opaque areas.
Transparent color cannot be matched exactly like opaque Pantone paint. Resin tint, wall thickness, finish, lighting, dye concentration and processing time all affect the result, and thicker sections generally appear darker. Customers with strict expectations should provide a physical reference and approve a sample.
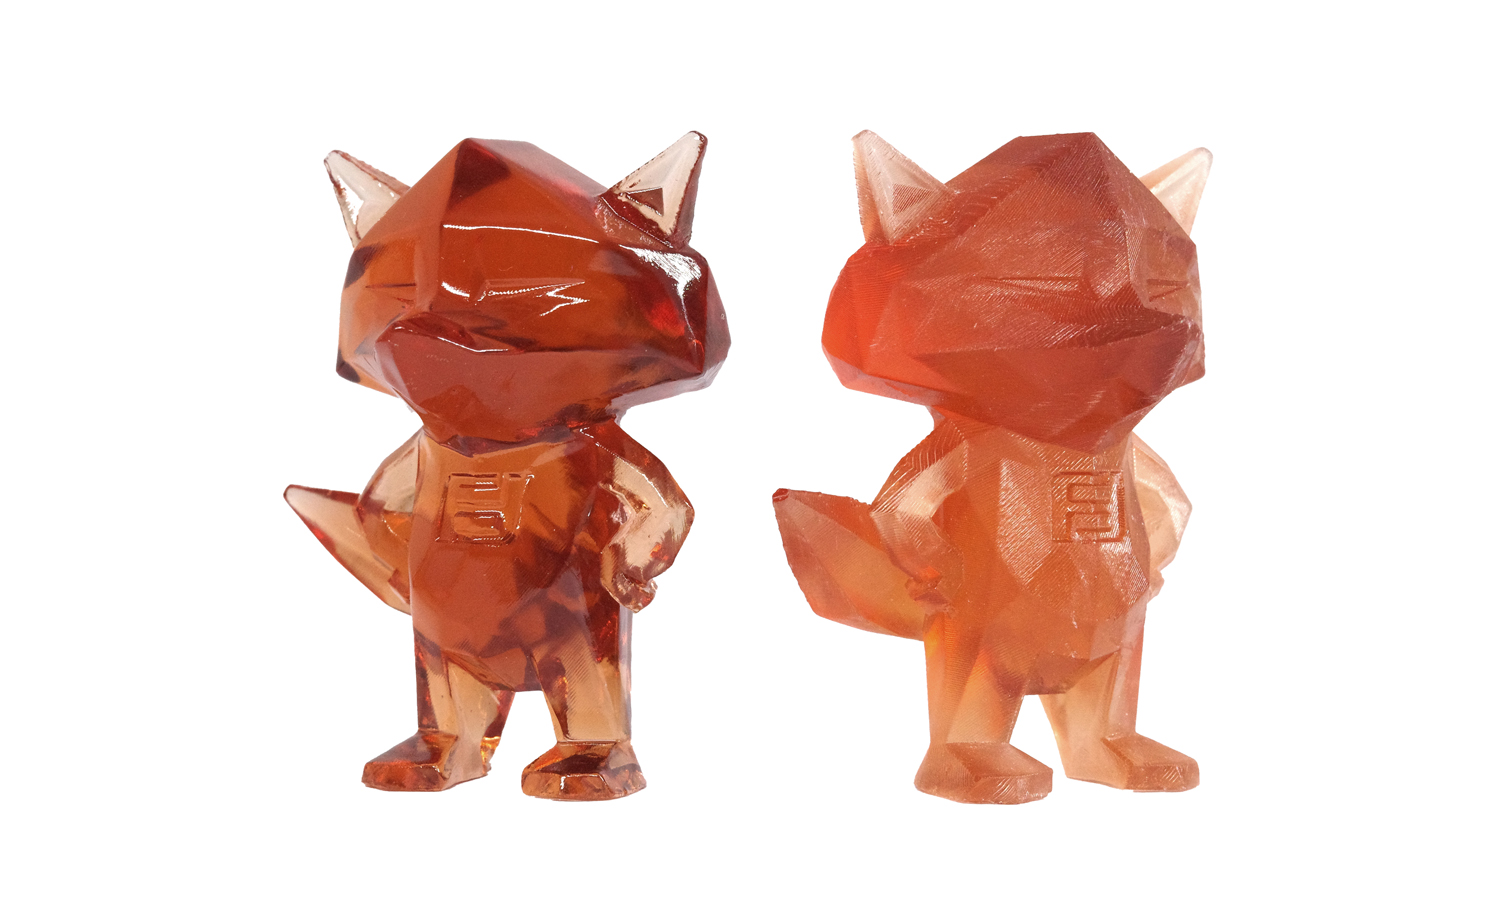
This clear resin cartoon figure was polished, gradient-dyed and clear-coated. By contrast, the Honey Bear sculpture used transparent orange and opaque white paints on assembled clear-resin sections.
Clear Coating
A clear coat can increase gloss, deepen color, improve apparent uniformity and seal painted or printed decoration. On many FacFox resin projects, this is a transparent acrylic clear coat.
It should not be described as UV-curable or certified UV-resistant unless a specific system has been confirmed. A standard clear coat should not be expected to prevent long-term yellowing or provide verified outdoor UV durability. It may reduce the appearance of fine scratches, but cannot remove internal cracks, bubbles, deep marks or pronounced layer lines.
Special Textures and Metal-Like Effects
Flocking
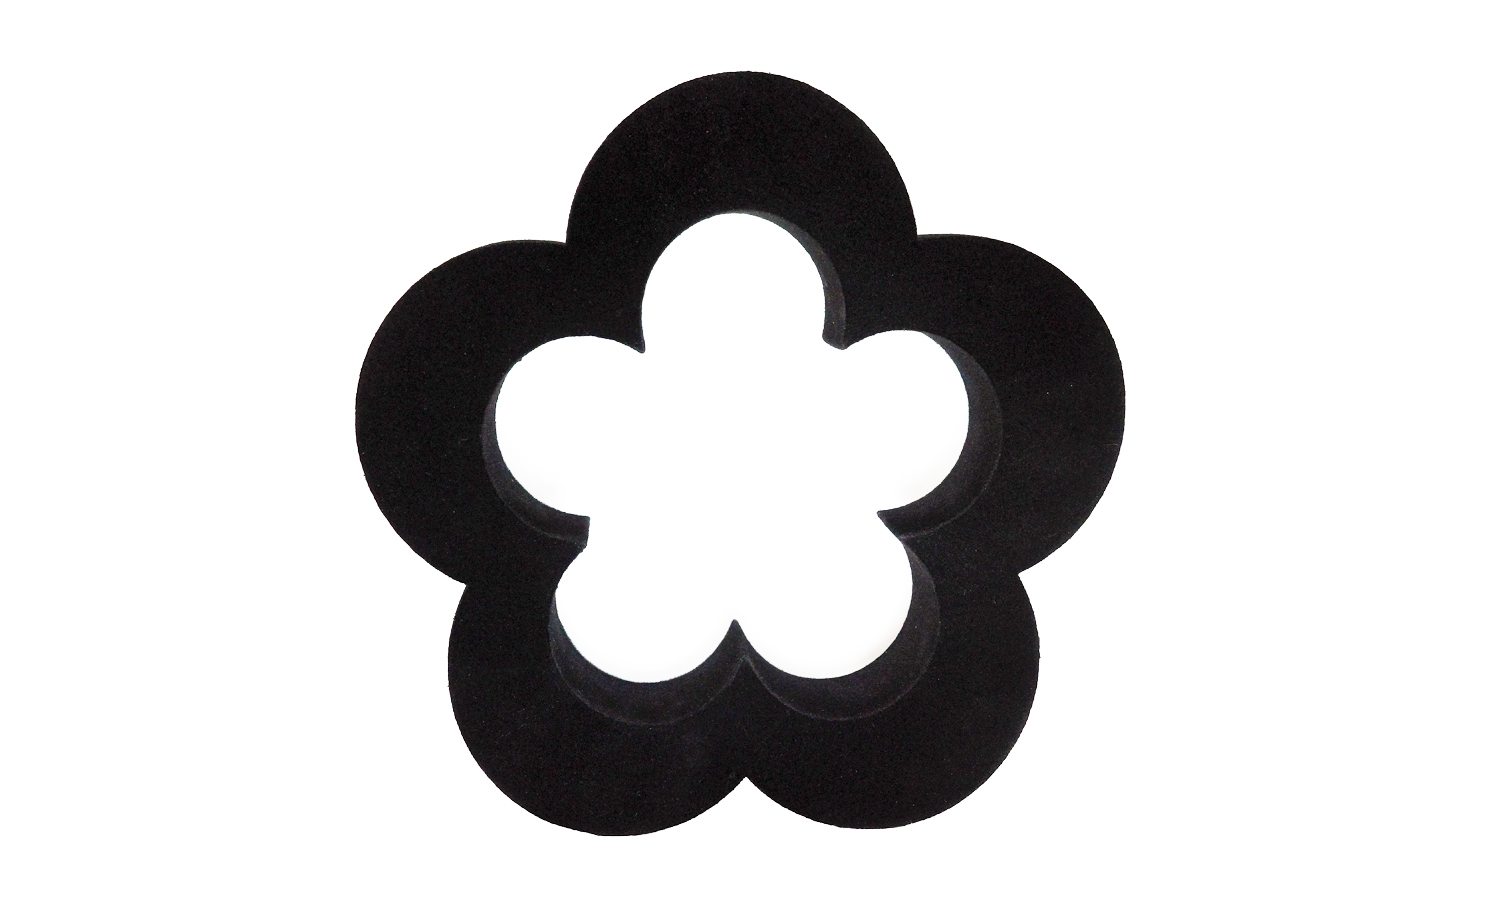
Flocking applies short fibers to an adhesive-coated surface to create a velvet-, suede- or fabric-like texture. The layer adds thickness and can cover small details, so threads, holes, mating faces and precise interfaces normally need masking. See this SLA 3D Printed Flocked Flower Model.
Vacuum Metallization
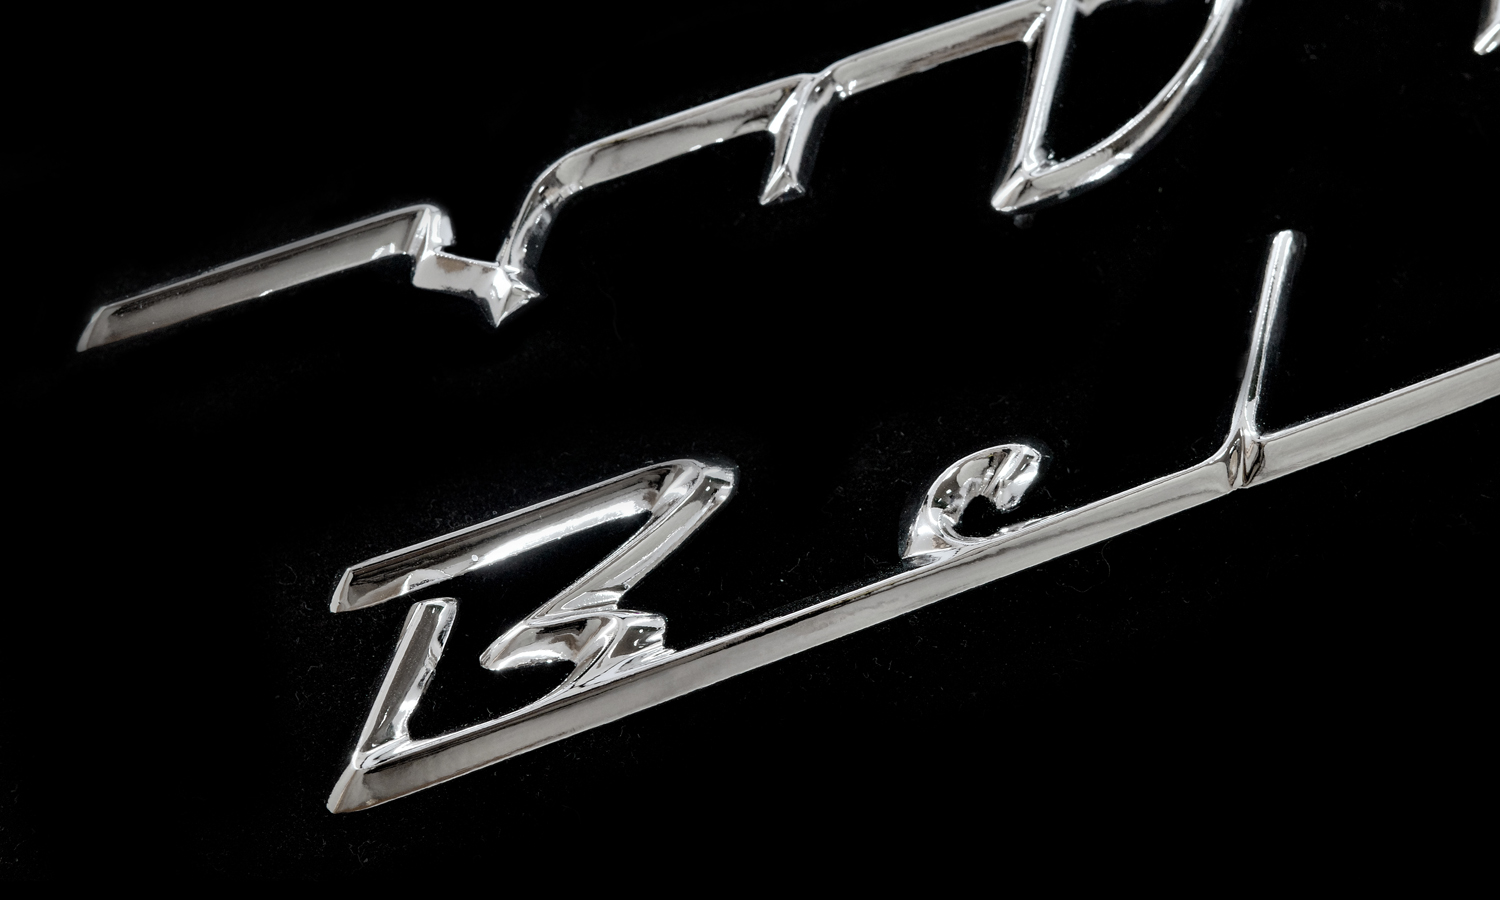
Vacuum metallization deposits a thin metallic layer over a carefully prepared resin surface. It can create bright silver, chrome-like, gold-colored and other decorative appearances while keeping the part lighter than solid metal.
The finish is highly sensitive to its substrate: scratches, seams, support marks and waviness may become more visible, while deep cavities and narrow grooves may receive less uniform coverage. See the SLA Resin Car Emblem with Vacuum Metallization.
Antique Metal-Effect Finishing
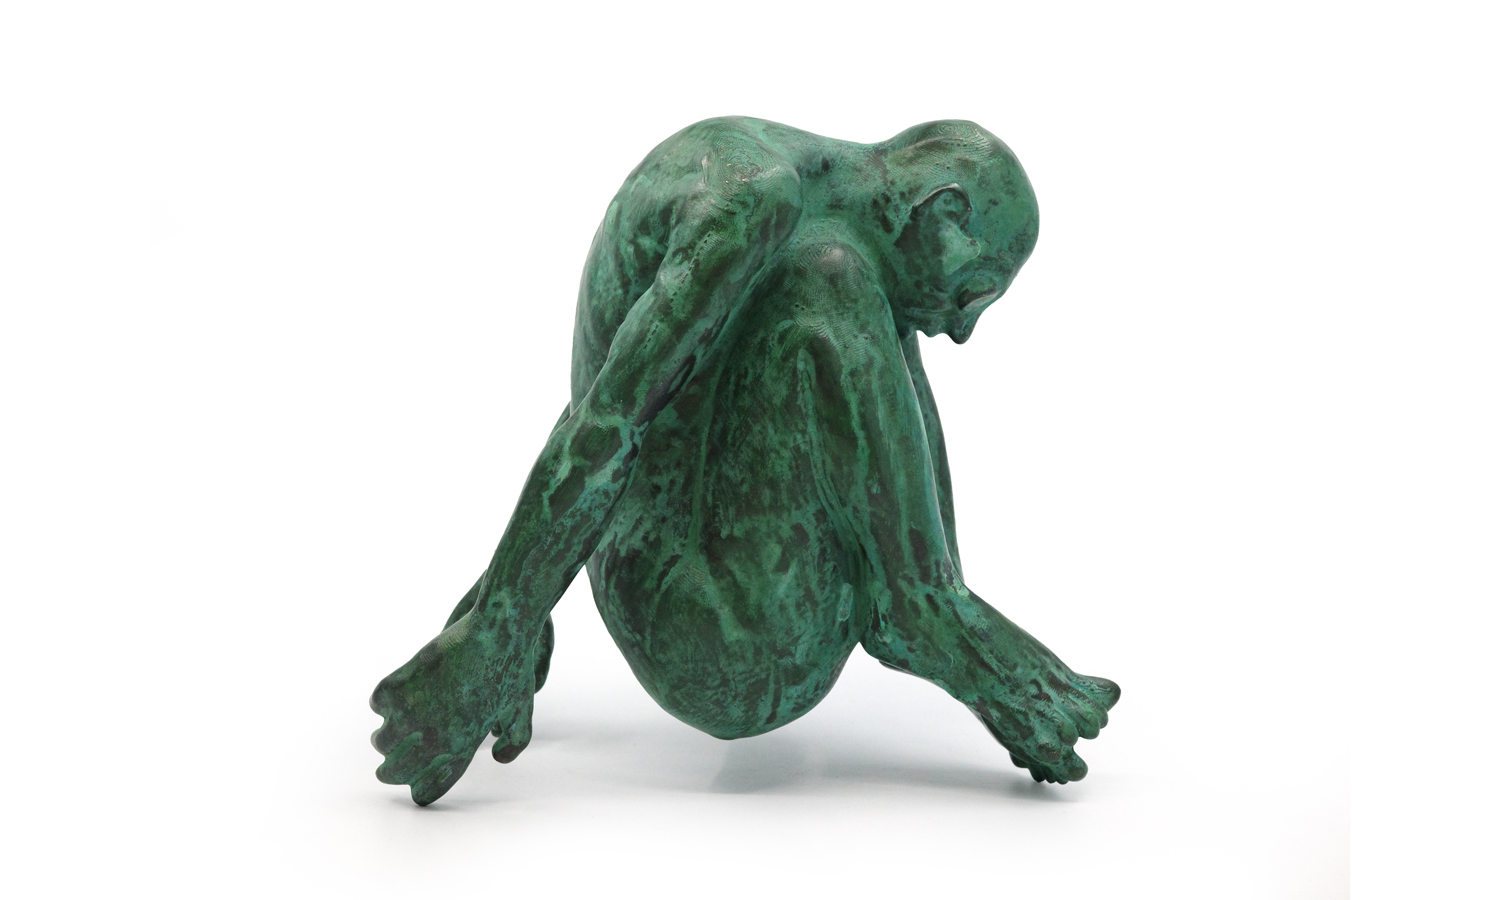
This finish combines a metallic base appearance with hand-applied shading, staining, selective polishing or patina to simulate aged copper, bronze, brass or darkened silver. Variation is intentional: recesses are often darkened while raised areas are highlighted to imitate wear.
Because it is partly manual, exact tonal repetition should not be expected. Reflective and darkened areas can also emphasize residual print lines or support marks. Examples include Transforming 3D Printed Resin into Antique Metal Art and this resin fox with an aged copper appearance.

Patterns, Logos and Graphics
Water Transfer Printing
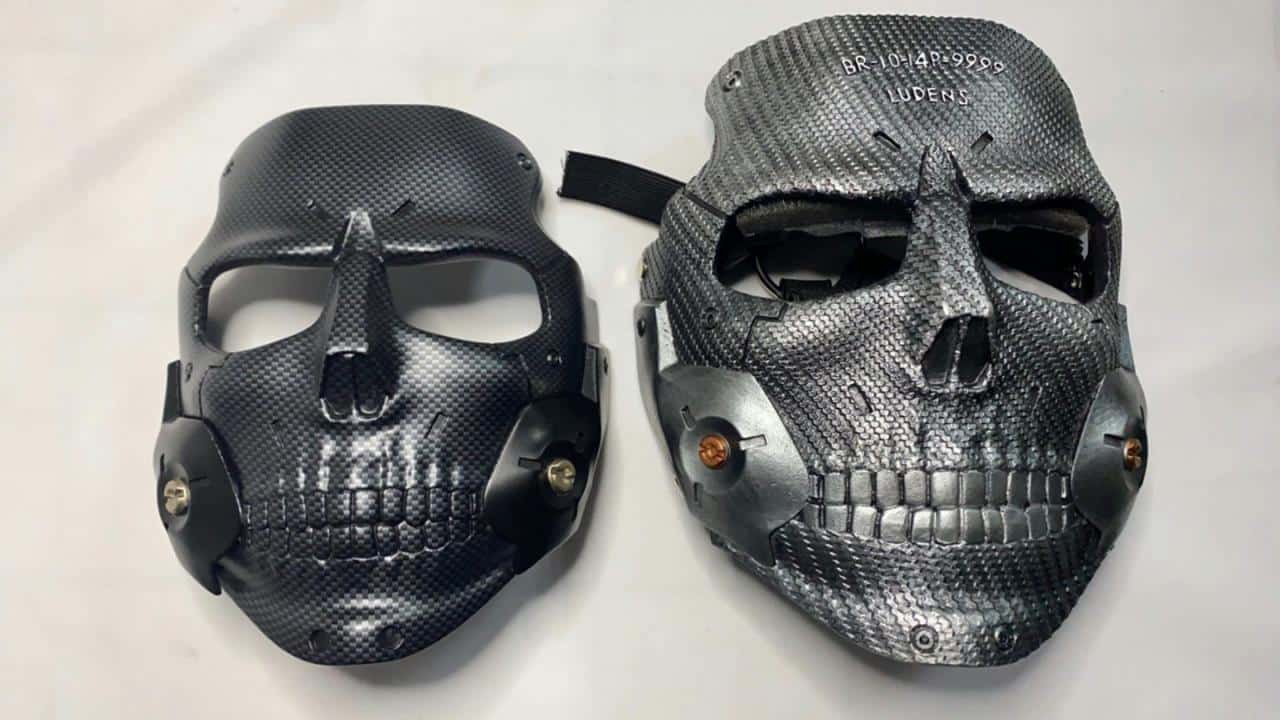
Water transfer printing, or hydro dipping, wraps printed film around a three-dimensional surface. It is useful for carbon fiber, wood grain, camouflage and other continuous patterns. The workflow normally includes preparation, a base color and a protective clear coat. Patterns may stretch around deep grooves, holes, sharp corners and abrupt curvature.
A carbon-fiber water-transfer finish was used on this 3D printed Die-Hardman mask.
Screen Printing
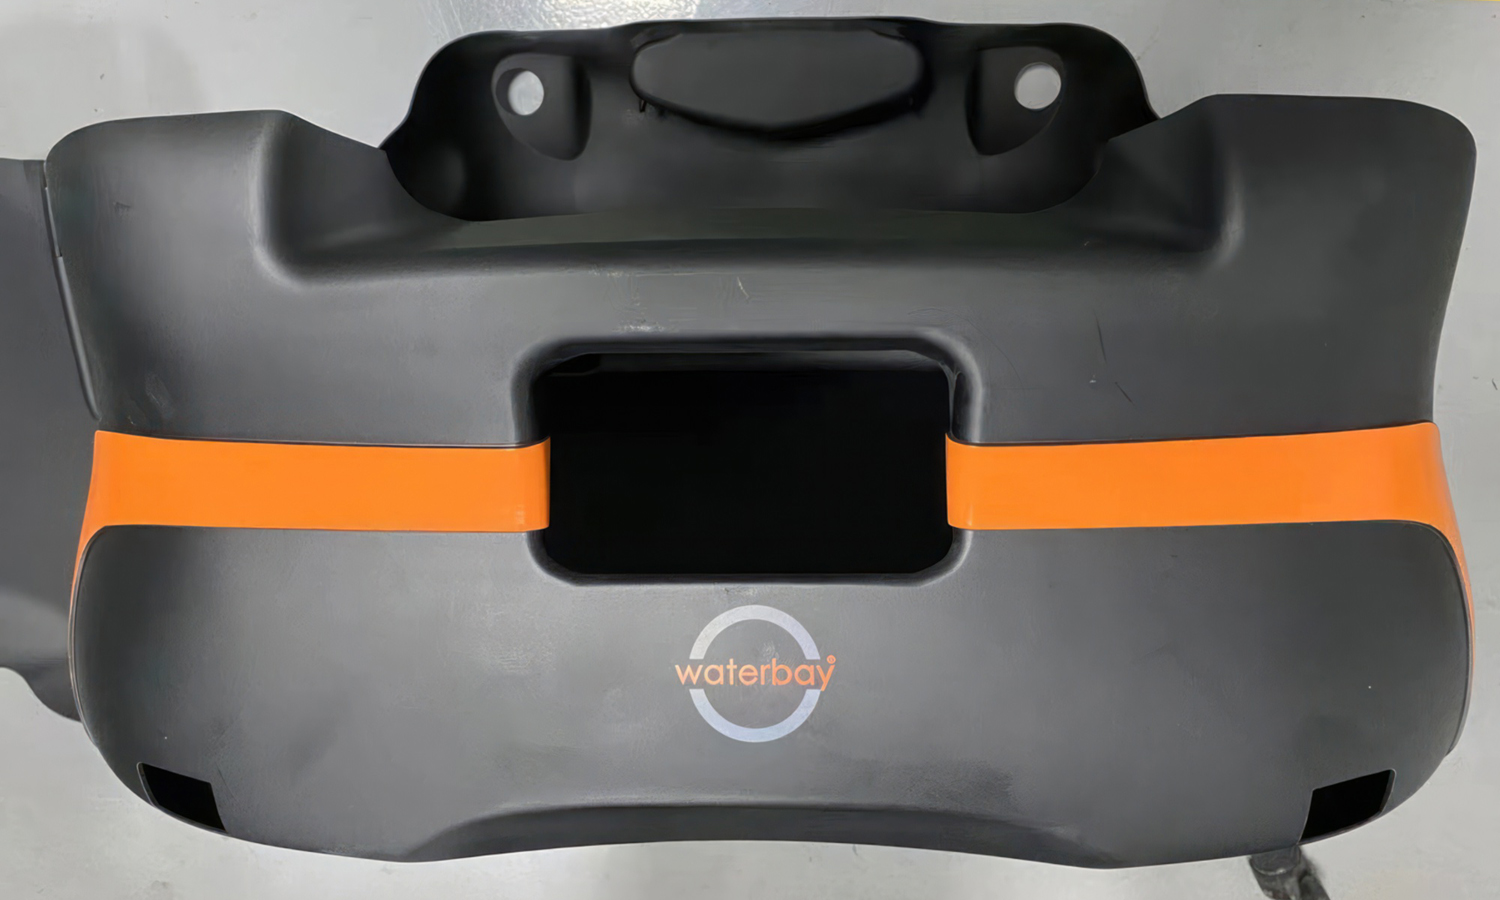
Screen printing applies ink through a prepared mesh and is best suited to logos, text and symbols on flat or gently curved surfaces. Strong curvature, deep recesses and pronounced texture can make a clean transfer difficult, so the graphic position and geometry should be reviewed before production.
For small markings on moderately curved components, FacFox can also assess pad printing; for fine or multicolor graphics, ordinary decals or waterslide decals may be considered instead.
Multi-Part Finishing and Assembly
Printing components separately, finishing them individually and assembling them afterward can produce cleaner color boundaries, improve access to internal surfaces and reduce difficult masking. It is particularly useful when one product combines painted, transparent, metallic or differently textured components.
FacFox can provide adhesive bonding, threaded-insert installation, magnet installation, hardware installation, transparent-component installation and multi-material assembly. Seams, adhesive marks, coating thickness and accumulated tolerances should be considered in advance. Critical holes, threads, mating surfaces and interfaces should be identified so they can be masked or protected.
What to Provide When Requesting a Quote
Please provide the intended use, desired finish, reference photographs or physical samples, Pantone color where applicable, matte or gloss level, cosmetic surfaces, areas that must not be sanded or coated, critical holes and threads, assembly requirements, acceptable variation, quantity and expected handling environment.
A photograph communicates the general direction, but lighting, exposure and screen settings change its appearance. A physical color or finish sample is preferred when accurate matching is important.
Important: Photographs in FacFox case studies show previously achieved results, but they do not guarantee an identical finish on every material, geometry or order.
The result depends on resin type, part size, geometry, print orientation, support placement, surface accessibility, wall thickness, feature size, coating thickness, assembly tolerances and quantity. Finishing can improve appearance, but it cannot automatically correct severe deformation, inaccessible geometry, unsuitable material selection or unrealistic tolerances.
Conclusion
FacFox provides resin post-processing ranging from basic cleanup, blasting and polishing to professional painting, transparent finishing, flocking, decorative graphics, metal-like surfaces and multi-part assembly.
The best choice is not necessarily the most elaborate finish. A fit-check prototype may need only default finishing, while a customer-facing model may require polishing, primer, painting, graphics and a clear topcoat. Selecting the workflow before production helps protect critical dimensions, set realistic expectations and achieve a result appropriate for the intended application.