For a long time, post-processing has been referred to as 3D printing’s ‘dirty little secret’. With so much focus on the first two stages of the additive manufacturing process — design and production — the post-processing stage has often gone under the radar.
While additive manufacturing is often lauded for its embrace of digital, automated processes, particularly in the context of Industry 4.0, almost ironically, the post-processing stage remains overwhelmingly manual. This has key implications for a company looking to adopt AM – post-processing is an unavoidable step that will, however, add time and costs to the overall production process. For companies looking to expand and scale their operations, this is oftentimes a rather frustrating bottleneck.
Developing a roadmap for additive manufacturing, the Additive Manufacturing Association in German Engineering Federation (VDMA) recently identified post-processing as being the stage most in need of development to enable series production.
But 2018 has seen a rising focus on post-processing for 3D prints, with companies increasingly looking to automate this stage. With the industry gradually moving towards production, developing a scalable post-processing stage will be a vital element in this transition, which too will need to evolve to enable repeatable, scalable and automated solutions.
In today’s article, we’ll be looking at the challenges and recent developments surrounding post-processing in AM. But first, let’s have a closer look at the typical post-processing tasks AM users deal with.
Post-processing for 3D printing: an Overview
The reality of 3D printing is that virtually all 3D-printed parts will require some type of post-processing to improve the mechanical properties, accuracy, and aesthetics of a part. Determining the extent and type of post-processing will heavily depend on both the material and technology used, among other factors.
Support removal
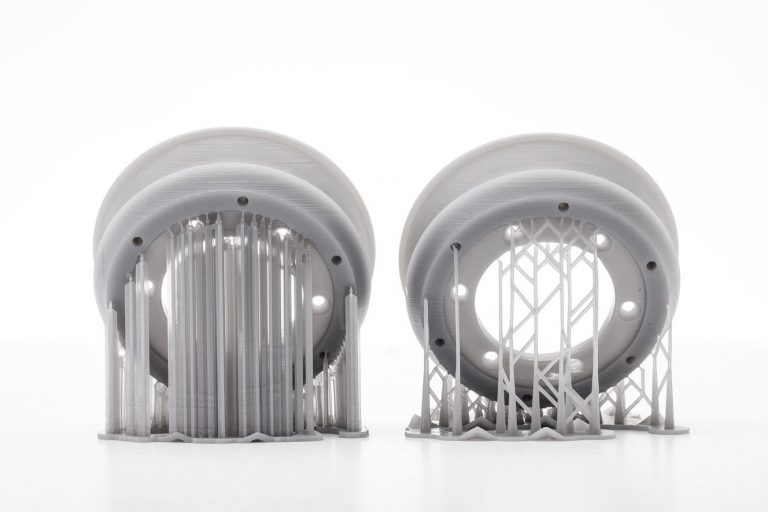
Support removal is usually the first post-processing step for any 3D-printed part that has been produced with supports. These can be removed by hand or, in the case of FDM parts for example, placing a part in a solvent.
For example, when separated from the build plate FDM parts will first require support removal, while SLA parts must first be cleaned of any excess resin material before supports can be removed.

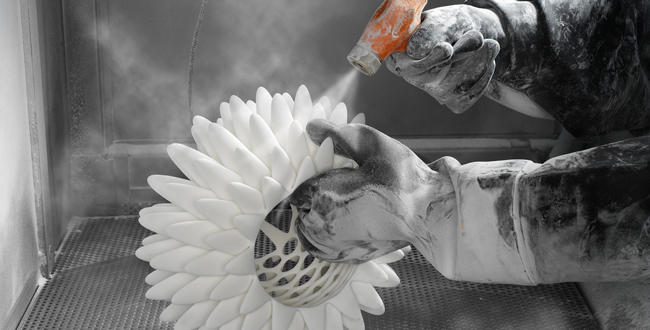
With 3D printing technologies that use materials in powder form, such as Binder Jetting and SLS, the post-processing stage begins by first removing unused powder. This is then followed by either surface finishing operations (SLS) or infiltration with superglue (Binder Jetting).
Metal parts
With metal 3D printing, the post-processing step is considerably more involved. Printed metal parts first need to be depowdered — a process typically done by hand. Once the powder has been removed, parts must be cut away from the build plate using wire EDM or a bandsaw.
Additionally, for metal parts, stress relieving and heat treatment processes are necessary to reduce residual stresses and improve the mechanical properties of the part. Subsequently, parts are machined to remove support structures and ensure dimensional accuracy.
Inspection
Testing and inspection are another crucial post-processing step for 3D-printed parts, particularly metal. Currently, inspection for additively manufactured parts is in large part a similar process to forged and cast parts and includes visual, dimensional, external and internal testing.
However, there are also some differences, since many 3D printed parts are consolidated and redesigned. To enable non-destructive inspection, companies increasingly opt for CT scanning to evaluate internal geometries and ensure there are no hidden flaws inside parts.
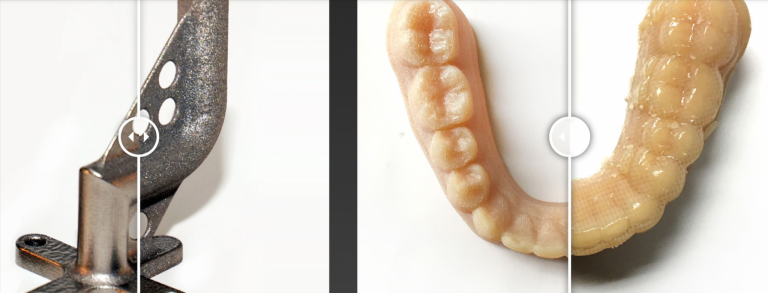
3D printed parts may also undergo surface finishing to improve geometrical accuracy and aesthetics. Such secondary post-processing steps include sanding, filling and painting for plastic parts as well as machining for metal parts – all of which is typically a manual process.

Post-processing for metals
