With any SLS project, achieving a successful print is only the first step. Once your design has emerged from the printer, it’s time to begin the post-processing stage, to give it a truly professional look. In this week’s tutorial, we’re going to look at the different steps you should consider and how to ensure they deliver the result you’re after.
Removing the leftover powder
With any SLS print, you will need to remove the excess powder before any further finishing can take place, which is typically done with a blast of compressed air. This should be relatively straightforward, provided you have factored the necessary escape holes into your print’s design, so all leftover powder can be removed from the interior. Before you begin, make sure to check all escape holes in case they have become clogged with powder during printing.
While this post-processing stage is usually managed by hand, it can now be automated, for extra speed and consistency. For example, Dyemansion’s Powershot C system works by blasting SLS parts in a rotating drum, allowing all powder to be cleaned from a part in around ten minutes.
Achieving the right surface feel for your part
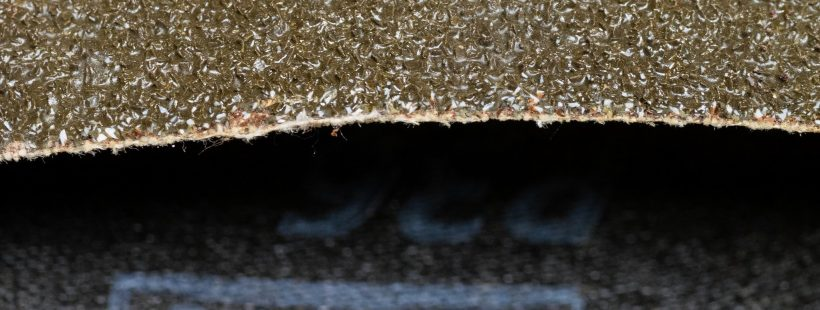
SLS prints typically have a grainy feel at first, and depending on how you have set your layer thickness, may have visible layers after printing. Whether this is a good or bad thing depends on the purpose of your part, but the good news is that there are a range of options available for achieving the finish you want.
First of all, you may wish to add a filler of some description, which will need to be applied by hand. Although any standard filler can potentially be used (check your material specifications before making a purchase), there are now fillers that have been specially designed for 3D printing applications, such as XTC-3D, which are worthy of consideration.
Once filler has been applied, the part must be sanded. We would recommend keeping a selection of grades of paper to hand for this purpose, starting with a coarse grain and working down to a fine one to achieve a smooth, even finish. Bear in mind that SLS materials are generally much softer than wood, so use a light touch when sanding them and concentrate on getting an even result. Avoid the use of hand-grinders, as these can leave scratches. Most importantly, always wear goggles and a face mask, and make sure you work in a well-ventilated area, as the materials used in SLS can irritate eyes and may be toxic if inhaled.
Alternatives to sanding
Bead blasting with fine glass beads can be used as an alternative to sanding, leaving an attractive matte finish. This must be done by hand, and takes around 5-10 minutes. Alternatively, tumbling (also called ‘vibro-finishing’) can be used, where parts are placed in a vibrating bowl filled with ceramic materials that smooth out the finish. Although this process is much slower and will take several hours, it means multiple parts can be finished at once. However, fine details can potentially be lost and sharp edges smoothed out during the process, which means it will not necessarily be appropriate for all applications.
It is also possible to achieve a smooth finish using solvents, such as acetone, butanone, or tetrahydrofuran, which dissolve certain materials used for SLS. As before, check your material’s specifications to see whether this option would be feasible and which solvent would be most appropriate. This can also be used to weld parts together, if required, using a ‘slurry’ of the printing material and the solvent.
The final touches
Once you have achieved a finish you are satisfied with, it’s time to give your part the finishing touches. If your part needs to be waterproof, a sealant can be applied at this stage (silicone, for example). Sealants are also available to make parts chemical and solvent-resistant, and also to provide UV protection, if required. Alternatively, lacquer is a good choice of finish for improving parts’ mechanical qualities, or achieving a glossy finish. If you decide on this option, we recommend applying 4-5 thin layers, as this will deliver a strong finish without any risk of the lacquer running and spoiling your print.
If your part is to be painted, a primer must be applied. This is best done using several thin coats to ensure a smooth, even result with no visible lines. After painting, consider an additional layer of sealant to ensure your colours stay looking new for as long as possible. You can find more information about painting or dying your model in last week’s tutorial.
Finally, it is now possible for SLS parts to be plated in a range of materials, including titanium and gold. This process will enhance the part’s overall material strength, while creating a look that is virtually indistinguishable from a printed metal part. We will take an in-depth look at the possibilities offered by metal plating in a future blog post.