While many people still think of plain-coloured plastic when it comes to 3D printing, it is not only possible, but more straightforward than ever before to achieve vivid, full-colour results for both prototypes and production parts. In this week’s tutorial we’ll look at some of the available options for achieving great results with coloured SLS prints.
There are a few options for adding colour to your SLS parts during the post-processing stage. The best choice for your part will depend on its intended purpose (i.e. is it intended for demonstration purposes, or will it be a fully functional, production part), the type of finish you wish to achieve, and your chosen colour(s).

Painting or spraying
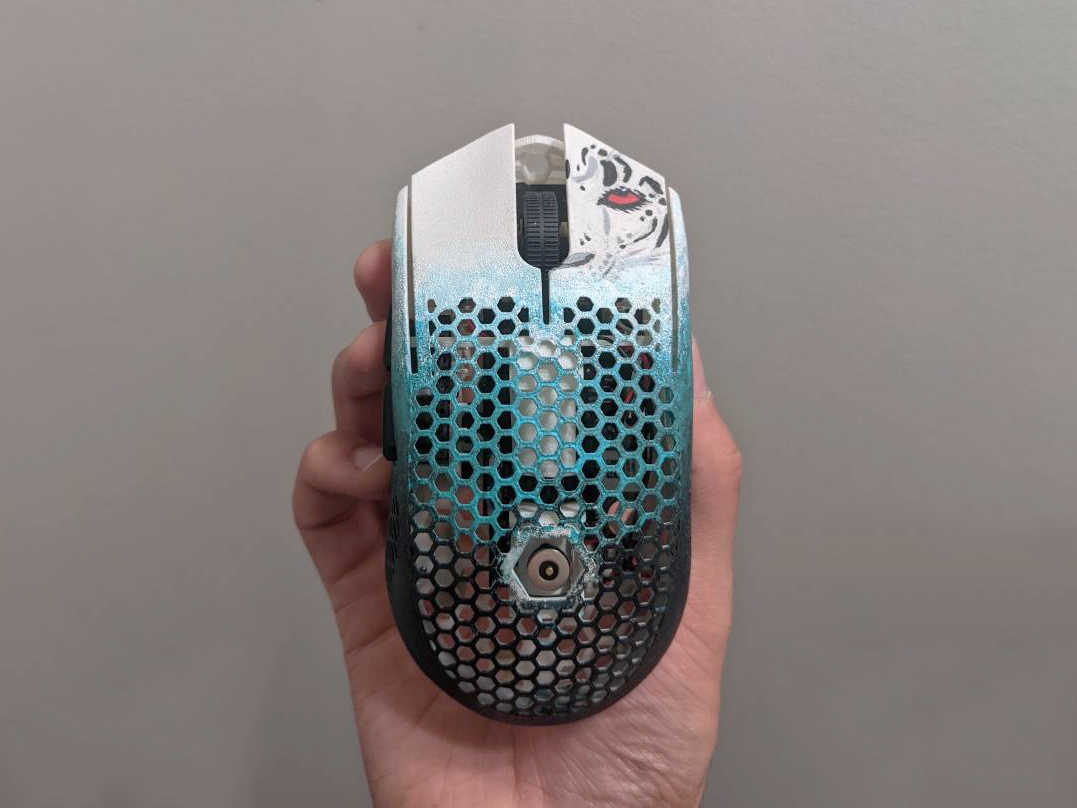
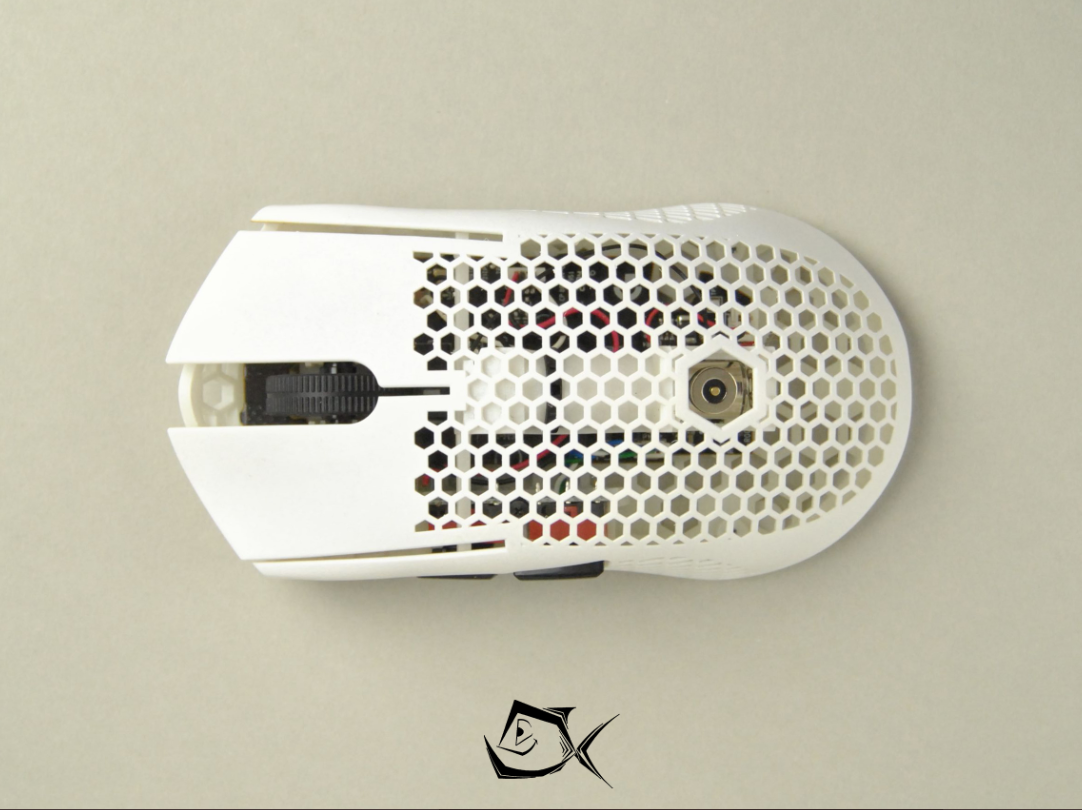
This method involves simply applying acrylic paint (although other options, such as cellulose and oil, are now available) to the part once it is printed. This means a virtually infinite range of colours can be achieved, as new ones can be mixed from available paints when required. However, it’s important to check the specifications for your chosen material before selecting a paint, as certain SLS materials take paint better than others, and may require additional preparation to ensure a professional result. For example, SLS nylon will need to be sanded and primed before paint is applied. Also, for any SLS material, all leftover powder will need to be removed. As a result, this process can potentially be quite time-consuming, especially for complex parts that will need to be painted by hand, although preparation processes like Dyemansion’s Powershot C can reduce this.
Whatever you opt for, bear in mind that any kind of paint will change the surface feel of your part. Whether this is a good or bad thing depends on what you will be using the part for. If it will be a problem, different finishing options are available, although these will further affect the part’s dimensions.
Dyeing
As an alternative to painting/spraying, parts can be immersed in an acid-based dye, after which colour-fixing and finishing materials are applied. This means that you are no longer limited by your part’s geometry, and will be able to achieve a consistent finish for even the most complex models. It also means colours will be more scratch-resistant than painted parts, ensuring the finish stays looking new for longer.
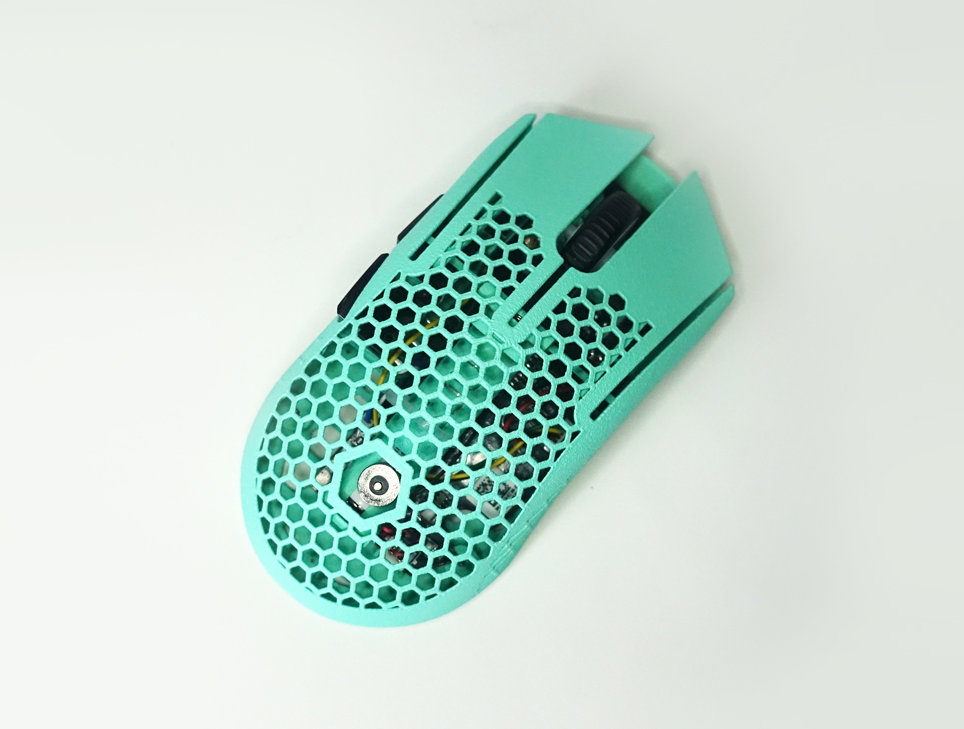
This process is especially suitable for porous SLS materials, as these will absorb more of the dye, achieving a good result. As the colour is absorbed by the material, it will have no effect on the part’s dimensions, which can make all the difference for functional parts. However, the glossy finishes that paint offers are not achievable with dyes, so if you want this sort of finish, it will need to be applied separately.
Printing with coloured materials
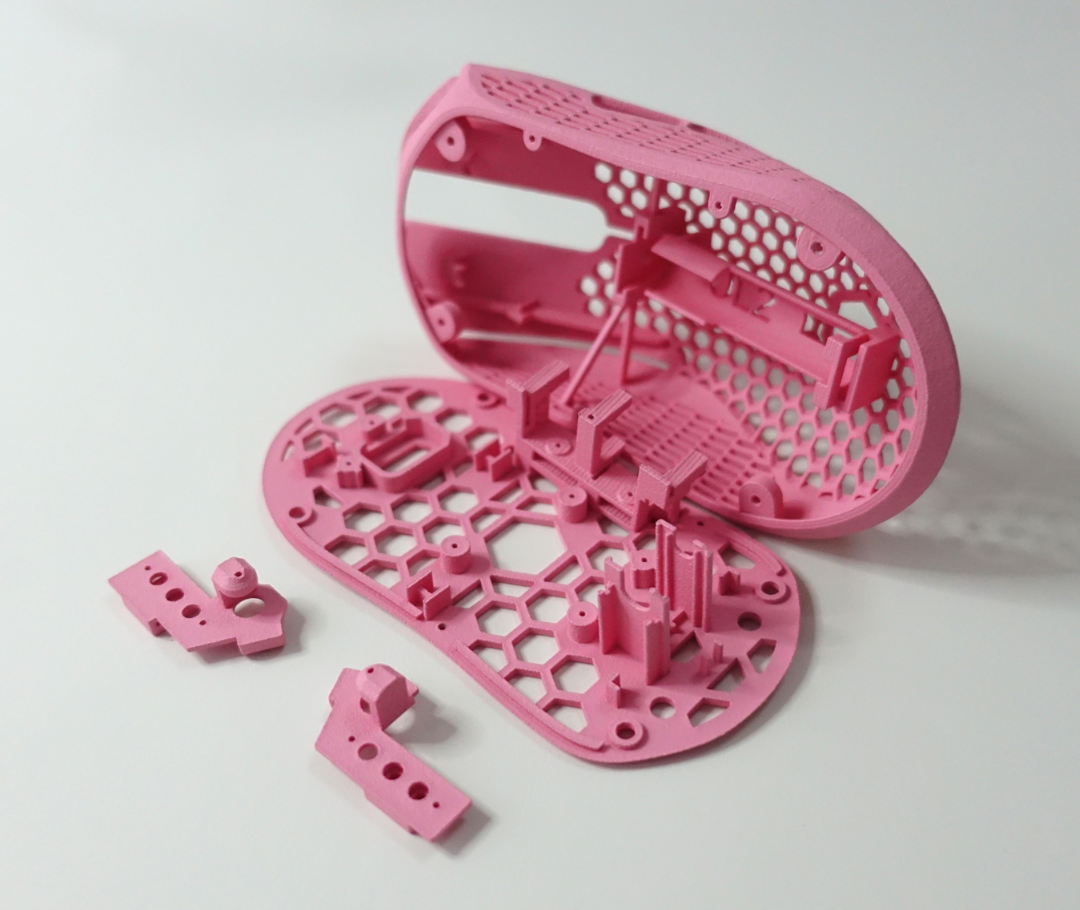
It is now possible to 3D print with coloured materials, which means colours can be applied during the printing process itself rather than during post-processing. Although this may seem like an attractive, time-saving option, at the time of writing, it is still limited in its applications. For example, sandstone can be used to print in full colour, but the results are quite hard and brittle, which makes the method unsuitable for production parts. Furthermore, a specialist printer will be required.
Coloured plastics that can be used for SLS applications are in development, but these are still relatively new, and so research into their potential applications is still ongoing. Alternatively, it is quite possible to print in full colour using FDM technology, where a wide range of coloured filaments are available. We will look at this in depth in a future tutorial.
Maximising your colours’ durability
The range of finishing options available at the moment can help ensure your SLS parts’ colours stay looking bright and clean for as long as possible. For example, a hard lacquer finish can offer additional UV protection, ensuring colours do not fade in the sun, and also improve surface hardness. However, such finishes are typically applied in quite thick layers, so aesthetic qualities may well have to be balanced against mechanical considerations.