Layer lines are a fact of FDM 3D printing. Check out our simple guide to PLA smoothing to learn how to smooth 3D prints and hide the lines!
The 3D printed texture: Some people love it, some people hate it. Nevertheless, there are many reasons that you may be wanting to “finish” a print. Maybe it’s a display piece, or perhaps it needs a smooth surface to reduce the friction between moving parts.
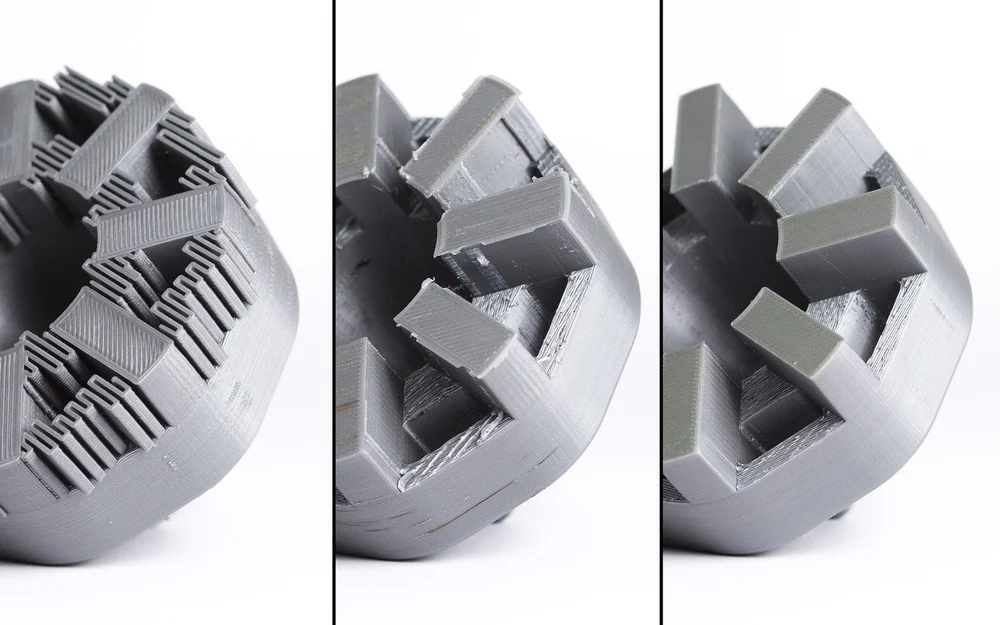
As the most common FDM 3D printing material, PLA is worth knowing how to post-process. Sadly, the nature of the material means acetone smoothing isn’t an option (as you can tell from the image above), but there are other ways to achieve a smooth and shiny finish.
In this article, we’ll be taking you through some of the different ways of smoothing out and finishing your PLA prints. We’ll start with the basics like trimming and sanding, before moving on to different ways to coat or even melt the surface of a part for a smooth finish.
Removing Excess Material
Sometimes a print has some excess material, like edges from a brim or supports, and in order to properly finish your print, you’ll need these removed. There are a couple of different tools you can use to go about doing this.
Utility Knife
Let’s start with the basics: a craft knife to trim excess material. A common example of this tool is an X-Acto knife. If you’re familiar with other DIY crafts, chances are that you’re familiar with this knife as well.
When looking for a knife to clean up your 3D prints, the first thing to consider is blade choice. Generally, the standard size 11 blade is a good choice thanks to its versatility, but others do exist that might be better suited to your specific needs.
Before you start cutting, keep in mind the basic knife safety rules, which is to say, always cut away from yourself, be careful not to place your fingers in front of the blade while holding the print, and don’t use excessive force while cutting.
To remove supports or other excess material, place the blade on one of the print’s edges, and move the blade across it, keep in mind to not apply too much pressure or you might risk removing more material than intended and damaging the print. Repeat this until the edges are smooth.
On a final note, if you don’t have access to a utility knife, a single-edged razor blade will do the job just as well, but please be cautious!
Rotary Multitool
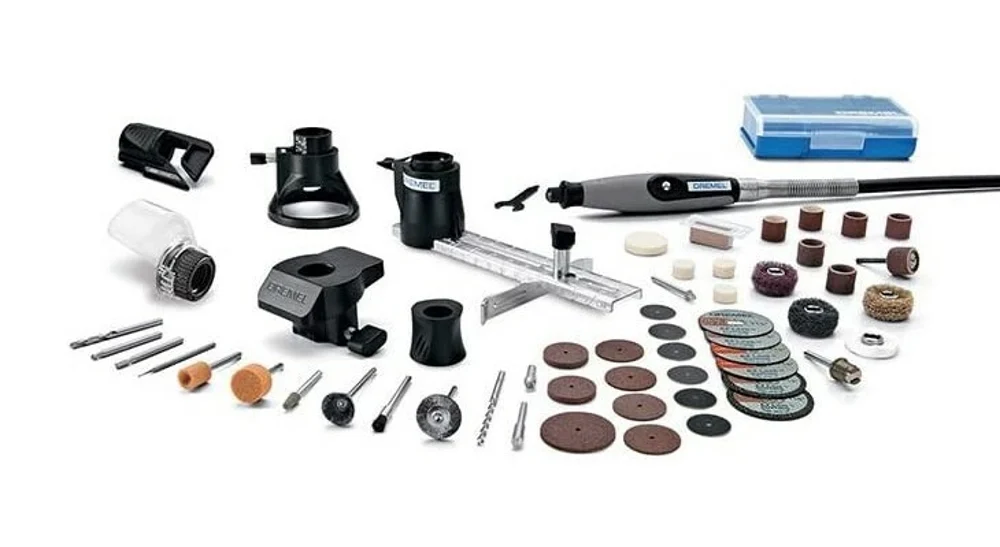
Rotary multitools like Dremels are another great option for finishing 3D prints. The way you use these tools is very similar to the way you would use a knife, but because of the many different bits available, they allow you to more easily finish the inside edges and other difficult-to-reach places of a part.
There are two things to keep in mind when using a rotary multitool. First, they are speed tools, not torque tools. So, rather than applying more pressure when you aren’t seeing the desired results, increase the rotary speed. This will not only save you a lot of work, but it will also increase the lifespan of your tool.
Second, because you’re using a power tool on plastic, don’t hover over one spot for too long, or apply too much pressure. The movement of the tool creates heat, so doing this is a sure-fire way to melt the plastic on the spot where you’re working and create divots and holes in the print.
Some rotary tools also come with sanding attachments, but they can be a bit too intense for smoothing PLA. We’ll look at effective sanding techniques next.
Sanding
Sanding is one of the more accessible methods of smoothing out prints, and as you might have figured out from your own experimentation, there are many different ways of going about sanding.
If you have a print with large surfaces, you might want to consider using a sanding block. They take the strain off your hands and make for an even wear on the sandpaper as well as on your print.
If you have a print with lots of detail, your best bet is to use nail files. There are many different sizes and types of nail files, and the right choice will depend on what you’re sanding, but the cheap cardboard files will often work perfectly well.
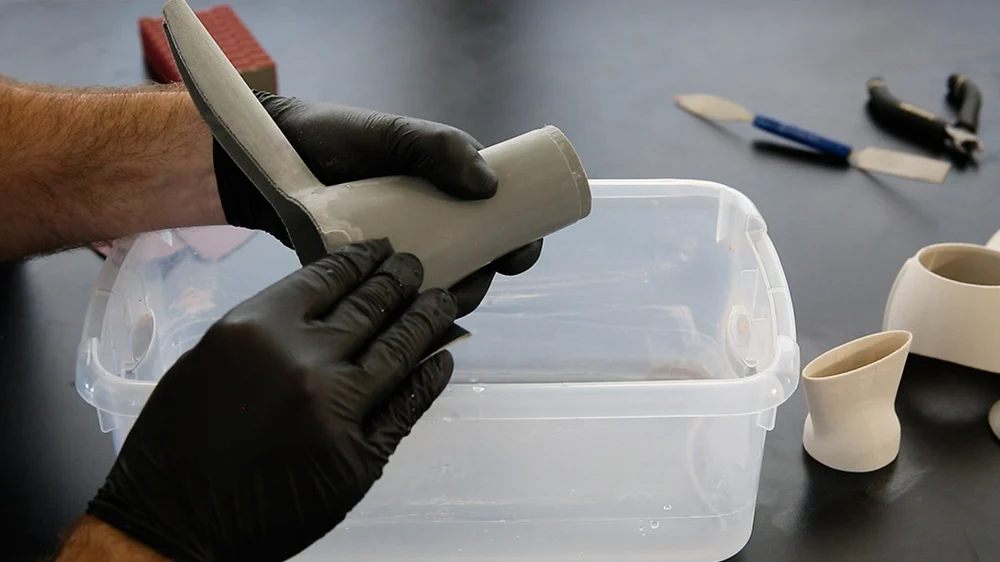
You can of course also use loose sheets of sandpaper and in some situations, this might actually be preferable. To get the best results from your sanding efforts, move the sandpaper in circular motions across the print, against the grain of the layer lines.
You’ll also want to step up your sandpaper grits. Depending on the result you’re looking for, you could start as low as 400 grit sandpaper, and work your way up to 4,000 grit.
On a final note, you’ve probably heard of wet sanding. High-grit wet sandpaper can be used as the final sanding stage because it doesn’t remove a lot of material and will leave a polished finish. The technique for using wet sandpaper is mostly the same as regular sandpaper, you just have to wet it every now and then.
Surface Melting
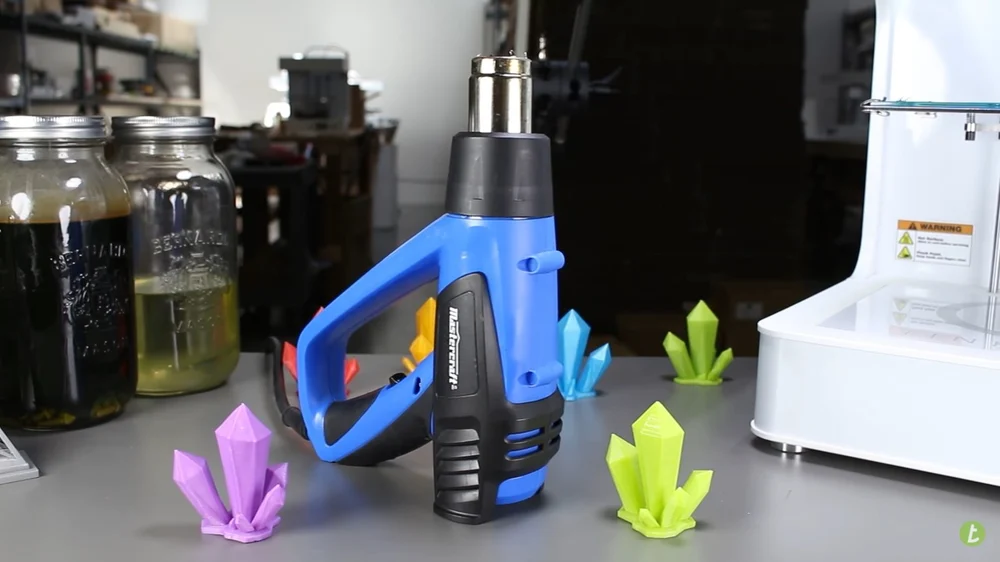
As you probably know, PLA is not particularly heat resistant which makes it not so great for outdoor applications. But it does mean you can harness the impact of heat on the plastic to finish your prints.
The most commonly used tool for this purpose is a heat gun, set to its lowest heat setting. The best, most consistent results are attained by placing the print on a turntable and spinning it slowly to evenly distribute the heat. This also helps prevent over-melting any specific areas for an overall better result.
And while it might seem like a hairdryer would be a good alternative to a heat gun, a hairdryer isn’t designed to be hot enough to melt plastic (most models don’t even reach PLA’s glass transition temperature of 60 °C), so you’ll be waiting a long time to see any change!
Surface Coating
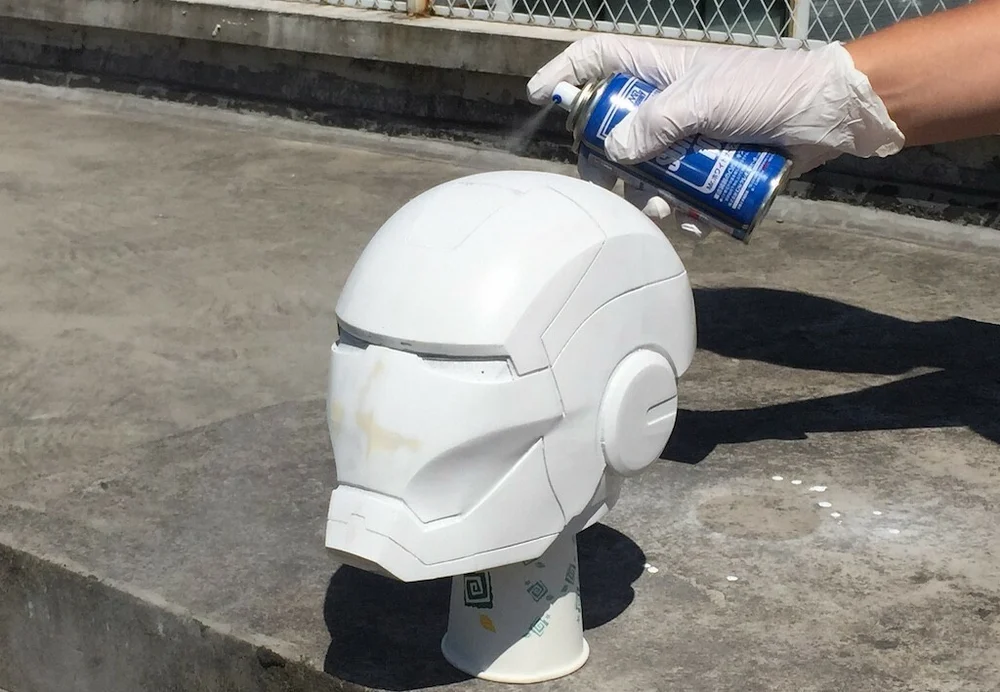
Another way to achieve a smooth surface on a print is by adding an additional coating of material, whether sprayed, painted, or dipped. This can fill any defects in the surface texture, including layer lines, and leave a shiny, even finish. Two common examples for PLA are using a paint primer or an epoxy coating.
Primer
Using primer on a print more or less goes hand in hand with sanding. The idea behind using a primer to finish your print is that the primer will fill in the layer lines to create a smooth surface. You then let the primer dry, and subsequently sand the top layer down. Sanding the primer is generally a lot easier than sanding down the actual PLA because the primer is a lot softer.
Using primer usually results in a print that looks a lot nicer than a print that has simply been sanded. You should, however, remember that this way is a lot more time-consuming, as you’ll have to wait for each layer of primer to dry. Additionally, it’s best to follow up a primed print with painting, as primer alone won’t stand the test of time if left uncovered.
Epoxy
Epoxy is a resin coating that works in much the same way that primer does. However, it’s a little more difficult to work with as you have to mix it before applying it to your print. One thing epoxy performs significantly better at than primer, though, is filling larger holes or print artifacts that have been left behind by the printing process.
Finish your print with epoxy consists of mixing up a batch of epoxy resin. You can then apply it liberally to all surfaces of your print with a paintbrush. Just make sure that your coats are even, so you’re not left with different thicknesses on the finished print.
Chemical Smoothing
Finally, we come to chemicals. As we mentioned previously, PLA can’t be smoothed with acetone in the way that ABS can, but there’s still an option to achieve a similar finish.
Polymaker Polysmooth is composed of PVB, a material very similar to PLA that can be chemically smoothed. However, it requires the use of the Polymaker Polysher. This is a box that disperses isopropyl alcohol, which reacts with the filament to smooth the top layers.
Purchasing everything required is a bit of an investment, but if you need a large number of smooth prints it might be worth considering taking the plunge and setting yourself up with this system.
Source: https://all3dp.com/2/pla-smoothing-a-beginner-s-guide/