

Introduction
3D printing is often the fastest and most cost-effective way of producing prototypes or one-off parts. The cost of a 3D printed part is mainly determined by the amount of material used in the fabrication process and the total manufacturing time.
This article will help you get the most out of 3D printing when the cost is the main constrain. After reading it you will understand how the price of a 3D printed part is determined and you will learn some tips and tricks to reduce the cost of your 3D prints.
Price differences in 3D printing
The main factors that determine the cost of 3D printing are:
- Material Cost: the cost of the standard 3D printing material varies greatly by process from approximately $25 per kilogram for FDM filaments, to $50-60 per kilogram of SLA resin or SLS powder.
- Part Volume: larger parts need more material and will take longer to print, increasing the cost.
- Post-processing: after a print is complete, additional manual work may be required to finish the part (support or powder removal, cleaning, sanding etc.), adding to the cost.
Set up costs a very small for 3D printing. This is the main reason why 3D printing is so economical for low numbers but becomes less price competitive compared to CNC machining or injection molding for higher volumes.
If price is the main design restriction, FDM is the best 3D printing option, as FDM filaments are considerably cheaper than SLA resins or SLS powders. In addition, FDM parts are printed partly hollow (with an internal infill of 25% by default on Hubs) using less material, whereas all other 3D printing processes produce parts that are completely solid.
Scaling down your 3D model
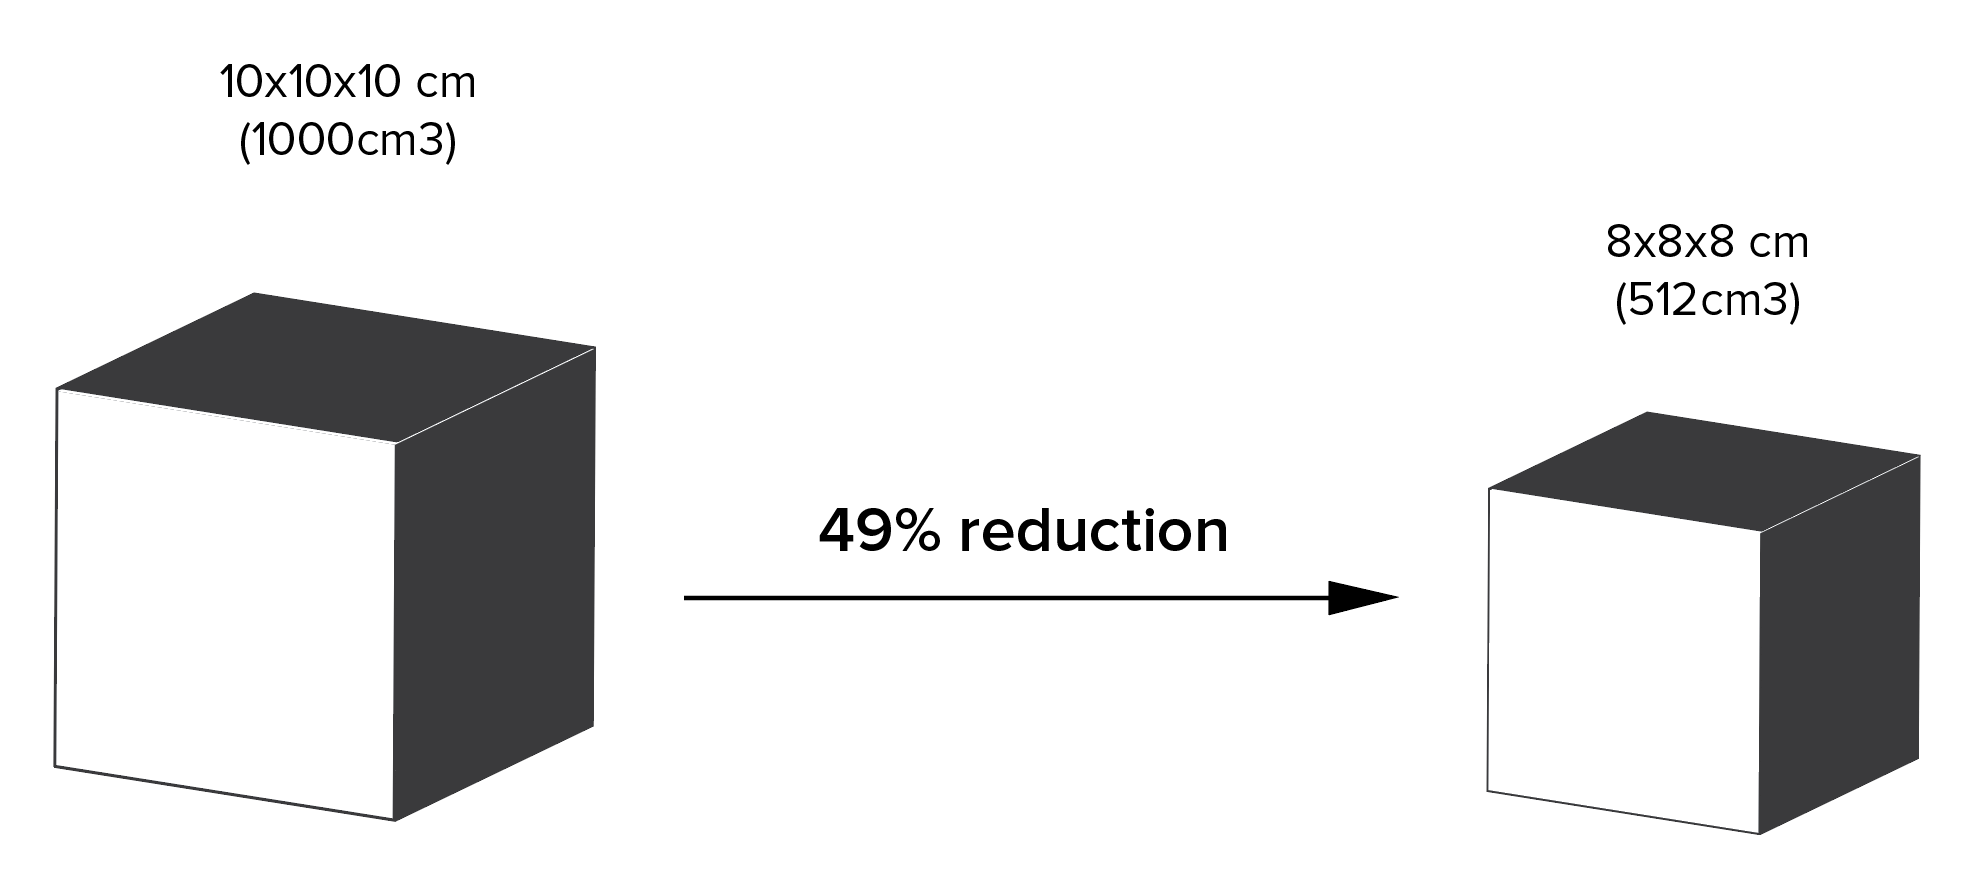
If the size of your model is not crucial (for example for a visual prototype), you can scale down your model to greatly decrease the cost.
Remember, we are thinking in 3D! A 10×10×10 cube has double the volume of an 8×8×8 cube. Hence, even a small reduction in the size of your model can greatly reduce the price of your 3D print to a fraction of the original cost.
Here is how you can scale your 3D model using the free software Netfabb:
Step 1: Download and install the free version of Netfabb.
Step 2: Open your model, click on the “Scale Part” button in the menu bar and adjust the size of your model. Netfabb uses the millimeter unit by default, but you can change this in the settings.
Step 3: Save your scaled model by going to the upper left of the user interface and navigate Part > Export Part > as STL (binary).
Step 4: Upload your design for 3D printing – remember to specify the same units that you used in Netfabb (mm, cm or inches) within the file uploader.
Hollowing out your 3D model
If a fully solid object is not necessary for your design, hollowing it out is a great way to substantially reduce printing costs.
While FDM 3D printers produce semi-hollow parts with an internal infill structure by default, other 3D printing technologies (like SLA, SLS and Material Jetting) do not automatically hollow out the model and produce parts that are 100% solid, unless the original model is already hollow.
Here is a step-by-step guide to hollow your model using the free Meshmixer software:
Step 1: Download and install Meshmixer.
Step 2: Open your model and click “Edit” -> “Hollow” and select your wall thickness. Use 2 mm thick walls as a safe lower limit for all 3D printing processes.
Step 3: Add escape holes to your model that allow the removal excess printing material after printing. You can do that in Meshmixer by double-clicking the surface of your model where you want the escape hole to be placed. A good location for the escape holes are surfaces that are not normally visible during the normal use of the part (for example at its base). If you’re printing with SLS, make sure to add at least 2 holes with at least 5 mm diameter.
Step 4: Click “Accept” and export your model from Meshmixer as an STL. You’re done!
In our example, we had a 75% volume reduction. Of course, this is heavily dependent on your specific model and the settings, but a few minutes of editing can have a significant impact on the cost of 3D printing.
Eliminating the need of support structures
Sometimes the cost of FDM 3D printed parts can be reduced even further, by eliminating the need for support structures. Support is often required in FDM to create parts with overhangs. It increases the cost of FDM 3D printing, as more material is consumed and additional post-processing is required to remove the support structures and smoothen the surface.
There are two options to eliminate the need for supports:
Overhang angles
The first option is to design the part with overhang angles greater than 45o. For more information on support structures in FDM see this article and for information about FDM design guidelines click here.
Splitting your 3D model
The second option is to split your model into two or more parts that require no support and that can be assembled later (for example glued together). Here is a short tutorial on how you can do this in Netfabb:
Step 1: Download and install the free version of Netfabb.
Step 2: Open your model in Netfabb. Select the “Cuts” field and specify the location and angle you want to split the part. Make sure that there is a flat surface to your model that can be used as a base for FDM 3D printing.
Step 3: When you are happy with the placement, click on the “Execute Cut” button and export your file as STL.
Rules of Thumb
- FDM is the most economic 3D printing process.
- Reduce the volume of the part, by scaling down or hollowing the model, to greatly reduce the cost of SLA and SLS 3D printing.
- Design parts that need no support structures to further reduce the cost of FDM 3D printing.