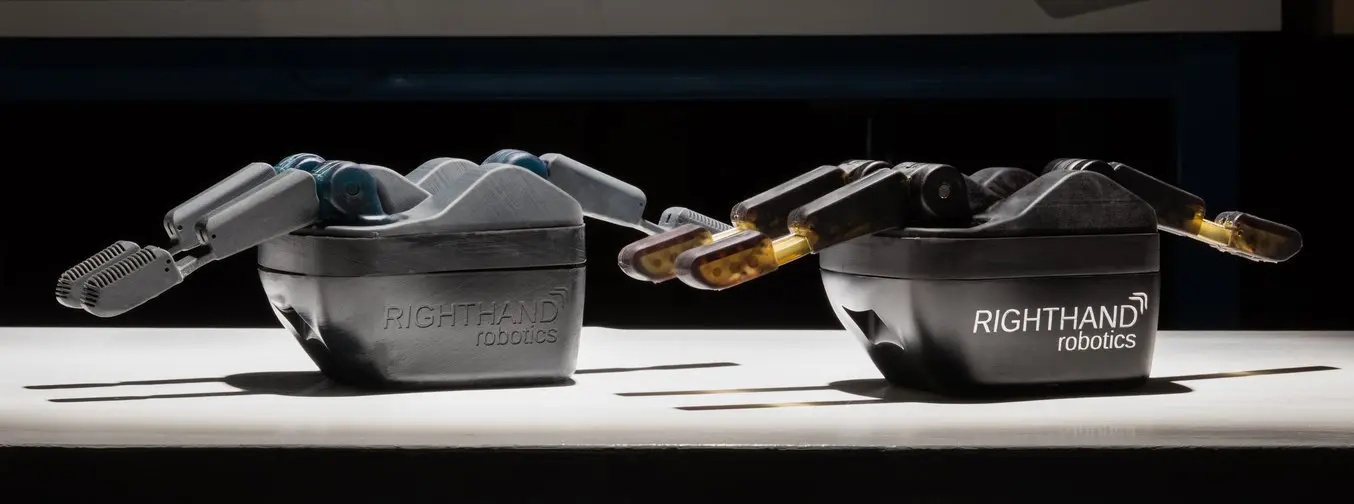
Prototyping is a crucial part of the product development process, but traditionally, it has been a bottleneck.
Product designers and engineers would create makeshift proof-of-concept models with basic tools, but producing functional prototypes and production-quality parts often required the same processes as finished products. Traditional manufacturing processes like injection molding require costly tooling and setup, which makes low-volume, custom prototypes prohibitively expensive.
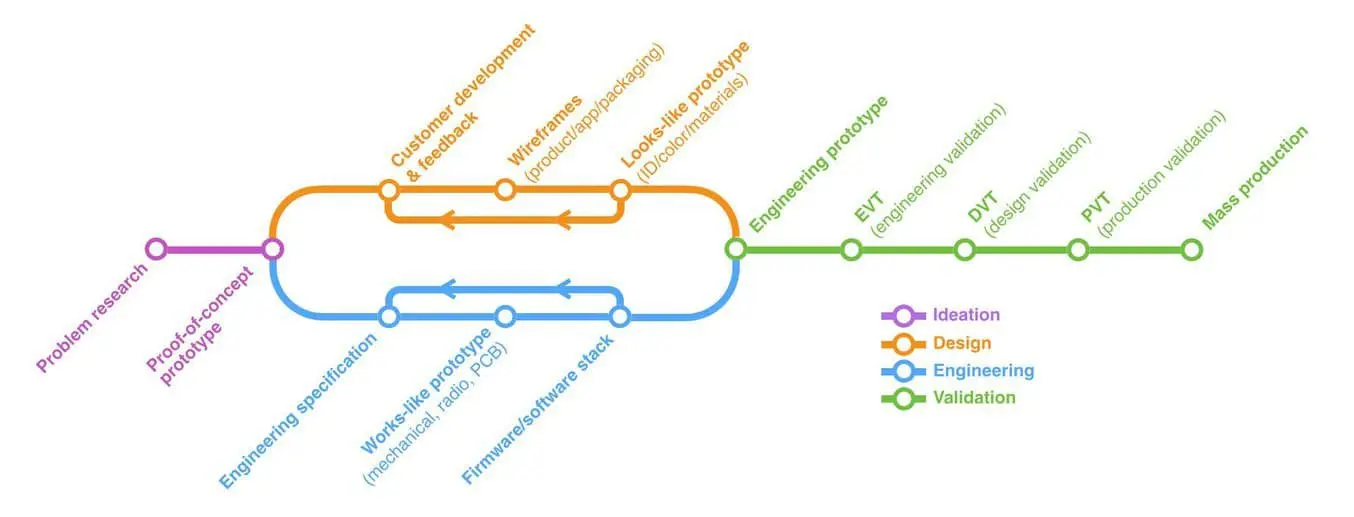
Rapid prototyping helps companies turn ideas into realistic proofs of concept, advances these concepts to high-fidelity prototypes that look and work like final products, and guides products through a series of validation stages toward mass production.
With rapid prototyping, designers and engineers can create prototypes directly from CAD data faster than ever before, and execute quick and frequent revisions of their designs based on real world testing and feedback.
In this guide, you’ll learn how rapid prototyping fits into the product development process, its applications, and what rapid prototyping tools are available to today’s product development teams.
What is Rapid Prototyping?
Rapid prototyping is the group of techniques used to quickly fabricate a scale model of a physical part or assembly using three-dimensional computer-aided design (CAD) data. Because these parts or assemblies are usually constructed using additive fabrication techniques as opposed to traditional subtractive methods, the phrase has become synonymous with additive manufacturing and 3D printing.
Additive manufacturing is a natural match for prototyping. It provides almost unlimited form freedom, doesn’t require tooling, and can produce parts with mechanical properties closely matching various materials made with traditional manufacturing methods. 3D printing technologies have been around since the 1980s, but their high cost and complexity mostly limited use to large corporations, or forced smaller companies to outsource production to specialized services, waiting weeks between subsequent iterations.
The advent of desktop and benchtop 3D printing has changed this status quo and inspired a groundswell of adoption that shows no sign of stopping. With in-house 3D printing, engineers and designers can quickly iterate between digital designs and physical prototypes. It is now possible to create prototypes within a day and carry out multiple iterations of design, size, shape, or assembly based on results of real-life testing and analysis. Ultimately, the rapid prototyping process helps companies get better products to market faster than their competition.
Advantages of Rapid Prototyping
Realize and Explore Concepts Faster
Rapid prototyping elevates initial ideas to low-risk concept explorations that look like real products in no time. It allows designers to go beyond virtual visualization, making it easier to understand the look and feel of the design, and compare concepts side by side.
Communicate Ideas Effectively
Physical models empower designers to share their concepts with colleagues, clients, and collaborators to convey ideas in ways not possible by merely visualizing designs on screen. Rapid prototyping facilitates the clear, actionable user feedback that is essential for creators to understand user needs and then refine and improve their designs.
Design Iteratively and Instantly Incorporate Changes
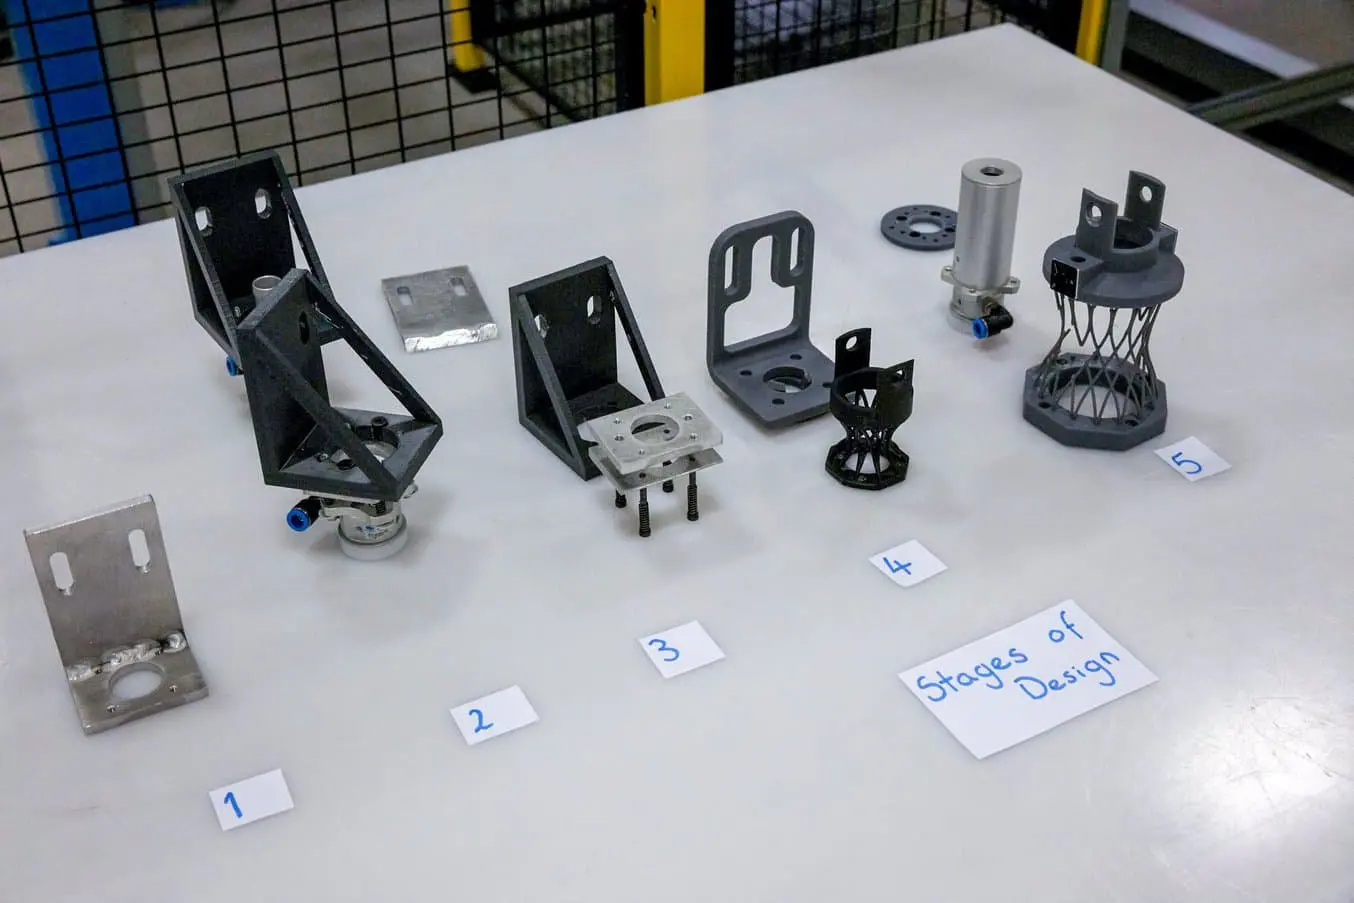
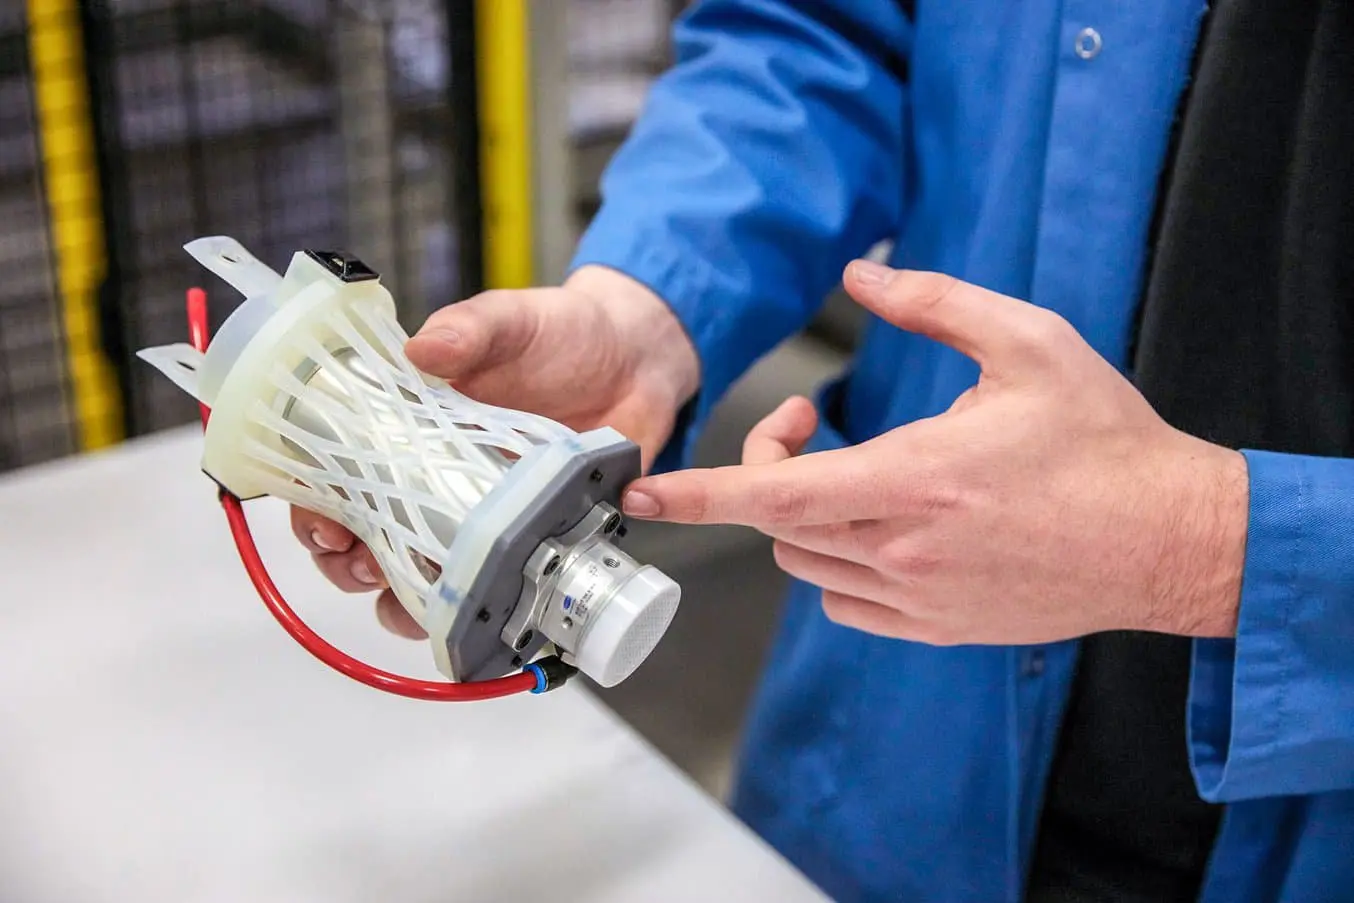
Design is always an iterative process requiring multiple rounds of testing, evaluation, and refinement before getting to a final product. Rapid prototyping with 3D printing provides the flexibility to create more realistic prototypes faster and implement changes instantly, elevating this crucial trial and error process.
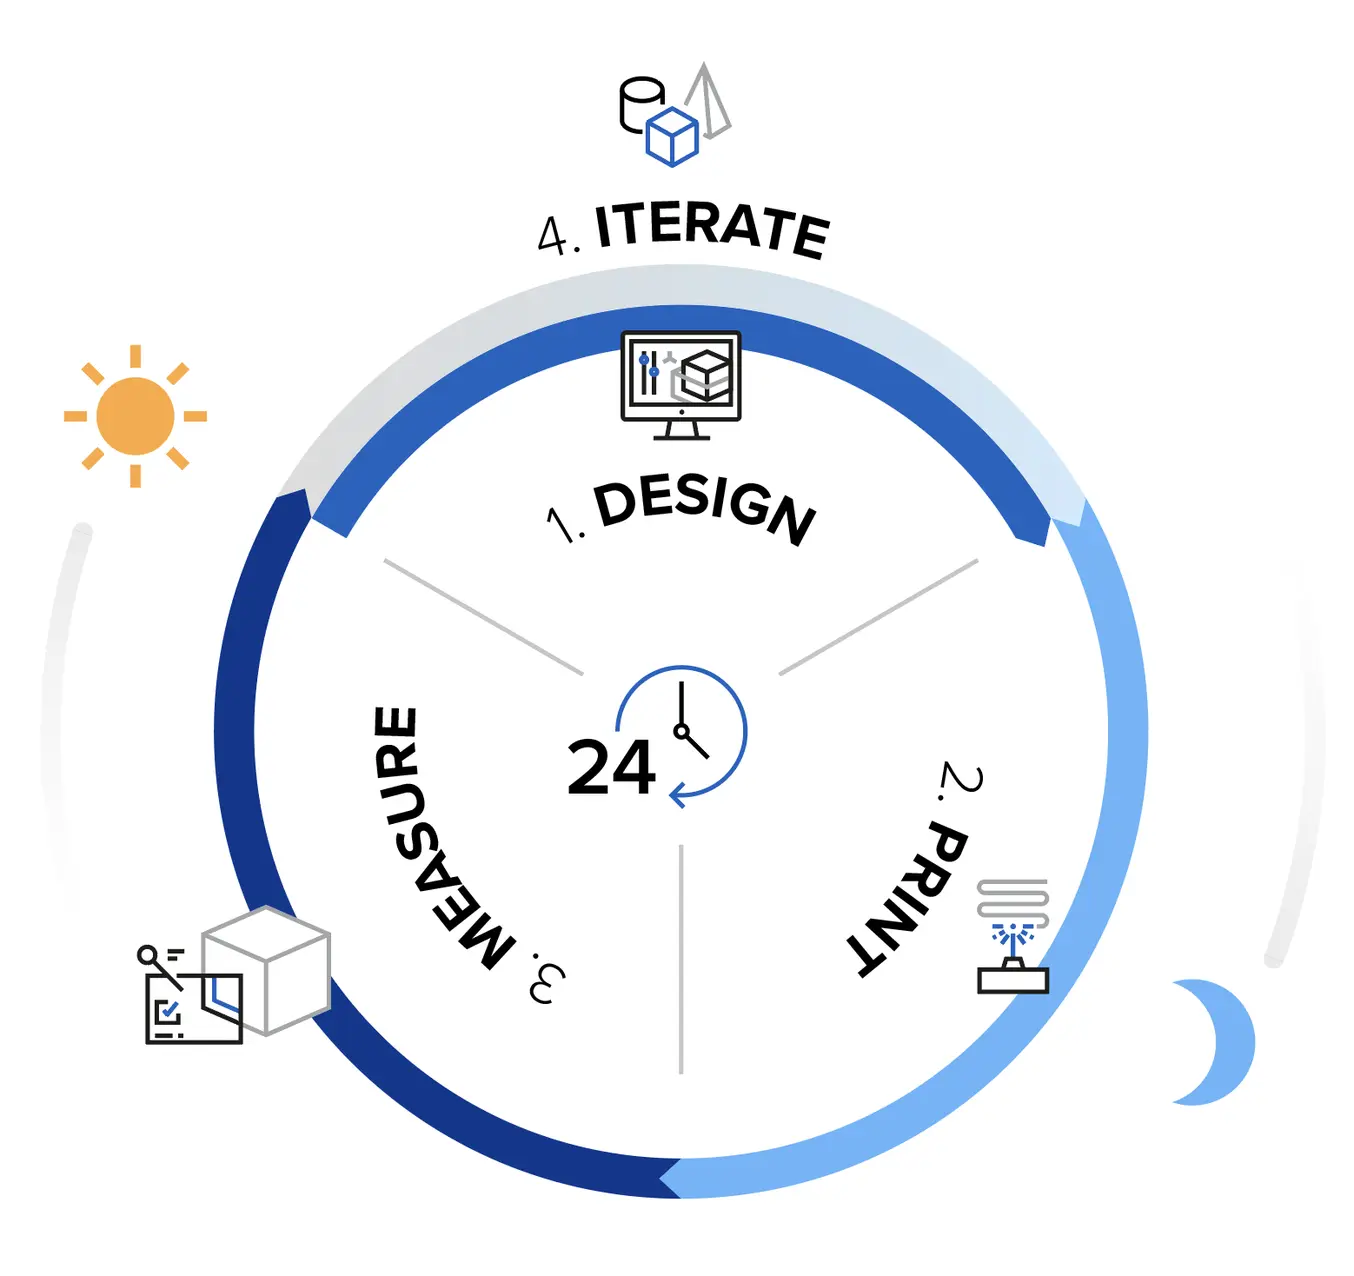
A good model is a 24-hour design cycle: design during work, 3D print prototype parts overnight, clean and test the next day, tweak the design, then repeat.
Save Cost and Time
With 3D printing, there’s no need for costly tooling and setup; the same equipment can be used to produce different geometries. In-house rapid prototyping eliminates the high costs and lead time associated with outsourcing.
Test Thoroughly and Minimize Design Flaws
In product design and manufacturing, finding and fixing design flaws early can help companies avoid costly design revisions and tooling changes down the road.
Rapid prototyping allows engineers to thoroughly test prototypes that look and perform like final products, reducing the risks of usability and manufacturability issues before moving into production.
Applications of Rapid Prototyping
Thanks to a variety of available technologies and materials, rapid prototyping supports designers and engineers throughout product development, from initial concept models through engineering, validation testing, and production.
Proof-of-Concept (PoC) Prototypes and Concept Models
Concept models or proof-of-concept (POC) prototypes help product designers validate ideas and assumptions, and test a product’s viability. Physical concept models can demonstrate an idea to stakeholders, create discussion, and drive acceptance or rejection using low-risk concept explorations.
PoC prototyping happens at the earliest stages of the product development process, and these prototypes include the minimum functionality needed to validate assumptions before moving the product into subsequent stages of development.
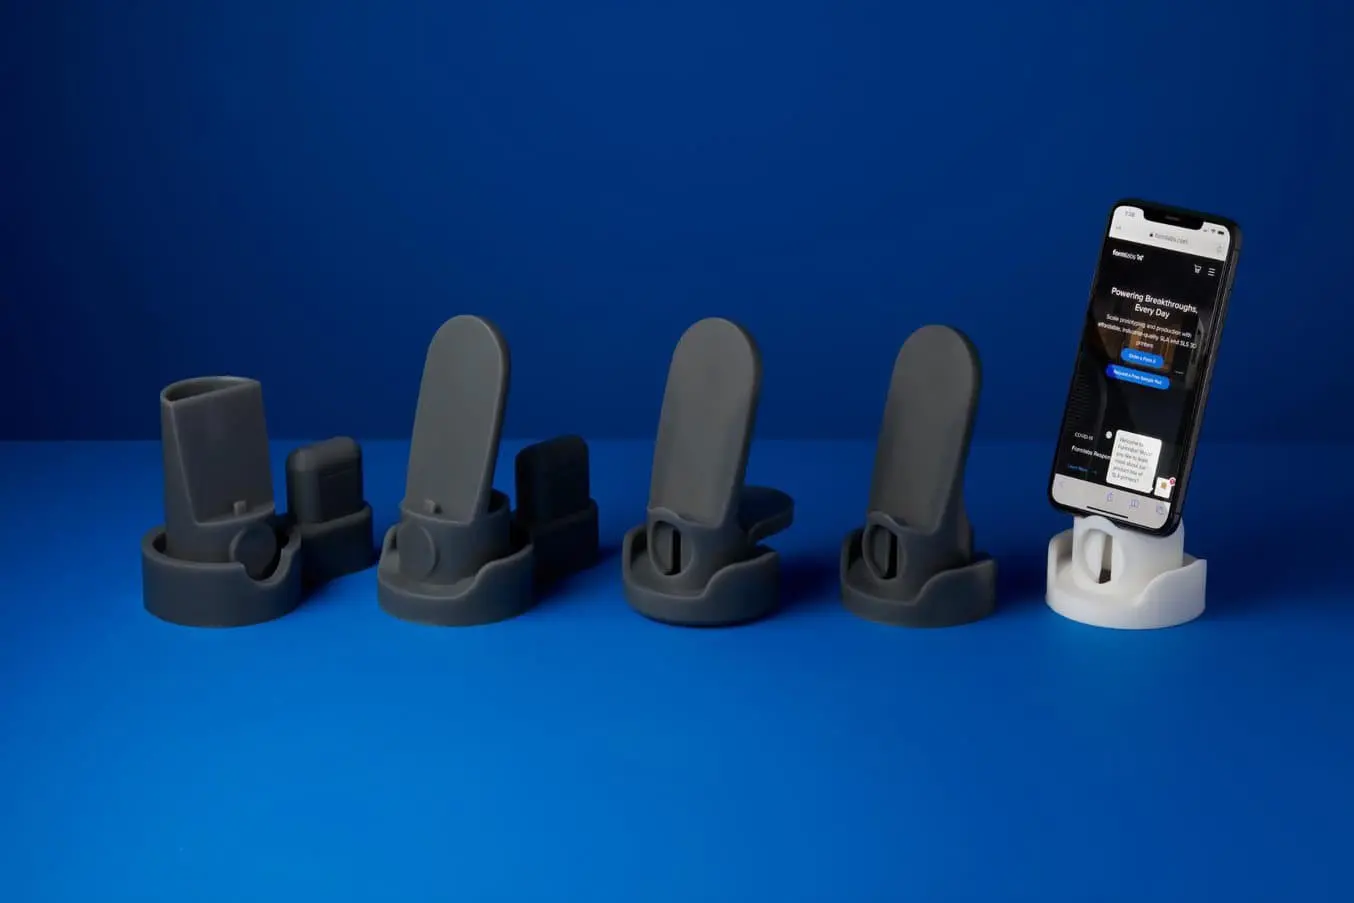
The key to successful concept modeling is speed; designers need to generate a wealth of ideas, before building and evaluating physical models. At this stage, usability and quality are of less importance and teams rely on off-the-shelf parts as much as possible.
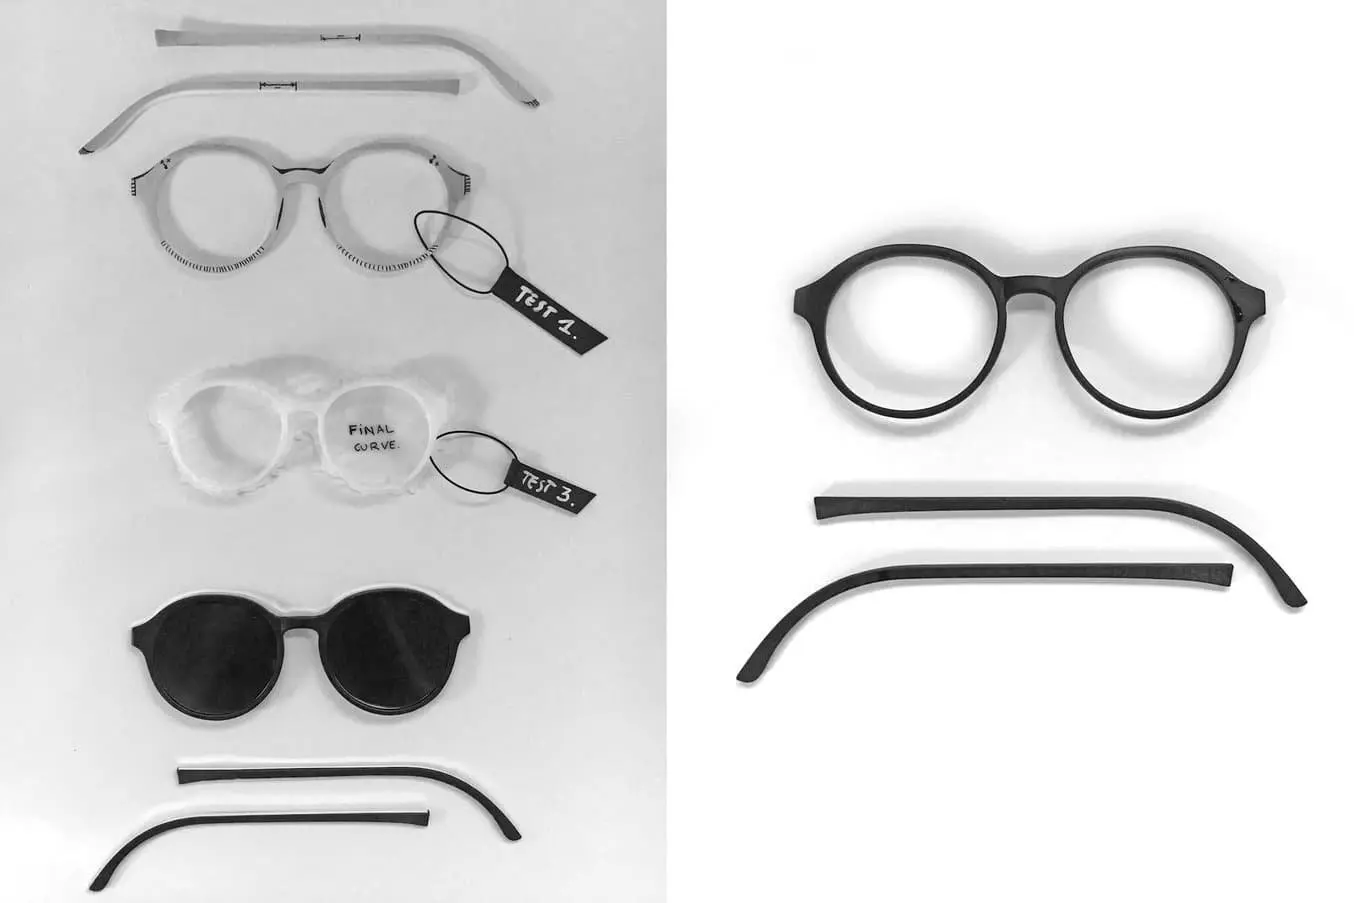
3D printers are ideal tools to support concept modeling. They provide unmatched turnaround time to convert a computer file into a physical prototype, allowing designers to quickly test additional concepts. In contrast with the majority of workshop and manufacturing tools, desktop 3D printers are office-friendly, sparing the need for a dedicated space.
Looks-Like Prototypes
Looks-like prototypes represent the final product at an abstract level but may lack many of its functional aspects. Their purpose is to give a better idea of what an end product will look like and how the end user will interact with it. Ergonomics, user interfaces, and overall user experience can be validated with looks-like prototypes before spending significant design and engineering time to fully build out product features.
Looks-like prototype development usually starts with sketches, foam or clay models, then moves into CAD modeling. As design cycles progress from one iteration to the next, prototyping moves back and forth between digital renderings and physical models. As the design is finalized, industrial design teams aim to create looks-like prototypes that accurately resemble the end product by using the actual colors, materials, and finishes (CMF) they specify for the final product.
Works-Like Prototypes
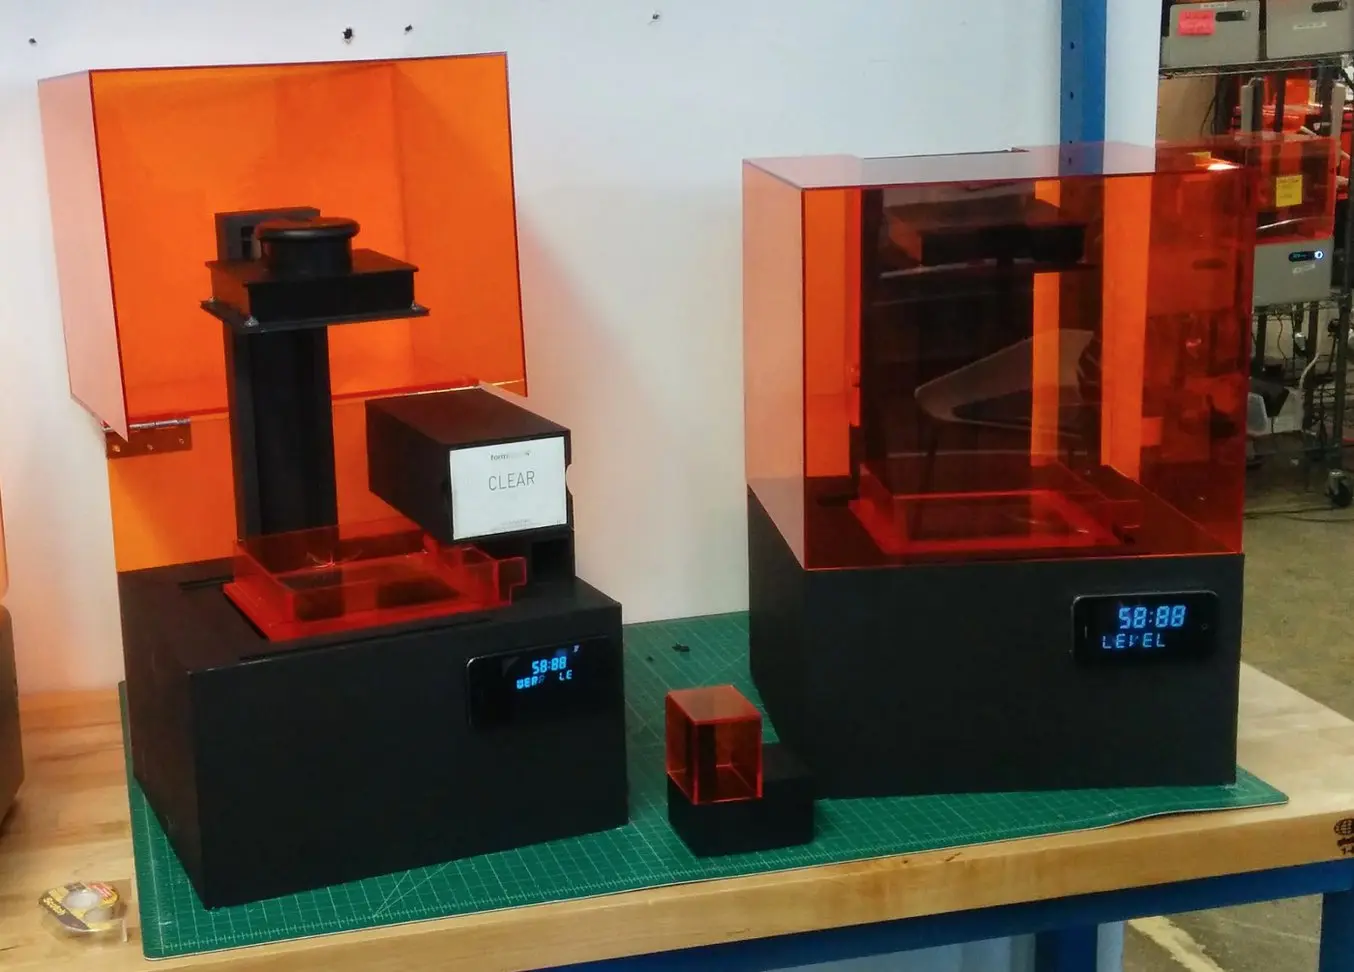
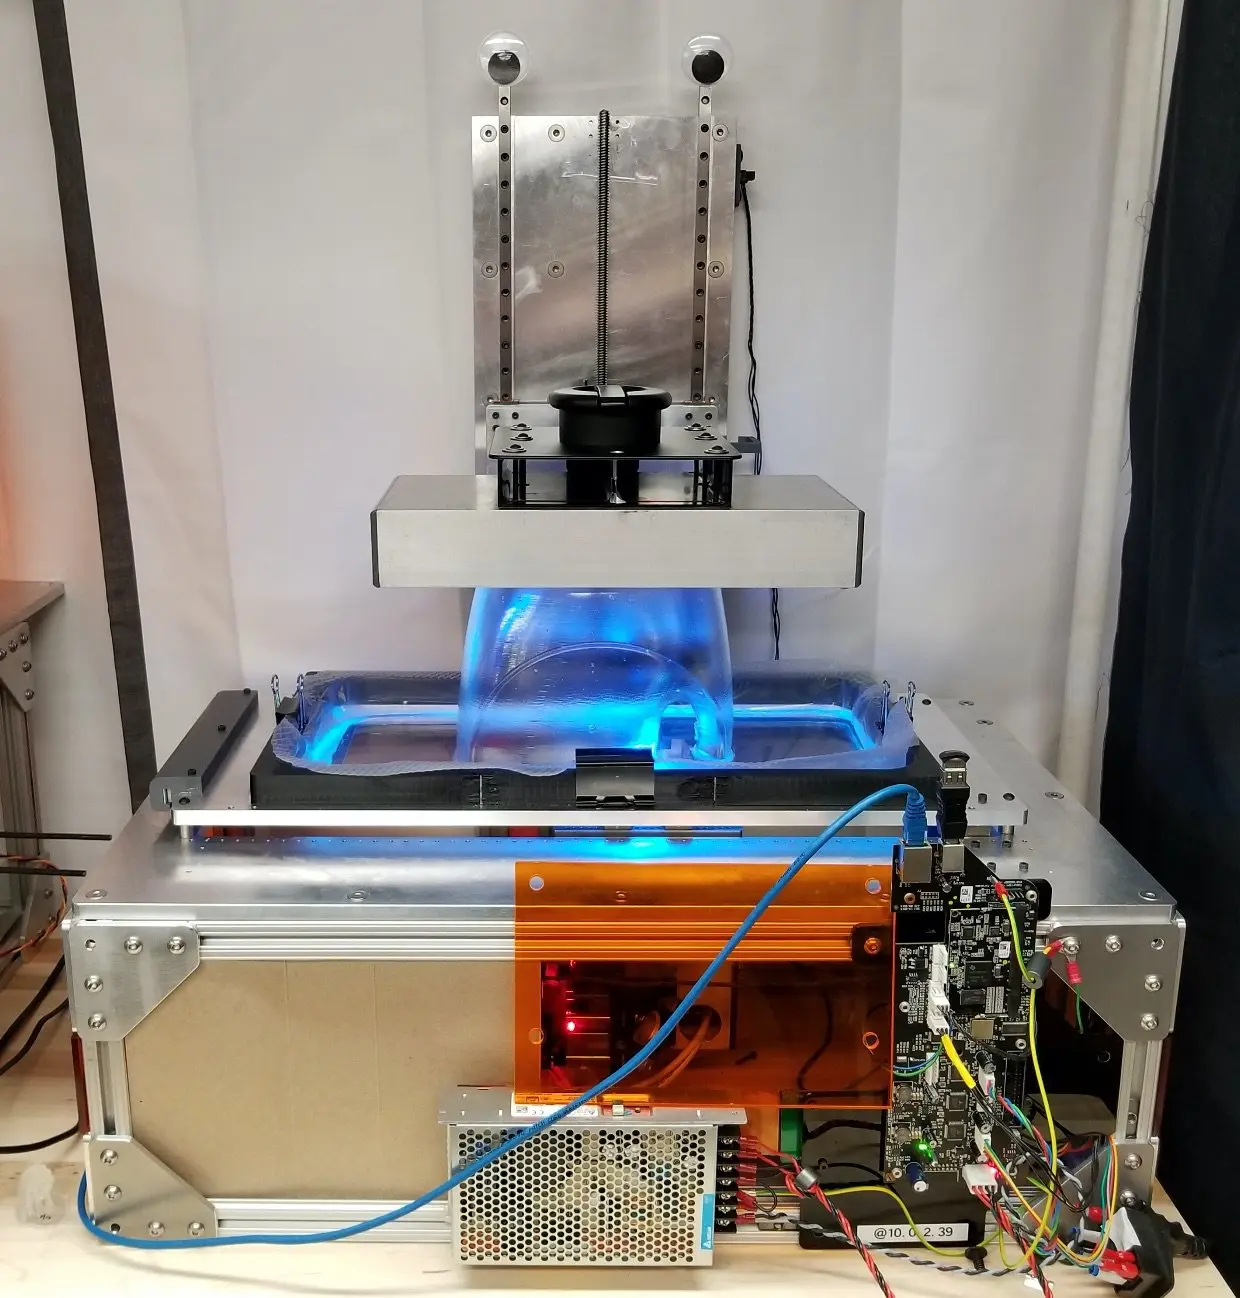
Parallel to the industrial design process, engineering teams work on another set of prototypes to test, iterate, and refine the mechanical, electrical, and thermal systems that make up the product. These works-like prototypes might look different from the final product, but they include the core technologies and functions that need to be developed and tested.
Often, these critical core functions are developed and tested in separate sub-units before being integrated into a single product prototype. This subsystem approach isolates variables, making it easier for teams to split up responsibilities and ensure reliability on a more granular level before folding all of the elements together.
Engineering Prototypes
The engineering prototype is where design and engineering meet to create a minimum viable version of the final commercial product, that is designed for manufacturing (DFM). These prototypes are used for lab-based user testing with a select group of lead users, to communicate production intent to tooling specialists in subsequent stages, and to act as a demonstrator in the first sales meetings.
At this stage, details become increasingly important. 3D printing allows engineers to create high-fidelity prototypes that accurately represent the finished product. This makes it easier to verify the design, fit, function, and manufacturability before investing in expensive tooling and moving into production, when the time and cost to make change becomes increasingly prohibitive.
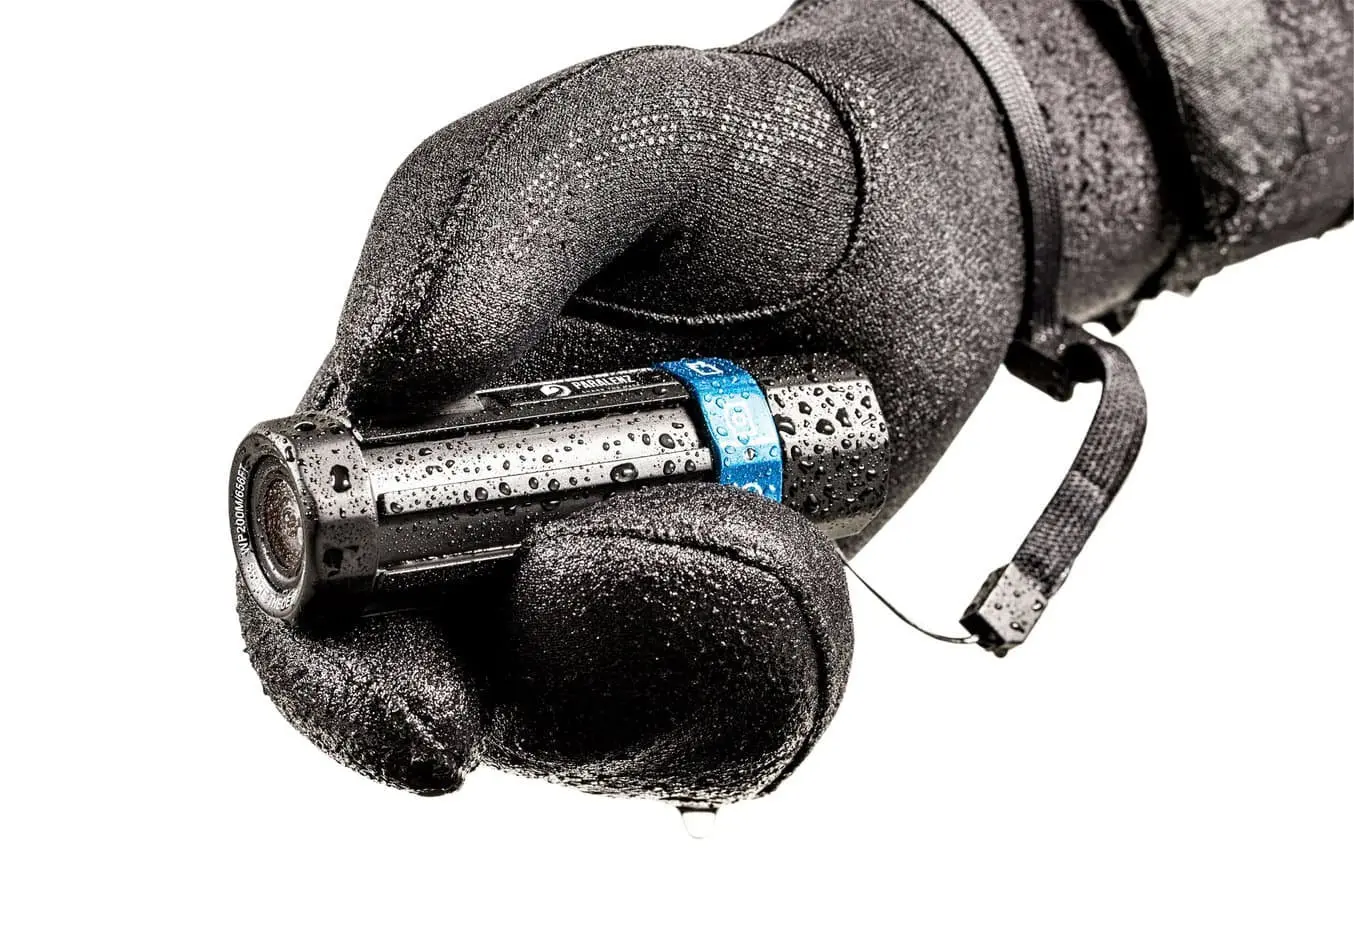
Advanced 3D printing materials can closely match the look, feel, and material characteristics of parts produced with traditional manufacturing processes such as injection molding. Various materials can simulate parts with fine details and textures, soft-touch, smooth, and low-friction surfaces, rigid and robust housings, or clear components. 3D printed parts can be finished with secondary processes like sanding, polishing, painting, or electroplating to replicate any visual attribute of a final part, as well as threaded to create assemblies from multiple parts and materials.
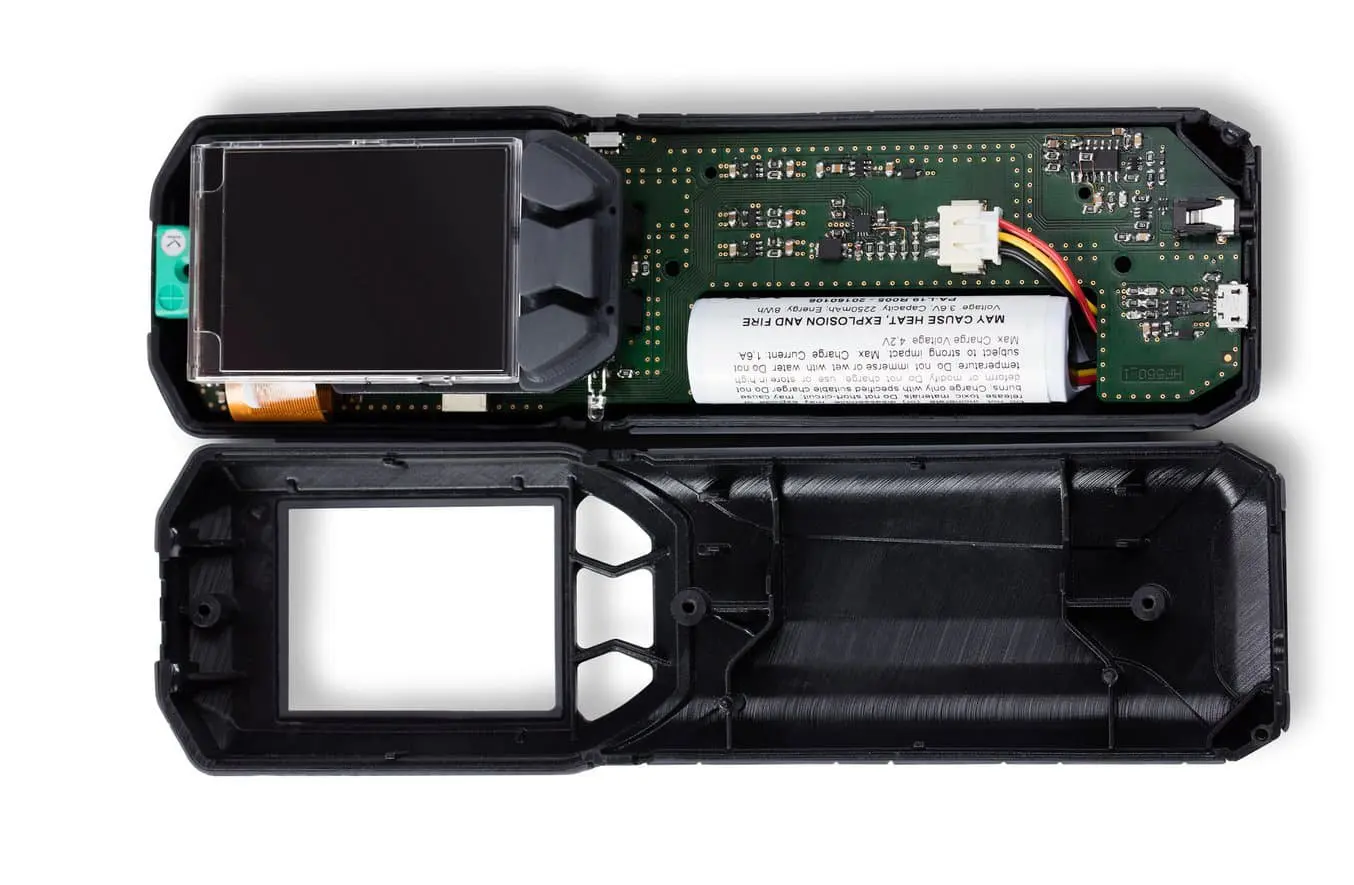
Engineering prototypes require extensive functional and usability testing to see how a part or assembly will function when subjected to stresses and conditions of in-field use. 3D printing offers engineering plastics for high-performance prototypes that can withstand thermal, chemical, and mechanical stress.
Validation Testing and Manufacturing
Rapid prototyping allows engineers to create small-batch runs, one-off custom solutions, and sub-assemblies for engineering, design, and product validation (EVT, DVT, PVT) builds to test manufacturability.
3D printing makes it easier to test tolerances with the actual manufacturing process in mind, and to conduct comprehensive in-house and field testing before moving into mass production.
3D printed rapid tooling can also be combined with traditional manufacturing processes like injection molding, thermoforming, or silicone molding, to enhance production processes by improving their flexibility, agility, scalability, and cost-efficiency. The technology also provides an efficient solution for creating custom test jigs and fixtures to simplify functional testing and certification by gathering consistent data.
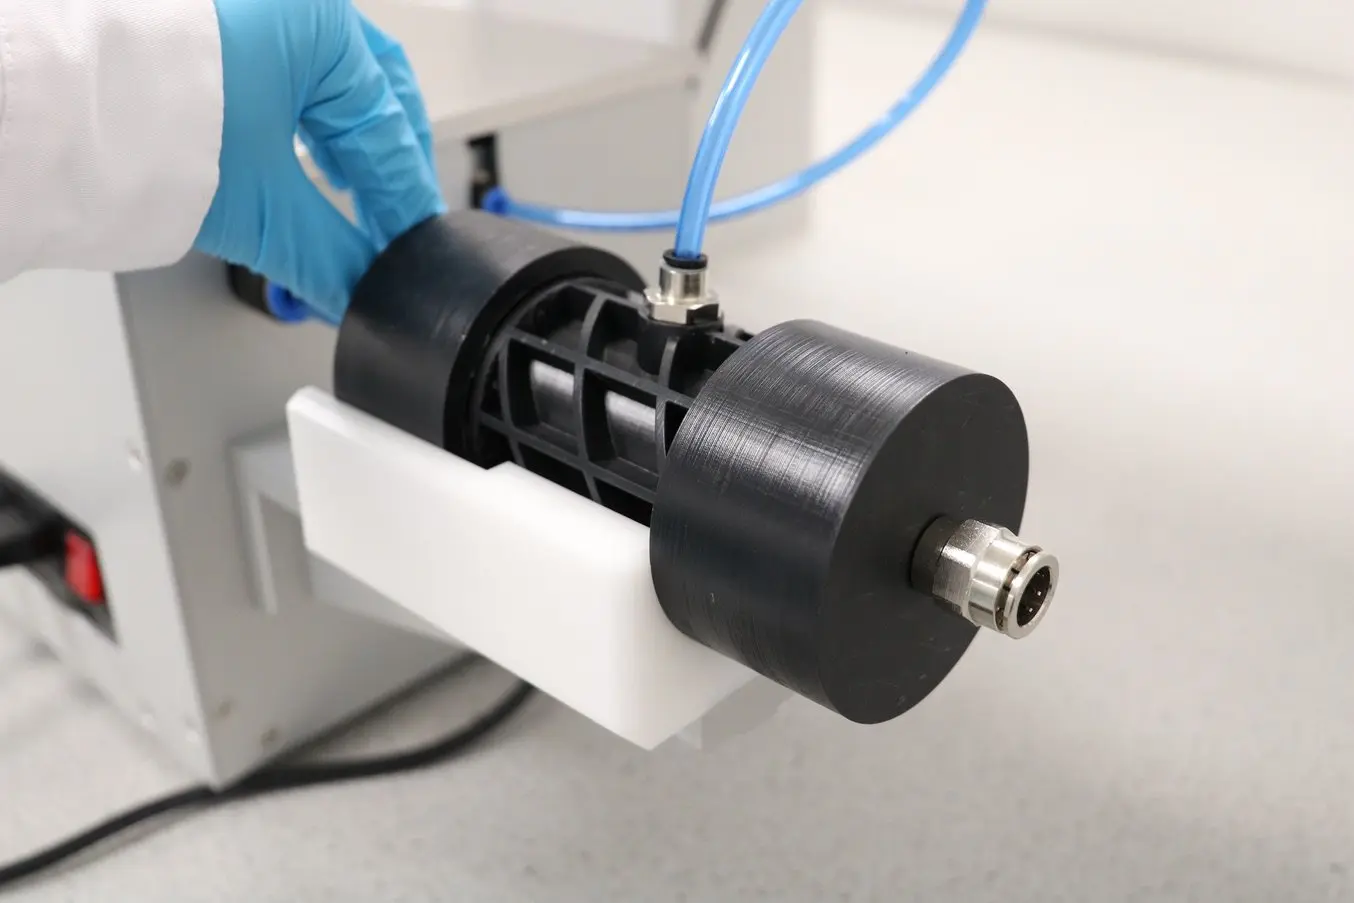
With 3D printing, design doesn’t have to end when production begins. Rapid prototyping tools allow designers and engineers to continuously improve products, and respond quickly and effectively to issues on the line with jigs and fixtures that enhance assembly or QA processes.
Rapid Prototyping Tools and Methods
Additive Manufacturing
Rapid prototyping has essentially become synonymous with additive manufacturing and 3D printing. There are multiple 3D printing processes available, with the ones most commonly used for rapid prototyping being fused deposition modeling (FDM), stereolithography (SLA), selective laser sintering (SLS).
Fused Deposition Modeling (FDM)
FDM 3D printing, also known as fused filament fabrication (FFF), is a 3D printing method that builds parts by melting and extruding thermoplastic filament, which a printer nozzle deposits layer by layer in the build area.
FDM is the most widely used form of 3D printing at the consumer level, fueled by the emergence of hobbyist 3D printers. Professional FDM printers are, however, also popular with both designers and engineers.
FDM has the lowest resolution and accuracy when compared to other plastic 3D printing processes and is not the best option for printing complex designs or parts with intricate features. Higher-quality finishes may be obtained through chemical and mechanical polishing processes. Some professional FDM 3D printers use soluble supports to mitigate some of these issues.
FDM works with a range of standard thermoplastics, such as ABS, PLA, and their various blends, while more advanced FDM printers also offer a wider range of engineering thermoplastics or even composites. For rapid prototyping, FDM printers are particularly useful for producing simple parts, such as parts that might typically be machined.
Stereolithography (SLA)
SLA 3D printers use a laser to cure liquid resin into hardened plastic in a process called photopolymerization. SLA is one of the most popular processes among professionals due to its high resolution, precision, and material versatility.
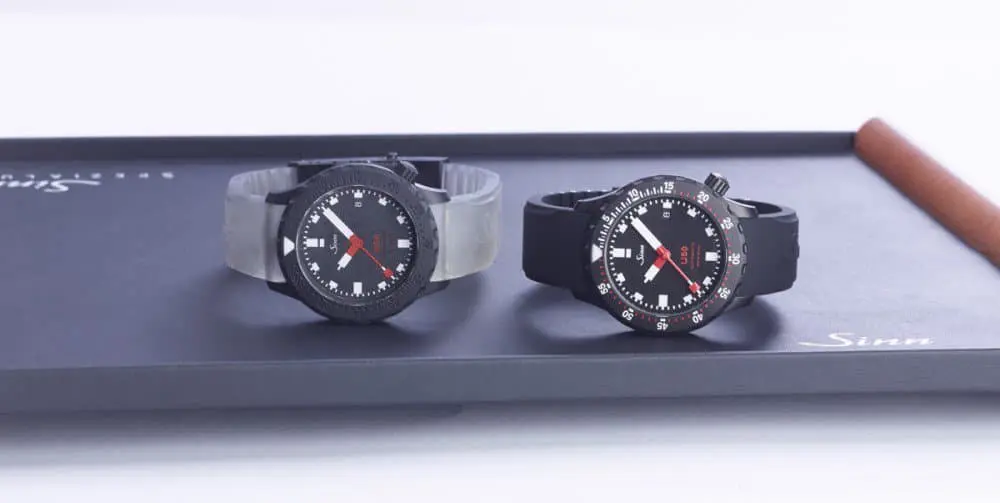
SLA parts have the highest resolution and accuracy, the clearest details, and the smoothest surface finish of all plastic 3D printing technologies, making SLA a great option for high-fidelity looks-like prototypes and functional works-like prototypes that require tight tolerances.
However, the main benefit of SLA lies in the versatility of its resin library. Material manufacturers have created innovative SLA photopolymer resin formulations with a wide range of optical, mechanical, and thermal properties to match those of standard, engineering, and industrial thermoplastics.
With Draft Resin, SLA 3D printing is also one of the fastest prototyping tools, up to 10X faster than FDM 3D printing.
Selective Laser Sintering (SLS)
Selective laser sintering is the most common additive manufacturing technology for industrial applications, trusted by engineers and manufacturers across different industries for its ability to produce strong, functional parts.
SLS 3D printers use a high-powered laser to fuse small particles of polymer powder. The unfused powder supports the part during printing and eliminates the need for dedicated support structures. This makes SLS ideal for complex geometries, including interior features, undercuts, thin walls, and negative features. Parts produced with SLS printing have excellent mechanical characteristics, with strength resembling that of injection-molded parts.
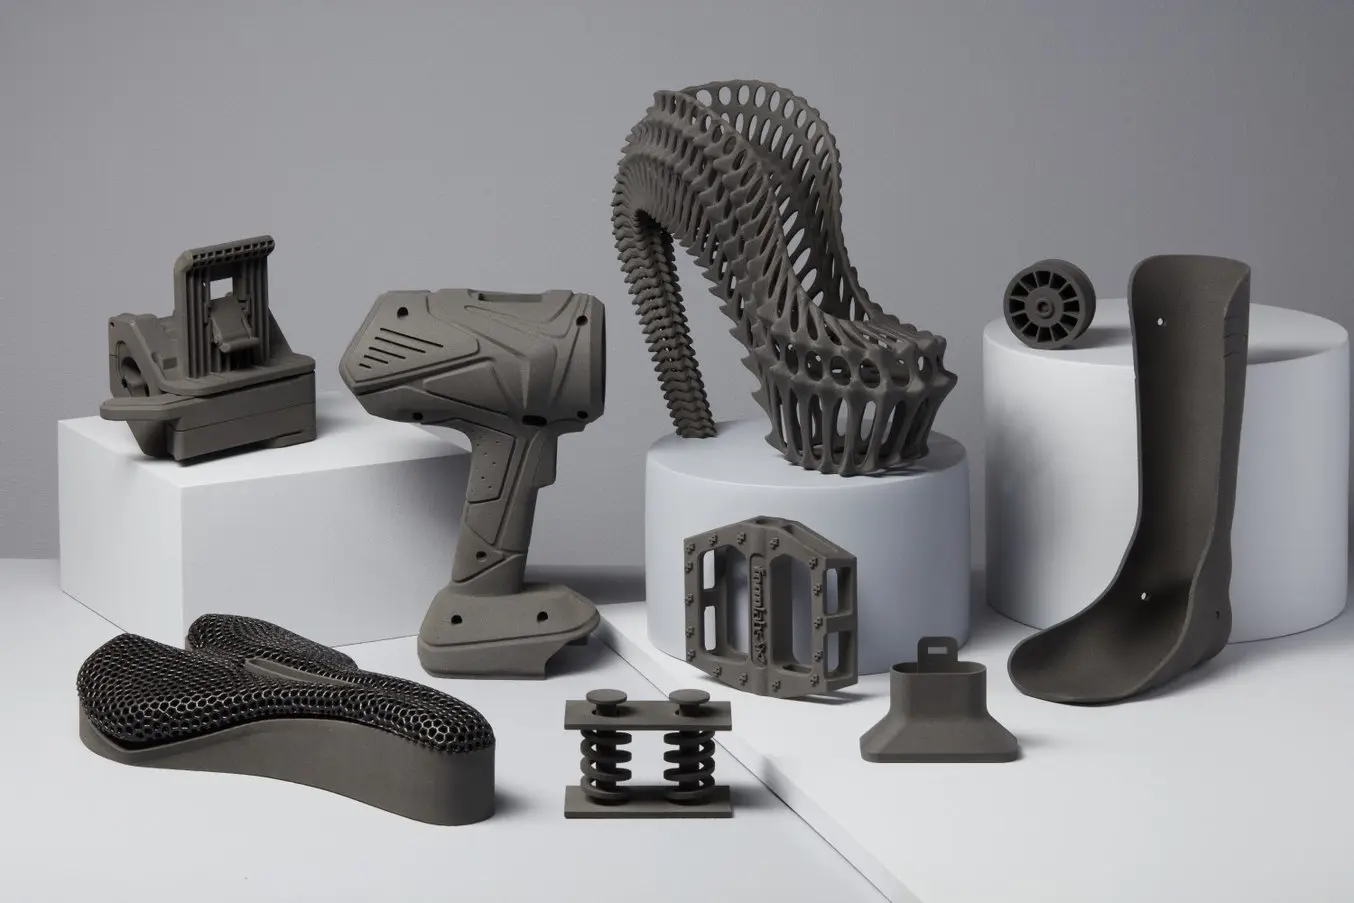
In rapid prototyping, SLS 3D printing is mainly used for works-like prototypes and engineering prototypes for rigorous functional testing of products (e.g: ductwork, brackets) and in-field customer feedback.
CNC Tools
Computer numerical control (CNC) tools—unlike FDM, SLA, or SLS—are subtractive manufacturing processes. They start with solid blocks, bars, or rods of plastic, metal, or other materials that are shaped by removing material through cutting, boring, drilling, and grinding.
CNC tools include CNC machining, which removes material by either a spinning tool and fixed part (milling) or a spinning part with a fixed tool (lathe). Laser cutters use a laser to engrave or cut through a wide range of materials with high precision. Water jet cutters use water mixed with abrasive and high pressure to cut through practically any material. CNC milling machines and lathes can have multiple axes, which allows them to manage more complex designs. Laser and water jet cutters are more suited for flat parts.
CNC tools can shape parts from plastics, soft metals, hard metals (industrial machines), wood, acrylic, stone, glass, composites. Compared to additive manufacturing tools, CNC tools are more complicated to set up and operate, while some materials and designs might require special tooling, handling, positioning, and processing, which makes them costly for one-off parts compared to additive processes.
In rapid prototyping, they’re ideal simple designs, structural parts, metal components, and other parts that are not feasible or cost-effective to produce with additive tools.
Rapid Prototyping Tools Comparison
| FUSED DEPOSITION MODELING (FDM) | STEREOLITHOGRAPHY (SLA) | SELECTIVE LASER SINTERING (SLS) | CNC TOOLS | |
|---|---|---|---|---|
| Resolution | ★★☆☆☆ | ★★★★★ | ★★★★☆ | ★★★★★ |
| Accuracy | ★★★★☆ | ★★★★★ | ★★★★★ | ★★★★★ |
| Surface Finish | ★★☆☆☆ | ★★★★★ | ★★★★☆ | ★★★★★ |
| Ease of Use | ★★★★★ | ★★★★★ | ★★★★☆ | ★★★☆☆ |
| Complex Designs | ★★★☆☆ | ★★★★☆ | ★★★★★ | ★★★☆☆ |
| Build Volume | Up to 300 x 300 x 600 mm (desktop and benchtop 3D printers) | Up to 300 x 335 x 200 mm (desktop and benchtop 3D printers) | Up to 165 x 165 x 300 mm (benchtop industrial 3D printers) | Dependent on the tool |
| Materials | Standard thermoplastics, such as ABS, PLA, and their various blends. | Varieties of resin (thermosetting plastics). Standard, engineering (ABS-like, PP-like, silicone-like, flexible, heat-resistant, rigid), castable, dental, and medical (biocompatible). | Engineering thermoplastics, typically nylon and its composites (nylon 12 is biocompatible + compatible with sterilization). | Plastics, soft metals, hard metals (industrial machines), wood, acrylic, stone, glass, composites. |
| Applications | Basic proof-of-concept models, low-cost prototyping of simple parts. | Quick prototypes, high-fidelity looks-like prototypes and functional works-like prototypes requiring tight tolerances and smooth surfaces. | Complex geometries, functional works-like prototypes and engineering prototypes. | Simple designs, structural parts, metal components. |
| Price Range | Budget printers and 3D printer kits start at a few hundred dollars. Higher quality mid-range desktop printers start around $2,000, and industrial systems are available from $15,000. | Professional desktop printers start at $3,500, large-format benchtop printers at $11,000, and large-scale industrial machines are available from $80,000. | Benchtop industrial systems start at $18,500, and traditional industrial printers are available from $100,000. | Small CNC machines start around $2,000, but professional tools go well beyond that. Basic engravers are available for less than $500, while mid-range laser cutters start around $3,500. Water jet cutters start around $20,000. |
Get Started With Rapid Prototyping
Rapid prototyping is used in a variety of industries, by Fortune 500 companies and small businesses alike, to speed up development, decrease costs, improve communication, and ultimately create better products.
While 3D printing traditionally had been complex and cost-prohibitive, desktop and benchop 3D printers have made the technology accessible to any business.
Learn more about 3D printers and explore how leading manufacturers leverage 3D printing to save money and shorten lead times from design to production.