Introduction
3D Printing of enclosures allows design freedom, lets a designer print a prototype or final part in a matter of hours, and is much cheaper when compared to traditional manufacturing methods. 3D printed enclosures offer an effective method of confirming form and fit and several of the materials that can be used for printing enclosures are suitable for end-use applications.
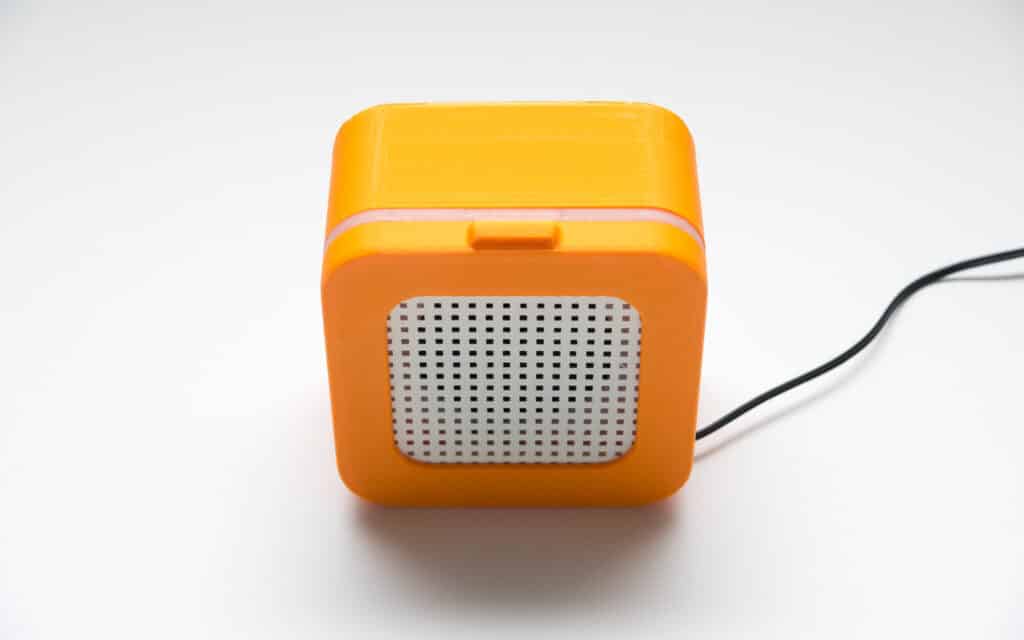
This article will discuss the most common 3D printing technologies that are used to print enclosures, methods for securing printed enclosures together, and introduce some design considerations to help optimize enclosure design for 3D printing.
3D printed enclosure technologies
The table below discusses the main 3D printing technologies and whether they are appropriate for a range of enclosure applications.
| Application | Description | Printing Technology |
|---|---|---|
| Rapid prototyping | Prototyping plastics are a cost-effective and quick method of printing enclosures. | FDM |
| High Temperature | Heat resistant plastics are rated to remain stable up to temperatures as high as 80℃ after thermal post-treatment. | Material Jetting |
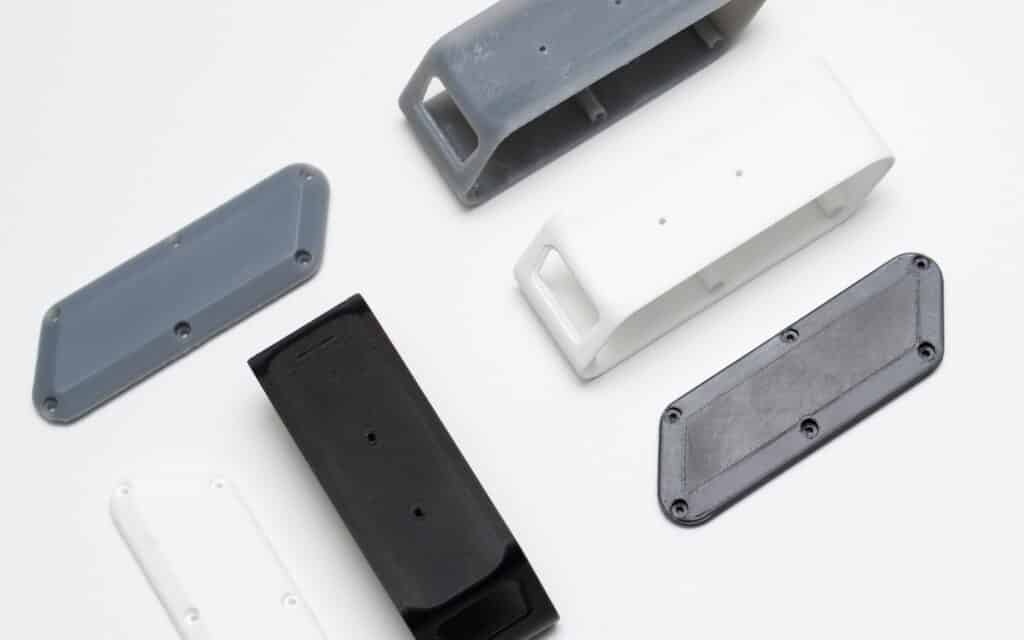
| High quality surface finish | The selection of the surface finish is usually governed by cost and time. SLS nylon results in a satin-like matte finish that is slightly grainy to the touch while Material Jetting and SLA offer fine-detail models with very smooth surfaces. | SLA or Material Jetting |
| High accuracy | SLS nylon, SLA, and Material Jetting printed parts are highly accurate and are capable of printing to within 0.2 – 0.5 mm. They give an excellent surface finish. SLS nylon does not require any support while the support used for material jetting is typically dissolvable and easy to remove resulting in a smooth surface after post-processing. | SLA, SLS or Material Jetting |
| Transparent | 3D printed transparent plastics allow for inspection or verification of internal components and are often applied to applications where fluids are being employed. | SLA or Material Jetting |
| Flexible material | Flexible enclosures allow the pressing of buttons or motion of switches through the sealed case. | Rubber-Like plastics or SLA flexible resin |
Curious about the cost of prototyping with 3D printing?
Securing enclosure assemblies
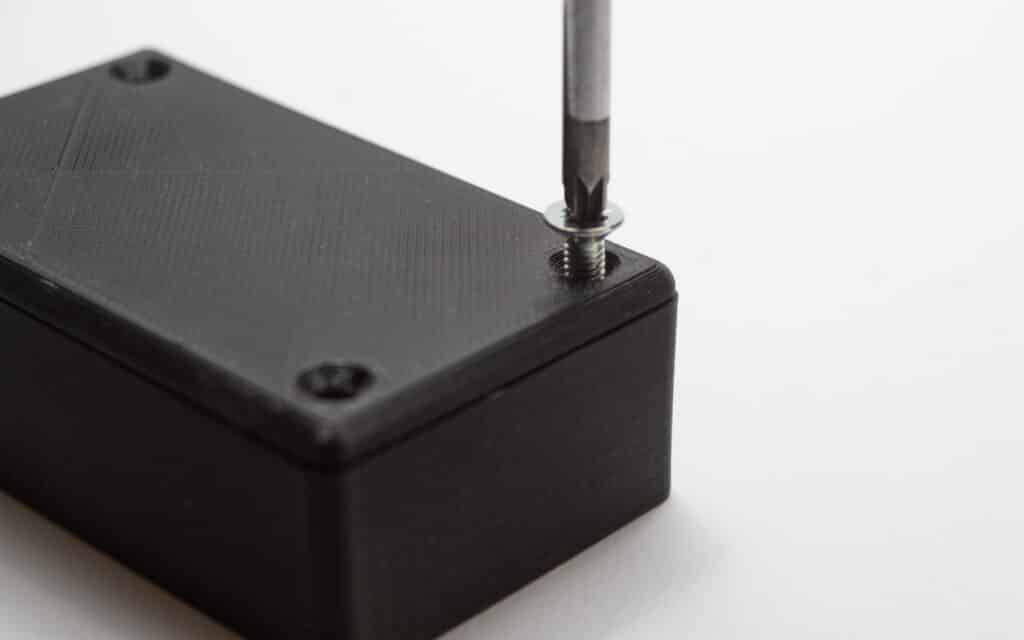
Snap fits, interlocking joints, threaded fasteners, and living hinges are all viable options for 3D printed enclosure connections. Designing snap-fits and push-fits for an enclosure that does not require repeated opening is much easier because the joint does not have to be as wear-resistant. For quick prototypes, adhesives are a quick and easy method to permanently fasten the enclosure.

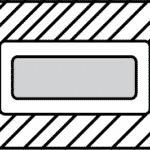
Designing 3D printed enclosures
The design of enclosures for 3D printing typically follows 2 main steps:
1. Enclosure planning and component measurement
It can be useful to 3D model the internal enclosure components along with the enclosure to allow for easy clearance checks and to help determine the optimal component positions.
2. Designing the structure
While tolerance and clearance recommendations will vary with printer technology and calibration the bullet points below offer a set of design guideline to use:

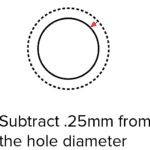
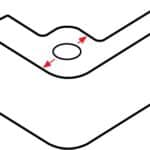
Self-taping holes. Subtract 0.25 mm from the diameter of holes if you are wanting the screw or fastener to bite into the case.
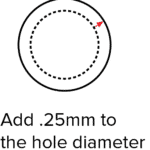
Port clearance. For all ports or plugs allow 2 mm clearance (1mm each side). The input port can also be super-glued into place for a secure connection.
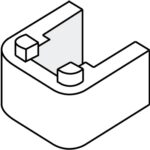
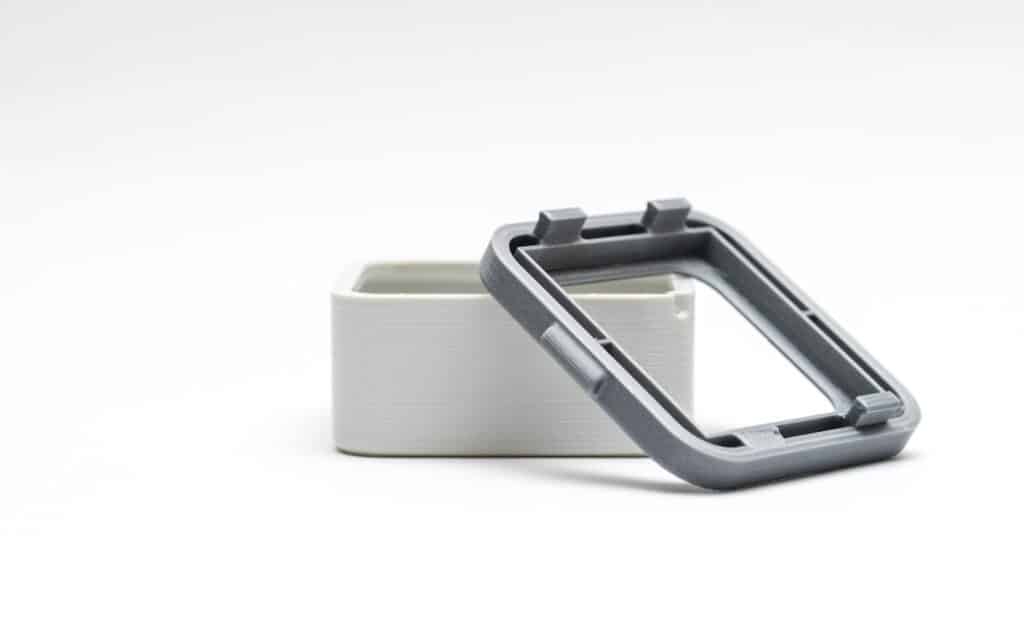
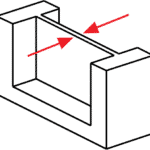
Add lugs. Add lugs, cut-outs, and lips to assist with assembly/disassembly and alignment if the enclosure with multiple parts (base & lid). These features are very simple to include in design and can greatly increase the strength of your assembled enclosure. Lugs should be a minimum of 5mm in width.
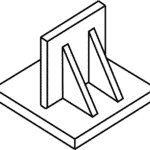
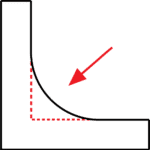
Ribs and gussets. While ribs and gussets are critical design features of injection molding and not essential for 3D printing their inclusion can help reduce and distribute stresses throughout the part and improve rigidity. To save on material, ribs and gussets can be designed to 75-80% of wall thickness.
Rules of thumb
- For enclosures that will experience repeated opening and closing a wear-resistant material such as SLS nylon. For rapid prototypes where form or fit are being tested FDM provides a fast low-cost method of production.
- If the enclosure will be subjected to loads include gussets, ribs, and bosses to improve strength
- A minimum wall thickness of 2 mm, 0.5 mm tolerance around internal components and ± 0.25 mm for clearance/bite holes are good starting points to consider when designing a 3D printed enclosure.