CO2 laser machines are exceptional at laser cutting, marking and engraving acrylic, and are the ideal solution for creating displays, illuminated signage, decorative objects, toys and more. Here you will find information on selecting the proper materials and correct laser parameters to achieve the best results.
Acrylic differences: cast vs. extruded
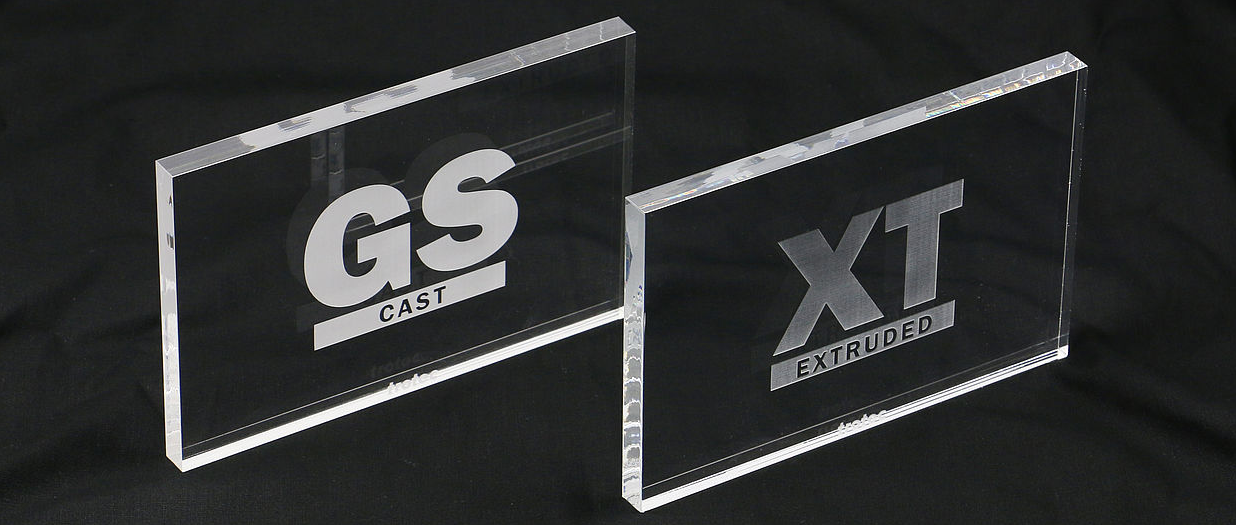
Acrylic is manufactured in two different methods, cast (GS) or extruded (XT), and each type will offer its own set of unique properties. Cast and extruded acrylic adapts very well to laser technology and both are an ideal material for laser processing. It is beneficial to have a good understanding of the differences when selecting the right acrylic for your application, because each type will behave differently to laser processing.
Cast acrylic (GS)
Cast acrylic is created by pouring a liquid mass between two glass plates, resulting in a homogeneous, tension-free material with equal mechanical properties in directions x & y. This manufacturing process causes the thickness tolerance to be significantly higher and is approximately ±15%, which must be accounted for with applications that have plug connections. The production process for cast acrylic is more costly than extruded acrylic, therefore, it will typically be more expensive.
Laser cutting cast acrylic produces burr-free cuts on either sides, and laser engraving will offer better processing results than extruded acrylic – a perfectly white engraved image results.
Extruded acrylic (XT)
Extruded acrylic is manufactured through an extrusion process that pushes an acrylic mass through a nozzle resulting in the desired thickness. This production method creates different mechanical properties in the x and y directions for extruded acrylic, and it offers a lower thickness tolerance of ±5% making it well suited for applications with plug connectors. When laser cutting extruded acrylic, flame polished edges will be created that are typically less sharp on one side. As far as cost, extruded acrylic is cheaper to produce than cast acrylic and is therefore cheaper as a series production. In general, extruded acrylic requires less laser power to process than cast acrylic with the same overall thickness. Additionally, laser engraving extruded acrylic results in a gray matte appearance and is therefore not recommended.
Acrylic processing machine setup
In principle, all CO2 laser machines are ideally suited for laser processing acrylic. As an example, a Speedy100 can engrave and cut acrylic just as well as the SP3000, and the differences can only be seen in regards to processing speeeds and the overall quality of the results.
Power level for the laser
The required laser power for cutting acrylic will ultimately depend on the material thickness as well as the desired productivity. For a productive work method, we suggest using a laser power of at least 60 watts or higher.
The rule of thumb is: For every 1 mm of acrylic sheet thickness, 10 watt of laser power must be used to achieve a high quality cut.
(Thickness up to 20-25 mm)
Determining which lens should be used
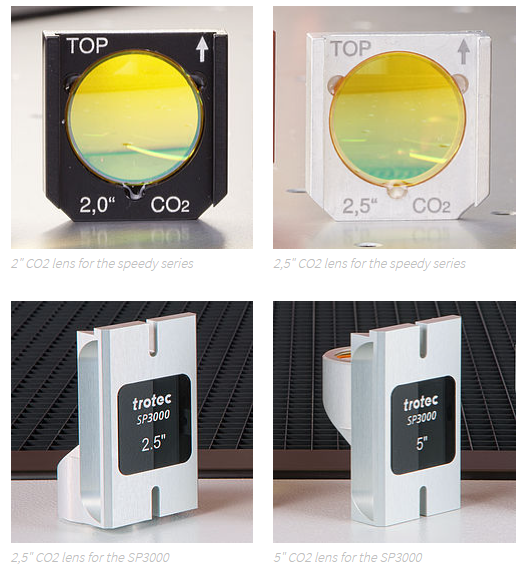
Lens selection is crucial when laser cutting acrylic. As a rule, the thicker that the material is, the longer the focal distance of the lens should be.
Learn more about how to select the right lens for your application.
| Material thickness | Speedy Series | SP Series |
|---|---|---|
| thin acrylic sheets < 5mm |
2″ lens | 2,5″ lens |
| thick acrylic sheets > 5 mm |
2,5″ lens | 5″ lens |
Adjust the focal point to the acrylic interior
To achieve an even and homogeneous cut, we recommend adjusting the focal point to the interior of the acrylic when your material is greater than 6 mm thick.
The following guiding values apply: Move focus to about 1/3 of the thickness of the material.
For 6 mm acrylic, it would be a z value of -2 mm.
Selecting the proper nozzle and using the Air Assist
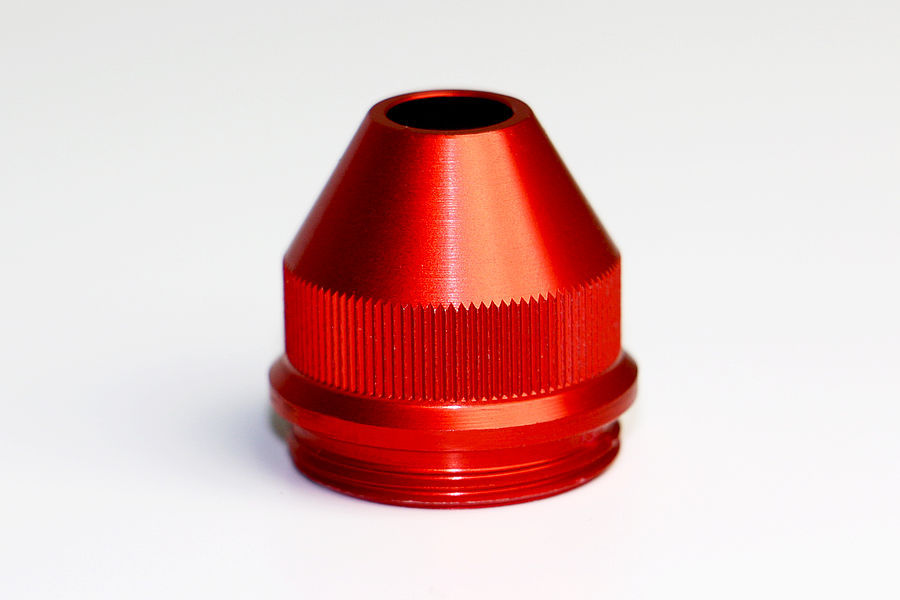
When laser cutting acrylic, a nozzle with the large diameter should definitely be used and if controllable, lessen the Air Assist to a max of 0.2 bar. This technique will allow the acrylic enough time to cool down, resulting in glass-clear edges. Alternatively, if the nozzle has a diameter that is too small or if the air pressure is too high, the result will be dull and milky edges from the material cooling too quickly.
Proper lens selection
Choosing the right lens is key when laser cutting acrylic. Again, thicker materials will require a lens with a longer focal length.
Proper table selection
Cutting table selection is another factor to consider when trying to achieve superior cutting results with acrylic, and there are several versions to consider depending on your application size. We suggest using the acrylic slat cutting table or the acrylic cutting grid table, again, dependent on the material size for your application.
The acrylic slat cutting table is well suited for cutting thicker acrylic sheets (6 mm or greater) as well as for parts that are cut greater than 100 mm because it will prevent kick-back. Typically, smaller parts can be unstable or tip, and are not suitable for the design of this specific table.
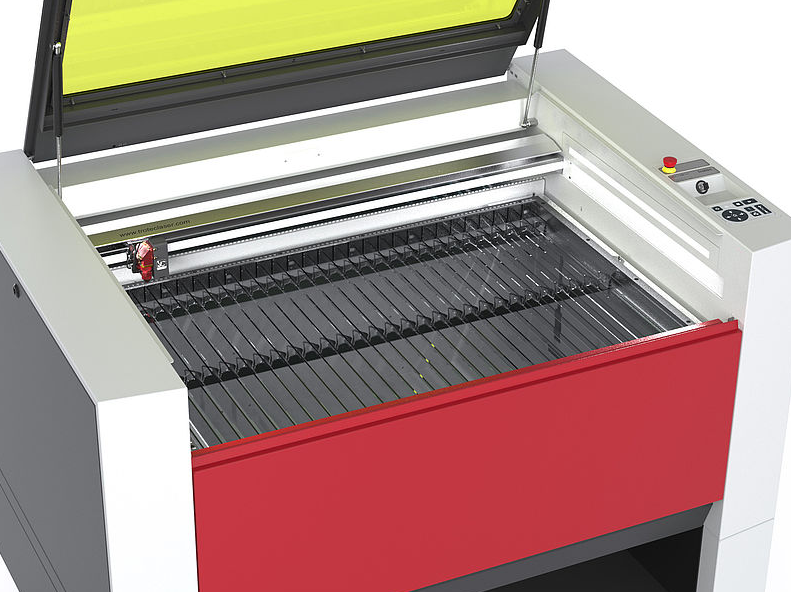
When working with parts less than 100 mm, the acrylic cutting grid table and/or the acrylic grid overlay on the vacuum table will offer the best cutting results, because they allow for flat positioning. With that being said, this work area is only recommended for cutting acrylic up to 8 mm thick, otherwise, the alternative version should be used.
| Cutting table | Material thickness | Size of parts |
|---|---|---|
| Acrylic slat cutting table | Acrylic sheets up to 6 mm thick | Parts that are cut wider than 100 mm |
| Acrylic grid cutting table | Acrylic sheets under 8 mm thick | Parts that are cut smaller than 100 mm |
Using an exhaust system
Using the proper exhaust system for your laser is essential when laser cutting acrylic, as with any laser application, to safely remove any of the vapors left in the machine from the cutting process. Sufficient ventilation is required to achieve a high-quality laser cut, and insufficient ventilation can result in the vapors catching fire. Warning- laser machines should never be left in operation unattended under any circumstance.
Proper parameters for acrylic laser cutting
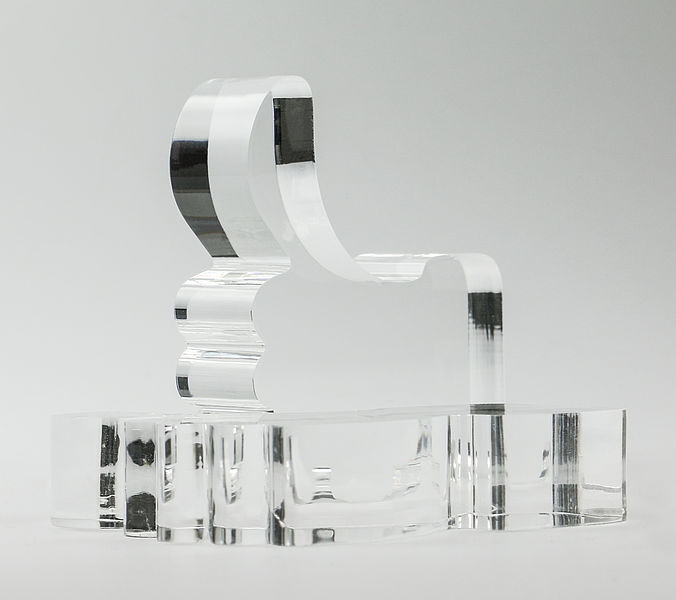
Laser cutting acrylic will require a higher frequency than other popular materials, such as wood. The increased frequency will bring the energy into the material in an even manner, causing an even melting of the cutting edges that reveals a glass-clear, flame-polished edge
- For GS materials, we recommend a frequency of 5,000-20,000 Hz
- For cutting XT materials, a frequency of a max. of 5,000 Hz.
When the frequency is too low, fine ridges (a.k.a. chatter marks) become visible on the cutting edges. To fix this issue, increase or decrease the frequency of the cutting speed without reducing it to the point of creating a cutting kerf that could cause a fire.
Determining the proper parameters for you application is extremely important, especially in regards to working efficiently and safe.
Proper parameters for acrylic laser engraving
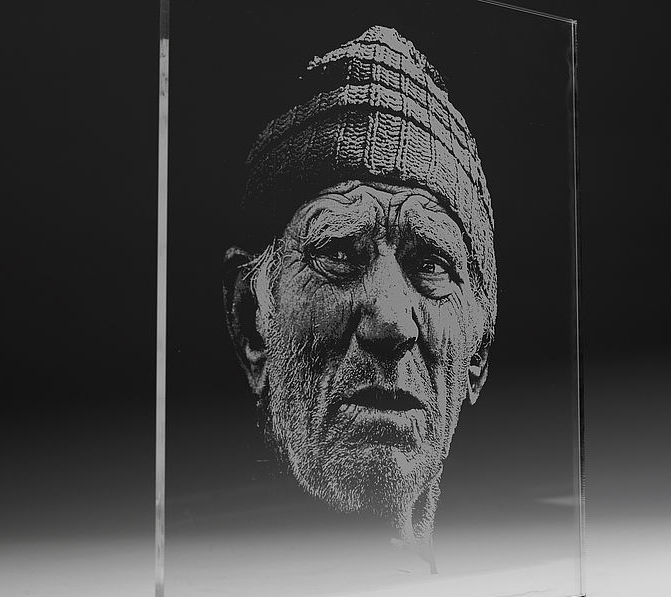
When laser engraving acrylic, as the saying goes “less is more”.
Often, the best and most favorable results are achieved when only the surface of your acrylic workpiece is lightly scratched, resulting in a white engraved image. If more power is used than needed, the engraving results will more than likely be too deep but not have a white appearance.
Tip – Reverse engraving:
Laser engraving on the backside of your acrylic workpiece will give the finished product a higher quality, and the engraving will be more resilient to external influences. Even with acrylic that is printed, the final product will look more favorable when the printing is on the back.
Caution: Don’t forget to mirror the job!
This can be completed either through your preferred graphics software or directly in the printer settings when the job is sent to the laser engraver.
Software and graphic settings for laser processing acrylic
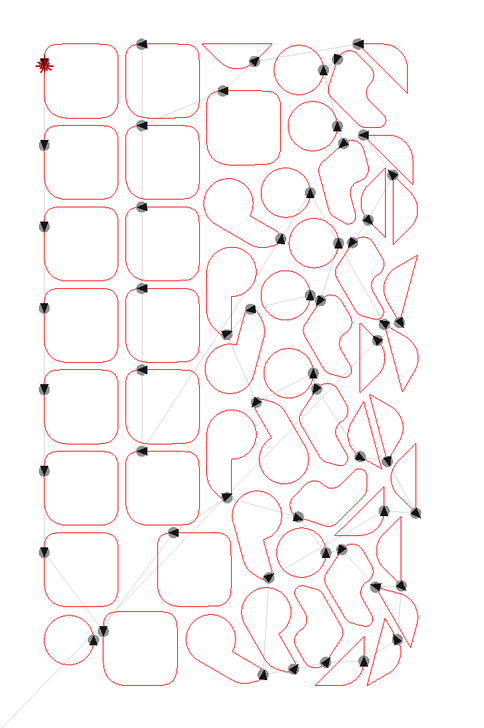
Minimum number of nodes
Carefully preparing your graphics can greatly enhance the quality when laser engraving and cutting acrylic. First, the number of nodes in the cutting contour needs to be reduced to a minimum to allow the laser to homogeneously process your materials without unnecessary stopping.
Optimal selection of the cutting start point
Defining the cutting start point is another crucial step when laser cutting acrylic, because once the laser beam hits the material, it will be visible from that point on and cannot be avoided otherwise. A starting point that begins on a straight line or in the middle of a curve will be especially noticeable, and we recommend a starting point that is positioned in an unnoticeable corner.
When processing thicker acrylic, it is best to define the start point outside of the actual graphic, which is also known as “lead-in”. The lead-in should be around 3-8 mm outside of the finished contour and meet the actual contour in a straight line. You can easily draw the lead-in with your preferred graphics software, or use supplementary software package, TroCAM, as part of your preparation process.
Determining the cutting arrangement
The cutting sequence for single objects can also have an impact on the quality for larger quantities. When several smaller objects are laser cut in one segmented area, the acrylic heats up quite greatly in that location and there is an increased chance of starting a fire. To prevent this issue from happening, we recommend arranging the individual parts so that the material has the opportunity to properly cool down in between cuts. The cutting sequence is visible in the level window of your graphics software (e.g., Adobe Illustrator, CorelDraw, etc.) and should be laser processed from down to up.
