When I bought my first 3D printer, I didn’t have any clue what I was doing. The best example of that is I couldn’t get my nozzle to fit over the PTFE tube in the hot end, so I beat it with a wrench to get it to fit, and in doing so flattened the end of the nozzle and blocked the opening. Oops. Common sense would say that was a dumb idea, but having no clue how any of it works, my resources at the time were limited to what people had made videos of on YouTube, or searching through dozens of various forums with varying levels of the organization.
As such, I’ve compiled a list of ten things that are second nature now, would have been really helpful to know when I first started printing.
1. Leveling the Bed and Z Offset
Nowadays, automatic bed leveling is a lot more common than it used to be, with several different sensors or methods to level the bed, but many printers still use manual leveling, which is completely fine and still easy to take care of. If it’s automatic, just follow the instructions or wizards that your printer uses to level, but if it’s manual, here’s a good method to follow:
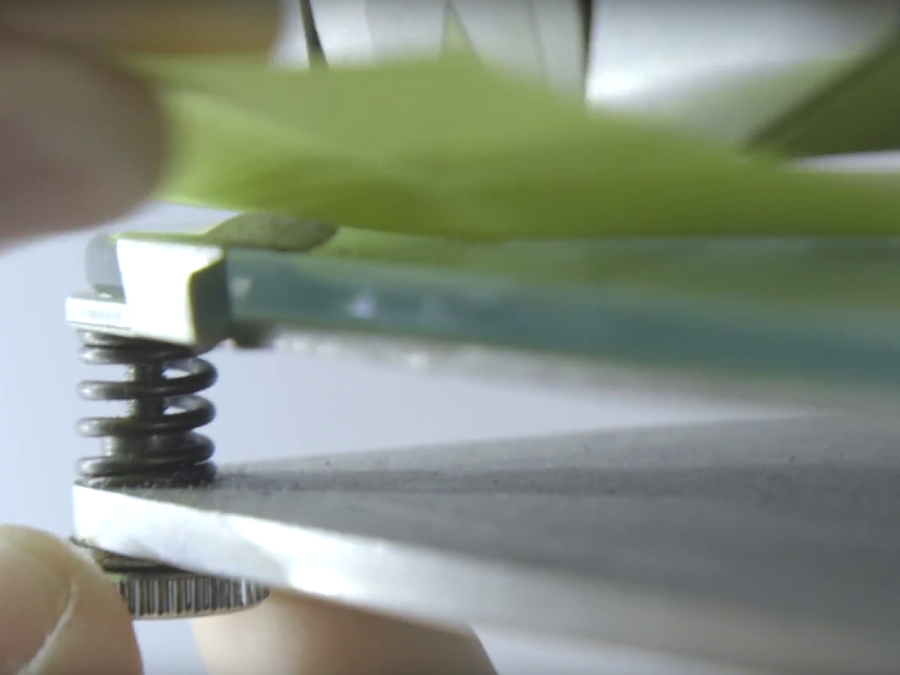
- Three points define a plane, but many printers still use four screws to level the bed, with one at each corner. This can still work, it’s just a little bit more difficult to get it perfect.
- Tighten down all the screws at each corner, so you have enough room to loosen them later.
- Home the Z axis. On some printers, Z0 may be too far from the bed, even when all the screws are loose and in that case, you’ll need to move the Z-minimum endstop just a tad lower.
- Power down the printer or select “Release motors” or “Motors off.” Most printers have something to this effect within the LCD menus, and all this does is allow you to move the print head without having the motors locked in place.
- Move the printhead over each screw that levels the bed, insert a piece of paper between the nozzle and the bed, and loosen the screw until there’s a very slight resistance when you pull on the paper. You don’t want it to be locked in there, just enough pressure to feel the drag when you move the paper.
- Repeat this for the other screws. You want to make sure each screw has an even pressure as the last one, because that’s what makes a level bed.
- Start a print with a skirt that covers the bed. If you notice the skirt has gaps between each pass, the bed is too low and your print runs the risk of separating from the bed mid-print. If the lines are completely squished together and you can’t really tell them apart, you may have to beat the print with a hammer to get it off (figuratively, of course, don’t do that).
- Once you’ve got it leveled, it should stay leveled for a good while, but every now and then you may need to adjust a screw just slightly to bring it back to level.
2. Changing Filament
I used to think you could just remove filament from a cold nozzle like you would unload an ink cartridge from a printer. Not so. You need to heat up the nozzle to melt the filament that has formed a plug, locking it into the tip of the nozzle.
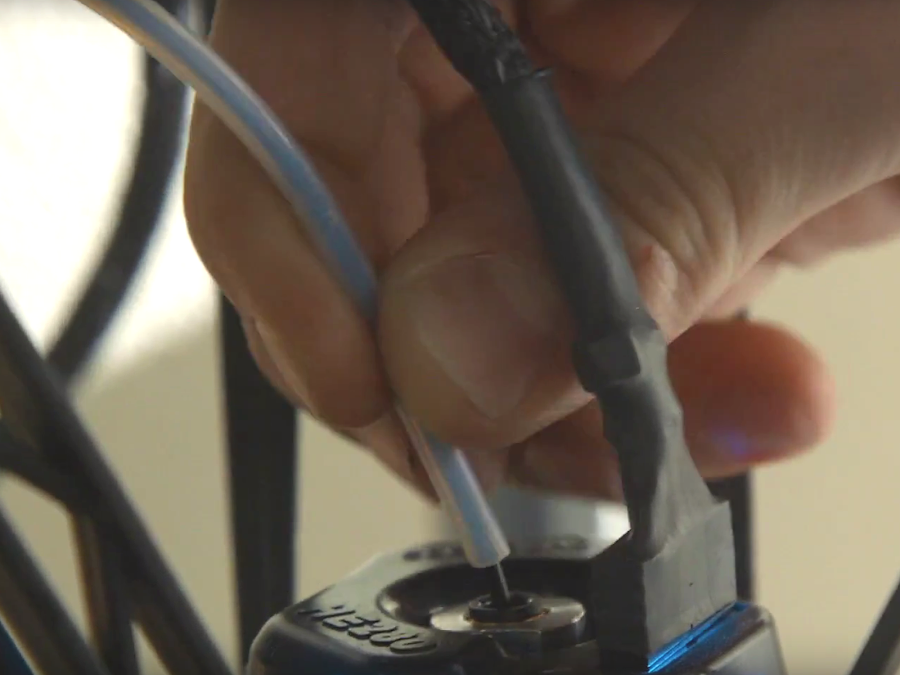
- Start by heating up your printer to the print temperature of the material that you have in it. If you’re trying to remove PLA, set it to 200C or so, ABS at 230C etc.
- Once it’s at temperature, release the tension on the filament by pressing down on the lever, and push down on the filament slightly until it comes out the nozzle.
- Once you see filament come out, gently pull on it to remove it.
- This removes most of the filament, but there will likely be some leftover when you put in the new filament.
- Insert the new filament, making sure it feeds properly through the extruder and into the nozzle. If it’s a different material than was previously loaded, then have the temperature set to whichever print temperature is higher.
- Either manually push it through, or control the extruder from the menu to feed the filament through.
- Once you see the new material come through cleanly (as in not mixed with the previous color, or flecks of burnt old material in it), then you’re all set!
3. Change a Nozzle
Sometimes you clog a nozzle and you’re in a time crunch or maybe you don’t care about surface quality, you just need big parts fast, in either case, swapping out your nozzle for a different sized one is a great solution to get things running as you want.
- We’ve discussed this in a previous video, so if you want a more in-depth look at how to change a nozzle, click here.
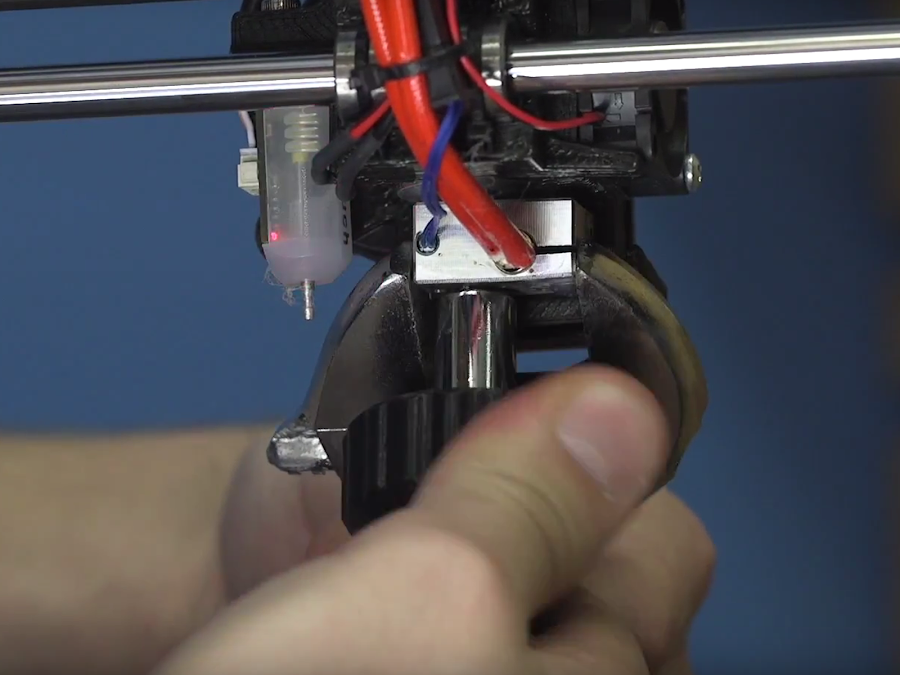
- The gist of it is: heat up the hot end, use grips to hold the heater block, use a wrench to unscrew the nozzle, and reverse the steps with the new nozzle.
Nozzles come in a variety of sizes, from small nozzles for detailed prints to large nozzles for fast and strong prints. There are even nozzles designed for any abrasive material you can throw at it. You can find all of these here.
4. When to Use Support
Some models are unprintable without support, and others lose important features by including them. It’s important to be able to identify when a model fits within either of these categories to better your chances at a successful print.
- Don’t use support
- Just because a model has overhangs, doesn’t mean it needs support; the general rule is if the angle is greater than 45 degrees, consider adding support, but some models don’t follow that rule. Bridging, which is where there is a 90-degree overhang but it’s supported on either side, doesn’t usually need supports.
- Cylindrical holes through the side of a model don’t usually need support either, despite having sections of it at angles greater than 45 degrees. If you don’t have adequate layer cooling, you might notice some drooping along the ceiling, but otherwise, it will successfully print.
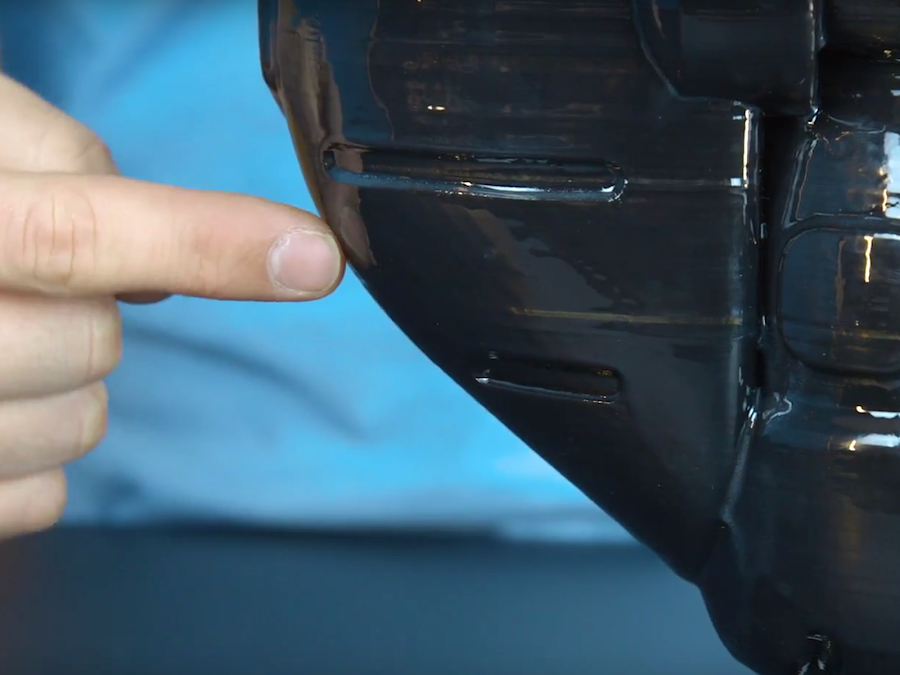
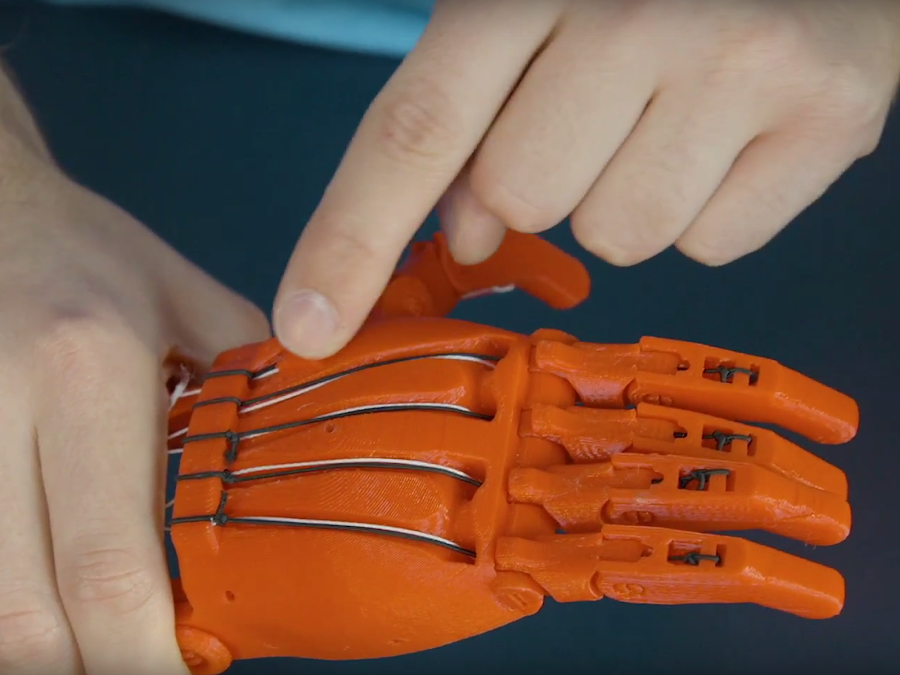
Internal features may be filled in by supports and be impossible to remove. Take the Phoenix prosthetic hands, for example. These, and most other eNABLE hands, have internal channels to run elastic thread and fishing line through it to move the hand. By using support, these would be filled and create useless prints.
Using Support
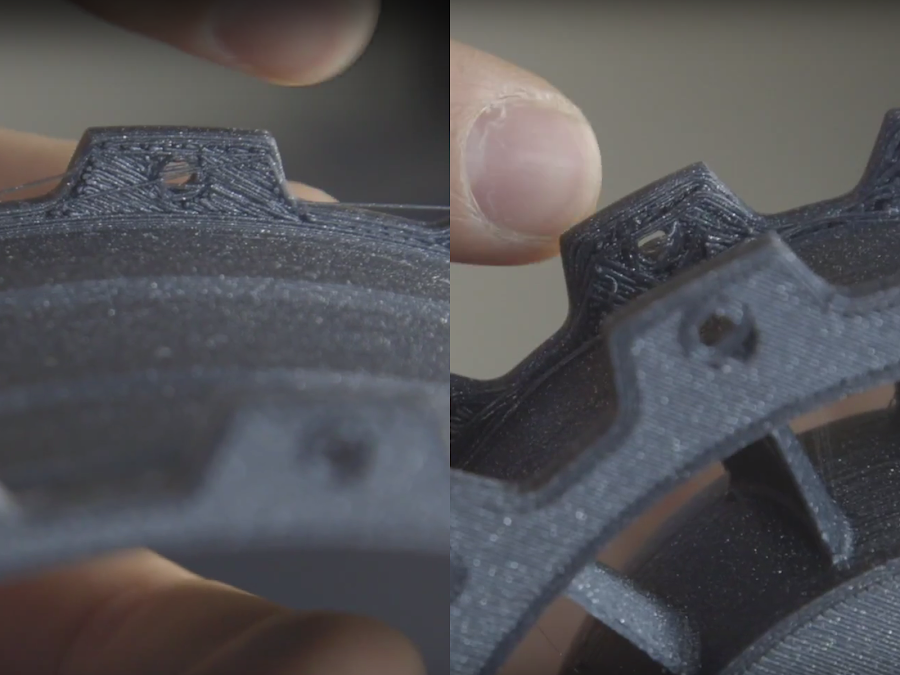
Most models will need some form of support. This part from the jet engine casing was printed without support on accident, and while it worked it is clearly not as pretty as the other parts that were printed with support. If any part of the model juts out from the side of the model like these attachment points, you will need to use support.
5. Bed Adhesive
There are several different methods to help prints stick to the bed, and everyone ends up finding what their go-to is and stick with it.
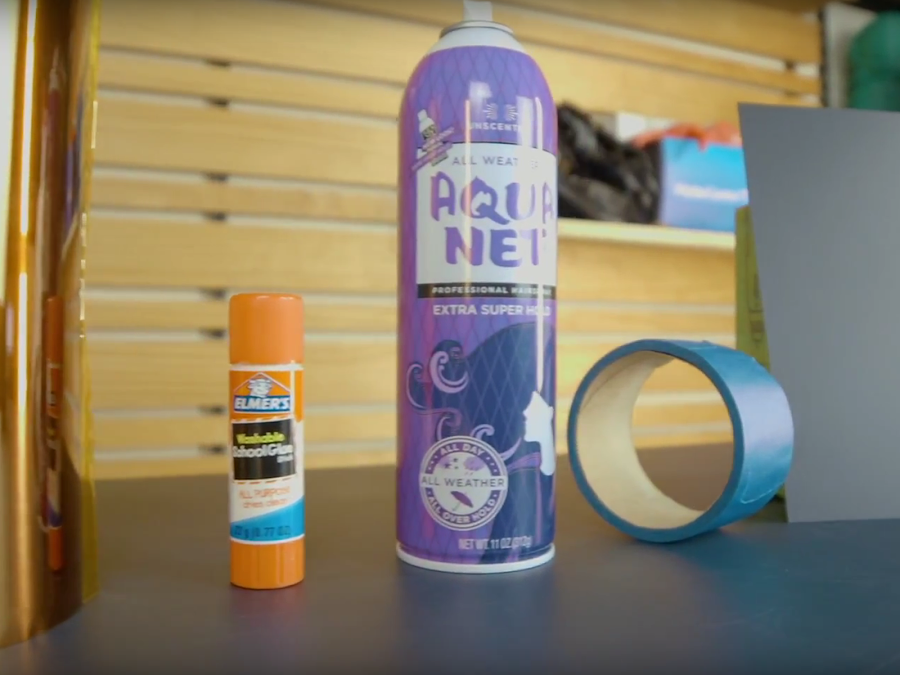
- PVA glue sticks are great for PLA, Nylon, and TPU
- Aquanet Hairspray is great for ABS, but can also work for PLA and PETG
- Blue Painter’s Tape works well for PLA and PETG, even if your bed is unheated
- Kapton Tape is a great all-purpose bed adhesive, but works really well in tandem with hairspray
- PEI holds onto prints when it’s hot and releases when it’s cool, however PETG and TPU/TPE stick too well, so you’ll want to use glue stick to act as a release agent between the PEI and print.
- BuildTak works really well for almost all materials, and with a Flexplate you can get a good grip and an easy release.
6. Have the Right Tools
There are a variety of tools that I have amassed over the years that at some point has come in handy and necessary. I’ve organized these all on my Spool Tool, which you can find here, but to start off there are a couple that everyone should have.
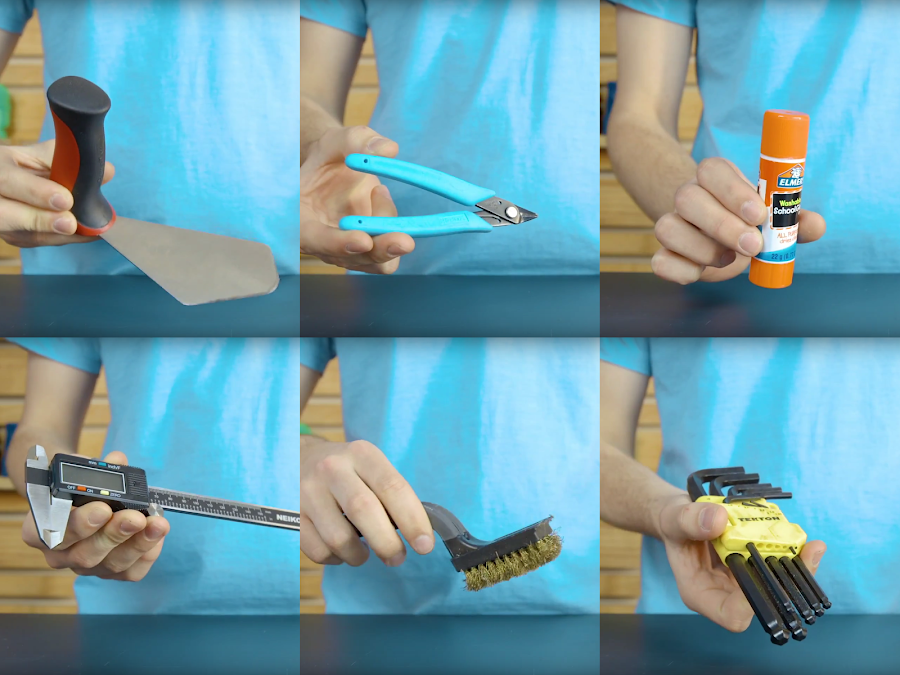
- A spatula. The BuildTak spatula works really well because you can get it flat to the buildplate because of the angle the handle is at, and it doesn’t have a really thick blade.
- A bed adhesive. Like I’ve said previously, find what works best for you and stick with it.
- Flush cutters. These are immensely helpful for removing support material and makes a nice, clean cut when trimming filament before loading.
- A brass brush. Soft enough to not mar your nozzle when it gets a nice and thick coating of burnt filament.
- Calipers. Absolutely necessary when trying to model parts that have to fit in specific places, or when you just need an idea of how big a model actually is.
- Hex Key Set. When you need to open up your printer or assemble multi-part models, then you’ll need a variety of hex wrenches. You can get them super cheap, but ball ended wrenches are super nice if you can find them.
7. Scrape Away From Yourself
This week, two different people in the office have cut themselves on their printers. I’ve done it myself too, so do as I say and not as I’ve done: aim your spatula away from yourself. It may not seem as sharp as a knife, but once that spatula slips, it’s thirsty for blood. Try to gently work up a corner of your print and slide the spatula under it. If it’s taking too much force, don’t force it by hand, at worst you can give the handle a gentle tap with the handle of a screwdriver to try and get some wiggle room, but at least that way it’s a controlled use of force and you are much less likely to slip.
8. Ask Questions
We were all beginners at one point, and being bad at something is the first step to being sort of good at something. Don’t be afraid to ask questions when you don’t understand what’s going wrong. In general the 3D printing community is very open to helping newcomers, so here are some helpful tips when looking for help
- Be descriptive. Even if you don’t think it’s part of the problem, explain it anyway. It’s much better to over inform than under, because maybe that one setting that seems unimportant to you is actually the whole reason your print isn’t coming out right. Including what printer you have, any mods to it, the print settings, material and brand, bed adhesive, pictures or video, anything you can provide will just better inform someone reading.
- Use Reddit, forums for your printer, Google Plus groups, or anywhere applicable to ask for help.
- Once you’ve figured out how to fix what was going wrong, be sure to report back to your original thread and update with what fixed it. You may end up helping someone else who comes along with the exact same problem and finds your thread when searching.
9. Be a Knowledge Sponge
I don’t know how many times I read something that wasn’t applicable to anything I was doing or working on at the time, but later proved to be immensely helpful in diagnosing a problem. The best example I have of that is I read an article describing Z-banding and Z artifacts, which is where there is a clear ribbing along the Z-axis of a print due to some irregularity in the Z-axis assembly. It described some of the reasons behind Z-banding, how some users attempt to solve this, and how to actually fix it. Sure enough, a week later when I finally fired up the printer I had been building, I noticed those same issues, and remembering that article I was able to diagnose it down to the Z-axis lead screw not being perpendicular to the guide rails.
10. Don’t Be Afraid to Reprint
When I first started printing, I treated prints like they were worth their weight in gold, even if they were pretty bad looking prints. Since I knew I was going to finish them with sandpaper anyway, I didn’t mind it. But it’s really not that hard or expensive to reprint a part and try again. I’ve been printing 3D Phil in a variety of filaments, and occasionally I get a print that’s not terrible, but only okay. In that case, I throw them away. They take 35g of filament to print, or $1.07 to be exact, so it really doesn’t cost much to reprint him again and have a really great looking print.
Thanks for reading!