
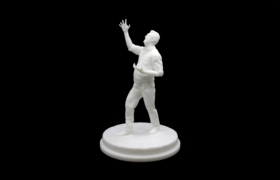
Small figurines can contain hair strands, fingertips, clothing edges and accessories that look acceptable on screen but become too fragile to print, clean, finish or ship safely. A feature that survives printing may still break during support removal, sanding, painting, assembly or normal handling.
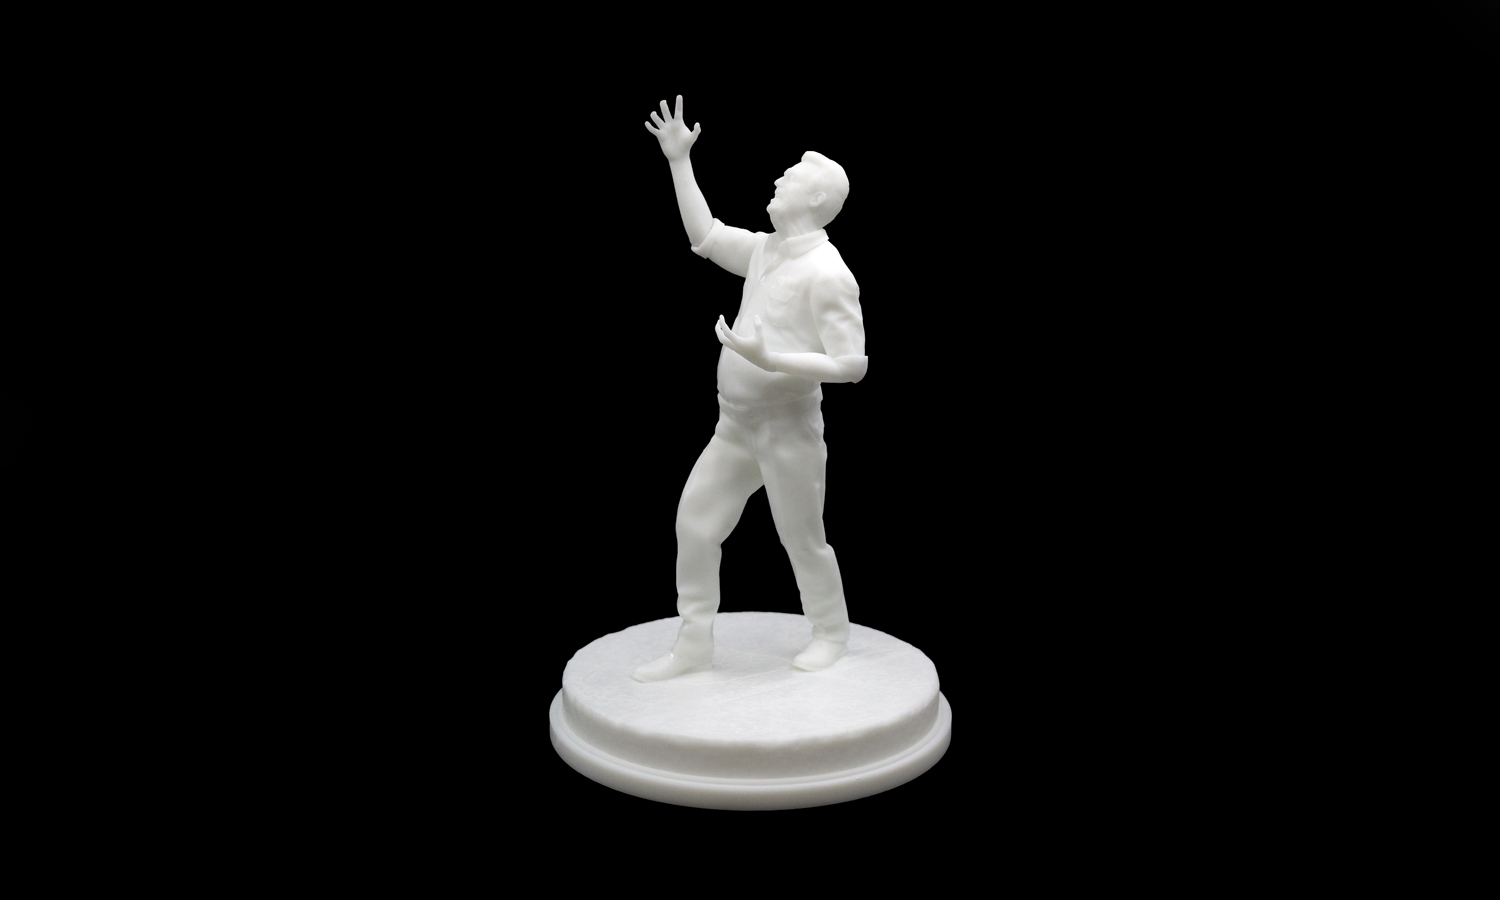
This guide provides practical minimum local feature thicknesses for small portrait and figurine models. The values are intended as modeling targets for quotation and production review. They are not universal printer limits: the final requirement can change with the printing process, resin, model scale, feature length, orientation and intended use.
Quick Reference Table
| Feature type | Recommended thickness | Why it needs attention |
|---|---|---|
| Thin feature supported at both ends | More than 0.80 mm | Better supported than a free end, but still vulnerable during cleaning and handling |
| Highly detailed textured feature | More than 1.30 mm | Surface texture can reduce the effective load-bearing section |
| Upright or projecting feature | More than 1.00 mm | Receives bending force at its base |
| Hair tip or short free-ended strand | More than 0.60 mm | Very small tips are easy to chip or over-sand |
| Handheld object | More than 1.00 mm | Long accessories create leverage around the hand and attachment point |
| Individual finger | More than 1.00 mm | Fingers are exposed, closely spaced and difficult to support or finish |
| Sleeve or thin clothing edge | More than 1.50 mm | Broad thin sections can deform, chip or become uneven during finishing |
| Small attached detail on a leg | More than 0.60 mm | Short details may print, but weak connections remain vulnerable |
Use these figures as minimum local thicknesses, not as target dimensions for the entire model. A long unsupported feature generally needs to be thicker than a short feature made from the same material.
1. Thin Features Supported at Both Ends
A narrow element connected to the model at both ends is more stable than a completely free strand because the surrounding geometry provides additional support. Even so, the middle section can flex or break if it becomes too thin. For this type of feature, keep the local thickness above 0.80 mm.
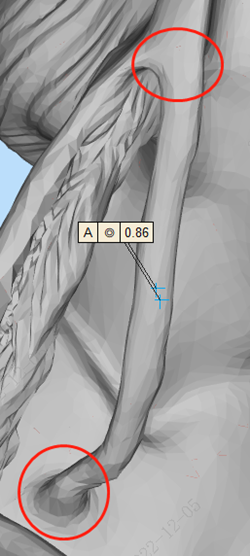
Do not measure only the connection points. Check the narrowest area along the complete feature, especially where sculpted grooves or texture reduce its effective cross-section.
2. Highly Detailed or Textured Features
Dense sculpted texture can make a feature look visually substantial while leaving only a thin internal core. Deep grooves in hair, fur, feathers or fabric folds may reduce strength and create local stress concentrations. We recommend a thickness of more than 1.30 mm for highly detailed narrow features.
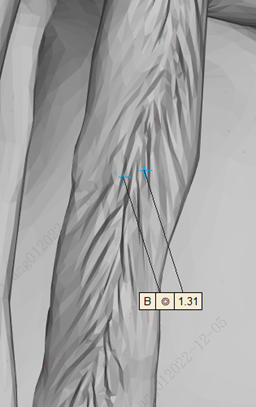
The relevant measurement is the remaining solid material beneath the deepest grooves—not the maximum distance between the outermost raised details.
3. Upright or Projecting Features
An upright detail behaves like a small lever. Forces applied near its tip are transferred to the base, where cracking commonly begins. Keep upright or outward-projecting features above 1.00 mm, and use a smooth transition or fillet where the feature meets the body whenever the design allows.
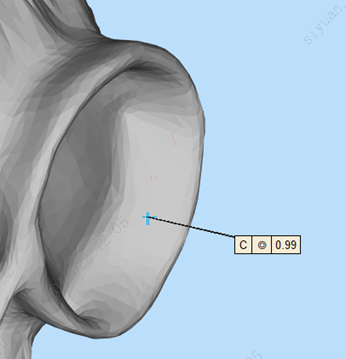
A tall feature may require substantially more thickness than a short one. If the feature is important to the silhouette, increasing its root thickness is often less visually noticeable than enlarging the entire feature.
4. Hair Tips and Other Short Free Ends
Sharp hair tips help preserve a character’s expression and silhouette, but an infinitely sharp digital point cannot be reproduced as a durable physical object. Short hair tips and similar free-ended details should remain above 0.60 mm near the printable end.
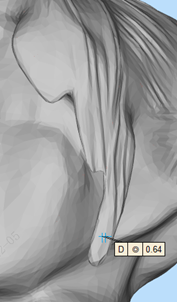
This value is most appropriate for short tips that remain close to the model. Long flowing strands, isolated spikes or parts likely to receive support contacts should be made thicker or connected discreetly to nearby geometry.
5. Handheld Objects
Weapons, tools, signs, staffs and other handheld objects introduce two risks: the object itself may be thin, and its connection to the hand may be weak. Keep the relevant section above 1.00 mm and review the accessory’s length, weight and attachment area together.
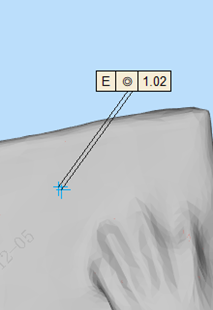
When possible, connect a long accessory at more than one location or print it as a separate component for finishing and assembly. A separate part can simplify support removal, although the joint and assembly tolerance must then be planned.
6. Fingers
Individual fingers are among the most frequently damaged figurine details. They are small, exposed and difficult to sand without softening their shape. Closely spaced fingers can also trap support material or merge visually after painting. Keep individual fingers above 1.00 mm whenever they are modeled separately.
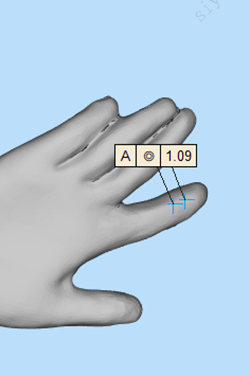
If scale makes this impossible, consider joining selected fingers, reducing the depth of the gaps or positioning the hand against another part of the model. These changes can preserve the overall gesture while improving durability.
7. Sleeves and Thin Clothing Edges
Clothing is often modeled as a broad shell with a visually sharp edge. Unlike a short strand, this larger surface can flex, warp or chip along the rim. Sleeve openings and comparable thin clothing sections should be more than 1.50 mm thick.
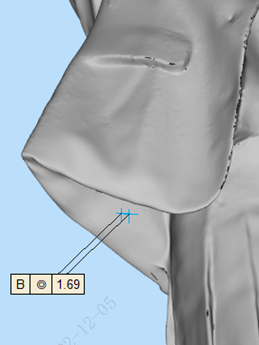
Maintain a gradual thickness transition where possible. A thick interior wall with an artificially sharp outer edge can still leave a fragile lip that is difficult to finish cleanly.
8. Small Attached Details on Legs or Other Supported Areas
A small detail attached closely to a leg or another large surface benefits from nearby support and may be less exposed than a finger or accessory. For short attached details of this kind, keep the local thickness above 0.60 mm.
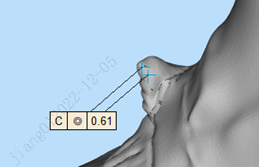
Do not apply this value to long isolated decorations simply because one end touches the body. Length, projection angle and the size of the attachment footprint can increase the required thickness.
Why Minimum Thickness Is Not the Same as Print Resolution
A printer may be able to expose a very small pixel or layer, but that does not mean every feature of the same size will become a reliable physical part. Resolution describes how finely geometry can be represented; minimum feature thickness concerns whether that geometry can be produced and handled successfully.
Cleaning force, support removal, post-curing, sanding, painting, packing and shipping all happen after the layer is formed. A feature that appears in a test print may still be unsuitable for a finished customer-facing figurine. This is why production guidelines are often more conservative than a machine’s advertised resolution.
Factors That May Require Thicker Features
The values in this guide should be increased when a feature is unusually long, unsupported, top-heavy or positioned where it will be handled frequently. Flexible and rigid materials fail differently, while hollowing, drain-hole placement and internal cavities can also change local strength. Orientation and support placement may leave contact marks that require sanding, reducing the final thickness further.
Painting and other cosmetic finishing can soften shallow detail, but paint should never be treated as structural reinforcement. Parts intended for repeated use, assembly, transport or outdoor display require a separate review based on their actual loads and environment.
How to Check a Figurine File Before Uploading It
Inspect the model at its final physical size, because scaling down reduces every feature at the same time. Measure the narrowest solid section of hair, fingers, fabric and accessories, including areas beneath deep sculpted grooves. Check free ends and attachment roots separately, and look for parts that may be used unintentionally as handling points.
If a feature falls below the recommended value, it can often be improved by thickening its hidden side, shortening the unsupported length, adding a discreet connection, combining adjacent strands or separating the component for assembly. When the visual design cannot be altered, discuss the risk before production rather than assuming that the printer alone can solve it.
Send the Final-Scale Model for Review
These recommendations provide a useful starting point, but they do not replace a production review. FacFox can evaluate the final-scale file together with the selected printing process, material, orientation and finishing requirements. Clearly identify the most important cosmetic details and any areas that must not be thickened, joined or used for supports.
For process and material options, visit the FacFox SLA and DLP 3D Printing Service. If the figurine will receive sanding, painting or another cosmetic finish, also review what to expect from default resin finishing before approving the production plan.
In summary: small figurine details should be designed for the complete manufacturing workflow, not only for successful layer formation. Appropriate local thickness helps protect fine geometry through printing, finishing, assembly, shipping and display.