Multi-colored 3D prints used to be the privilege of the top-tier 3D printing companies. The major traditional extrusion method used only single strands of filament at that time, and post-processing steps were necessary, which expanded timescales and increased expense.
Nonetheless, innovators have devised a range of solutions to enable us to print in different colors. Multicolor 3D printing is great progress in producing usable parts and models, which are cost-effective and have fine details, simulate the physical objects.
In this article, we’ll cover 5 major and promising methods of making colorful prints.
Printing objects separately with a single extruder
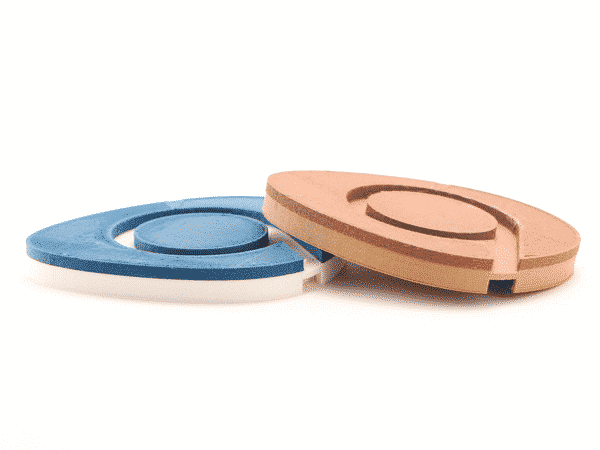
The biggest advantage of this method is that it is also accessible to desktop users, as it requires only a single extruder. You just need to break down a CAD model into individual components based on color, print them separately, and assemble all the parts. The negative part is the pre-processing needs your patience and concentration to ensure a smooth and well-defined finish.
On the positive side, if there is a fault with any individual part of the model, this can be reprinted separately to the rest of the model. Additionally, it avoids the issues that can arise when trying to print using multiple materials, whereby waste filament can end up getting stuck to the model.
Printing objects in whole with a single extruder
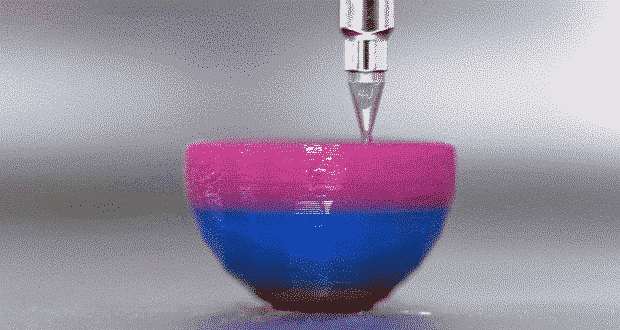
Multi-colored prints can be achieved with a single extruder by assigning multiple tasks within your slicing software. The nozzle begins with one color and pauses at a certain layer, swaps the filament in a new color, and resumes printing. The model has the exact amount of colors required for a specific area.
This method is great for things like logos or plaques with extruded text. The bottom portion of the model can be printed in one color and then changed to highlight the upper portions. Most FDM machines can do it as it’s relatively simple. This technique is great for adding color to your prints but doesn’t work as well for dissimilar materials.
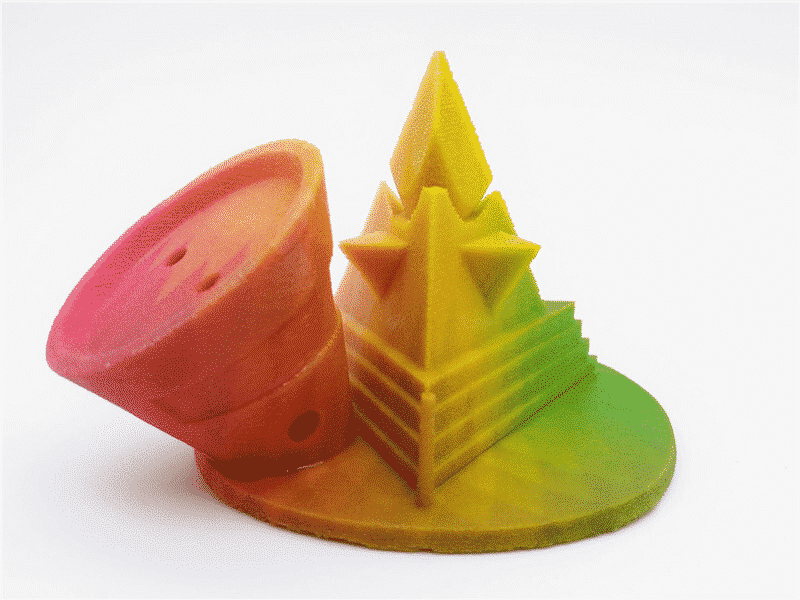
Printing objects in whole with multiple extruders
Dual extrusion printers are fairly common now, frequently used to combine normal filaments with soluble support materials.
One popular technique includes multiple extruders and two or more hotends. Each extruder feeds filament to a single hotend which is used to print a section of the model. The number of extruders used directly correlates with the number of different colors or materials that can be used.
A newer and less common technique for multi-extrusion involves one hotend and multiple extruders. Each of the extruders feeds to a coupling and only one extruder is active at a time. The active extruder continues to feed filament to the hotend. For differently colored sections, the active extruder stops and another takes over.
However, all the above methods belong to direct FDM color 3D printing and cannot realize mixed colors, although they enable large areas of saturated colors. The photo-realistic textures are impossible to reproduce. Besides, using a printer with multiple extruders expands the possibility of potential errors since each extruder might jam or produce layers of varying quality.

Full-color sandstone printing
In full-color sandstone printing, the machines also include CMYK printheads, which apply color to each layer during the printing process. Meanwhile, the machines also bind the layers together, building up a complete model.
Sandstone is able to build full-color 3d models at a good price. This material is perfect for visualization and applications that need detailed and colorful representation such as figurines, life-like models, avatars, architectural models and many more. The only problem is that some people would not prefer the hard and granular surface of the sandstone object.
PolyJet printing
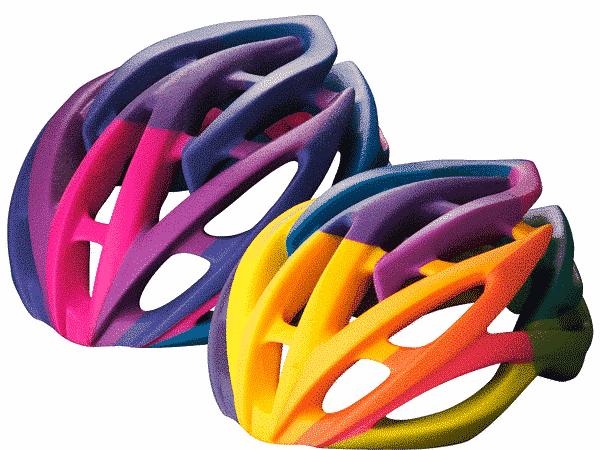
PolyJet is a process by which small droplets of photo-polymer resin are ‘jetted’ onto an object and then cured by a UV light. Some PolyJet machines can color these droplets prior to deposition producing a full-color 3D part. PolyJet machines can also print in multiple materials with one of the more common examples being the use of a wax-like material for support structures that is melted out via a heated chamber after printing.
Binder jetting is a different process by which a binder or glue-like substance is deposited onto a powdered substrate. In this case, the binder is colored prior to being deposited. Binder jetting often produces less crisp results compared to PolyJet because the dye bleeds into surrounding powder. Both PolyJet and binder jetting are industrial level processes that aren’t yet accessible to hobbyists.
The advantages of using these techniques are clear: you can produce full-color models, with the possibility for color gradients, and with minimal post-processing. The downside is that only a few people could afford the price starting from $200,000 of those true color 3D printers.
Conclusion on multi-color 3D printing
As we all know, color management in a two-dimensional plane is based on multi-color ink drops or toners with white paper as the background. But the color management in three-dimensional space needs to take the below points into consideration: the refraction, reflection, light transmission and other factors of materials, as well as the combination of transparent materials and non-transparent materials.
That’s why it’s much difficult in color management for 3D printing. We are still at the early stage of full-color 3D printing, but new techniques evolve quickly in the past 10 years, and now we have a diverse range of methods with different costs and required equipment. Let’s see.