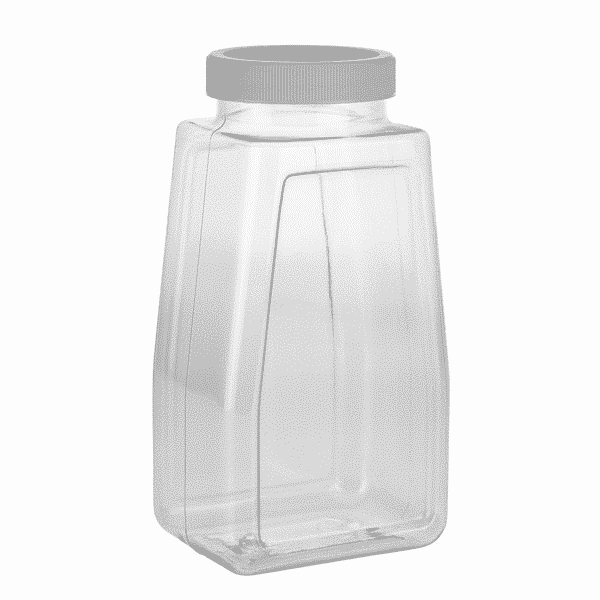
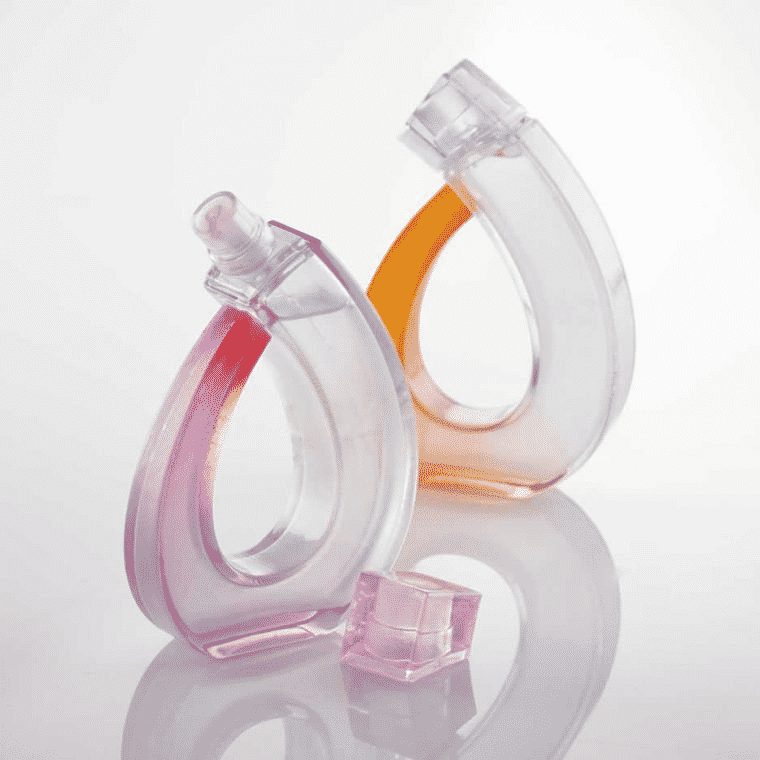
Transparent parts are aesthetically pleasing and adored in many industries: surgical guides, concept models, optical lenses, household storage boxes, and so on. In this article, we aim at informing you how we can make transparent parts using 3D printing, injection molding, and CNC machining techniques.
The Nature of 3D Model
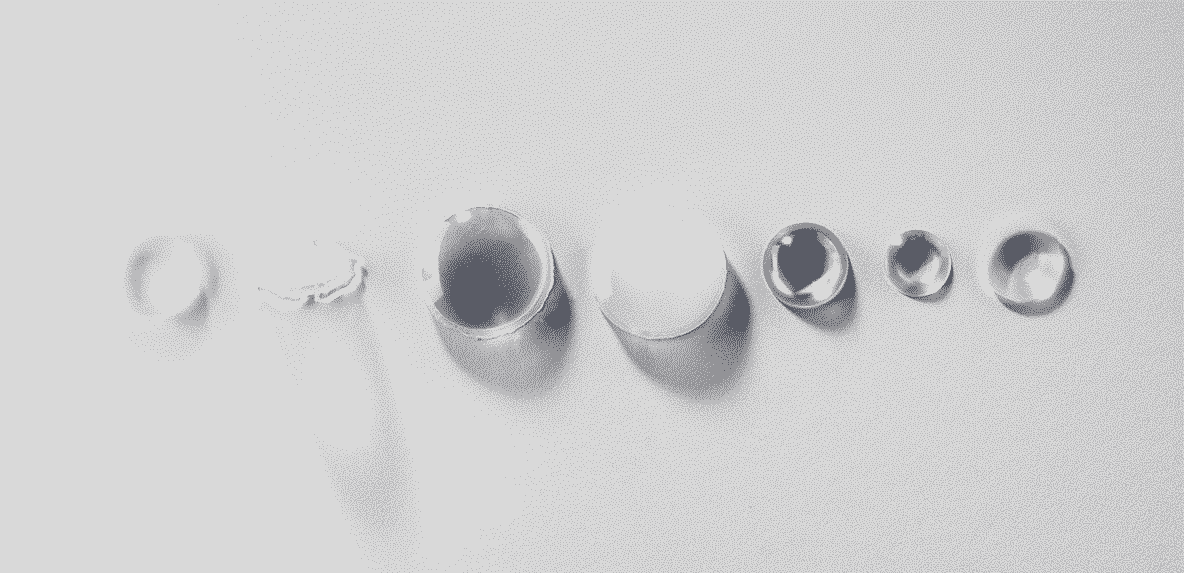
Each layer refracts the light further. No matter how clear the material you use, common knowledge is that the more layers you stack, the more lights are dispersed inside the object. If you want to obtain a part with high translucency, you’d better create a hollow structure for the object with thin walls (ideally only 1 layer thick).
The Choice of Material
The most commonly available clear or translucent 3D printer filaments are PMMA, PETG, Clear (Natural) PLA, Trans Clear ABS, and Polycarbonate. Below are the positives, negatives, and tips for each option we wish you to know in choosing the most appropriate material.
PMMA
Typical PMMA grades allow up to 92% of light to pass through its surface, which is more than other plastics and even most glass. It’s an outstanding clear plastic acrylic material that owns high strength and impact resistance. That’s why people usually use PMMA to replace glass in certain applications.
Clear ABS
ABS isn’t naturally clear but we can blend it with an additive and implement post finish with acetone vapor to make the Clear ABS. Even so, we cannot get a totally transparent ABS material, it’s just translucent to some degree.
Natural PLA
Translucent PLA filament is one of the easiest to print clearly and get good results. Good quality PLA can also be easily sanded & polished afterward – which for this material is the best way of getting an extremely smooth finish to let light pass through uninterrupted.
PC (Polycarbonate)
Polycarbonate will finish with a nice glossy sheen when you heat the extruder to over 260C+. A great advantage with PC is that it can be smoothed with acetone similar to ABS to bring out clearer results.
Clear PETG
It can’t be smoothed with acetone though, and although it can be sanded – it doesn’t sand as nicely as PLA. PETG excels in requiring the least amount of post printing work to achieve an acceptable result.
The Type of 3D Printer
FDM
FDM prints the object using a filament. The filament is heated up in the nozzle and squirted through in the shape of your object, layer by layer.
Due to the nature of the FDM printing process, very small gaps can form between the layers which in turn contributes to less light passing through the surface of the 3D printed object. The height of the layer also impacts the light refraction and further interfere with transparency.
A lot of trial and error are needed to figure out the best material extrusion temperature, flow rate, print bed temperature, printing speed, layer height thickness, and nozzle diameter for your machine.
SLA
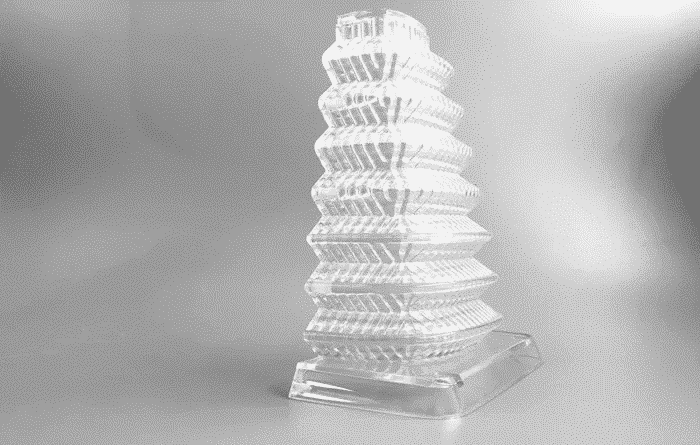
Stereolithography(SLA) is a laser-based technology that uses a UV-sensitive liquid resin. A UV laser beam scans the surface of the resin and selectively hardens the material corresponding to a cross-section of the product, building the 3D part from the bottom to the top.
The SLA prints own satisfactory smooth surface finish and high levels of details, therefore the final appearance of the project has great optical transparency. However, the support structure requires to be moved and it can affect the final appearance.
Injection Molding
Injection molding is not a type of 3D printing method but a service Facfox is providing. The tip for realizing high light transmittance in injection molding is avoiding any hole, marking or whitening. Injection humidity, pressure, speed and time all need to be taken into consideration.
To reduce the air bubble and silver streak, the raw material needs to be dry up before poured into the barrel, and the filling process should be slow enough for the air to escape. The viscosity of the melt flow may lead to flow marks, the temperature and pressure need to be carefully controlled.

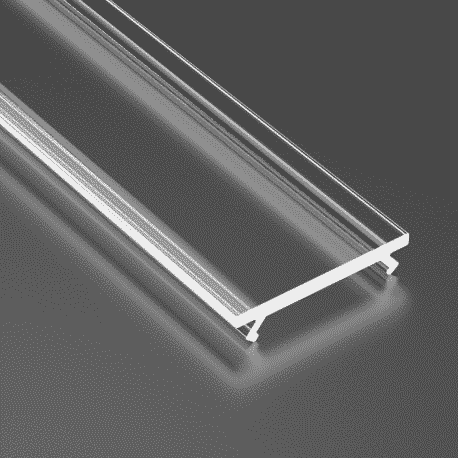
CNC Machining
CNC machining is a subtractive manufacturing process where the raw material is removed with a variety of precision cutting tools to make a part or product. Facfox also provides the CNC machining service.
The CNC machining process may require splitting the part into multiple sections to be machined and then joining them together with glue. Although this can be done to a very high level by professional model makers, there may still result in an inherent weakness and reduce the translucency.
The Setting of 3D Printer
Print the materials at the top-recommended temperature.
The high temperature keeps the definition between each layer as minuscule as possible, so more light can pass through it. You may lose little detail but gain smoothness in the process, but it worths.
Print slower than the normal speed.
The slower the print head moves, the more accurate your printer is, thus the clearer your prints will be booking. Adjust the tightness of the belt and ensure there’s no overshooting of the print head, it will also help to increase the accuracy.
Print as thick layers as possible.
You won’t need too many layers to form an object when you set the nozzle diameters bigger which results in the larger layer height and clearer looking. However, if your printer is really accurate, printing very thin nozzle diameters can also yield nice results on 1 layer wall thicknesses.
The Post Production Treatment
The post-production treatment is targeting at smoothing the surface of the object, thus it can reflect the light appear more transparent. Each finishing option requires varying levels of effort, depending on the degree of transparency and surface finish your part requires.
Manual sanding and polishing – suitable for Polyjet, SLA, FDM
This method is effective for simple shapes with few details, but are less suited to finishing complex models. It is very difficult to reach total optical transparency with this method.
Tips:
- Use a range of incremental sandpaper grits to smooth your surface, then polish the part with acrylic cleaner and a microfiber cloth.
- Try using a range of sandpaper and micromesh pads with grits from 400 to 12000, in increments of 200, slowly and carefully to clean the lens between grit levels and to eliminate scratches from the previous level before moving on to the next.
Spray and epoxy coating – suitable for SLA and FDM 3D prints
Spray and epoxy coating is an easy, fast way to improve the clarity of parts without much reduction in detail. This method is effective for all kinds of models, as it’s able to coat complex details that may be hard to reach with regular sanding and polishing.
Tips:
- Start with a clean, dry part already washed in isopropyl alcohol (IPA).
- Do not post-cure the part ahead of spraying, as this can cause yellowing.
- Let the part completely air dry and apply two to three spray coats in a dust-free environment.
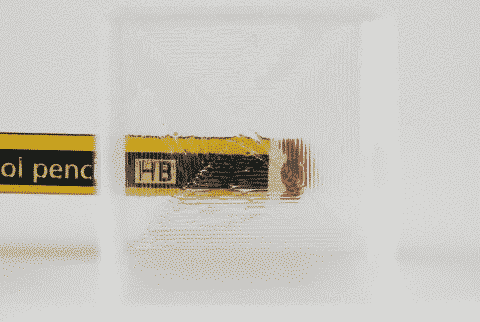
Resin coating – only used for SLA
It consists of applying the clear resin to the part with drops from a syringe, or submerging 3D printed objects in resin before removing them so they can dry. The viscous resin will fill layers and scratches on the part, forming a completely smooth surface. The results are clear and very smooth, although some details may be reduced.
Tips:
- It is only suitable for flat or near flat objects such as a lens or a window into the interior of a part.
- The layer of resin should be as thin as possible, while still eliminating layer lines. Pull off any bubbles with a syringe.
Vapor smoothing using acetone and polishing – for Polyjet
We want to melt the surface of the object just enough with acetone vapor that the surface tension of the molten plastic smooths out any surface inconsistencies and then halt the process at that point before any structural damage occurs.
As the vapors can get to all exposed surfaces equally, there are fewer areas of uneven melting. There are also no run-off channels or drip marks induced into the surface of the object that direct exposure to acetone liquid may cause.
Tips:
- Depending on the period of exposure, you will need to “air” the object for a period of time that is commensurate with the time that the object was exposed to acetone vapor.
- The polishing process continues for a while after you remove the object from the container – usually for about ten minutes. So don’t be tempted to leave it in too long.