Introduction
SLA 3D printing is capable of producing prints with fine details and features as small as 0.3 mm. The biggest drawback to this technology is that parts are often small and most prints need to be oriented at an angle and require support structures to be attached to the model. These supports leave marks on the surface and create uneven surfaces. Fortunately, most SLA resins are one of the easiest 3D printed materials to post-process. SLA resins allow for a range of finishing options with the most common of these described in this article.
Note: All images in the examples below are printed with clear resin at 50-micron layer height.
Basic support removal
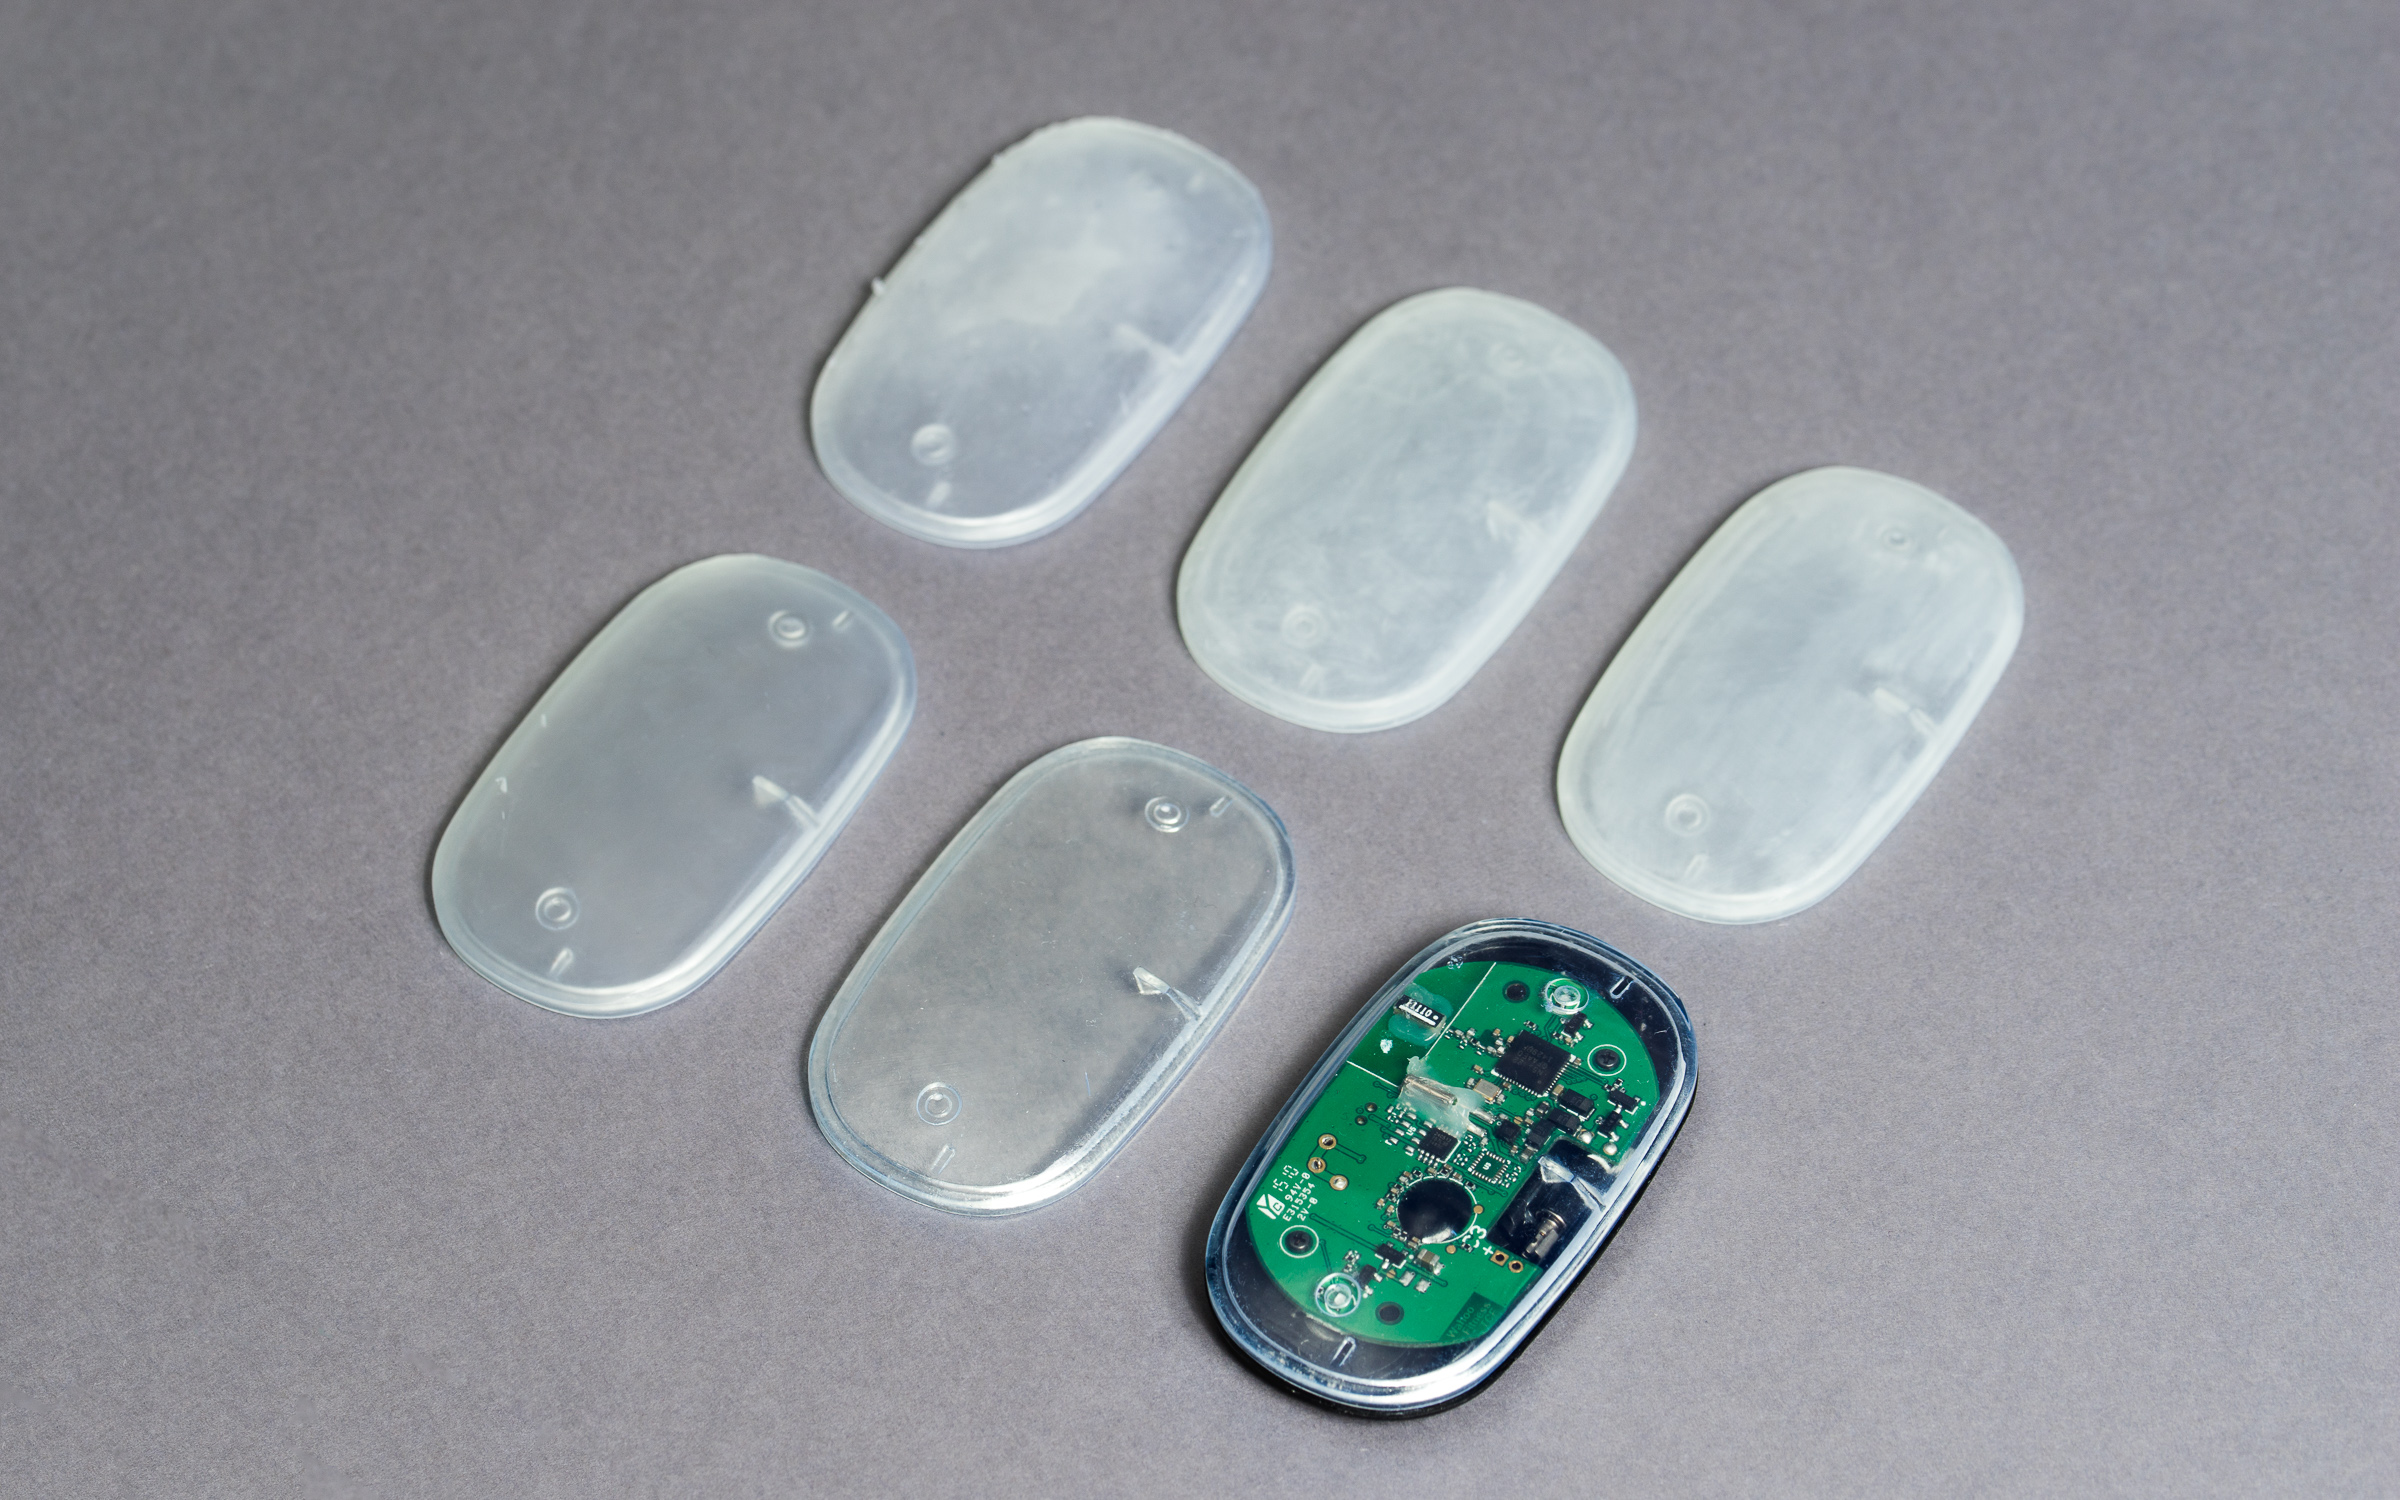
Process: The support structure is broken off or cut from the model leaving a bumpy surface on the surfaces in contact with the support material. If a high-quality surface finish is required adding extra material (at least 0.1 mm) to be sanded afterward allows for better dimensional accuracy.
Pros
- Gives the customer complete control over the finish.
- For critical vertical hole diameters drilling after printing is recommended if high accuracy is desirable.
- Highest accuracy as overall geometry is not altered
Cons
- Not aesthetically pleasing
- High level of skill required to achieve a clean finish
| Finish | ☆ ☆ ☆ ☆ ☆ |
| Tolerances | ★ ★ ★ ☆ ☆ |
| Speed | ★ ★ ★ ★ ★ |
| Suitable for | All SLA resins |
Sanded support nibs
Process: Only the small support nibs are sanded off. This process is suited for flat surfaces where it is easy to judge the surface is flat. Because the surface is only sanded at the support nibs the overall geometry of the parts is generally unaffected.
Pros
- Accurate surface (gives geometry that is close to the 3D model)
- Resulting matte finish hides imperfections
Cons
- Can result in uneven surfaces on side where support was located (due to non-uniform sanding)
- Not aesthetically appealing (particularly on clear resin)
| Finish | ★ ☆ ☆ ☆ ☆ |
| Tolerances | ★ ★ ★ ★ ☆ |
| Speed | ★ ★ ★ ★ ☆ |
| Suitable for | All SLA resins |
Wet sanded
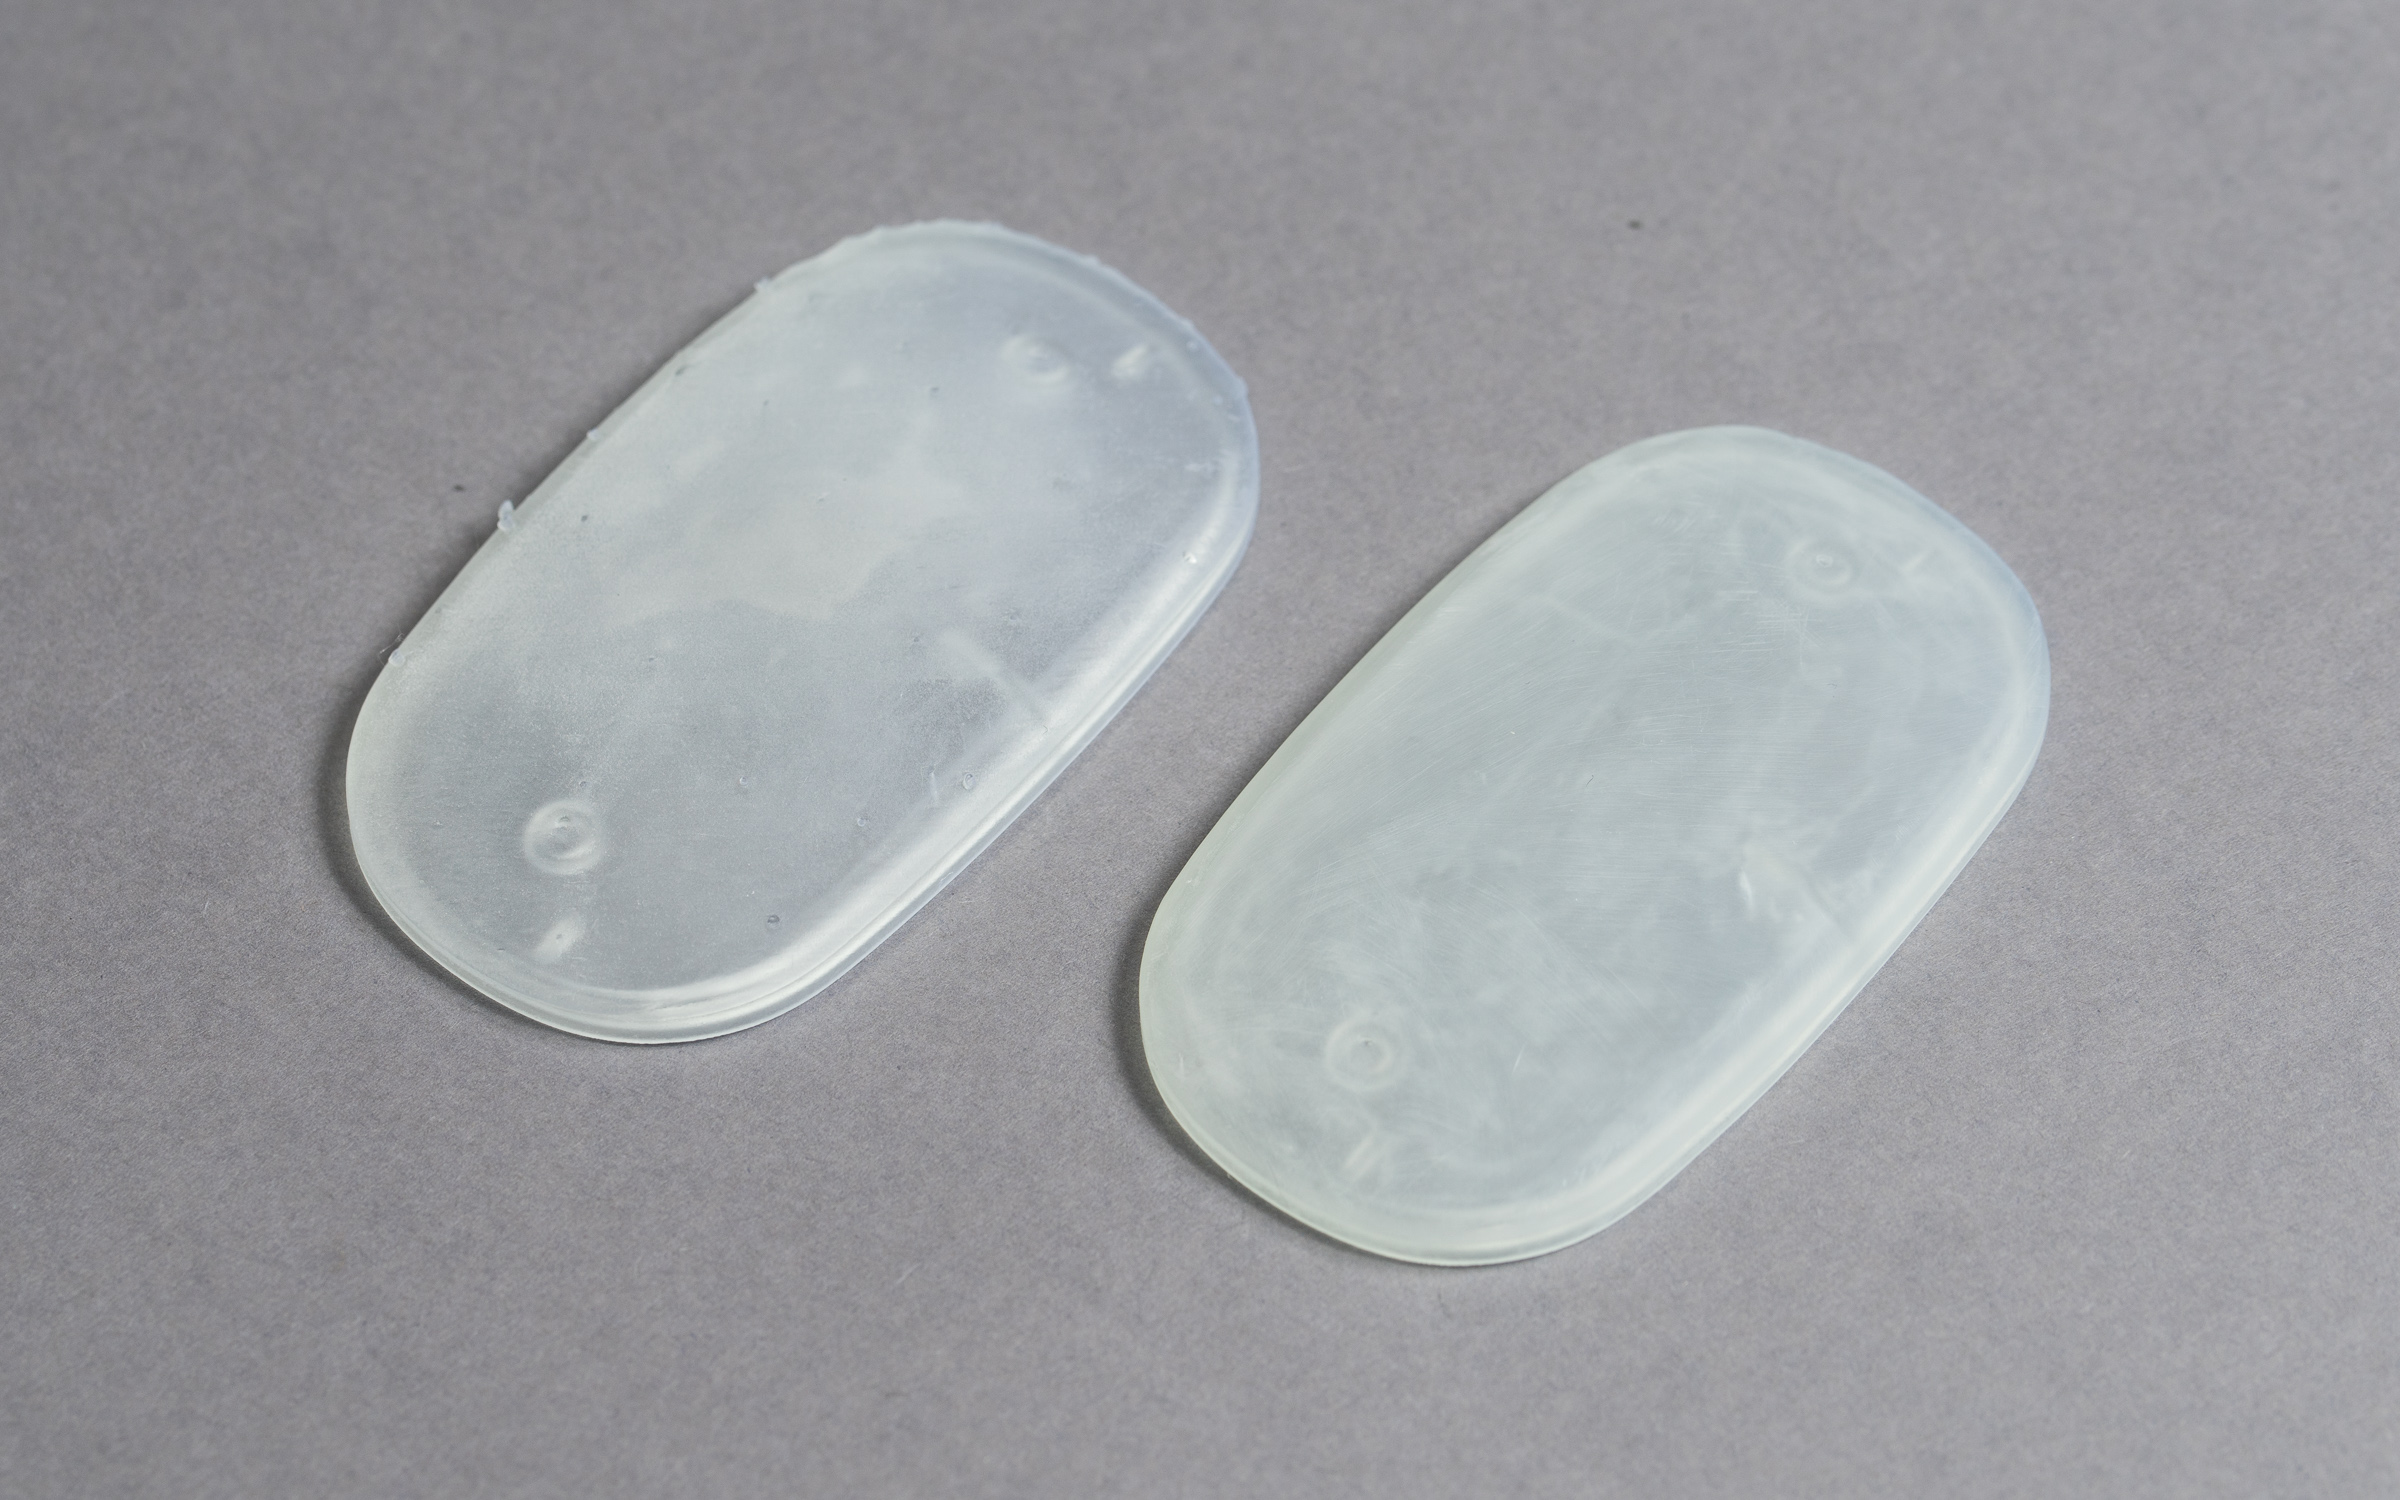
Process: Wet sanding generally achieves the smoothest surface finish (depending on the number of sandpaper graduations used). On the unsupported side of the model, only the build lines need to be sanded. This can typically be achieved with a single high grade of sandpaper (no graduation needed) making the finish a lot cheaper. The supported side is more labor intensive typically requiring at least 4 sandpaper graduations. It is, therefore, best practice to place the supports on the least visible part of the model. Depending on the support placement there may be some accuracy loss as material is removed through the sanding process.
Pros
- Excellent smooth finish
- Ideal for complex geometries
- Best surface preparation for painting
Cons
- Lower accuracy on supported side
- Water used while sanding can result in some white/light spots on the print
| Finish | ★ ★ ★ ☆ ☆ |
| Tolerances | ★ ★ ★ ☆ ☆ |
| Speed | ★ ★ ★ ☆ ☆ |
| Suitable for | All SLA resins |
Mineral oil finish
Process: This finish is similar to the wet sanded finish with the exception of a mineral oil layer added after the sanding process. The mineral oil helps to hide the white/light spots on the model creating a nice even finish.
This finish is well suited for mechanical parts reducing friction and lubricating the surface.
Pros
- Results in a semi-transparent finish for clear resins
Cons
- Paint does not adhere well to the surface
| Finish | ★ ★ ★ ☆ ☆ |
| Tolerances | ★ ★ ★ ☆ ☆ |
| Speed | ★ ★ ★ ☆ ☆ |
| Suitable for | All SLA resins |
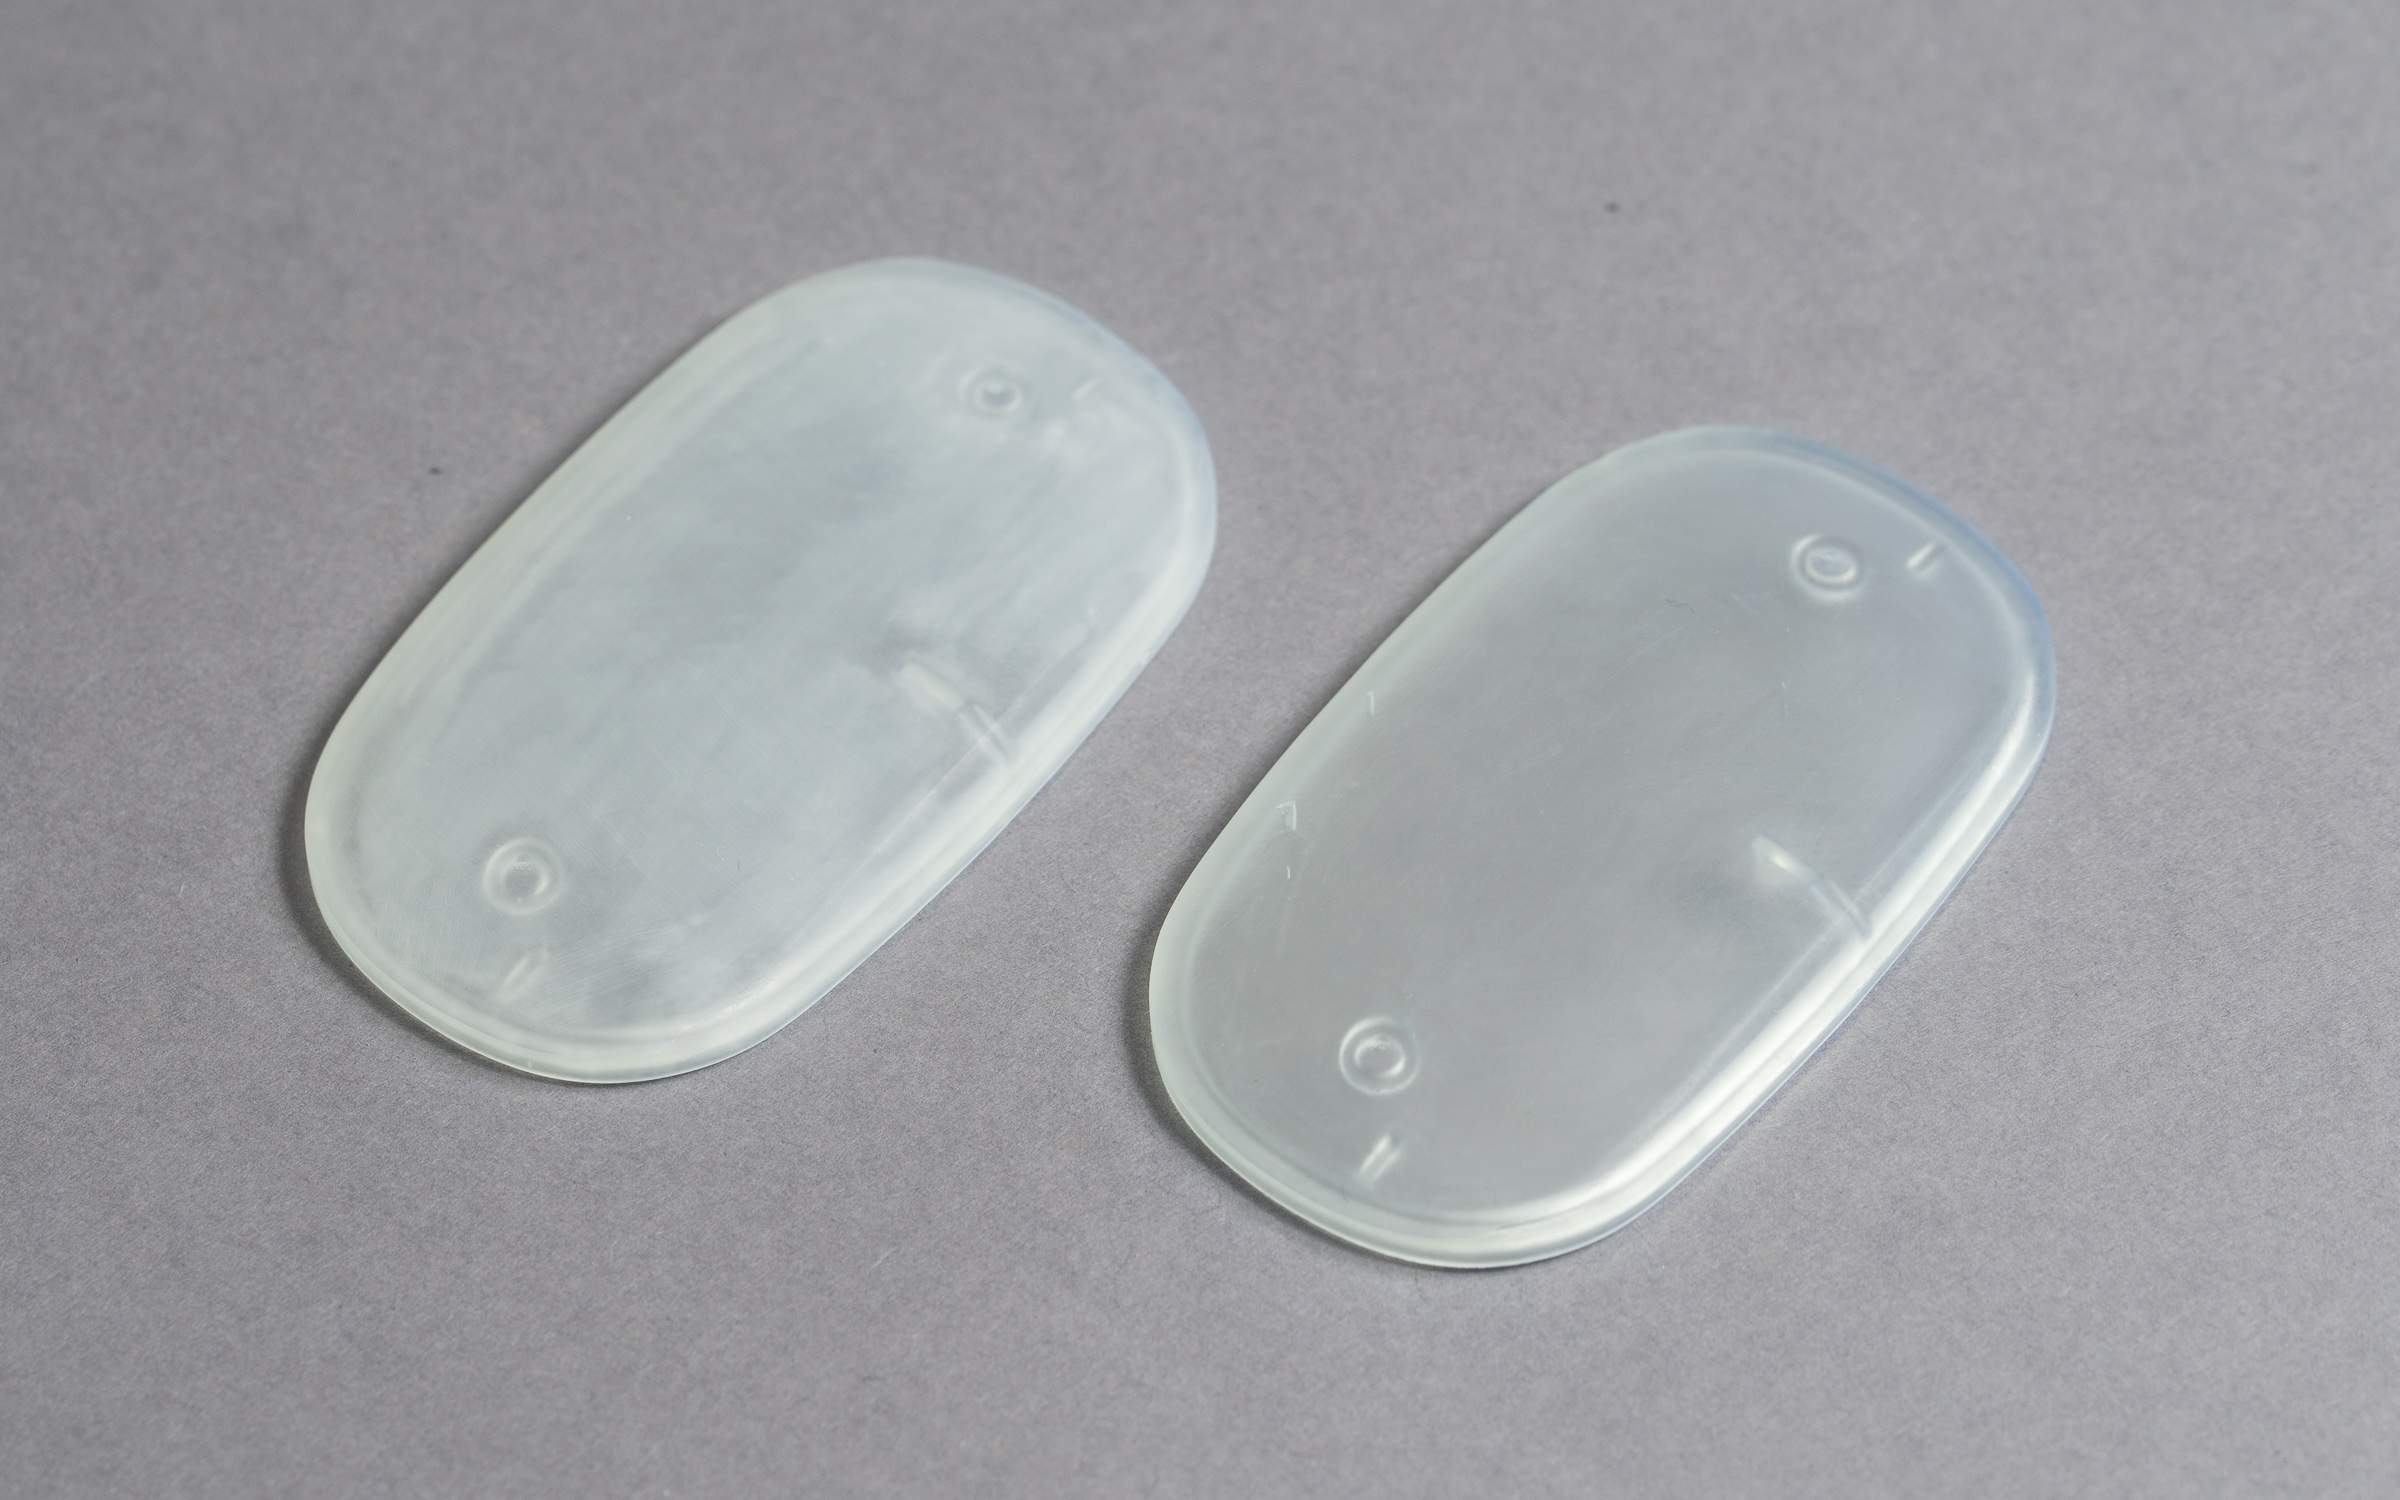
Spray paint (clear UV protective acrylic)
Process: Spray painting the model helps to conceal layer lines reducing the need to sand the unsupported side of the model. The varnish also protects the model from yellowing and post-curing by limiting UV exposure.
Acrylic paint will not adhere well to flexible resin. If flexible resin needs to have a glossy finish coating with a thin layer of resin then curing underwater can achieve this, however, this affects tolerances and details dramatically.
Pros
- Clear finish on complex geometries for clear resin
- Offers UV protection
Cons
- Typically results in an ‘orange peel’ effect on the surface
- Increases overall dimensions
- Not suited for sliding or moving parts
| Finish | ★ ★ ★ ★ ☆ |
| Tolerances | ★ ★ ☆ ☆ ☆ |
| Speed | ★ ★ ☆ ☆ ☆ |
| Suitable for | All SLA resins |
Polished to clear transparent finish
Process: The surface is sanded using increased grit levels of sandpaper (concluding with 2000 grit). The surface is then polished with a polishing compound. This results in the clearest surface possible but it is very time-consuming and only possible on surfaces that can be sanded easily.
This finish is well suited for simple shapes with few details (like the crystal of a watch). It is less suited for models which need a clear finish on both sides with complex geometries like ribs and small spaces.
This finish may not be suitable for tough and flexible resin as they are softer than the other resins.
Pros
- Clear finish (comparable to glass)
- Very smooth surface
Cons
- Labour intensive
- Not possible with complex geometries
| Finish | ★ ★ ★ ★ ★ |
| Tolerances | ★ ★ ☆ ☆ ☆ |
| Speed | ★ ☆ ☆ ☆ ☆ |
| Suitable for | Clear resin. Can be used on engineering and coloured resins but typically not necessary |
