With your object modeled we now need to bring it to life by applying some materials to it, but before we do that, we have to go through a process called UV mapping. This is where we map the coordinates of the textures onto the object. This is vitally important for even the simplest objects but it really comes into its own for more complex objects like pieces of furniture. We’re going to run through a couple of primary ways to carry out this process, hopefully keeping things as simple as possible along the way. Oh and finally, when thinking of UVW, just think XYZ in terms of a coordinate system.
Step 1: UVW Map Modifier
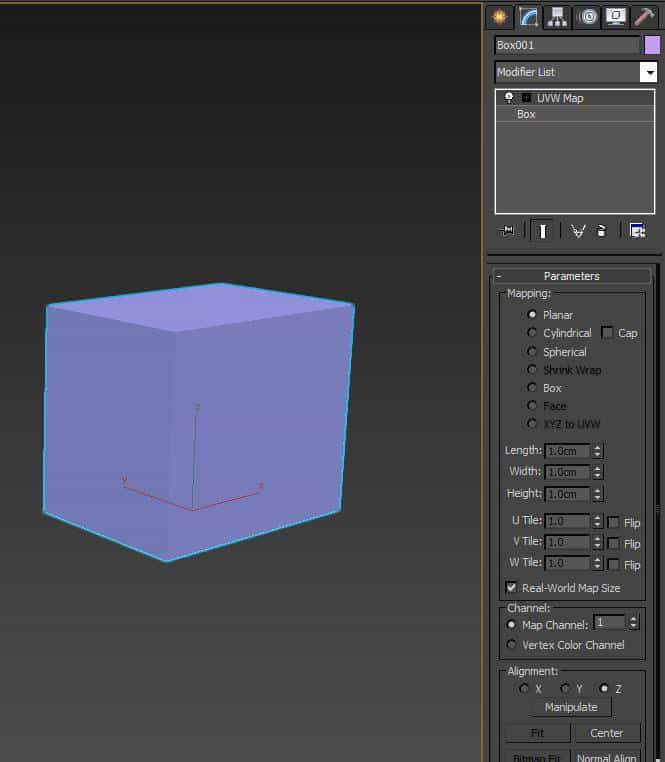
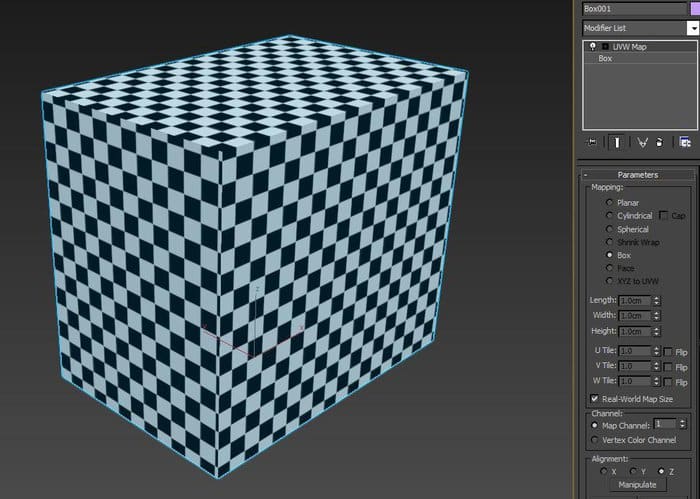
The simplest way to map your textures, assuming your object is simple, is to use the UVW Map Modifier. You can find this in the modify panel using the modifier drop-down list. It’s right towards the bottom. Type the letters UV and return to add it more quickly. This will add the UVW Mapping modifier to your modifier stack. Select it in the stack and you’ll notice the modified panel gives you a load of editable parameters.
Step 2: UVW Mapping Types
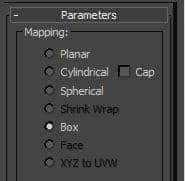
The first part of the ‘Parameters’ rollout is the ‘Mapping’ type. These include things like ‘Planar’ which only covers 2D mapping coordinates in the U and V coordinate space to something like box, which creates mapping coordinates in a box shape right around the UVW coordinate system. There are also cylindrical and spherical options among others. If you’ve got a fairly simple boxy looking object, then you may well get away with the ‘Box’ type. For more complex objects you’ll need to use the more complicated feature called unwrapping but we’ll come to that in a bit.
Step 3:UVW Map Real World Size
We haven’t covered creating textures yet but I’ll give you a brief overview here as it’ll be helpful as we move on. You can give a texture a real-world size if you want. So for example, if you have a cloth pattern and you know that pattern covers 1m x 2m in the real world and you want it to cover that in your virtual world, then you can set that in the textures properties. We’ll cover this more when we look at the material editor. If you have chosen a real-world size in your texture, then it makes sense to use the tick box ‘Real-World Map Size’ in the UVW Mapping modifier.
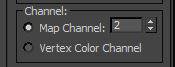
Step 4: UVW Map Channel
Scrolling down a little you’ll find the ability to change the map channel. If you think about it, you may want your object to have some mapping for your diffuse texture but then different mapping for your bump or displacement maps. This is easily done by setting your textures to different map channels and then applying multiple UVW Mapping modifiers to the stack, each set to a different Map Channel and with different mapping properties.
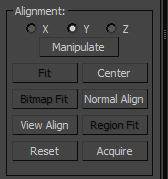
Step 5: UVW Alignment
Just one other thing to mention before we move onto the more complicated beast that is unwrapping, the UVW Mapping modifier lets you quickly force the alignment of your mapping to a specific direction, either X, Y or Z. This comes in particularly helpful if you are using the ‘Planar’ mapping type and you want the plane to be specific.
Step 6: Unwrap UVW Modifier Introduction
Now that we’ve got to grips with some basic properties of mapping we need to take things one step further. Previously you were limited by a few parameters which were perfect for simple models, now we’re going to use a process called unwrapping which gives you much more control of how your faces are mapping onto your texture. Simply go to the modifier stack and add a ‘Unwrap UVW’ modifier.
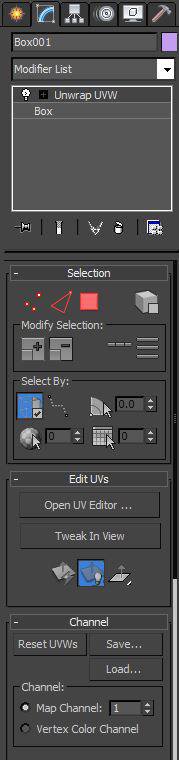
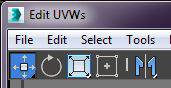
Step 7: Unwrap UVW Edit Mode
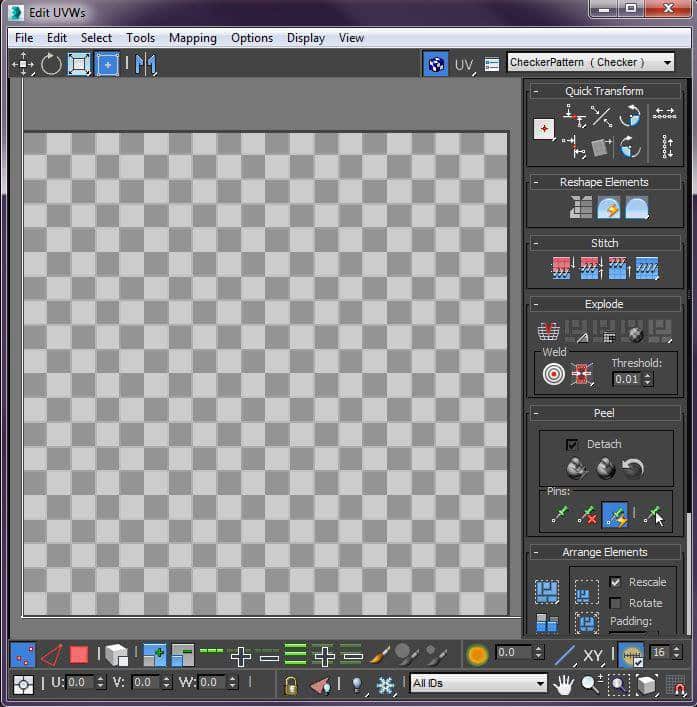
With that modifier selected, scroll down to the ‘Parameters’ rollout and click the ‘Edit’ button. This will open up a separate interface with a top menu bar and a load of icons at the top and bottom. It looks a little scary! Obviously going into too much detail is outside the scope of this article but we’ll cover some of the basics all the same. The important thing to remember here is that your texture will fall inside of the bold lined square. This is the UV space from 0 to 1. We will learn to place the faces of our objects inside of this space.
Step 8:Unwrap UVW Display Texture
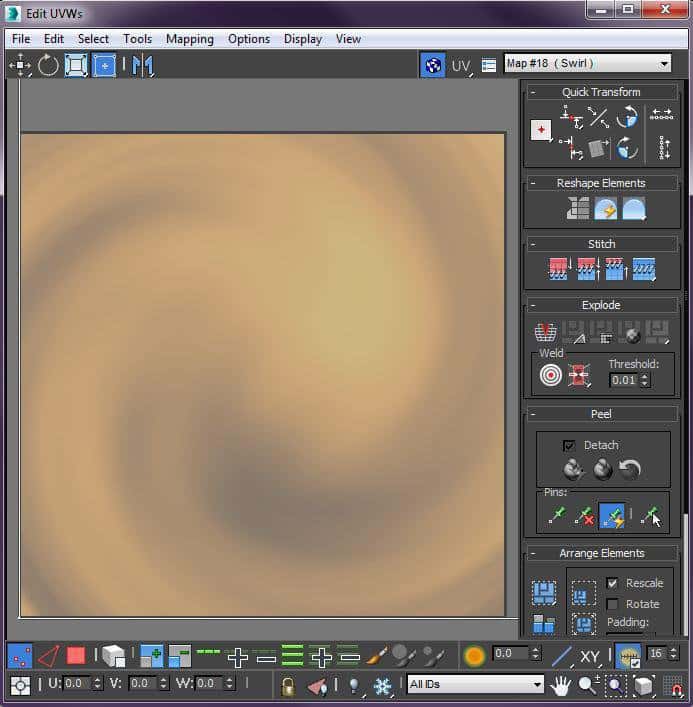
By default, you’ll notice that it displays a checker pattern. This can be particularly helpful for noticing if you have stretching in your mapping solution, but often you’ll want to display the actual texture that you’re applying to your object. Do this by going to the top right drop-down and select pick texture followed by selecting ‘Bitmap’. Navigate to your image and double click it. This brings your image into the editor. Notice that if the image is not square then it’ll be squashed into that square UV space. This is why most textures want to be square such as 1024 x 1024 pixels.
Step 9: Unwrap UVW Flatten Mapping
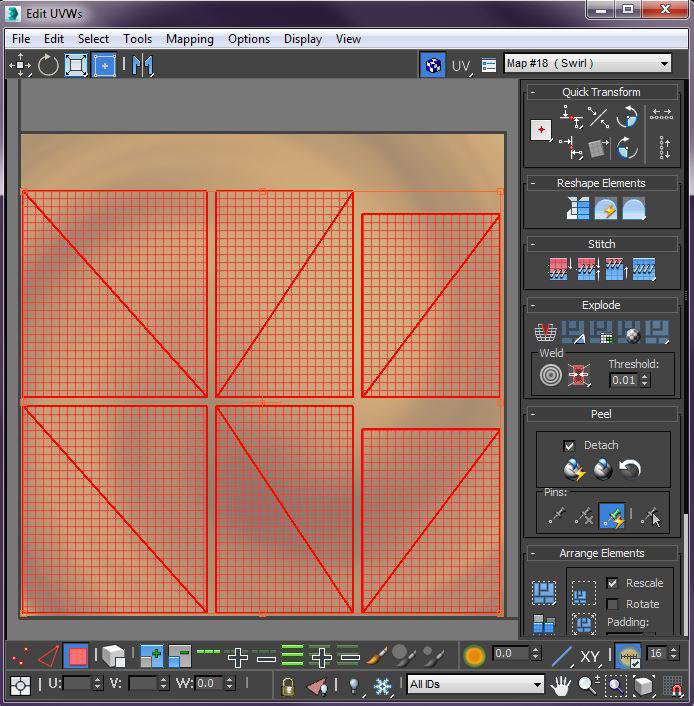
Now let’s look at the most commonly used automatic solution to unwrapping your objects. It’s called ‘Flatten Mapping’ and it can be found by going to the ‘Mapping’ menu item and selecting ‘Flatten Mapping’. Before you do that, use the polygon selection mode at the bottom and hit Ctrl+A to select all your polygons. Then go to ‘Flatten Mapping’. This can often be a good first step for organizing your UVs neatly into the space. There are some basic parameters which we won’t worry about for now. Usually, the defaults work really nicely. Select ‘OK’ and notice that all the faces of your object are now neatly organized in the space.
Step 10: Unwrap UVW Manual Options
With your faces automatically placed the likelihood is that you’ll want to move, rotate, and scale them into position. This is easily done using the icons on the top bar. They work in the same way as how you deal with objects when editing them in model space. Note that you can also make use of other selection modes such as vertex and edge to get your faces in exactly the right position and to the right size.